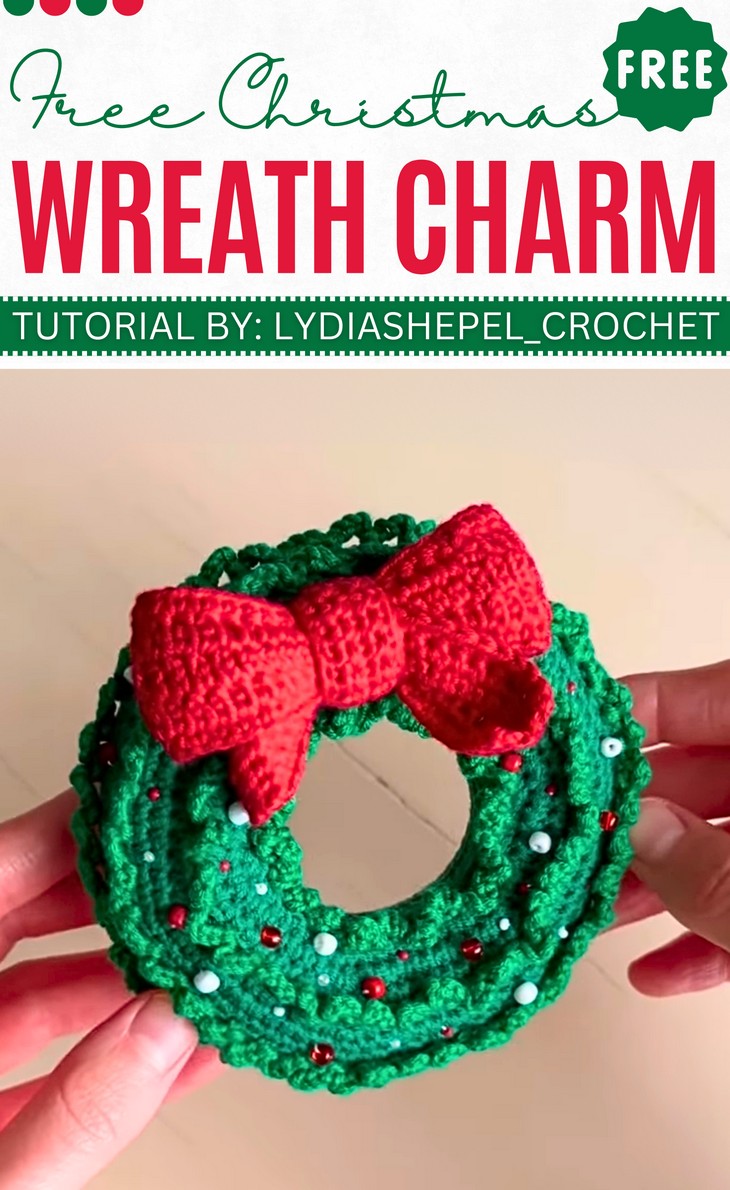
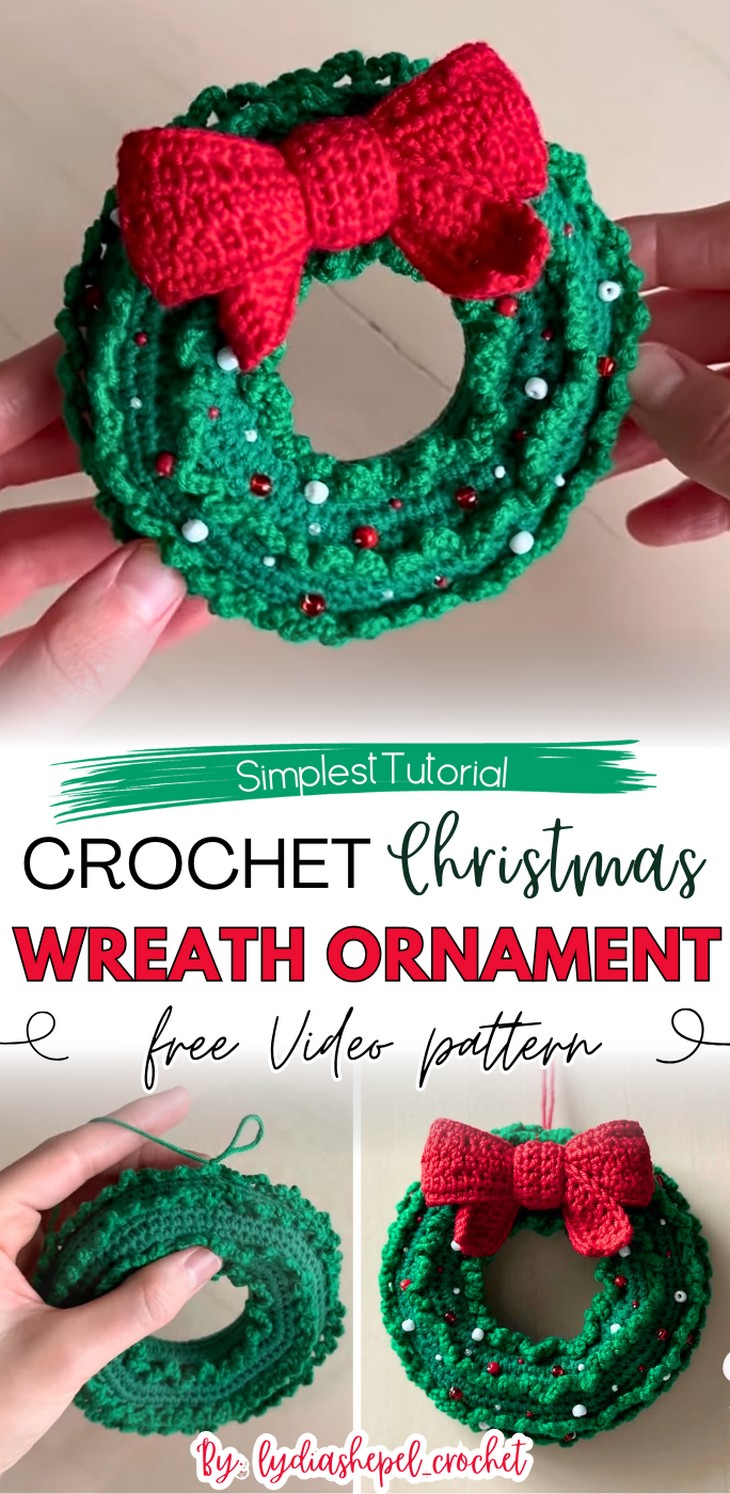
How to Crochet 3D Wreath Christmas Ornament with Beads
Looking for a Christmas wreath project that requires zero sewing and no color changes? Learn how to crochet this colorful and beaded 3D wreath with a stitch-by-stitch tutorial for Lydia, which is, in one word, a must-have. This one-piece mini wreath also features a lovely bow tie, ruffles, and the beads are in different sizes, which gives an elegant and natural feel. You can complete crocheting it within 30 minutes thanks to the repetitive pattern. You will especially love the rows of surface-stitched 3D edging. Crochet one for sending a special gift as a charm, for a Christmas tree, or simply as a wall hanging.
So, if you have made up your mind to crochet this no-sew wreath ornament, continue reading this post till the end. There you will find the complete tutorial.
About the designer: the designer behind this Christmas wreath project is @lydiashepel – she has specialized in designing accurate amigurumi using thin yarn very well. Her library includes tutorials mostly for crochet animals like pugs, cats, unicorns, snails, and dachshunds, as well as popular characters like a Labubu toy, Santa, snowmen, and more. She has the largest list of crochet dog and Christmas projects, including the candy corn, Christmas tree, and more. With many of its tutorials broken down into multiple parts, her projects are perfect for beginners.
Note: In respect of the creator’s pattern rights, there will be no provision of the written pattern. You can watch the tutorial with on-screen instructions at the end of this post.
Crochet Christmas Ornament Tutorial
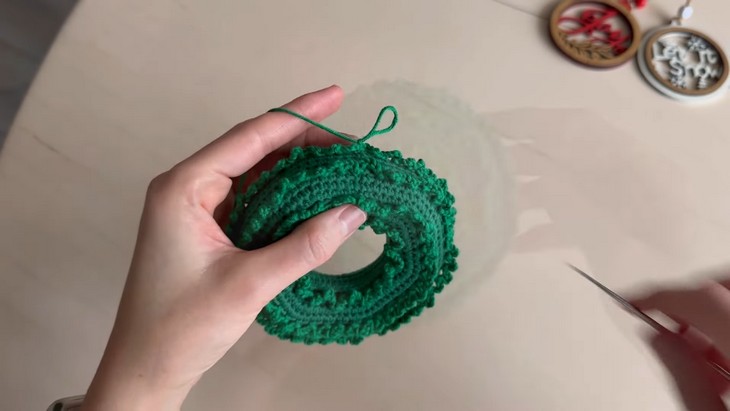
Skill Level: Beginner – Intermediate. This wreath pattern starts with a row of 48 foundation chains, but with a slip stitch turns into a round for a large hole, which is a clever technique. Then you will work around this for the 3D wreath using the single crochet, increase, decrease, and BLO for creating the ruffle effect. When you complete using the decrease, you will sew the center using the slip stitches. Then, using a combination of chain, chain skip, and slip stitch for ruffle edging all around. Then, using the sewing needle for the beads.
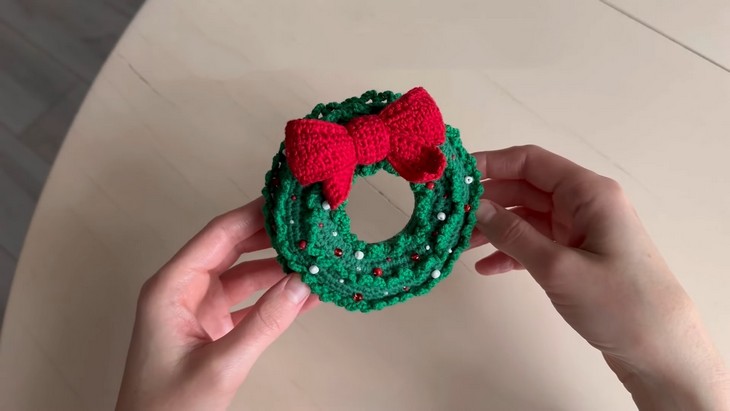
Tutorial Timing: Just roughly 24 minutes (worth watching as the same pattern is used for crocheting a doughnut and you will also learn the surface stitching. You will also see the perfect placement and number of white, red, and different-sized beads. The picot-like edging is also a lovely thing to learn that you can use for projects like lion amigurumi and dishcloths.)

Personalization Tips: You can also use the rainbow colors instead of just the red and white. For Christmas, a yellow bead will be a beautiful addition, or try the yellow for the bow. For better visibility, you should use the light green yarn, not the same as the wreath. You will find the bow pattern in another tutorial that we’ll also link to in the end, after the main tutorial.
Pattern Type: A detailed on-screen written pattern is available if you find written instructions easy to follow along with.
Materials Needed
Gather the following suggested tools and materials for crocheting this Christmas wreath, mentioned in the description:
- Yarn Art Jeans Sport weight yarn (a soft, durable, and versatile cotton-acrylic blend yarn, perfect for knitting and crochet projects)
- Gazzal Baby Cotton is a soft, breathable cotton-acrylic blend yarn, with a Sport weight (Category 2, Fine)
- 1.6 mm and 2.1 mm hook (for the Yarn Art Jeans)
- Sewing Needle
- Beads
Techniques Needed
Here’s a one-line guide for crocheting each stitch and technique in the hanging ornament pattern:
Foundation Chain (ch): Yarn over, pull through the loop to form a chain.
Slip Stitch (sl st): Insert hook, yarn over, pull through both loops on hook.
Single Crochet (sc): Insert hook, yarn over, pull through, yarn over, pull through both loops.
Increase (inc): Work 2 single crochets into the same stitch.
Decrease (dec): Insert hook into next stitch, pull up loop, repeat in next stitch, yarn over, pull through all loops.
Back Loop Only (BLO): Work stitch in the back loop of the V only.
Chain Skip: Skip the indicated number of chains before working the next stitch.