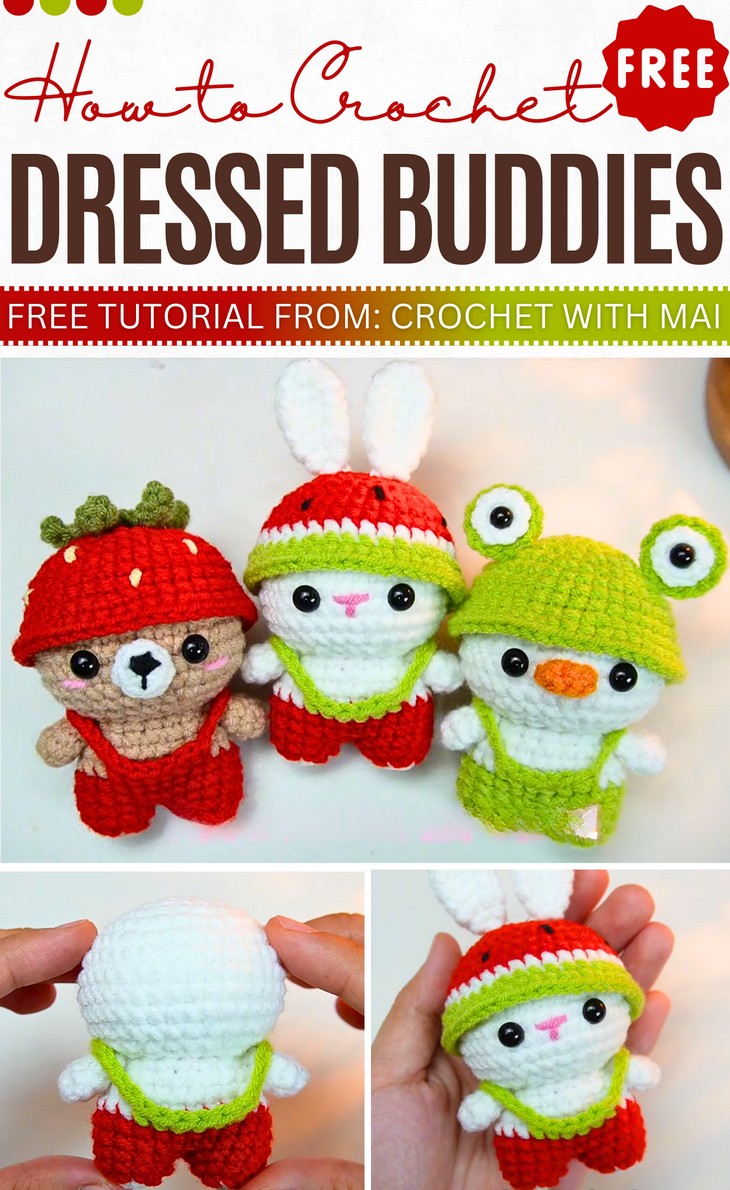
How to Crochet Dressed Animal Dolls With Caps (Bunny, Bear & Duck)
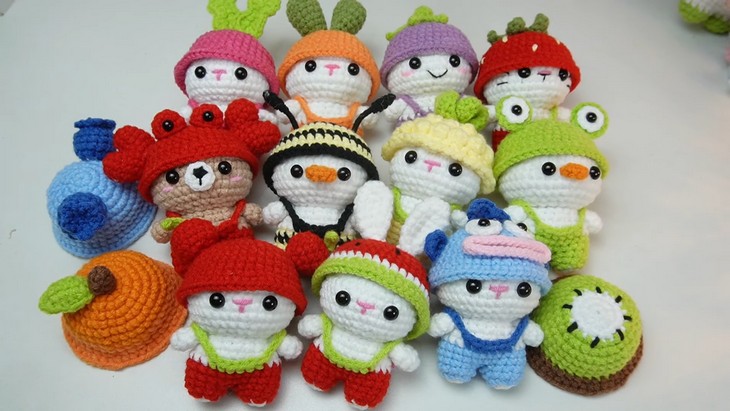
Are you looking for a kawaii bunny amigurumi with inspiration + patterns for cute customizations? Crochet this simply adorable dressed animal doll in three versions, including a bear, bunny, and a duck, with a stitch-by-stitch tutorial from Crochet with Mai that is super easy and quick. After crocheting one base doll in overalls, you can also try so many unique hat patterns available in PDF format, plus the three free hat patterns and the animals. You are gonna crochet a watermelon hat, a strawberry hat, and finally, the quirkiest, googly frog hat. For the watermelon version dress-up buddy, you will also crochet the ears that make it simply adorable.
You will especially love the basic kawaii doll pattern. So, if you are ready to crochet this complete set of must-have bunny amigurumi, continue reading this post till the end. There you will find the complete tutorial.
About the Designer: The designer behind these cute bunny, bear, and duck amigurumi is @maicrochet103 – Mai’s tutorials feature a variety of simply irresistible amigurumi projects, including popular characters like a mini cow, a strawberry spider, Shrek, and a Smiski. She has to my most love, offer tutorials for customizable “dress-up crochet buddies” and other animal patterns like giraffes and pandas. You can also find the written patterns. Her library is currently small in video format, but very promising. If you want the full collection of 15 hats, visit her shop linked in the description!
Note: In respect of the creator’s pattern rights, there will be no provision of the written pattern. You can watch the tutorial with on-screen written instructions at the end of this post.
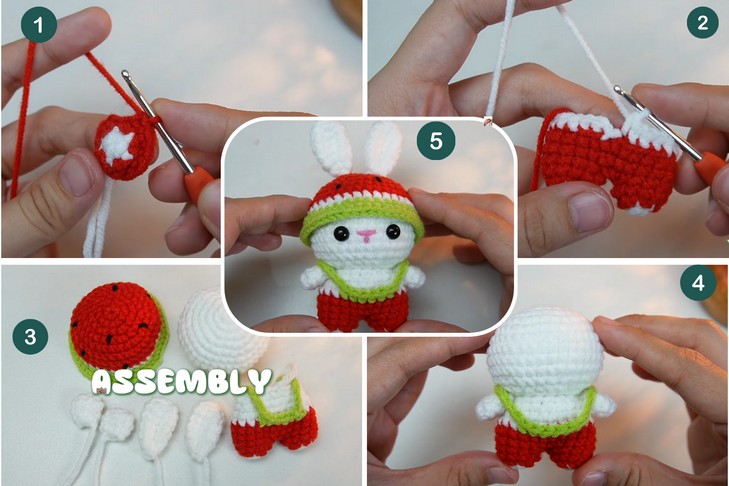
Crochet Dressed Bunny Tutorial
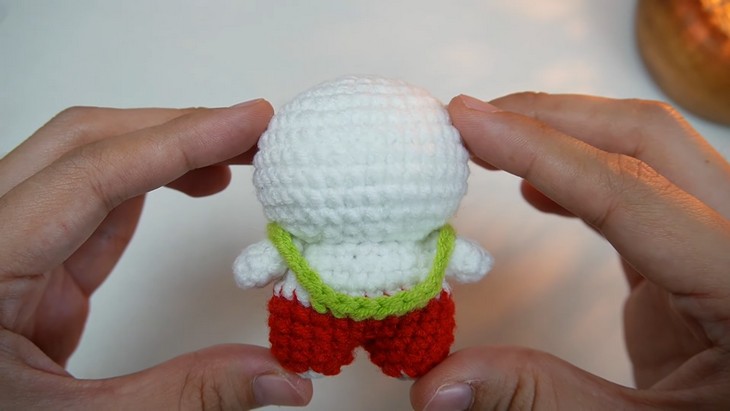
Skill Level: The base doll pattern is worked in rounds from the legs up to the head as separate pieces. You will follow the same approach as in the crochet witch Labubu, first, separately crochet the legs, join them using a slip stitch, and continue working around. Color changes, BLO, slip stitch, and single crochet are used.
For the no-sew jumpsuit straps, you will need the surface-stitching plus chain and slip stitch. The head is simply a crochet sphere and so needs decrease and increase like the body. The hat patterns also need simple techniques. You will, in the end, sew everything, including arms.
Tutorial Timing: Approximately 30 Minutes (Surprisingly quick since for the arms, all hats, and certain other parts, the tutor will show the quick pattern that you can follow by pausing the video! You will learn the popular crochet doll base that was used in the cat pattern and any other crochet kawaii character. Plus, the surface stitching, seamless sewing, and the color changes are the things you will learn.)
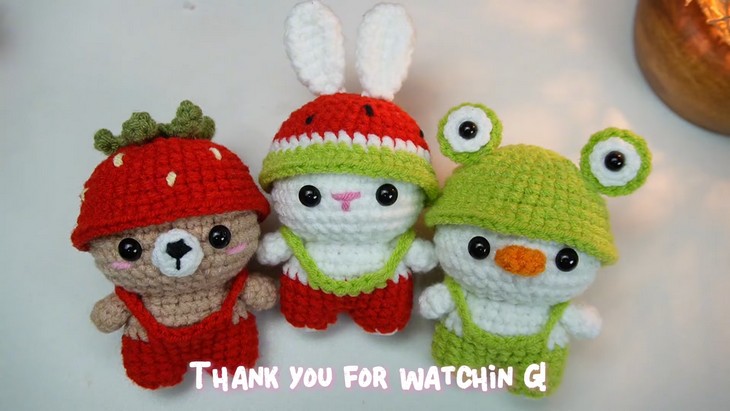
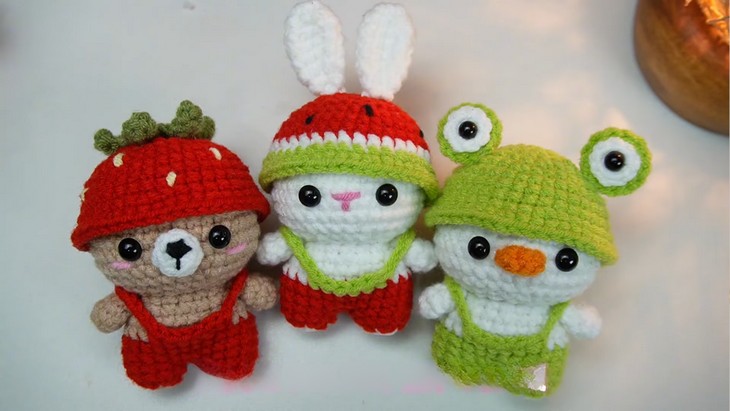
Personalization Tips: The tutor suggests that you can mix and match colors and add your own designs. This tutorial includes just 3 hat patterns, but you can crochet any of 15 hats with the paid patterns. You should crochet this dress-up buddy plushie using the velvet yarn. The tutor also shows the brown bear version; you can try pink and yellow for bunny, too. For the mouth, you will switch between the muzzle, the embroidered mouth, and the beak to get your crochet animal. So, the variation is actually easy!
Pattern Type: A detailed on-screen written pattern is available if you find written instructions easy to follow along with.
Materials & Tools
Gather the following crochet materials and tools for crocheting this set of animal amigurumi dolls for beginners:
5 ply milk cotton yarn (it is a blend of cotton and milk protein and is in frequent use)
2.5 mm crochet hook
7 mm safety eyes
Fiberfill (stuffing)
Hot glue
Needle (for sewing pieces together)
Scissors
Techniques Needed
Here’s a list of quick guides to each crochet stitch for these crochet-dressed buddies:
Magic Ring: Wrap yarn into a loop, insert the hook, pull up a loop, chain one, and crochet stitches into the ring, then pull tight.
sc (single crochet): Insert hook into stitch, yarn over, pull through, yarn over, pull through both loops.
inc (increase): Work 2 single crochets into the same stitch.
dec (decrease): Insert hook into stitch, yarn over, pull through, insert into next stitch, yarn over, pull through, yarn over, pull through all loops.
slst (slip stitch): Insert hook into stitch, yarn over, pull through stitch and loop on hook at once.
FLO (front loop only): Insert hook into the front loop only of the stitch and work as usual.
BLO (back loop only): Insert hook into the back loop only of the stitch and work as usual.