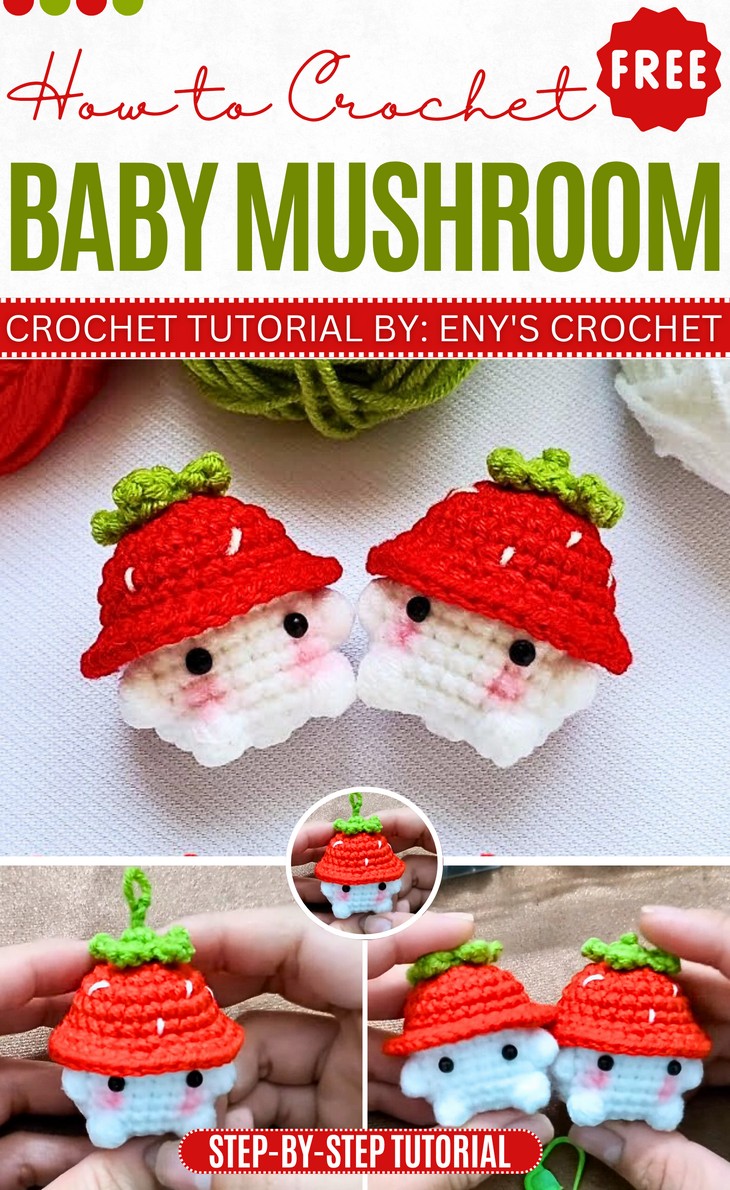
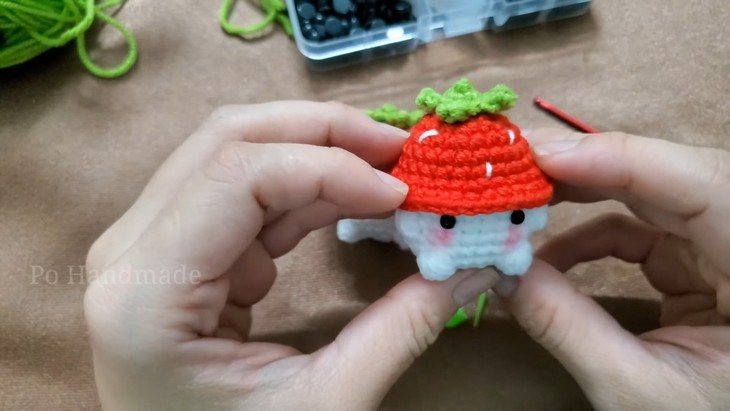
How to Crochet Strawberry Baby Mushroom Amigurumi
From eggplant to shark and more, baby mushroom amigurumi has proved to be the most versatile crochet idea. This time we’re gonna share how to crochet a strawberry mushroom amigurumi perfect for fall and Spring. You can learn crocheting this mini mushroom and strawberry amigurumi with a step by step tutorial for beginners. Crochet one without any sewing in just 45 minutes, perfect for last-minute gifting.
If you are interested in crocheting this mushroom amigurumi, continue reading this post till the end. It is really worth crocheting.
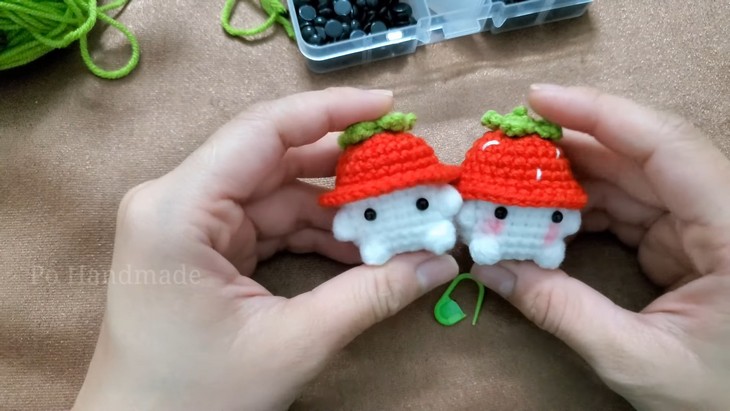
The designer of this baby mushroom keychain is @pohandmadevn – probably she originally started crocheting the baby mushroom with unique heads. In respect for the creator’s pattern rights, there will be no provision of the written pattern. You can watch the tutorial with on-screen written instructions at the end of this post.
Skill Level: Intermediate – Techniques such as magic circle, single crochet, V-stitches, corn kernel stitches, and adding embroidery for seeds, which may require prior crochet experience.
Tutorial Timing: 37 Minutes – Approximately 30-40 minutes for this crochet mushroom, depending on your skill level and familiarity with the techniques shown.
Personalization Tips: Instead of using 4mm animal eyes, embroider the eyes for a more personalized or handmade feel. You can use any other fruit color, like orange, for mushroom pumpkin amigurumi.
Pattern Type: An on-screen written pattern is available if you find written instructions easy to follow along with.
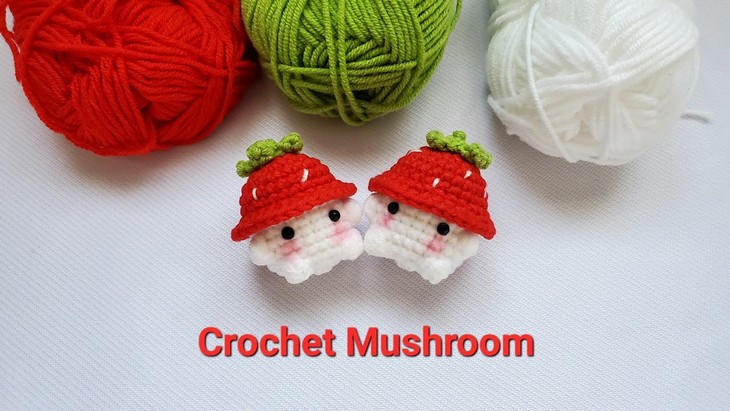
Materials Needed
Gather the following crochet supplies for crocheting this baby mushroom keychain:
- Red, green, and white wool
- 2.5mm crochet hook
- Scissors
- Sewing needle
- Cotton (for stuffing)
- Animal eyes
- Optional: Glue (for securing features)
Techniques Used
To understand the on-screen instructions and the pattern, follow the following crochet pattern stitch guides:
- Magic Circle: Start with a loop of yarn, secure it with a stitch, and work into the adjustable ring to create a sturdy starting point.
- Single Crochet (SC): Insert hook into stitch, yarn over, pull through, yarn over again, and pull through both loops on the hook for a smooth stitch.
- Corn Kernel Stitch (Popcorn Stitch) Crochet multiple stitches into the same space, then remove the hook and reinsert it into the first stitch to create a textured “popcorn” effect.
- Slip Stitch Insert hook, yarn over, and pull the loop directly through the stitch and the loop on your hook for a seamless join.
- Increase: Make two single crochet stitches in one stitch to widen your design.
- Decrease Crochet two stitches together by pulling up loops from two consecutive stitches and finishing as one stitch to narrow your design.
- V-Stitch Work in the chain space created between two single crochets to form a distinct “V” pattern.
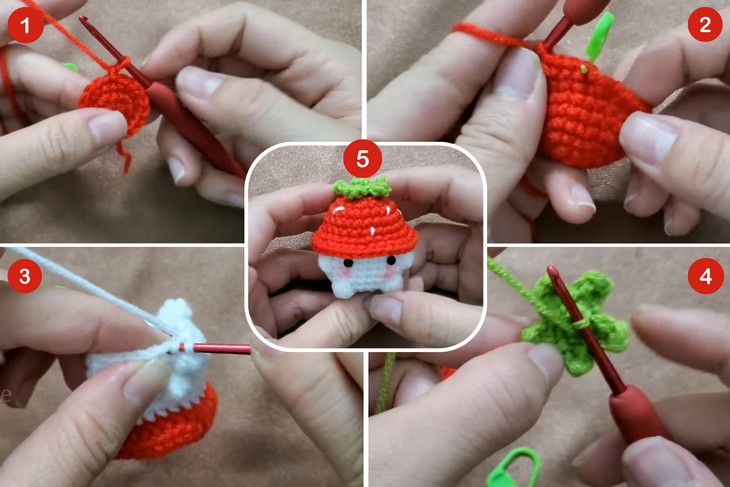
How is it done?
To crochet the amigurumi mushroom, start by creating the cap using a magic circle and working in continuous rounds with single crochet and increases to form a dome shape.
Next, crochet the stem as a simple tube, adjusting its shape with increases and decreases as needed. Stuff both pieces firmly with cotton filling, then sew the stem to the cap securely.
Add personal touches like spots on the cap, animal eyes, or embroidered details for extra charm. Finally, weave in all yarn ends and shape the mushroom for a polished, adorable finish!