
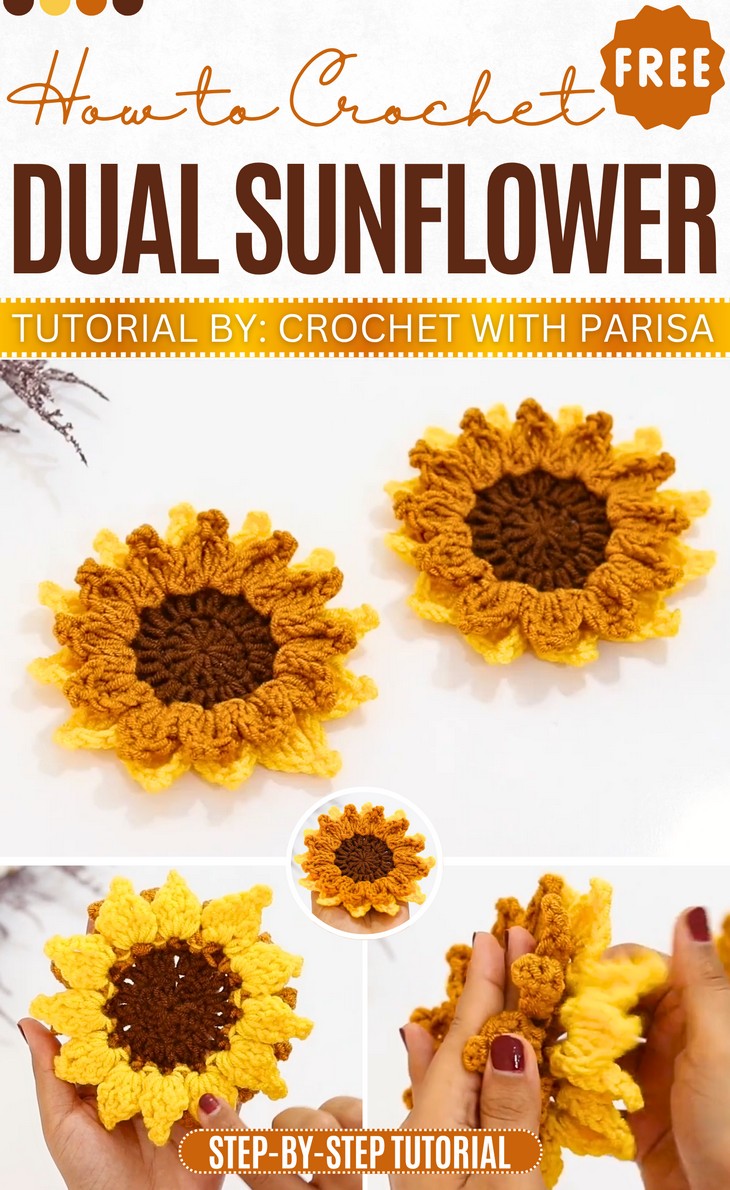
How to Crochet Two-Layered 3D Sunflower (TURN INTO ANYTHING)
Crocheted sunflower is undeniably the most charming and versatile accessory. But if you are seeking a unique and most usable sunflower project, learn how to crochet a two-color and double-layered 3D sunflower with a stitch-by-stitch tutorial for beginners. This sunflower has 12 petals and requires crocheting two of them. You can turn it into a sunflower pouch, bag charm, or even a sunflower plant. In the next series, you will also learn how to use this sunflower pattern to use in the sunburst granny square.
So, if you have made up your mind to crochet this sunflower project, continue reading this post till the end. It is worth crocheting for summer and fall!
About the Designer: The designer behind this crochet sunflower project is @crochetwithparisa – she has dedicated her crochet tutorials to granny squares from classic granny to flower motifs and even triangle motifs. She also offers tutorials for left-handed crocheters. You will also find larger items like tops and blankets, and she has tips, tricks, and inspiration to help with her crochet projects.
Note: In respect for the creator’s pattern rights, there will be no provision of the written pattern. You can watch the tutorial with on-screen written instructions at the end of this post.

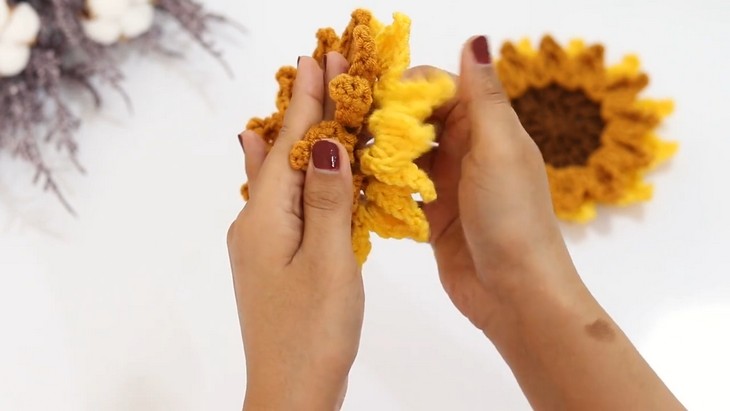
Crochet 3D Dual Sunflower Tutorial
Skill Level: Beginner – Intermediate. You will be using slip stitches, chains, double crochets, treble crochets, and picots for points. It begins with creating a magic ring and building the center with double crochets. You will also need color changes and sewing. Chain skipping will also be used a bit.
The petals are created using a combination of treble crochet and a decorative picot stitch with a chain of three, which forms a pointed tip. The tutorial also makes use of chain spaces to create the foundation for the next round of petals.
Tutorial Timing: Approximately 15 minutes only (this crochet flower project is the most versatile, as you can crochet in a great range of crochet projects. So, the tutorial is worth the time.)

Personalization Tips: As the tutor suggests, use this crochet sunflower to decorate hats, scarves, bags, or headbands. Embellish clothing or baby outfits with them. When you crochet a granny square, you can also turn it into a pillow cover or blanket.
Sunflowers can also be turned into brooches, pins, or keychains for a stylish accent. Join multiple flowers to create stunning wall hangings or bunting.
Pattern Type: An on-screen written pattern is available if you find written instructions easy to follow along with.
Materials and Tools
Techniques Used
The following are the crochet techniques and stitches that the tutor uses for crocheting this Sunflower :
- Slip Stitch: Insert the hook, yarn over, pull through the stitch, and then pull through the loop on the hook to join or close rounds.
- Chain Stitch: Yarn over and pull through the loop on the hook to form a chain for the foundation or spacing.
- Double Crochet: Yarn over, insert the hook, yarn over again, pull through, yarn over, pull through two loops, and yarn over to pull through the remaining two loops.
- Treble Crochet: Yarn over twice, insert the hook, yarn over again, pull through, yarn over, pull through two loops at a time until one loop remains.
- Picot Stitch: Work a chain of three, then insert the hook into the first chain, yarn over, and slip stitch to form a decorative point.
- Magic Ring: Form an adjustable loop, insert the hook into the center, yarn over, pull through, and secure it with a stitch.
- Chain Space: Skip the required number of stitches, chain the specified number, and use this space to work stitches in the next round.
- Color Changes: Complete the final stitch of your current color partially, then yarn over with the new color to finish it.
- Sewing: Use a yarn needle to weave in ends securely or join pieces together.
- Chain Skipping: Skip the indicated number of stitches in a row to shape or space your work as required.
