
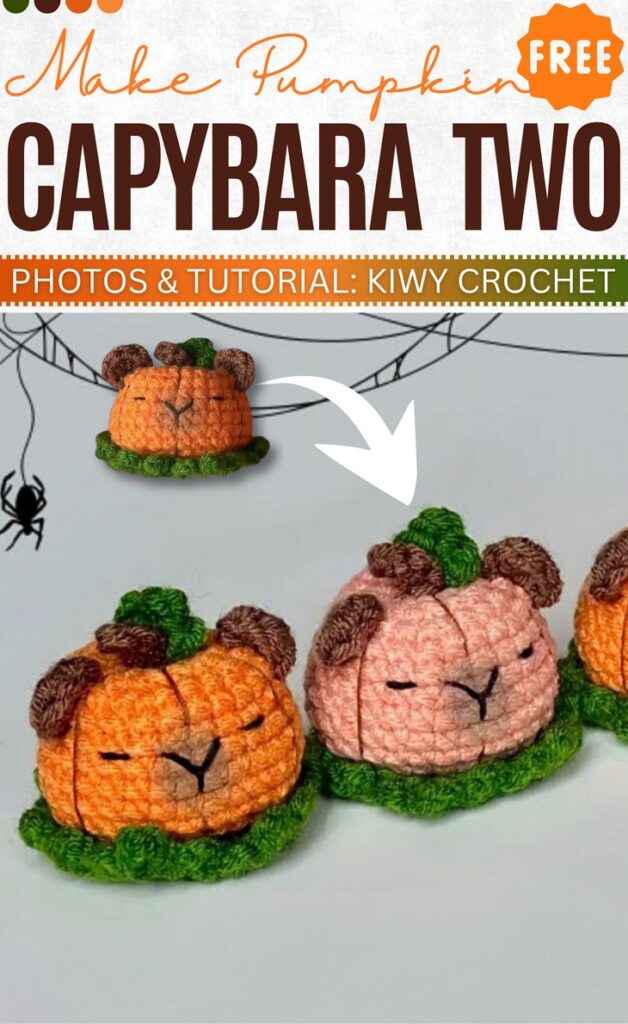
How to Crochet Mini Capybara Pumpkin Amigurumi for Fall & Halloween
Today, we have come up with a unique and quick fall craft idea. Learn how to crochet this capybara pumpkin amigurumi for Halloween and fall with a step-by-step tutorial from Kiwi Crochet. It features a leafy coaster for amigurumi, pumpkin ribbing using thread, and a cute face. Crochet it as a bag charm for a trick-or-treat bag and even as an ornament or desk placement. The pattern is fast to work with and easy to crochet.
To find the complete tutorial for crocheting this mini capybara amigurumi, follow through with us till the end. Let’s get started.
The pumpkin capybara amigurumi tutorial was created by @KiwyCrochet, and we respect all the rights of the creator. Therefore, there will be no provision of a written pattern, but the a tutorial at the end.
Advertisement - Continue Reading
Features of Crochet Mini Checkered Pouch
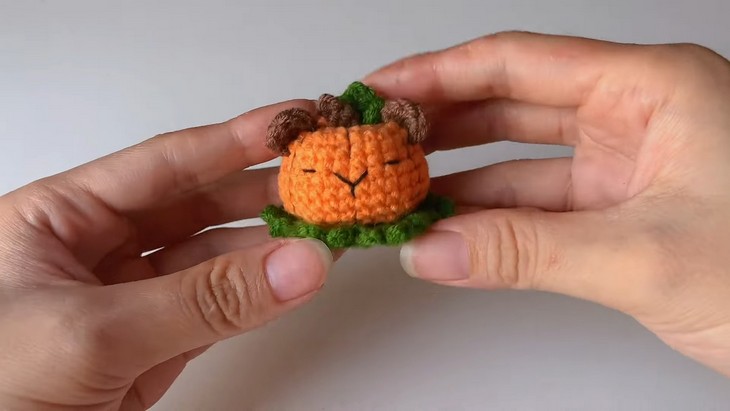
Skill Level: Between beginners and Intermediate since the capybara pumpkin amigurumi is small and detailed. You will need four basic stitches, but working on joining the small parts may be daunting as a beginner.
Overall, with the help of the tutorial’s careful instructions, novices can also give it a try.
Tutorial Timing: 24 Minutes Only (well-explained and designed for beginners)
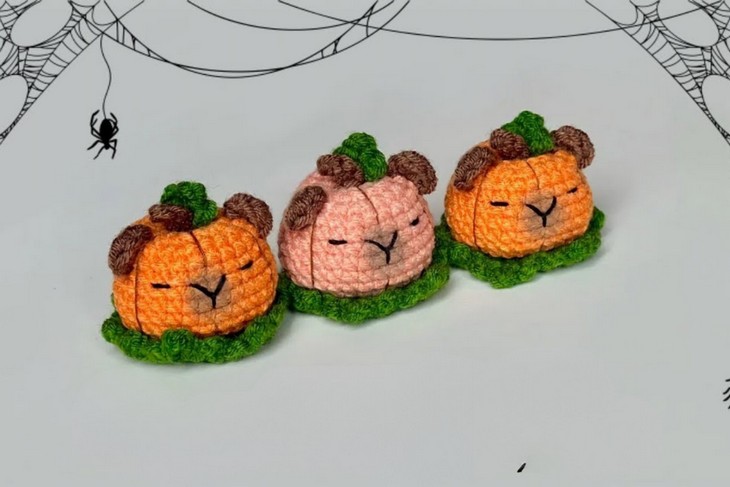
Personalization Tips: For the capybara head, you can choose from brown and orange. You can also use the safety eyes and a basic oval embroidery, and it will turn out to be cute. To avoid working with small parts, use the plush yarn instead to make a small plushie capybara.
Pattern Type: On-screen written instructions are available if you find written instructions easy to follow along with.
Language: Vietnamese + English
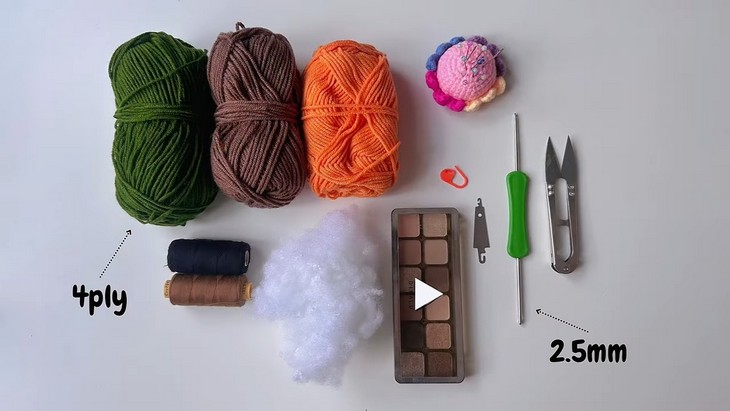
Supplies Used
The following are the materials and tools that the tutor mentioned for crocheting the mini capybara pumpkin amigurumi for Halloween:
- 2.5mm crochet hook / kim móc 2.5mm;
- 2.0mm thick yarn (orange, green, brown) / len milk cotton 2.0mm (cam, xanh, nâu);
- Thread (brown, black);
- Blush / phấn má hồng;
- Stitch markers / ghim đánh dấu;
- Polyester stuffing / bông gòn;
- Sewing needle and scissors / kim khâu và kéo.
Abbreviations and Stitch Guide
To better understand the on-screen crochet pattern for this capybara amigurumi, make sure you understand the abbreviations and how to perform the stitches. Here are the quick instructions for the stitches used:
- MR (Magic Ring)
- sc (Single Crochet): Insert your hook, pull up a loop, yarn over, and pull through both loops on the hook.
- inc (Increase): Work 2 single crochets into the same stitch to expand the piece.
- Dec (Decrease): Crochet 2 stitches together by pulling up loops from each and completing as one stitch.
- hdc (Half Double Crochet): Yarn over, insert hook, pull up a loop, yarn over, and pull through all 3 loops on the hook.
- slst (Slip Stitch): Insert hook, pull up a loop, and pull it directly through the loop on your hook.
- ch (Chain): Yarn over, pull through the loop on your hook to form a chain stitch.
How’s it done?
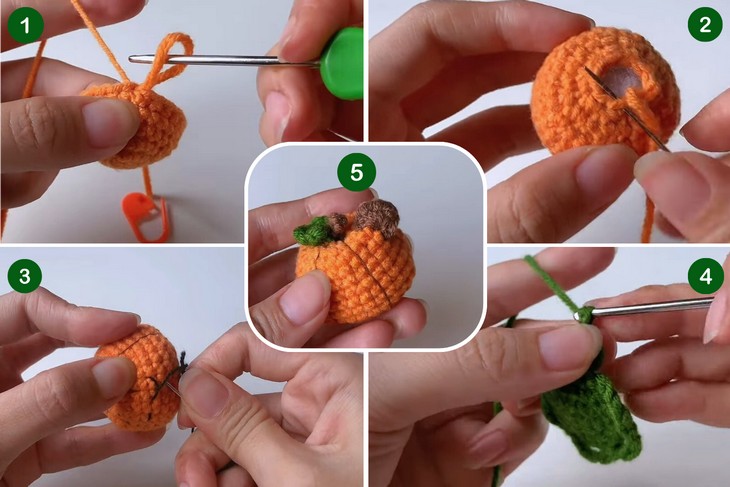
You’ll learn how to crochet a Capybara pumpkin, complete with leaves, ears, and a stem. The tutorial starts with a magic ring and guides you through rounds of single crochet, increases, and decreases to shape the pumpkin, adding fiber stuffing and embroidered details.
It also includes steps for crafting intricate leaves, ears, the stem, and the capybara’s face using clear and simple instructions. Crochet this fall project with the tutorial below:
Complete Video Guide
See More
Its fall around the corner. So, you will love crocheting this acorn plushie amigurumi!