
How to Crochet 2 Cutest Pumpkin Keychains (Candy Corn TOO!)
The cutest pumpkin design inspired by Cinderella’s pumpkin with a stitch-by-stitch tutorial is here! So, learn how to crochet this chubby and realistic 4-lobe pumpkin amigurumi that has a little pumpkin vine and a unique leaf crocheted from back-and-forth rows. You can complete crocheting this pumpkin within 45 minutes. Unlike the usual patterns, it is worked in rounds, making it perfect for amigurumi lovers. Add it to the Thanksgiving centerpiece, as a keychain, or simply for Halloween by adding the Jack-o-Lantern Halloween face.
So, if you have made up your mind to crochet this realistic pumpkin amigurumi, continue reading this post till the end. There you will find the complete tutorial. It is worth crocheting even for absolute beginners! You will also find a bonus pumpkin and candy corn pattern.
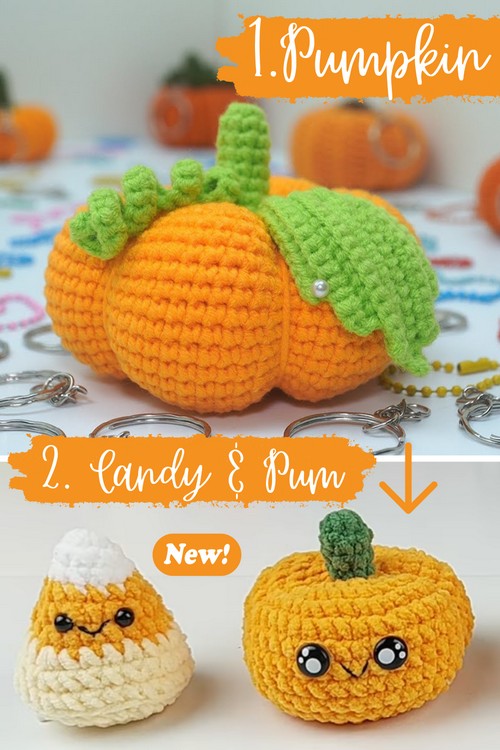
1. Crochet the Cutest Pumpkin Keychain
About the designer: the designer behind first pumpkin project is @lisa_crochet – most of her tutorials are about using the yarn scraps to crochet practical and popular projects, including keychains shaped like sunflowers, four-leaf clovers, butterflies, and much more. In addition to these small accessories, she also has tutorials for making classic granny squares and simple amigurumi like bunnies and a crochet frog. However, she mostly focuses on crochet motifs and flatwork. But I will call her an all-rounder! She also has a whole collection of pumpkin projects that is worth checking!
Note: In respect of the creator’s pattern rights, there will be no provision of the written pattern. You can watch the tutorial with on-screen instructions at the end of this post.
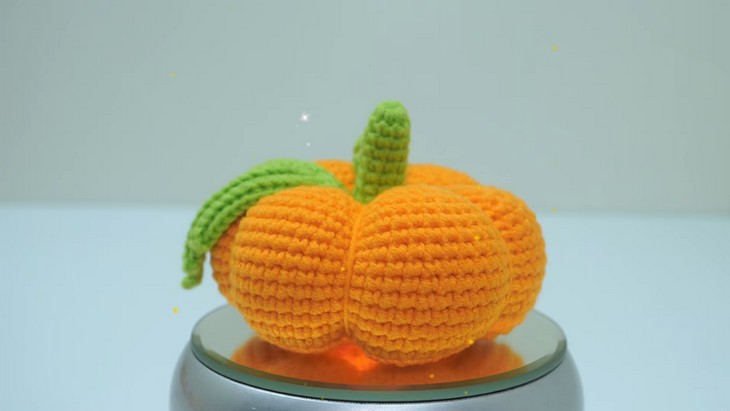
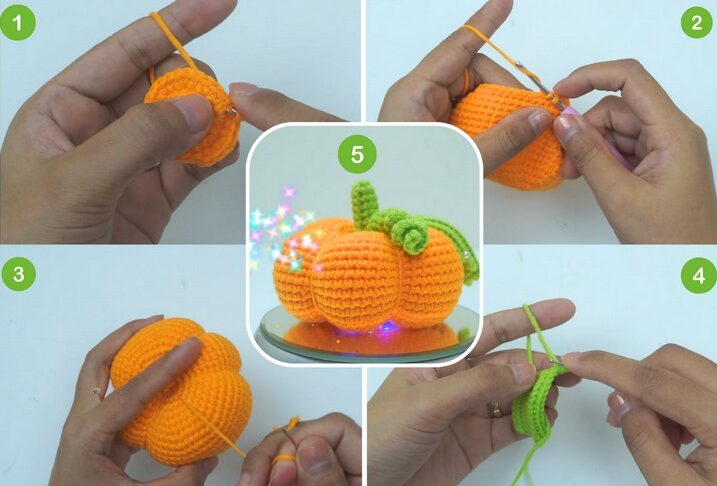
Skill Level: Beginner – Intermediate. Since this pumpkin amigurumi lacks the pumpkin ribs, it does not require the usual pumpkin from a rectangular pattern. It uses rounds of single crochet stitches to form the pumpkin’s ball shape using increasing and decreasing, plus the slip stitch and chain stitch. So, you will need little sewing. Segmenting the pumpkin with a long tail of yarn is used to achieve 4 pumpkin lobes. For the leaf, you will use single crochet rows, a foundation chain, and for the curly vine, more increasing stitches. The cylindrical stem is made using round work.
Tutorial Timing: Approximately 36 minutes only. (usual pumpkin amigurumi, like crochet pumpkin from a rectangle, and even pumpkin amigurumi as you go, needs a lot more sewing than everybody may achieve seamlessly. But this tutorial is worth watching, as minimal sewing and little time is needed. You will also learn how to crochet a basic amigurumi shape – the ball!)

Personalization Tips: For a large size, use the half-double crochet, which has more height than the single crochet. The tutor uses light orange and parrot, but if you are using dark orange, make sure to use dark green, too. Or try the yellow shade like the yellow pumpkin hairclip. Add embroidered expressions ranging from happy to spooky, or use beads as eyes.
Pattern Type: A detailed on-screen written pattern is available if you find written instructions easy to follow along with.
Materials Needed
Gather the following suggested tools and materials for crocheting this cutest amigurumi pumpkin, mentioned in the tutorial:
- 4/0 2.5mm crochet hook
- Yarn in your choice of colors: Use the Milk cotton (5ply)
- A keychain ring.
- Stuffing
- Scissors.

Complete Video Guide
Techniques Needed
Here’s a one-line guide for crocheting each stitch and technique in the pumpkin pattern:
- Single Crochet (SC): Insert the hook, yarn over, pull through, yarn over again, and pull through both loops on the hook.
- Increase (INC): Crochet two single crochet stitches into the same stitch to widen the shape.
- Decrease (DEC): Crochet two stitches together by inserting the hook into each stitch, pulling up a loop, and completing as one single crochet.
- Slip Stitch (SL ST): Insert the hook, yarn over, and pull through all loops on the hook to create a seamless join.
- Chain Stitch (CH): Yarn over, pull through loop on the hook to form a foundation or connecting chain.
2. Candy Corn & Pumpkin Tutorial
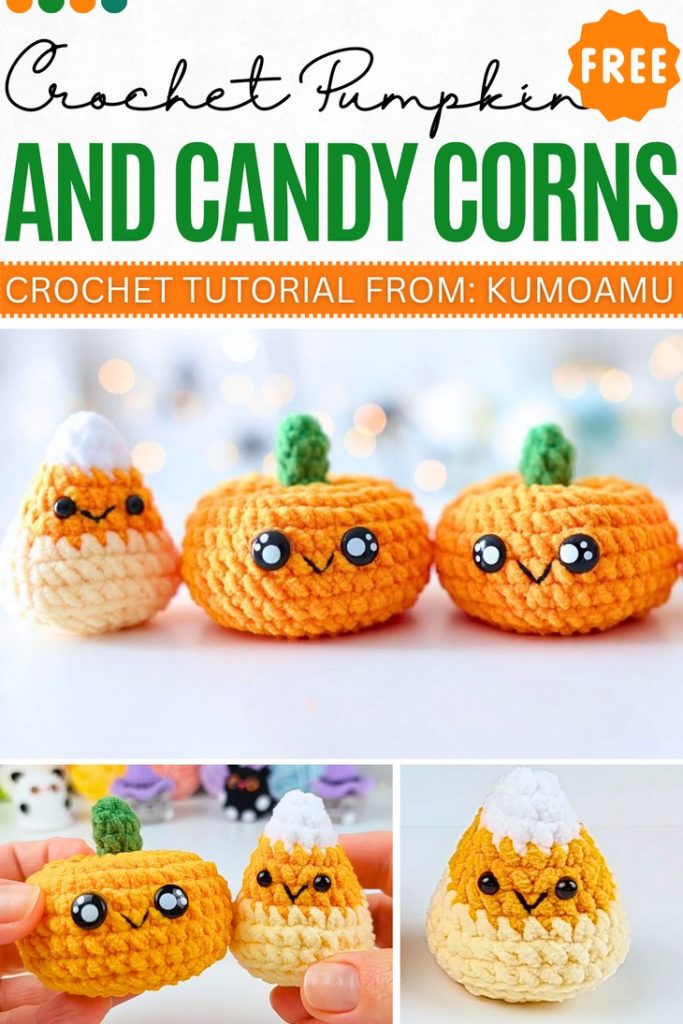
About the Designer: The designer behind this Halloween project is @KumoAmu – Hannah’s channel, KumoAmu, is currently quite new, but her festive plushie set tutorials are out of this world! For future projects, she will focus on similar “kawaii” (cute) plushies: Christmas reindeer, a ghost, a spider, a capybara, a Santa keychain, and a frog head plushie. The tutorials are described as “beginner-friendly” and “last-minute.” So, follow her since watching the unique concept, her future projects seem to be oh-so cute and must-haves.
Note: In respect of the creator’s rights, there will be no provision of the written pattern. You can watch the tutorial with on-screen written instructions at the end of this post.