
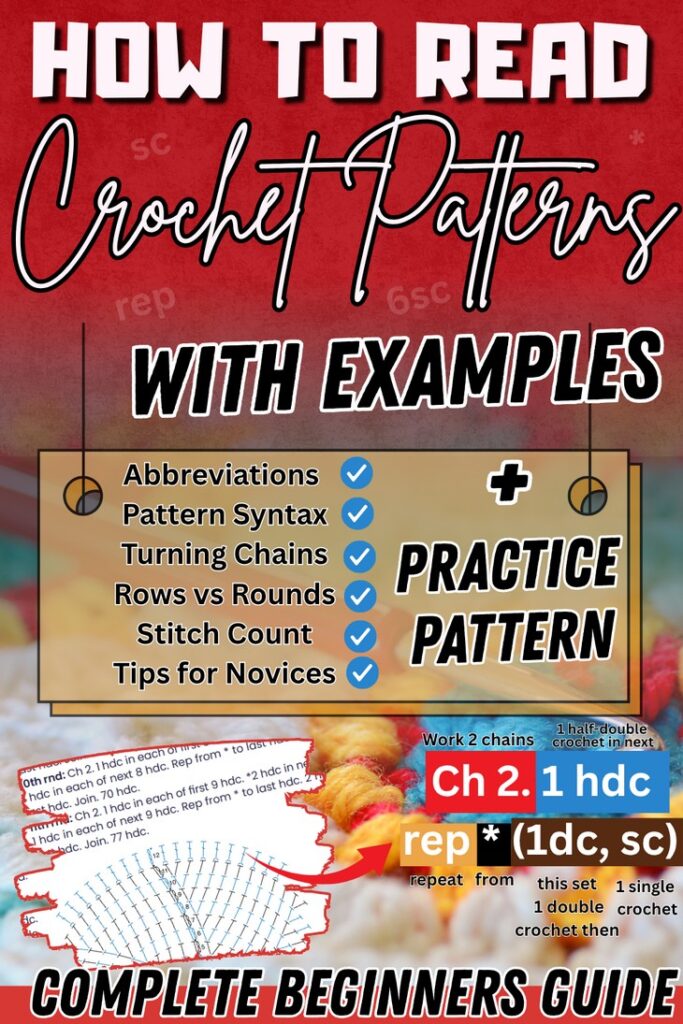
How to Read a Crochet Pattern (With Examples + Practice Pattern)
If you’ve ever felt overwhelmed looking at crochet patterns filled with abbreviations and confusing symbols, you’re not alone. But learning how to read a crochet pattern saves a lot of time, and since most patterns are in written form, it opens endless possibilities for a new, passionate crocheter.
Why You Should Learn to Read Crochet Patterns
Before we dive into learning to read crochet patterns from head to heel, let’s understand why this skill is important to learn in the first place:
Access More Projects: Reading patterns lets you follow designs from books, blogs, or publishing areas like Ravelry.
Save Time: Skip hours of guessing—follow a clear roadmap. A crochet pattern makes the instructions small and concise.
Customize Freely: Once you understand patterns, modifying stitch counts and styles becomes easier. Since, there are clear stitch counts given, it is much easy task.
What You’ll Typically See in a Crochet Pattern
Most crochet patterns start with these standard details, depending upon whether you are crocheting amigurumi or something else. They contain the necessary information about the project, but the critical section of reading a pattern starts after this:
Skill level (Beginner, Intermediate, etc.)
Yarn weight and type
Recommended hook size
Gauge (how many stitches/rows per inch)
Finished size of the item
Notes about construction or special techniques
Always read the notes section! It may explain pattern quirks or special stitch tricks.
Common Crochet Abbreviations (US Terms)
There are six basic crochet stitches that every beginner usually learn from video tutorials or grannies. Each one has its own name. A crochet pattern replaces their complete name with abbreviations. Sometimes, repeated words are also abbreviated. Here is a table showing common abbreviations for stitches and words:
| Abbreviation | Meaning |
|---|---|
| ch | Chain |
| sc | Single Crochet |
| hdc | Half Double Crochet |
| dc | Double Crochet |
| sl st | Slip Stitch |
| inc | Increase (2 stitches in one stitch) |
| dec | Decrease (combine two stitches) |
| rep | Repeat |
| st | Stitch |
Don’t worry if you have a UK pattern. There is just a slight difference between UK and US patterns. UK patterns use different terms: US “sc” = UK “dc”, US “dc” = UK “tr” and so on.
Decoding Pattern Syntax: Brackets, Parentheses & Asterisks
Certain special symbols will further formalize and minimize the instructions and condense the pattern. Here are three key minimizing symbol and their syntax:
Asterisk (*): Start of a repeat
→*sc, dc; rep from *means repeat “sc, dc” across the row.Parentheses ( ): Group stitches together
→ It3 dc in next stis the same as(dc, dc, dc)in one stitch.Brackets [ ]: Repeat multiple stitches as a group
→[sc, dc] 3 times= sc, dc, sc, dc, sc, dc.
Rows vs Rounds
Rows are worked back and forth. Turn your work in at the end.
Rounds are worked in a spiral or joined circle.
Usually, rows and rounds are both abbreviated as R. So, context like amigurumi or a blanket project will decide the meaning.
Stitch Count
At the end of each row or round, you’ll often see:(18 sts) → Means you should have 18 stitches when you’re done with that row/round. It is a nice debugging info.
Turning Chains Explained
Depending on the stitch, you may need a “turning chain” at the start of each row.
| Stitch Type | Chains to Turn | Count as a Stitch |
|---|---|---|
| Single crochet | ch 1 | Usually no |
| Double crochet | ch 3 | Yes |
| Half double | ch 2 | Sometimes yes |
Pattern Example: Shell Stitch Explained
Row 1: [5 dc in same st, sk 2, sc in next st, sk 2] rep across.
Explanation:
Make a shell (5 dc) in one stitch.
Skip 2 stitches, make a sc.
Repeat the entire bracketed section to the end of the row.
Final Tips for Reading Patterns
Scan the whole pattern before starting – This helps you understand the flow, spot any tricky sections, and prep your materials accordingly.
Use a highlighter or annotate – Mark repeats, stitch counts, or special instructions to avoid confusion while crocheting.
Write out abbreviations in full – Until you’re confident, rewrite “sc” as “single crochet” and so on. It builds muscle memory.
Understand the structure – Most patterns follow a set format: materials → gauge → notes → instructions. Familiarize yourself with this structure so you can navigate easily.
Start with beginner patterns – If this is your first time reading a crochet pattern, look for one labeled “beginner friendly” or “easy.” Avoid advanced techniques like shaping or colorwork at first.
Look for support resources – Watch related YouTube tutorials, check the comment section for FAQs, or post questions in crochet communities like Reddit.
Practice Pattern: A Crochet Round Coaster
Rnd 1: Start with a magic ring, ch 1, make 6 sc in ring. (6 sts)
Rnd 2: inc in each st around. (12 sts)
Rnd 3: *sc in next st, inc in next* around. (18 sts)
Rnd 4: *sc in next 2 sts, inc in next* around. (24 sts)
Rnd 5: *sc in next 3 sts, inc in next* around. (30 sts)
Rnd 6: sc in each st around. (30 sts)
Sl st to join. Fasten off, weave in ends.