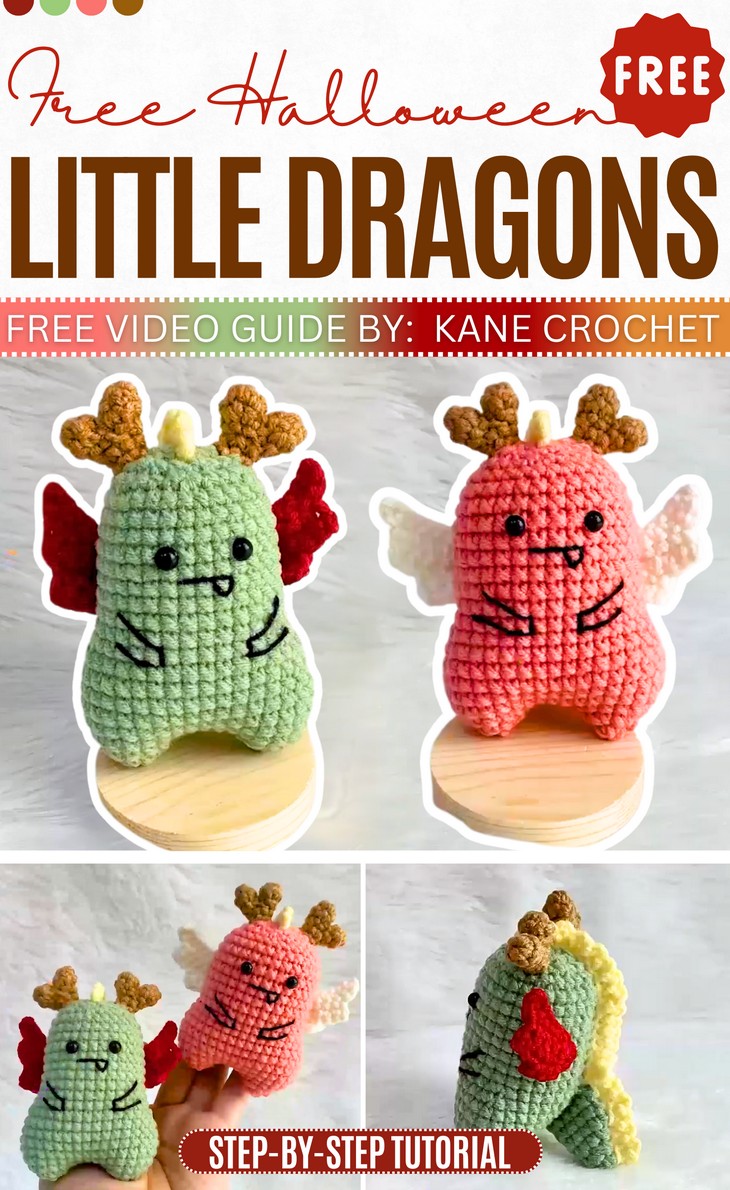
How to Crochet Little Kawaii Dragon Dolls for Halloween
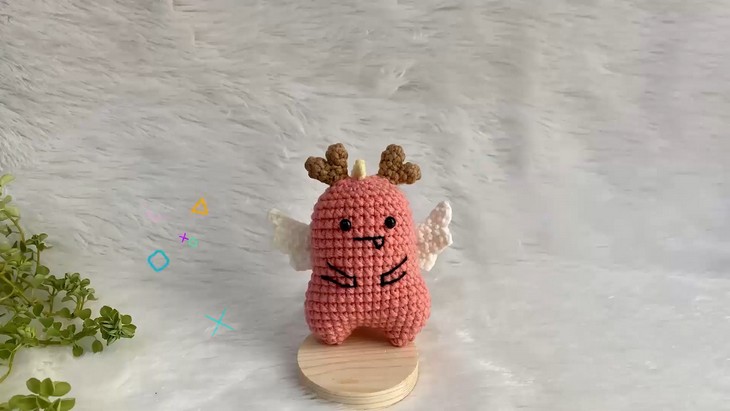
Who says a crochet dragon must be fierce-looking and large! For all custom doll lovers, here is a stitch-by-stitch tutorial to crochet these small kawaii dragon dolls that are equally irresistible for Chinese New Year and Halloween. These dragon amigurumi can stand thanks to the supporting tail and make perfect support toys. With special focus on how to crochet tiny wings, these crochet dragons will certainly bring a smile to little faces.
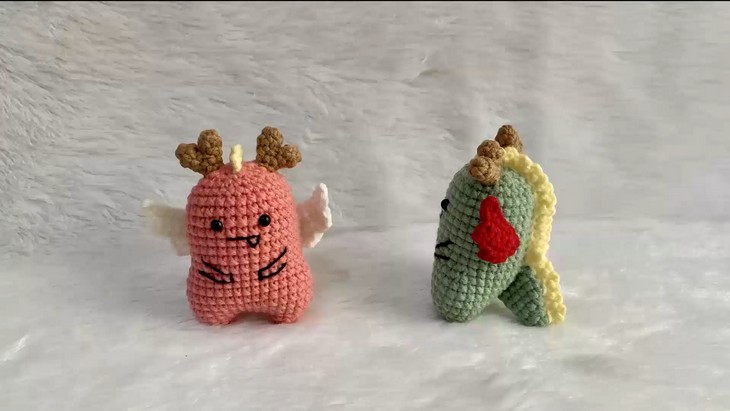
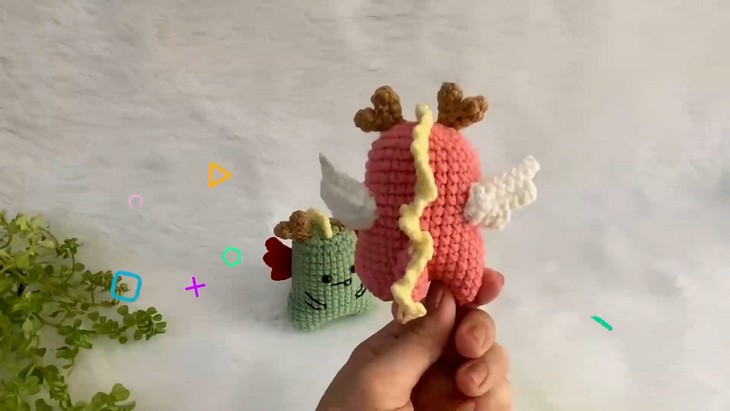
The dragon features embroidery for arms, teeth, and mouth, horns in heart shape, and ruffle spikes. Every part of this amigurumi is colorful and small.
So, if you have made up your mind to crochet these little dragons by yourself, continue reading this post till the end.
About the Designer: The designer behind this kawaii dragon dolls project is @KaneCrochet – she has a vast collection of tutorials including bags, accessories, keychains, and home decor items like hanging plants. She has a whole playlist for crochet fall and Halloween amigurumi that includes lovely hybrids like pumpkin ghost, corpse doll and much more. Make sure to check her creative ideas.
Note: In respect for the creator’s pattern rights, there will be no provision of the written pattern. You can watch the tutorial with on-screen written instructions at the end of this post.
Crochet Cute Dragons Amigurumi Tutorial
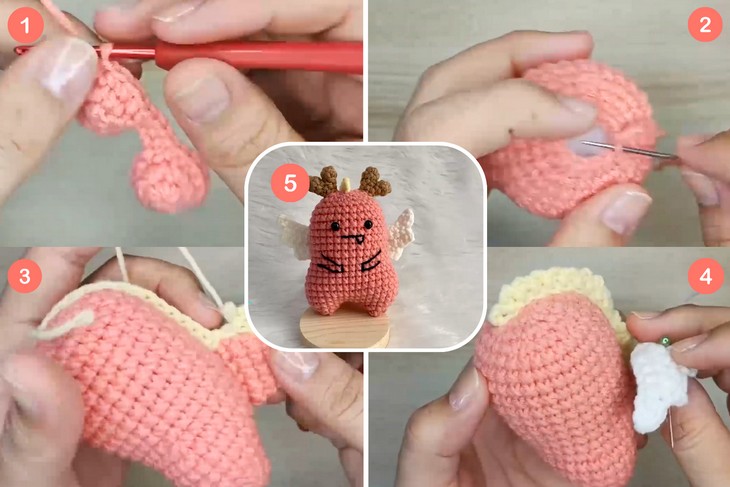
Skill Level: Beginner – Intermediate. Starting at 01:04, the no-sew body needs a magic ring (mr) followed by rows involving sc (single crochet), inc (increase crochet), and dec (decrease crochet) to shape it. At 08:20, the tail is worked, using sc and inc stitches to taper it naturally. By 10:32, the spikes are added along the body and tail using ch (chains) and a mix of sc, hdc, dc, and tr.
Next, at 12:40, the horn is designed with smaller sc and inc stitches for a defined look. Finally, at 14:49, the wings are crocheted separately with intricate stitches like fpdc, bpdc, hdc, and tr, giving them a realistic effect. The tutorial makes use of special stitches like flo (front loop only) and blo (back loop only).
Tutorial Timing: Approximately 19 minutes only (as quickly as the Kane Crochet usually offers. This Halloween amigurumi project is perfect for learning so many amigurumi techniques, including the advanced ones.)
Personalization Tips: Choose from two color combos: green, red, brown, and yellow & reddish pink, brown, white, and yellow. You can also
Pattern Type: An on-screen written pattern is available if you find written instructions easy to follow along with.
Finished size: Height 10 cm. Width 9 cm (if you use the same materials and tool specifications).

Materials & Tools
The following are the crochet materials and tools that the tutor uses for crocheting this Little DRAGON:
- Cotton Yarn 4ply size 2 mm.
- Crochet Hook No.4 size 2.5 mm.
- Eyes size 6 mm.
- Polyester fiber
- Scissors
- Needle
- Glue
Crochet Stitch Guides
| Abbreviation | Stitch Name | Description |
|---|---|---|
| ch | Chain | Foundation stitch, creates loops linked together. |
| sc | Single Crochet | Basic short stitch; insert hook, yarn over, pull through both loops. |
| dec | Decrease Single Crochet | Combine 2 stitches into 1 by working them together. |
| inc | Increase Crochet | Work 2 single crochets into the same stitch. |
| dc | Double Crochet | Yarn over, insert hook, pull up loop, yarn over through two loops (twice). |
| hdc | Half Double Crochet | Yarn over, insert hook, pull up loop, yarn over through all three loops. |
| tr | Treble (Triple) Crochet | Yarn over twice, insert hook, pull up loop, yarn over and pull through two loops (repeat 3 times). |
| flo | Front Loop Only | Work stitch only in the front loop of the stitch. |
| blo | Back Loop Only | Work stitch only in the back loop of the stitch. |
| Y | Herringbone Stitch | Variation of hdc that creates a slanted texture. |
| sk | Skip | Skip over the next stitch or space. |
| slst | Slip Stitch | Insert hook, yarn over, pull through both loop and stitch at once. |
| fpdc | Front Post Double Crochet | Work a dc around the front post of the stitch (instead of top loops). |
| bpdc | Back Post Double Crochet | Work a dc around the back post of the stitch (instead of top loops). |