
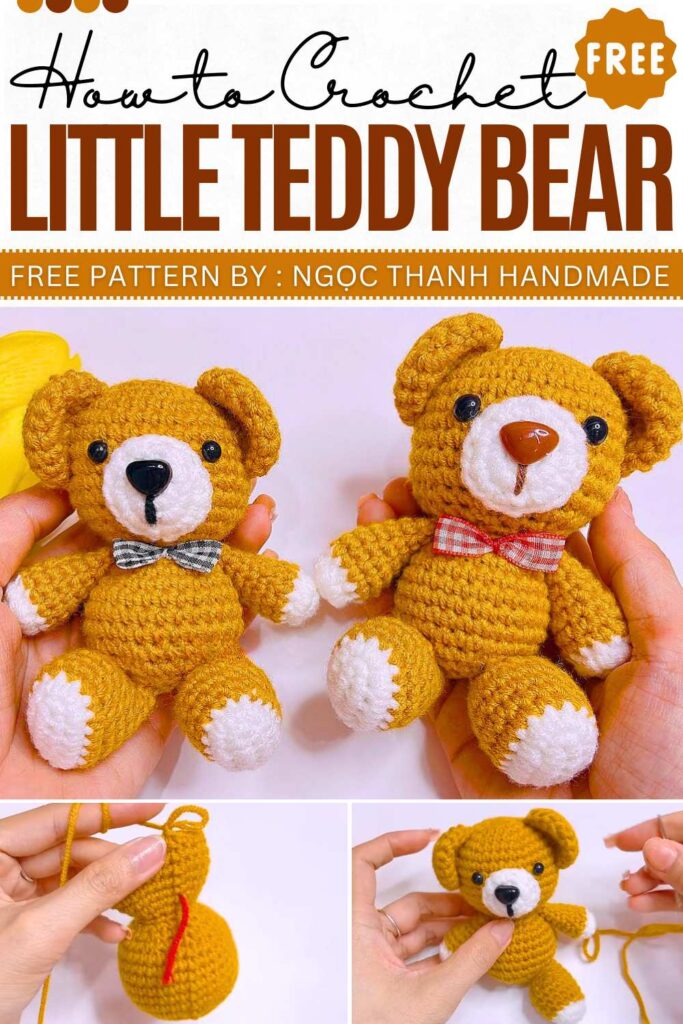
Crochet Little Amigurumi Teddy Bear Pattern Free
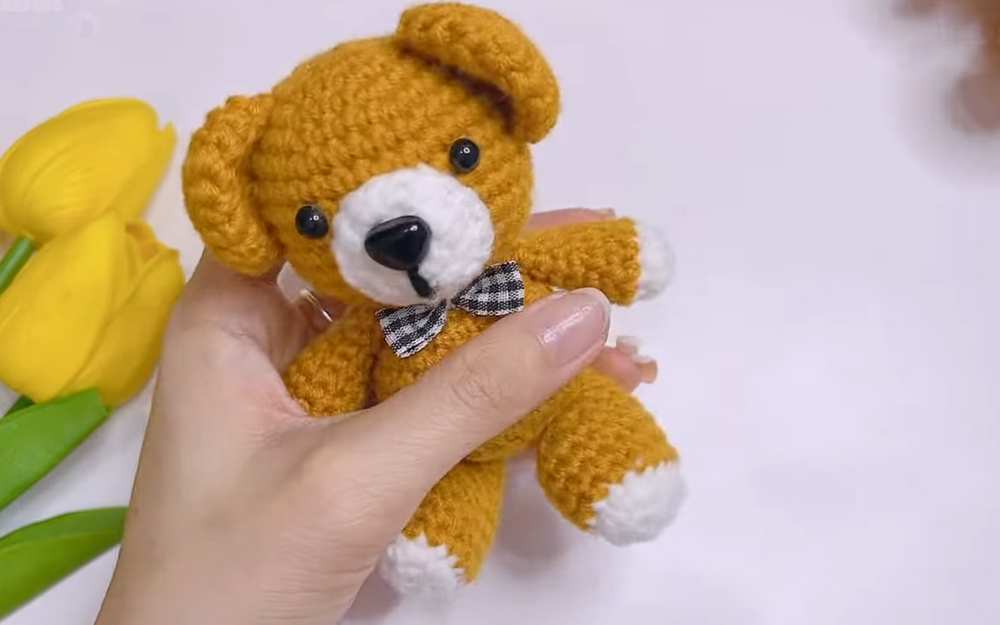
Teddy bears are the first love of all, and this pattern lets you bring this love to life. It is a small-sized teddy bear, perfect to use as a keychain for your school bag or to give as a special handmade gift to a friend. The bear even has a cute little nose and a tiny bow tie to make it look extra cute. You can use any color you like, such as brown, yellow, or pink, to make your bear unique.
Crochet Amigurumi Teddy Bear
The designer behind this avocado keychain is Ngọc Thanh Handmade – she has quite a good grasp on kawaii amigurumi designing with added cuteness and surprises.
10 Free Crochet Teddy Bear Amigurumi Tutorials for Kids
https://mycraftybasket.com/crochet-teddy-bear-amigurumi/
Materials
- Milk Cotton Yarn (50g): Brown, White, and Black
- 2.5 mm crochet hook
- Fiberfill stuffing
- Tapestry needle and scissors
- Safety eyes (5mm – 6mm) or black beads
- Small piece of fabric for a bow (optional)
Abbreviations (US Terms)
- MR: Magic Ring
- ch: Chain
- sc: Single crochet
- inc: Increase (2 sc in 1 stitch)
- dec: Invisible decrease (sc 2 together)
- sl st: Slip stitch
- BLO: Back loops only
- w: 3 sc in the same stitch
- [ ] x: Repeat instructions within brackets
Pattern Instructions
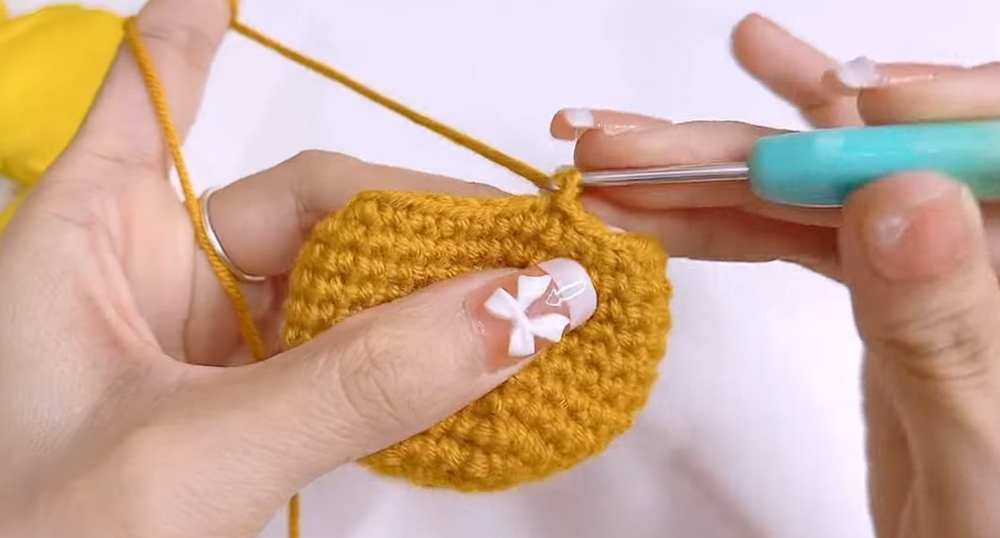
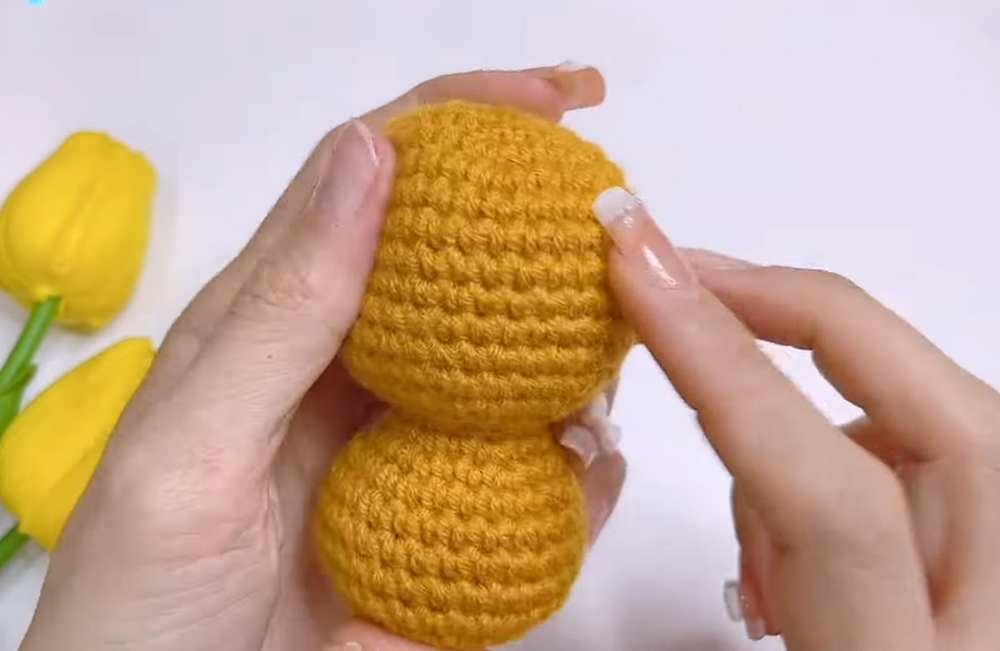
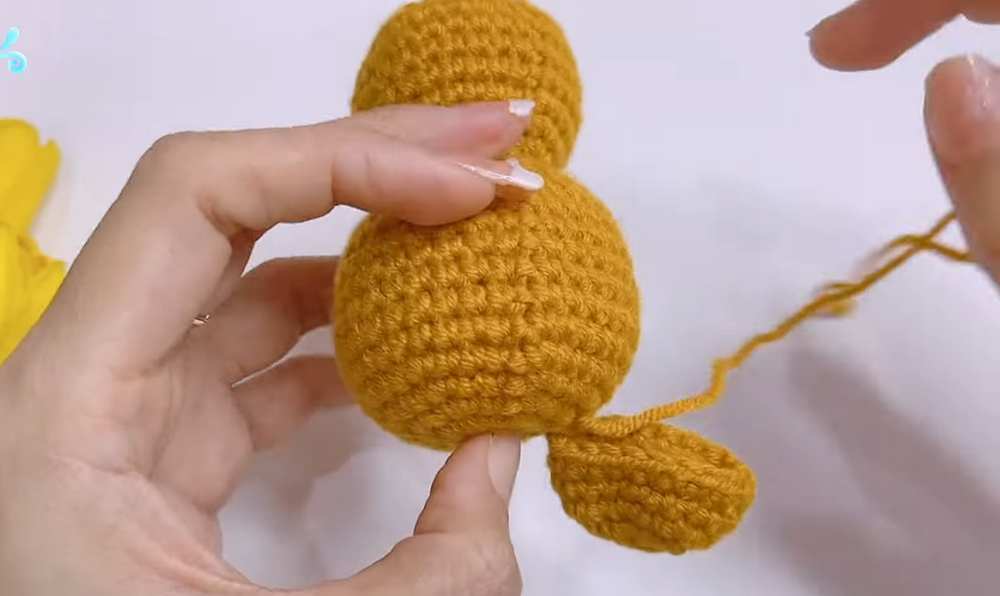
Head and Body (One Piece)
- R1: 7 sc in MR (7)
- R2: 7 inc (14)
- R3: [1 sc, 1 inc] x 7 (21)
- R4: [2 sc, 1 inc] x 7 (28)
- R5: [3 sc, 1 inc] x 7 (35)
- R6–12: 35 sc (35)
- R13: [3 sc, 1 dec] x 7 (28)
- R14: [2 sc, 1 dec] x 7 (21)
- R15: [1 sc, 1 dec] x 7 (14)
- Stuff the head firmly with fiberfill.
- R16: 14 sc (14)
- R17: [1 sc, 1 inc] x 7 (21)
- R18: [2 sc, 1 inc] x 7 (28)
- R19–23: 28 sc (28)
- R24: [2 sc, 1 dec] x 7 (21)
- R25: [1 sc, 1 dec] x 7 (14)
- Stuff the body firmly.
- R26: 7 dec (7)
- FO. Use a needle to weave through the remaining stitches and pull tight to close.
Arms (Make 2)
- R1: In White, 6 sc in MR (6)
- R2: 6 inc (12)
- R3: Change to Brown. 12 sc in BLO (12)
- R4–5: 12 sc (12)
- R6: [2 sc, 1 dec] x 3 (9)
- R7–9: 9 sc (9)
- Stuff the lower half of the arm lightly. FO, leaving a long tail for sewing.
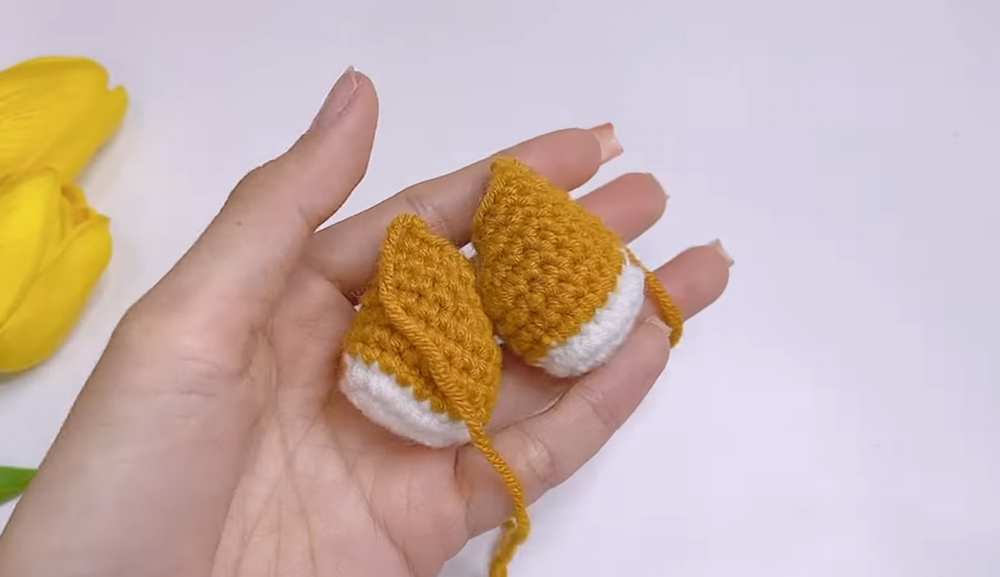
Legs (Make 2)
- R1: In White, ch 6. Starting in 2nd ch from hook: 4 sc, 1 w, turn to work other side of chain: 3 sc, 1 inc (12)
- R2: 1 inc, 3 sc, 3 inc, 3 sc, 2 inc (18)
- R3: Change to Brown. 18 sc in BLO (18)
- R4–6: 18 sc (18)
- R7: 6 sc, 4 dec, 4 sc (14)
- R8: 6 sc, 2 dec, 4 sc (12)
- R9: 5 sc, 2 dec, 3 sc (10)
- Stuff the leg firmly. FO, leaving a long tail for sewing.
Ears (Make 2)
- R1: 6 sc in MR (6)
- R2: 6 inc (12)
- R3: [1 sc, 1 inc] x 6 (18)
- R4–5: 18 sc (18)
- FO, leaving a long tail. Do not stuff.
Muzzle
- R1: In White, 6 sc in MR (6)
- R2: 6 inc (12)
- R3: 1 sc, 3 inc, 3 sc, 3 inc, 2 sc (18)
- FO, leaving a long tail for sewing.
Assembly
- Facial Details: Use black yarn to embroider a small nose and a “Y” shaped mouth onto the center of the white muzzle piece.
- Muzzle Placement: Position the muzzle on the head between R10 and R14. Pin in place and sew around the edge, adding a small amount of stuffing behind it before closing the last few stitches.
- Eyes: Install safety eyes or sew black beads directly above the muzzle, approximately 2–3 stitches apart.
- Ears: Flatten the ears and sew them to the top of the head between R3 and R7.
- Arms: Position the arms on the sides of the body at R17 (the neck area). Sew them securely.
- Legs: Position the legs at the bottom front of the body (R20–R24) so the bear is in a sitting position. Sew them to the body.
- Finishing: Tie a small fabric bow around the bear’s neck. Secure it with a few stitches or a drop of glue. Hide all remaining yarn tails inside the body.

Crochet Abbreviations (US Terms)
- MR: Magic Ring
- ch: Chain
- st(s): Stitch(es)
- sl st: Slip stitch
- sc: Single crochet
- inc (V): Increase (2 sc in one st)
- dec (A): Decrease (sc 2 together, preferably invisible decrease)
- w: 3 sc in the same stitch
Detailed Assembly Instructions
- Body & Head Preparation: Ensure the head and body are stuffed firmly and the final opening is sewn shut using a tapestry needle. Hide all yarn tails inside the body.
-
Arm Attachment:
- Locate the 3rd row down from the top center of the head.
- Position the arms on either side of the body at this level.
- Use a tapestry needle to sew the open end of the arm to the body, stitching from front to back and back to front through the body stitches to secure.
-
Snout (Muzzle) Assembly:
- Prepare the white snout piece. If using a safety nose, insert it into the white piece before attaching it to the face.
- If embroidering, use black yarn to create a small inverted triangle for the nose and a small “Y” shape for the mouth on the white piece.
- Apply a small amount of glue or use pins to center the snout on the face, positioned between the arms’ horizontal level.
- Sew the perimeter of the snout to the face using the white yarn tail and a tapestry needle. Before closing the last few stitches, add a tiny bit of stuffing inside the snout for a 3D effect.
-
Eye Placement:
- Position the eyes just above the snout.
- If using beads or embroidery, sew them into the head, pulling the yarn slightly tight to create a small indentation for a cuter look.
-
Ear Attachment:
- Fold the ears slightly to give them a curved shape.
- Position them on the top of the head, aligned with the sides of the face.
- Sew them securely to the head using the yarn tails.
-
Leg Attachment:
- Position the legs at the bottom of the body so the bear is in a “sitting” position.
- Pin them in place to ensure symmetry.
- Sew the legs to the lower body, ensuring the stitches are strong enough to support the bear’s weight while sitting.
-
Final Decoration (The Bow):
- Take a small rectangular piece of fabric and pinch the center to create a bow shape.
- Secure the center with thread or a small strip of fabric.
- Sew or glue the bow to the bear’s neck or near one ear.
Video Pattern
Pattern (UK Terminology)
- Body & Head Preparation: Ensure the head and body are stuffed firmly and the final opening is sewn shut using a tapestry needle. Hide all yarn tails inside the body.
-
Arm Attachment:
- Locate the 3rd row down from the top centre of the head.
- Position the arms on either side of the body at this level.
- Use a tapestry needle to sew the open end of the arm to the body, stitching from front to back and back to front through the body stitches to secure.
-
Snout (Muzzle) Assembly:
- Prepare the white snout piece. If using a safety nose, insert it into the white piece before attaching it to the face.
- If embroidering, use black yarn to create a small inverted triangle for the nose and a small “Y” shape for the mouth on the white piece.
- Apply a small amount of glue or use pins to centre the snout on the face, positioned between the arms’ horizontal level.
- Sew the perimeter of the snout to the face using the white yarn tail and a tapestry needle. Before closing the last few stitches, add a tiny bit of stuffing inside the snout for a 3D effect.
-
Eye Placement:
- Position the eyes just above the snout.
- If using beads or embroidery, sew them into the head, pulling the yarn slightly tight to create a small indentation for a cuter look.
-
Ear Attachment:
- Fold the ears slightly to give them a curved shape.
- Position them on the top of the head, aligned with the sides of the face.
- Sew them securely to the head using the yarn tails.
-
Leg Attachment:
- Position the legs at the bottom of the body so the bear is in a “sitting” position.
- Pin them in place to ensure symmetry.
- Sew the legs to the lower body, ensuring the stitches are strong enough to support the bear’s weight while sitting.
-
Final Decoration (The Bow):
- Take a small rectangular piece of fabric and pinch the centre to create a bow shape.
- Secure the centre with thread or a small strip of fabric.
- Sew or glue the bow to the bear’s neck or near one ear.