
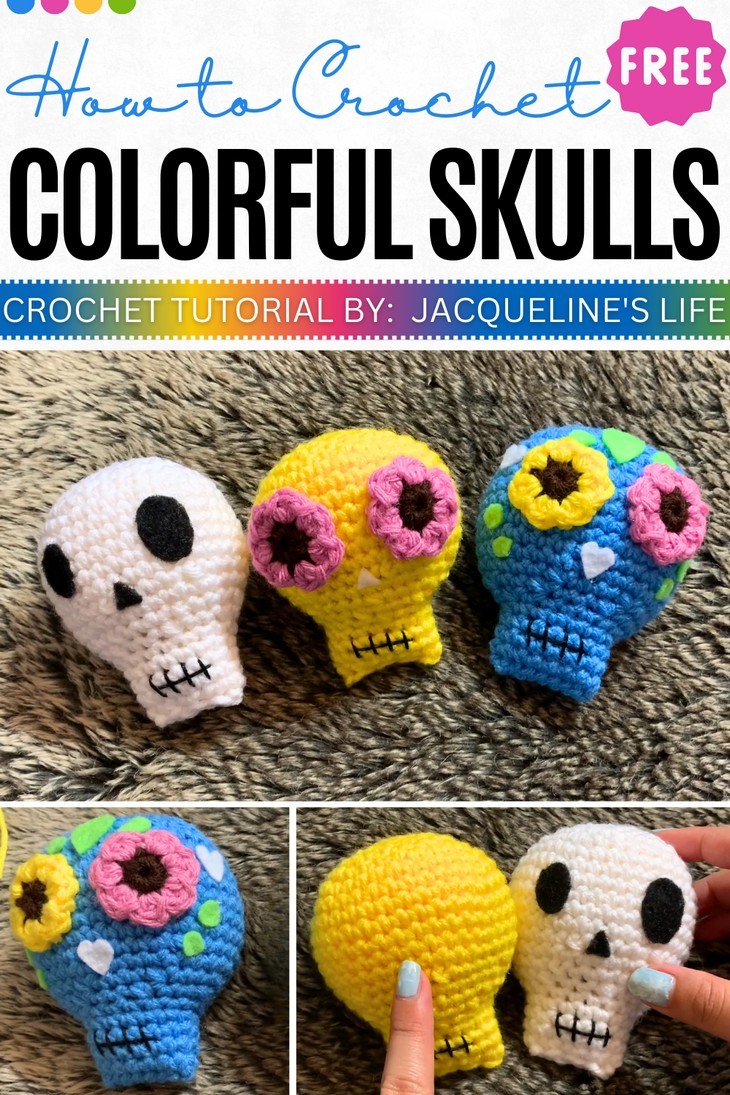
How to Crochet 3 Colorful Skull Amigurumi for Halloween
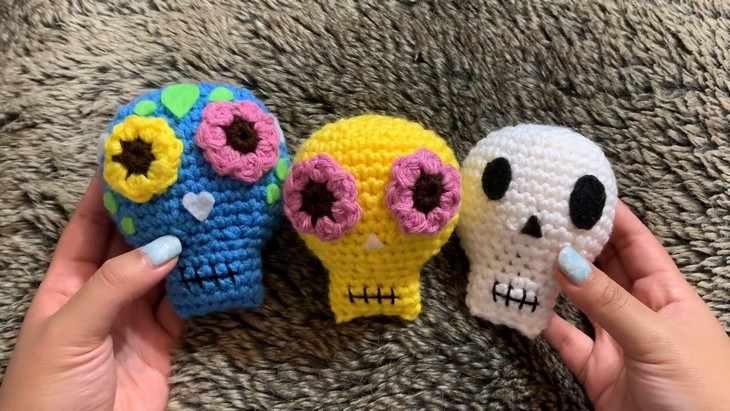
No more boring crochet skulls! With a single stitch-by-stitch tutorial, you can crochet these colorful skull amigurumi in three oh-so cute versions, including the white skull face with felt face, yellow skull flower eyes, and the vibrant all-in-one skull with felt and flower features. This army of skull amigurumi is designed to be Halloween decorations and stress toys. The creator will combine different yarn types and hook sizes to achieve unique shapes and textures. You will also find options for felt noses like triangle and heart shapes.
All of them are equally a must-have! So, if you have made your mind crocheting these skull amigurumi, continue reading this post till the end!
About the Designer: The designer behind this Halloween skull ghost amigurumi is @JacquelinesLife – she has crochet tutorials for oh-so cute and always-unique amigurumi and tops, nail art, and product reviews related to these crafts. Some of the most popular tutorials are for crocheted bralettes, amigurumi bees, and baby whales. Her library also features reviews of different yarns and nail products from various brands. She mostly comes with such variations she creates by herself for encouraging creativity!
Note: In respect for the creator’s pattern rights, there will be no provision of the written pattern. You can watch the tutorial with CC instructions at the end of this post.
Skull Amigurumi Tutorial
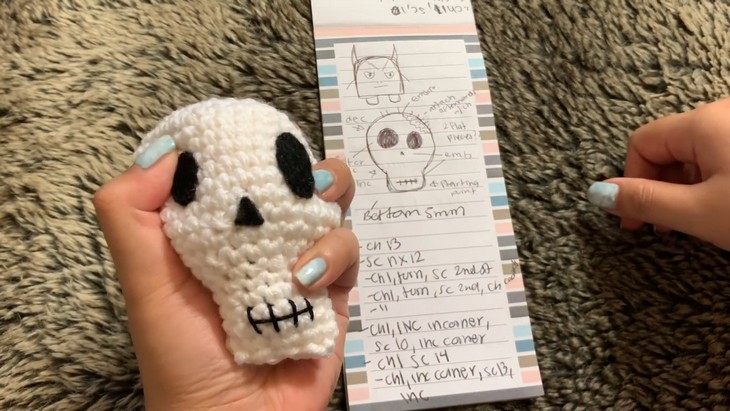
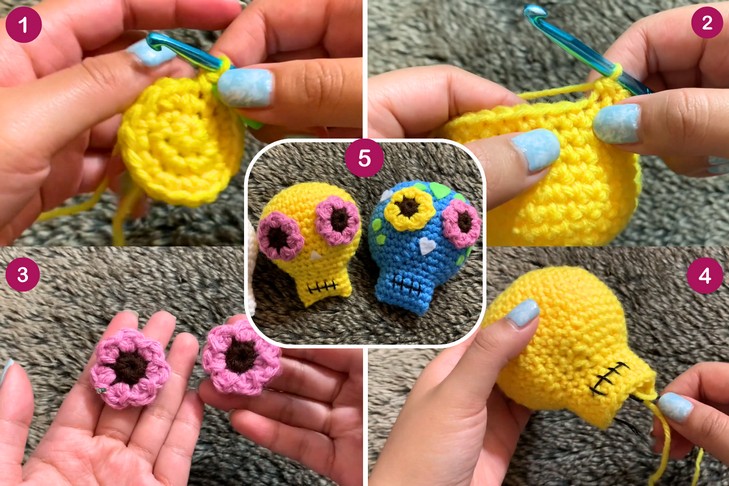
Skill Level: Beginner – Intermediate, since all are available. The main skull face pattern is no-sew, except for that you will taper the mouth in the end with a sewing needle. You will also work with felt pieces and attach them to the amigurumi, plus use the embroidery for stitched mouth detail. As for stitches, you will need the sc, inc, dec, slip stitch, slip stitch and color changes for the flower.
Tutorial Timing: 47 minutes only (the tutorial covers all of the amigurumi designs in one video, making the tutorial worth watching. You will also learn how to design amigurumi and use the felt pieces to create lovely faces.)

Personalization Tips: The whole tutorial is all about crocheting fun variations in the skull ghost pattern. You can choose from different felt colors, use different felt faces, and even crochet a unique flower like a daisy as the eye. Since it is a support toy and squishy, it is recommended to use the plush yarn!
Pattern Type: A CC pattern in English is available if you find written instructions easy to follow along with.
Materials Needed
Gather the following suggested tools and materials for crocheting this fall and Halloween skull amigurumi:
- Yarn: Multiple colors (e.g., orange, brown, green) for the different sections.
- Crochet Hook: Size appropriate for your yarn, typically 3.5mm to 5.5mm.
- Stitch Markers: To track rows while working in the round.
- Scissors
- Tapestry Needle
- Felt
Yarns
- Caron’s One Pound Yarn: Used for one of the skull designs, paired with a 4.5mm crochet hook. She notes that this yarn feels thinner than some other weight 4 (medium) yarns, which affects the final size of the piece.
- Loops and Threads Impeccable Yarn: This is described as thicker compared to Caron’s One Pound Yarn, resulting in a slightly larger skull design when using the same hook size.
- Big Twist Yarn: The yellow skull shown in the tutorial is made with this yarn, using a 5mm crochet hook for the primary piece and a 4.5mm hook for details like the eyes.
Techniques with One-Line Guides
Learn the following crochet techniques for crocheting this Halloween project:
- Magic Ring: Begin by creating a loop, pull yarn through to form a ring, and crochet the first round into the loop.
- Single Crochet (SC): Insert hook into the stitch, yarn over, pull through, yarn over again, and pull through both loops on the hook.
- Increase (INC): Make two single crochet stitches into the same stitch.
- Decrease (DEC): Insert hook into the front loop of the next two stitches, yarn over, pull through both loops, yarn over again, and pull through the last two loops.
- Slip Stitch (SLST): Insert hook, yarn over, pull through the stitch and the loop already on the hook to create a seamless join.
- Surface Stitching: Insert hook through the surface of the project in the desired design line, pull yarn through, and create slip stitches to form decorative patterns.