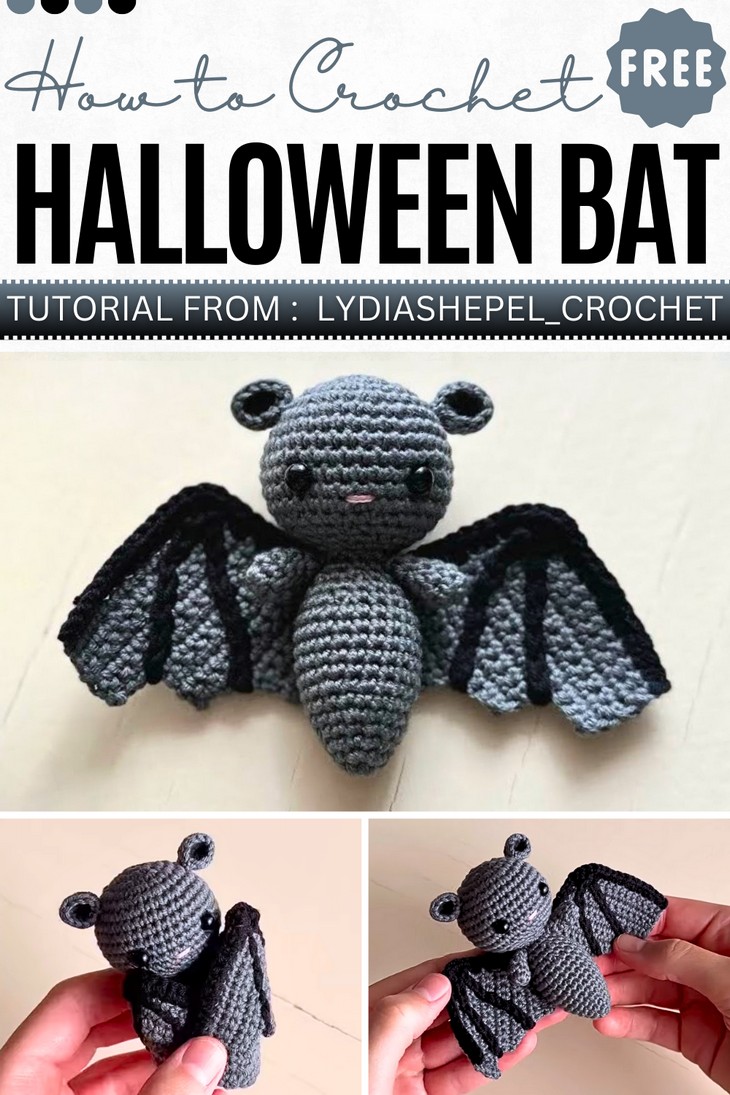
How to Crochet Baby Bat Amigurumi (Detailed Halloween Amigurumi)
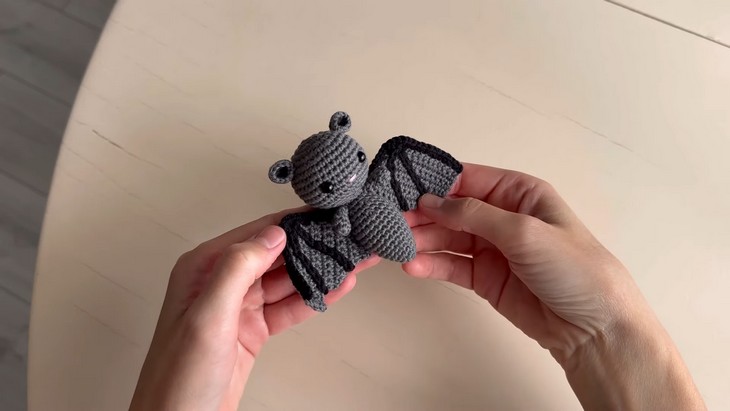
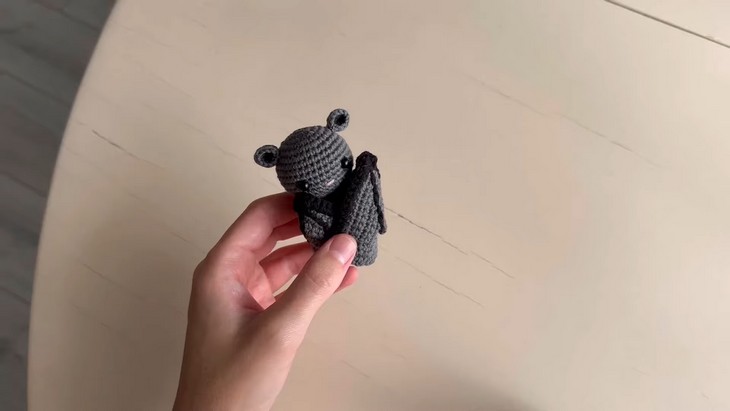
Thin-yarn bat amigurumi will be much more detailed without getting something giant. So, learn how to crochet this small and so cute baby bat amigurumi designed in black shades by Lydia and taught in three tutorials: the head and ears, the body and hands, and the wings. Each part uses the basic amigurumi stitches and is assembled at the end. The bat has definitely no spookiness and possesses life-like bat wings with pure black skeleton detailing, also. You can send it as a Halloween gift by wrapping the wings using the ribbon. You can also add it to a bunting and even a support toy!
So, if you are ready for crocheting this mini bat amigurumi, continue reading this post till the end. There you will find the complete tutorial!

About the designer: the designer behind this witch amigurumi project is @lydiashepel – she has specialized in designing accurate amigurumi using thin yarn very well. Her library includes tutorials mostly for crochet animals like pugs, cats, uniron, snails, and dachshunds, as well as popular characters like a Labubu toy, Santa, snowman, and more. She has the largest list of crochet dog and Christmas projects, including the cand corn, Christmas tree, and more. With many of its tutorials broken down into multiple parts, her projects are perfect for beginners.
Note: In respect of the creator’s pattern rights, there will be no provision of the written pattern. You can watch the tutorial with on-screen instructions at the end of this post.
Crochet Bat Amigurumi Tutorial
Skill Level: Beginner – Intermediate. Making a magic ring, crochet the head of a bat amigurumi with rounds of single crochets, including increases and decreases to shape. Ears are crocheted separately with a crochet flat round. The head and ears are then assembled. For wings, you will need 13 chains, then turn and work rows of single crochets. Each round is followed by chaining and turning. Black stripes are added using embroidery. The final part focuses on attaching everything. Both wings are crocheted similarly.
Tutorial Timing: 14, 15, and 17 minutes respectively for each part (learn working with the small parts and managing the issues with the thin yarns. You will also learn the accurate surface stitching that is used for many other projects. With a total time of 46 minutes, this amigurumi bat is worth crocheting!)

Personalization Tips: Use the velvet yarn in a bulky weight to crochet a large bat plushie. You can also crochet the Halloween accessories like a witch hat, bow tie, and even a cape. But I recommend you use the two shades of purple since it is much more visible. Also, add a smile to your finished bat amigurumi.
Pattern Type: A detailed on-screen written pattern is available if you find written instructions easy to follow along with.
Materials Needed
Gather the following suggested tools and materials for crocheting this bat Halloween amigurumi, mentioned in the description:
- Gray Gazel Baby Cotton Yarn
- Black YarnArt Jeans Yarn
- Crochet Hook (size 1.6mm)
- Fiber Fill (for stuffing the head)
- Eyes for Amigurumi (attachable doll eyes)
- Pink Yarn (for stitching highlights between the eyes)
- Scissors
- Thread and Needle (for sewing the ears to the head and attaching parts)
Techniques Needed
Here’s a one-line guide for crocheting each stitch and technique in the bat pattern:
- Magic Loop: Form a loop with yarn, insert the hook into the loop, and crochet to create a tight, adjustable center for working in the round.
- Single Crochet: Insert the hook into the stitch, yarn over, pull through, yarn over again, and pull through two loops.
- Increase: Work two single crochets into the same stitch to expand the project’s size.
- Decrease: Insert the hook into the first stitch, then the next stitch, yarn over, pull through both stitches, yarn over, and pull through two loops.
- Slip Stitch: Insert the hook into a stitch, yarn over, and pull through both loops to join or create a smooth edge.
- Chaining: Yarn over and pull through the loop on the hook to create a foundation chain or turn your work at the end of a row.