
How to Crochet Christmas Bird Ornament with Santa Hat
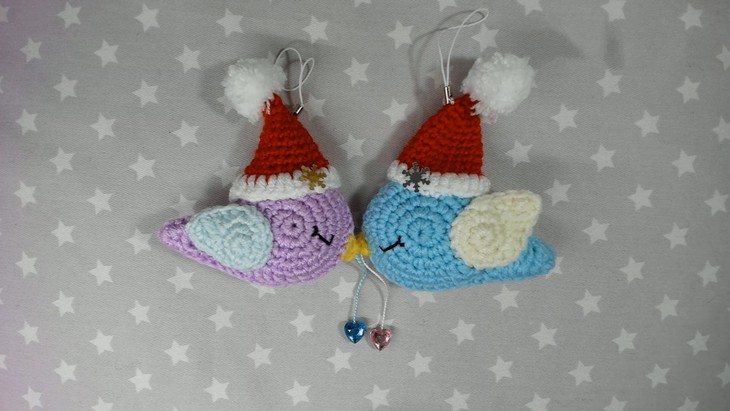
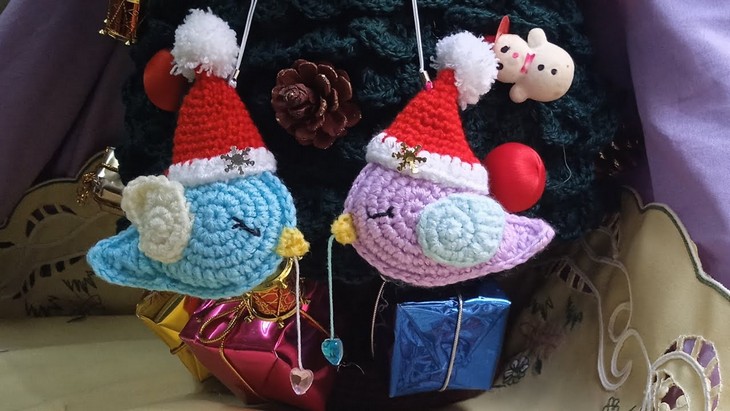
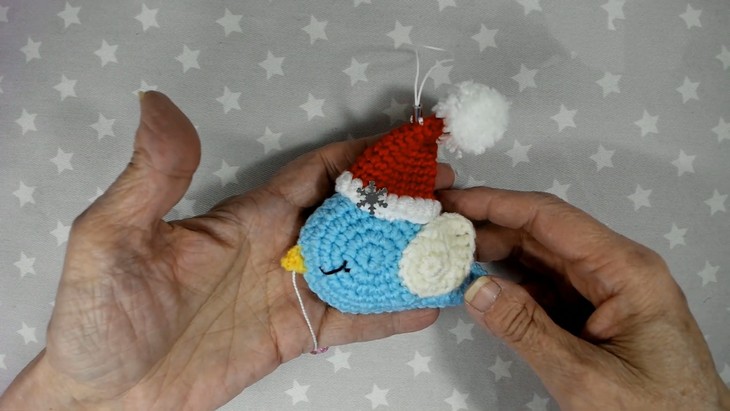
Today’s Christmas ornament is cute and simple to crochet! So, learn how to crochet this Christmas Bird wearing a Santa hat ornament for kids with easy Rag Doll techniques presented in a detailed tutorial by Otakulandia. You can crochet these birds in any of two colors (purple or blue) with the sleeping embroidery eyes, my favorite feature. The finished birds will size between small and medium.
So, they can equally contribute to gifting and decorating your Christmas tree through a small hanging loop. This amigurumi bird is still worked in the rounds, but with interesting flat joins for getting a classic ragdoll feel. Now, make sure to crochet one for sure!
Crochet Christmas Bird Ornament
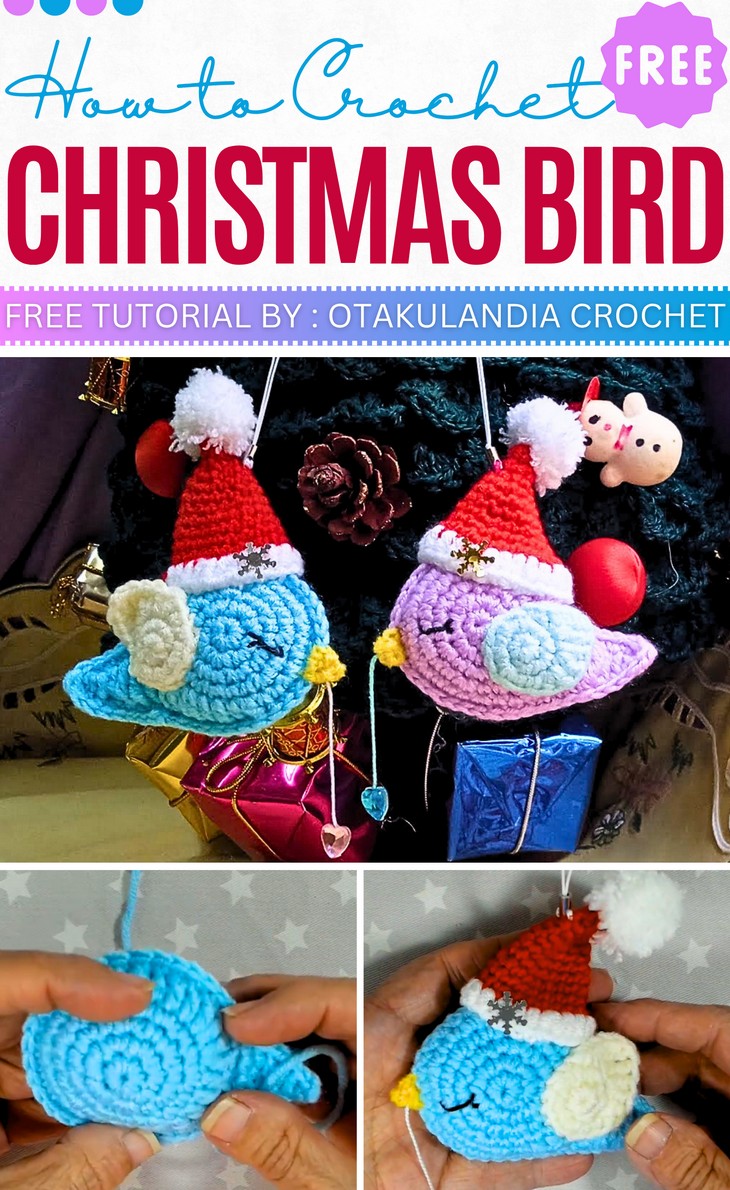
These Christmas birds also feature small embellishments like shiny snowflakes and a string attached to the beak with a shiny bead. You will especially love the pom pom set, a bit oversized for cuteness. So, if you have made up your mind to crochet this new Christmas ornament variation, continue reading this post till the end.
Know the designer: The designer of this Christmas bird ornament, especially for kids is @OtakulandiaCrochet – she is one of the designers who excelled in almost all aspects and subjects of amigurumi designing, with a unique presentation.
I will truly appreciate her Christmas series that includes almost every Christmas subject from reindeer to ornaments. She has a whole series of these fun ornaments, so try for sure!
Note: In respect of the creator’s rights, there will be no provision of the written pattern. You will watch the tutorial at the end of this post.
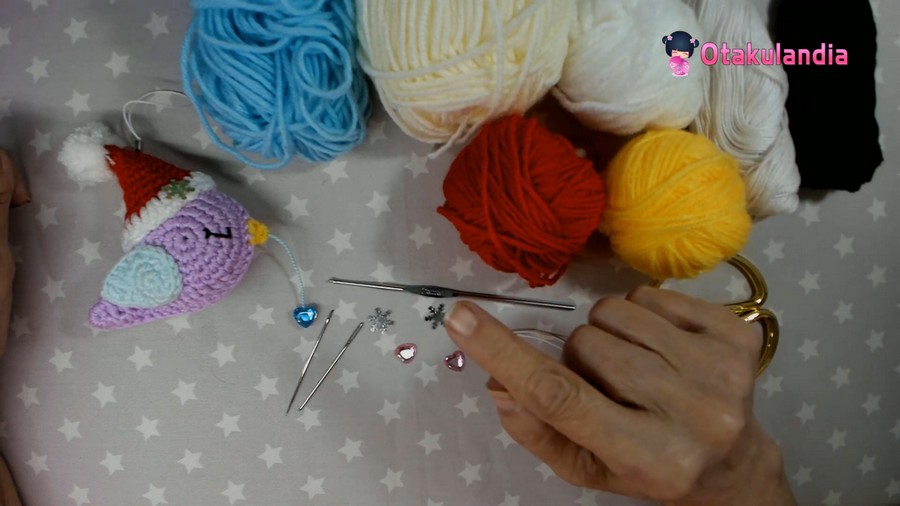
Materials for Christmas Bird Ornament
Gather the following suggested supplies for crocheting this Christmas bird amigurumi, mentioned in the tutorial:
- Milk Cotton yarn in colors for the body, wings, Santa hat, and beak, plus number 5 cotton thread in black and white for the eyes.
- Crochet Hook: 1.75 mm or 1.50 mm crochet hook.
- Stuffing: Acrylic or polyester fiberfill for stuffing the body.
- Needles: A yarn needle for assembly and a finer needle for embroidering the eyes.
Other Notions:
- Embellishments: Hanging cord (nylon or cotton), small decorative items like miniature snowflakes, and heart-shaped beads or other charms.
- Adhesive (Optional): Hot glue for attaching embellishments such as the hearts.
- Tools: Scissors, and pins or clips to hold the pieces together while sewing.
About Christmas Bird Tutorial
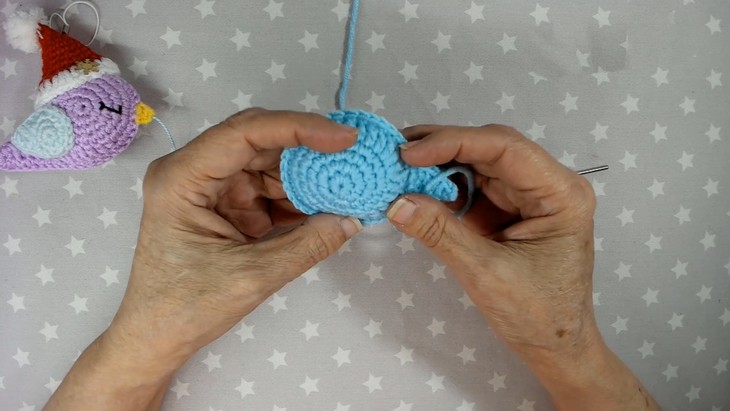
Quick Summary & Skill Level: Beginner. As for usual ragdoll amigurumi, you will crochet two similar flat bird body pieces using a magic circle and mixed stitches (SC, HDC, DC) with tail, also. Two smaller wing pieces are crocheted separately.
The body pieces are joined with single crochet, lightly stuffed, and closed. A small beak and a conical Santa hat with a white border and a pompom are crocheted separately.
Finally, the wings, beak, and hat are attached, eyes embroidered, and a hanging cord with decorative charms added.
Tutorial-Timing: 41 minutes only
Stitches in Christmas Bird Tutorial
Here are the quick guides for the crochet stitches that the tutor will use for crocheting this Christmas bird:
- SC: Insert hook, yarn over, pull up a loop, yarn over, pull through both loops.
- HDC: Yarn over, insert hook, pull up a loop, yarn over, pull through all three loops.
- DC: Yarn over, insert hook, pull up a loop, yarn over, pull through two loops twice.
- INC: Work two stitches into the same stitch.
- SL ST: Insert hook, yarn over, pull through stitch and loop on hook.
Complete Bird Guide
In the end, I would like to thank the designer for delivering such a nice project for the Christmas gift tutorial! She also has so many projects for other holidays, so it is worth subscribing to her.