
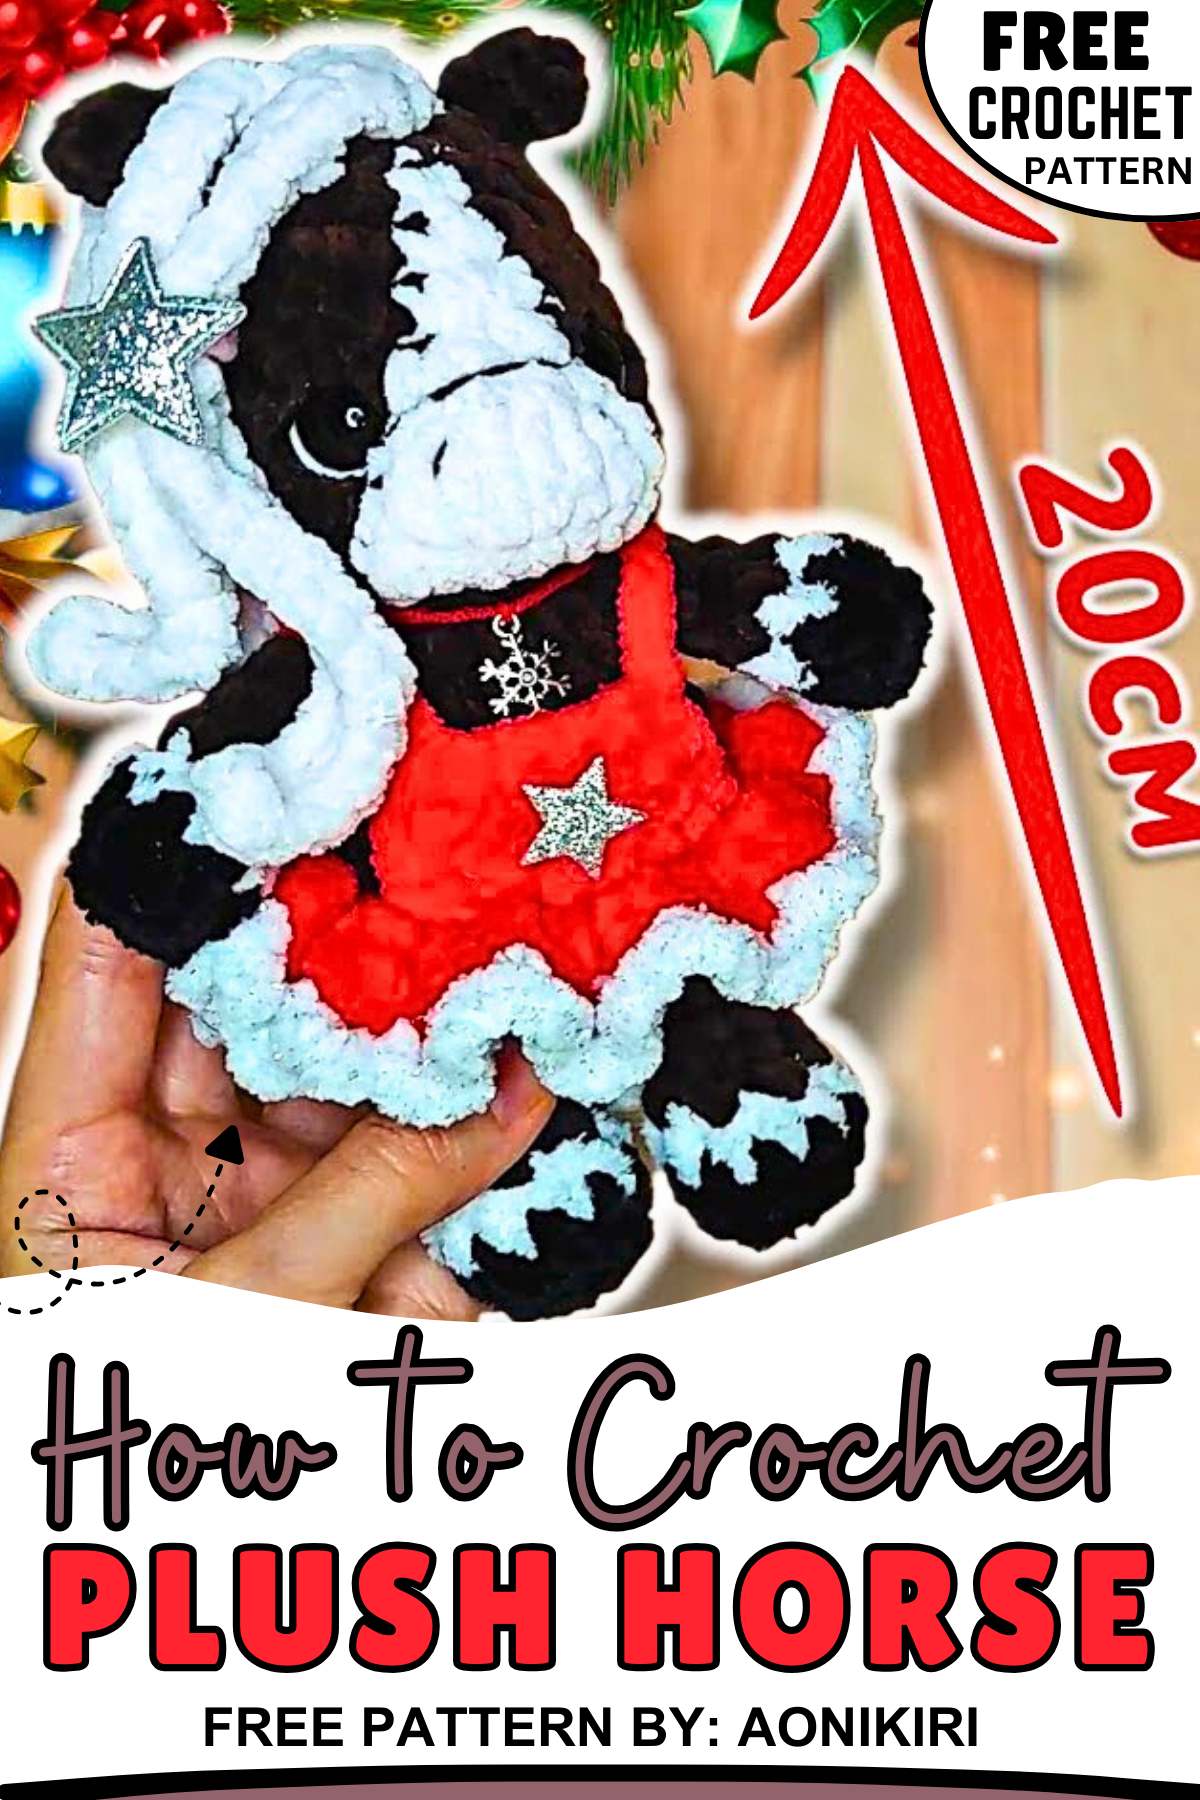
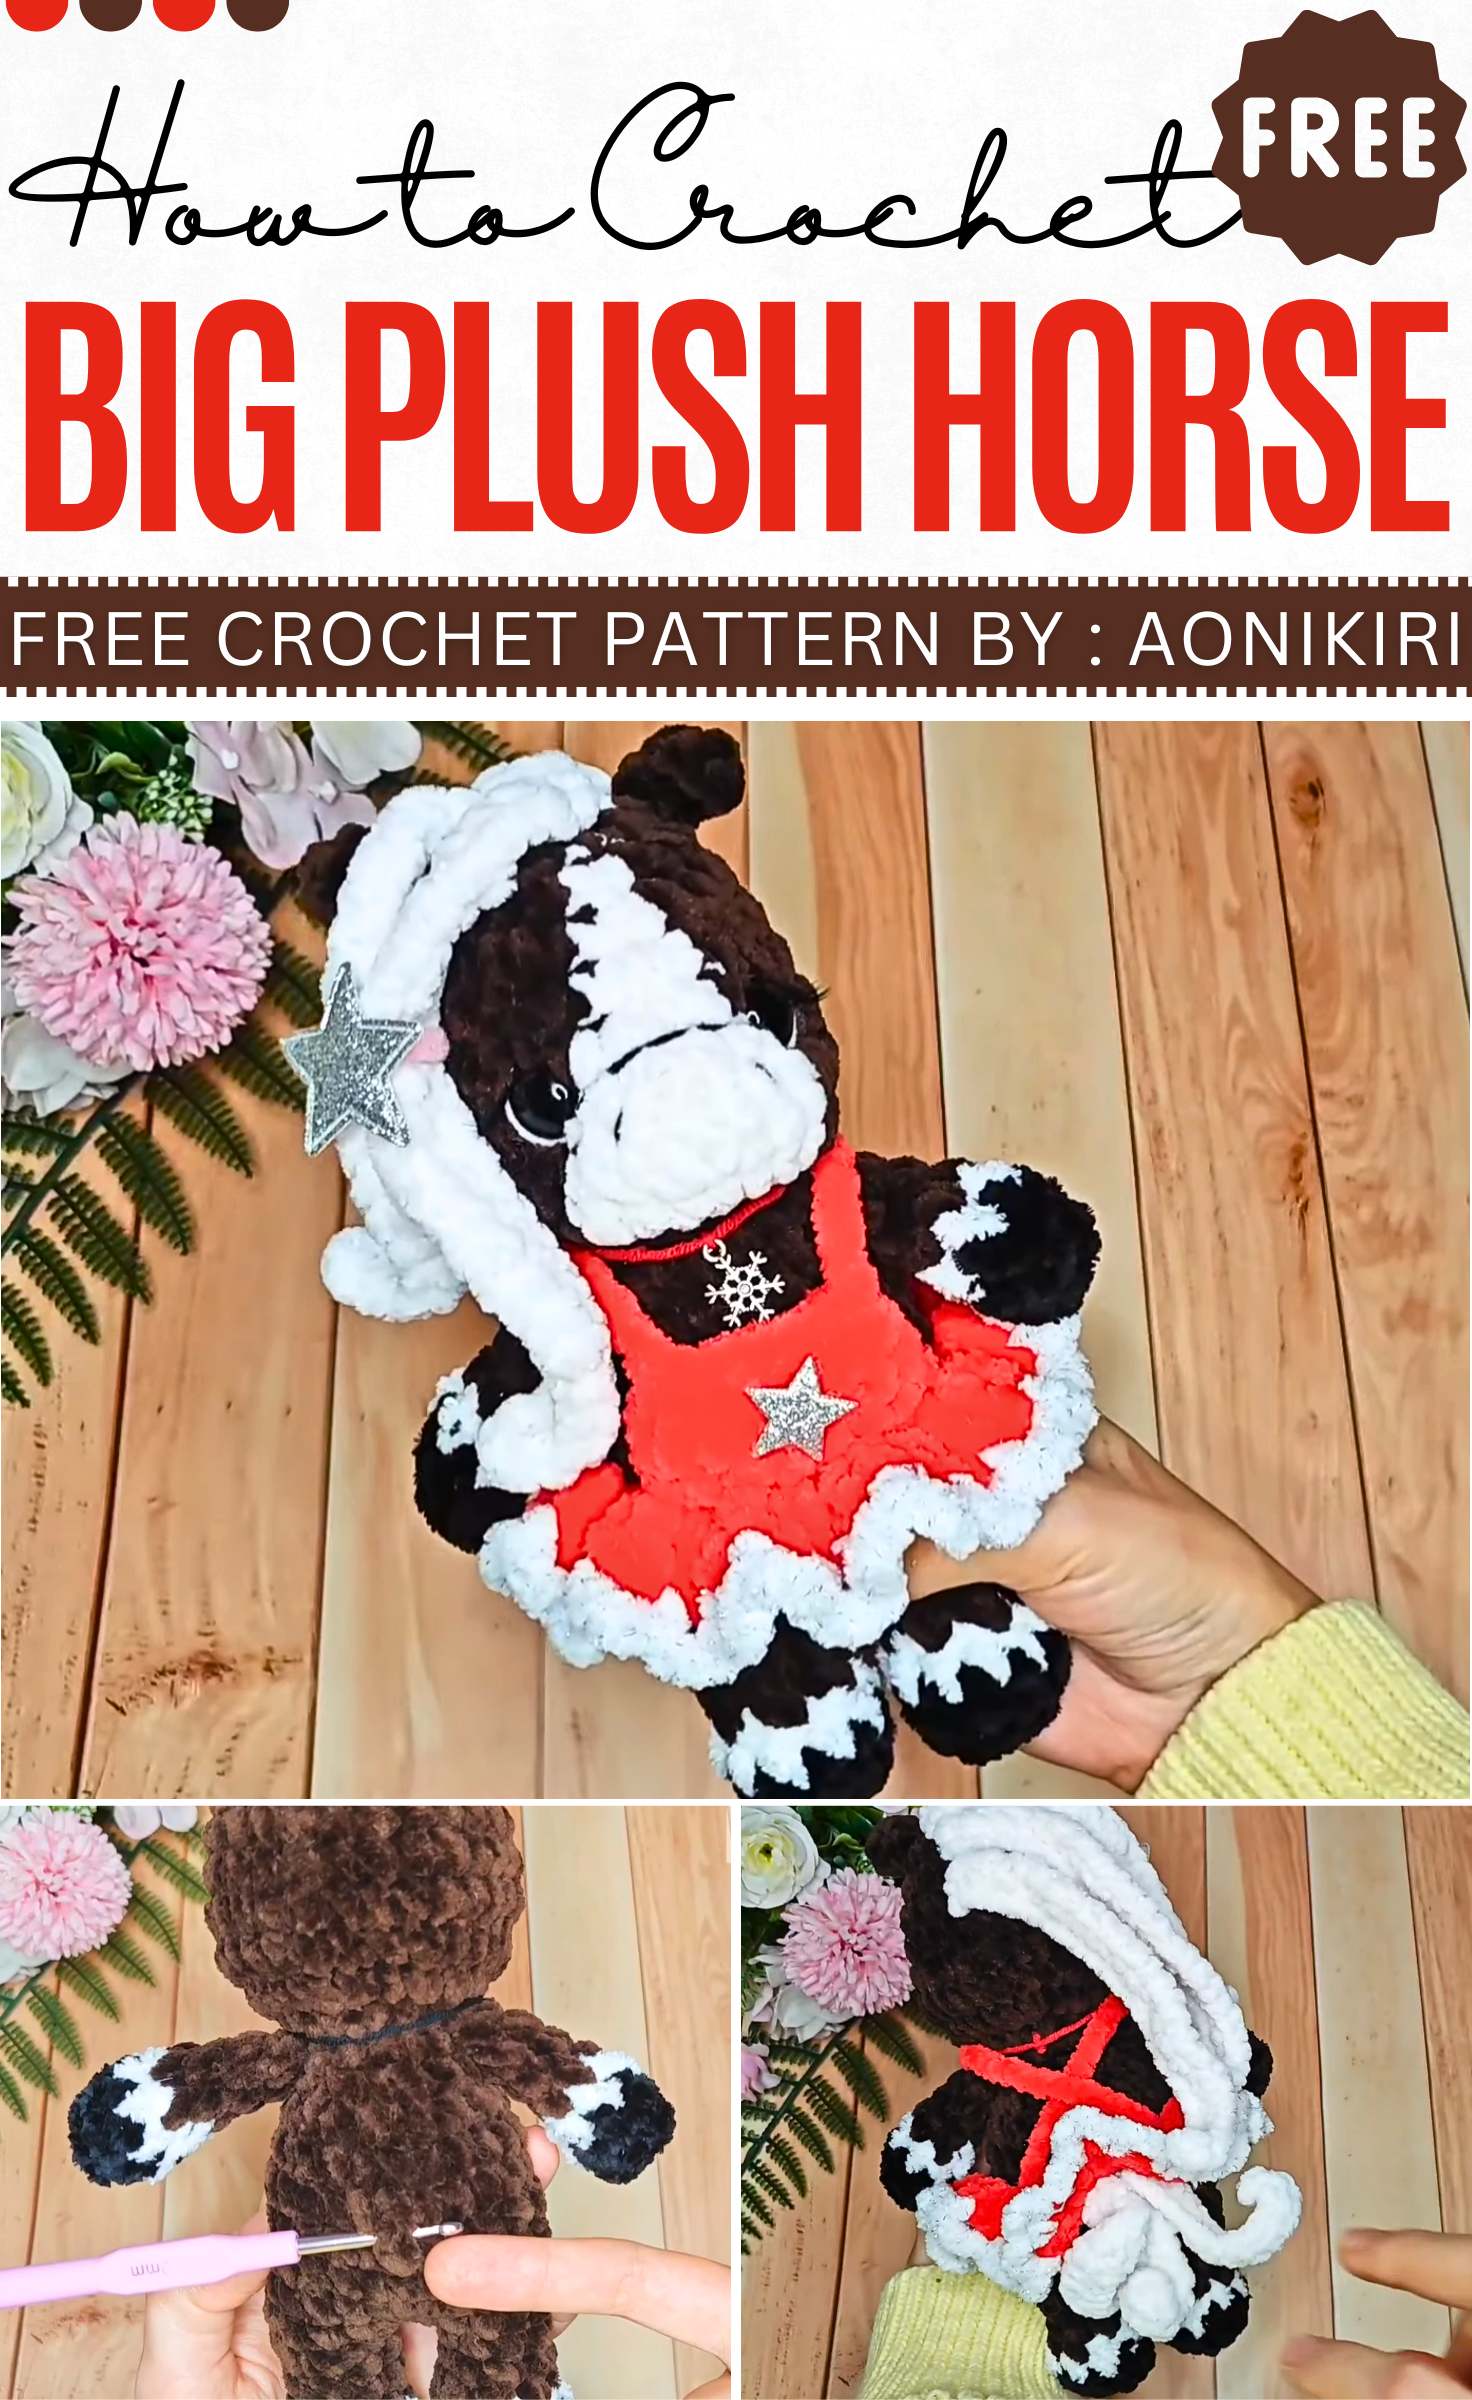
Free Crochet Christmas Horse Plushie Pattern for Kids
In this post, I have a complete written pattern for crocheting an oh-so cute Christmas horse plushie dressed in an elegant girl’s dress and measuring just 20 cm tall.
I recommend crocheting this plush doll using super bulky yarn as a Christmas gift for a little bundle of joy.
The special feature of this pattern is that the complete body construction needs no sewing at all. So, the assembly is a little.
I have special love for how the mane of the horse is turned into a stylized girl’s hair, the overall character design, and the ruffle in the dress.
Crocheting this plush horse is actually quite. So, let’s begin with the pattern.
Easy Plush Horse Pattern
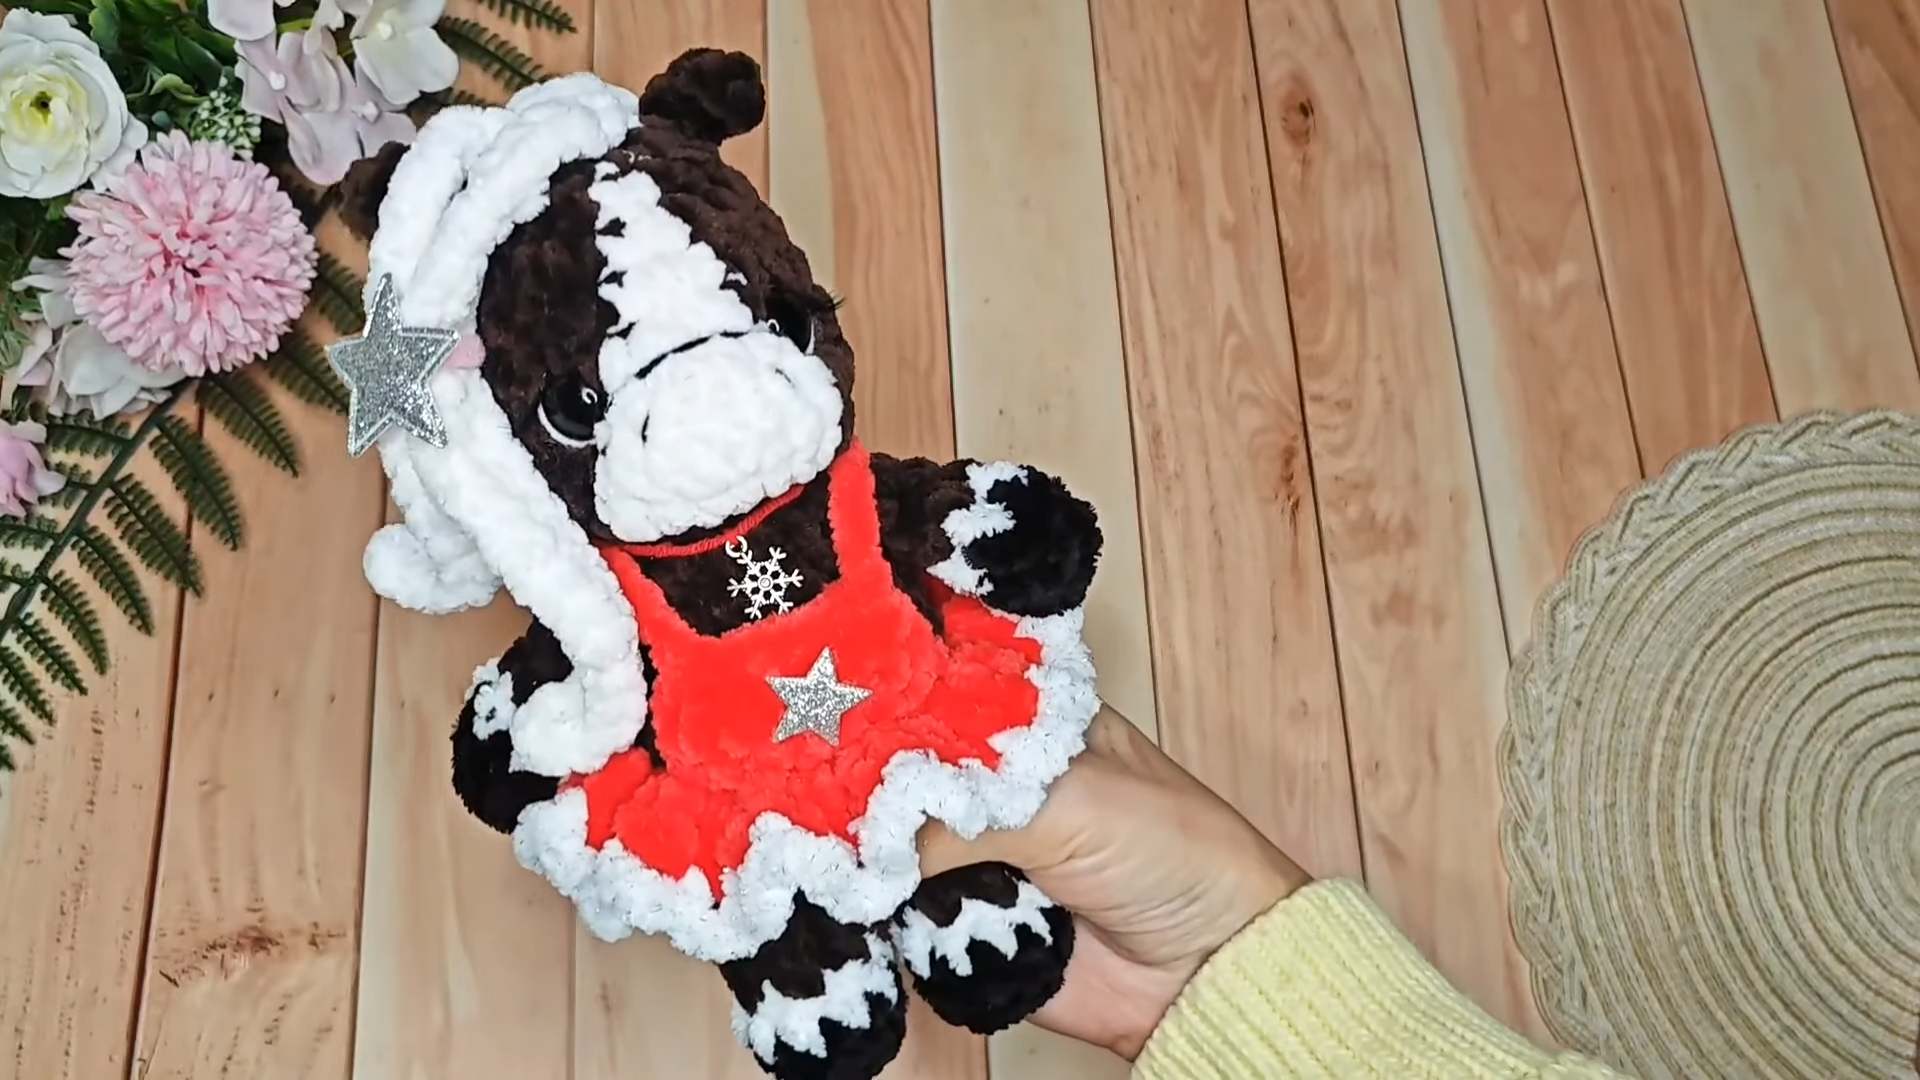
Last time, I shared a tutorial for a simple horse plushie, and many of you liked it. This time, you can learn how to crochet a horse plushie, especially for Christmas.
The black and white color idea is unique and worth trying. You can also choose white with brown, it’s up to you.
Designer of the Horse Plushie:
The designer of this kawaii horse plushie for kids is @aonikiri – she has expertise in “no-sew” crochet keychains and small plushies that are always so cute.
Note: For this crochet horse plushie in particular, I will provide you with the complete pattern using English terms.
Abbreviations Used (US Terms):
MR: Magic Ring
ch: Chain
sl st: Slip Stitch
sc: Single Crochet
hdc: Half Double Crochet
inc: Increase (2 sc in one st)
dec: Decrease (sc2tog)
BLO: Back Loop Only
FLO: Front Loop Only
Complete Horse Crochet Pattern
This is a pattern for a crochet Horse/Pony (which can be customized as a girl with a dress or a boy with a jumpsuit/pants). The pattern is worked from the arms/hooves and legs up to the body and head, which are crocheted in one piece.
Recommended Materials:
Plush yarn (e.g., Himalaya Dolphin Baby or similar 100g/120m) in:
Dark Brown/Black (Hooves)
White (Fetlocks/socks – optional)
Body Color (Brown, Gray, etc.)
Clothing Color (Red for dress/jumpsuit)
White (Mane/Tail)
Hook: 4.0 mm
Safety Eyes: 14 mm
Filler (Fiberfill)
Yarn needle, scissors, stitch markers.
Arms (Make 2)
Start with Black (or hoof color).
R1: 7 sc in MR. (7)
R2: Working in BLO only: 7 sc. (7)
R3: Optional: Change to White. 7 sc. (7)
Note: In the last stitch of R3, change to Body Color.
R4: dec, 5 sc. (6)
R5-R6: 6 sc. (6)
Stuff lightly (only the hoof part).
Fold the arm flat and crochet through both sides: 3 sc to close.
Fasten off and cut yarn.
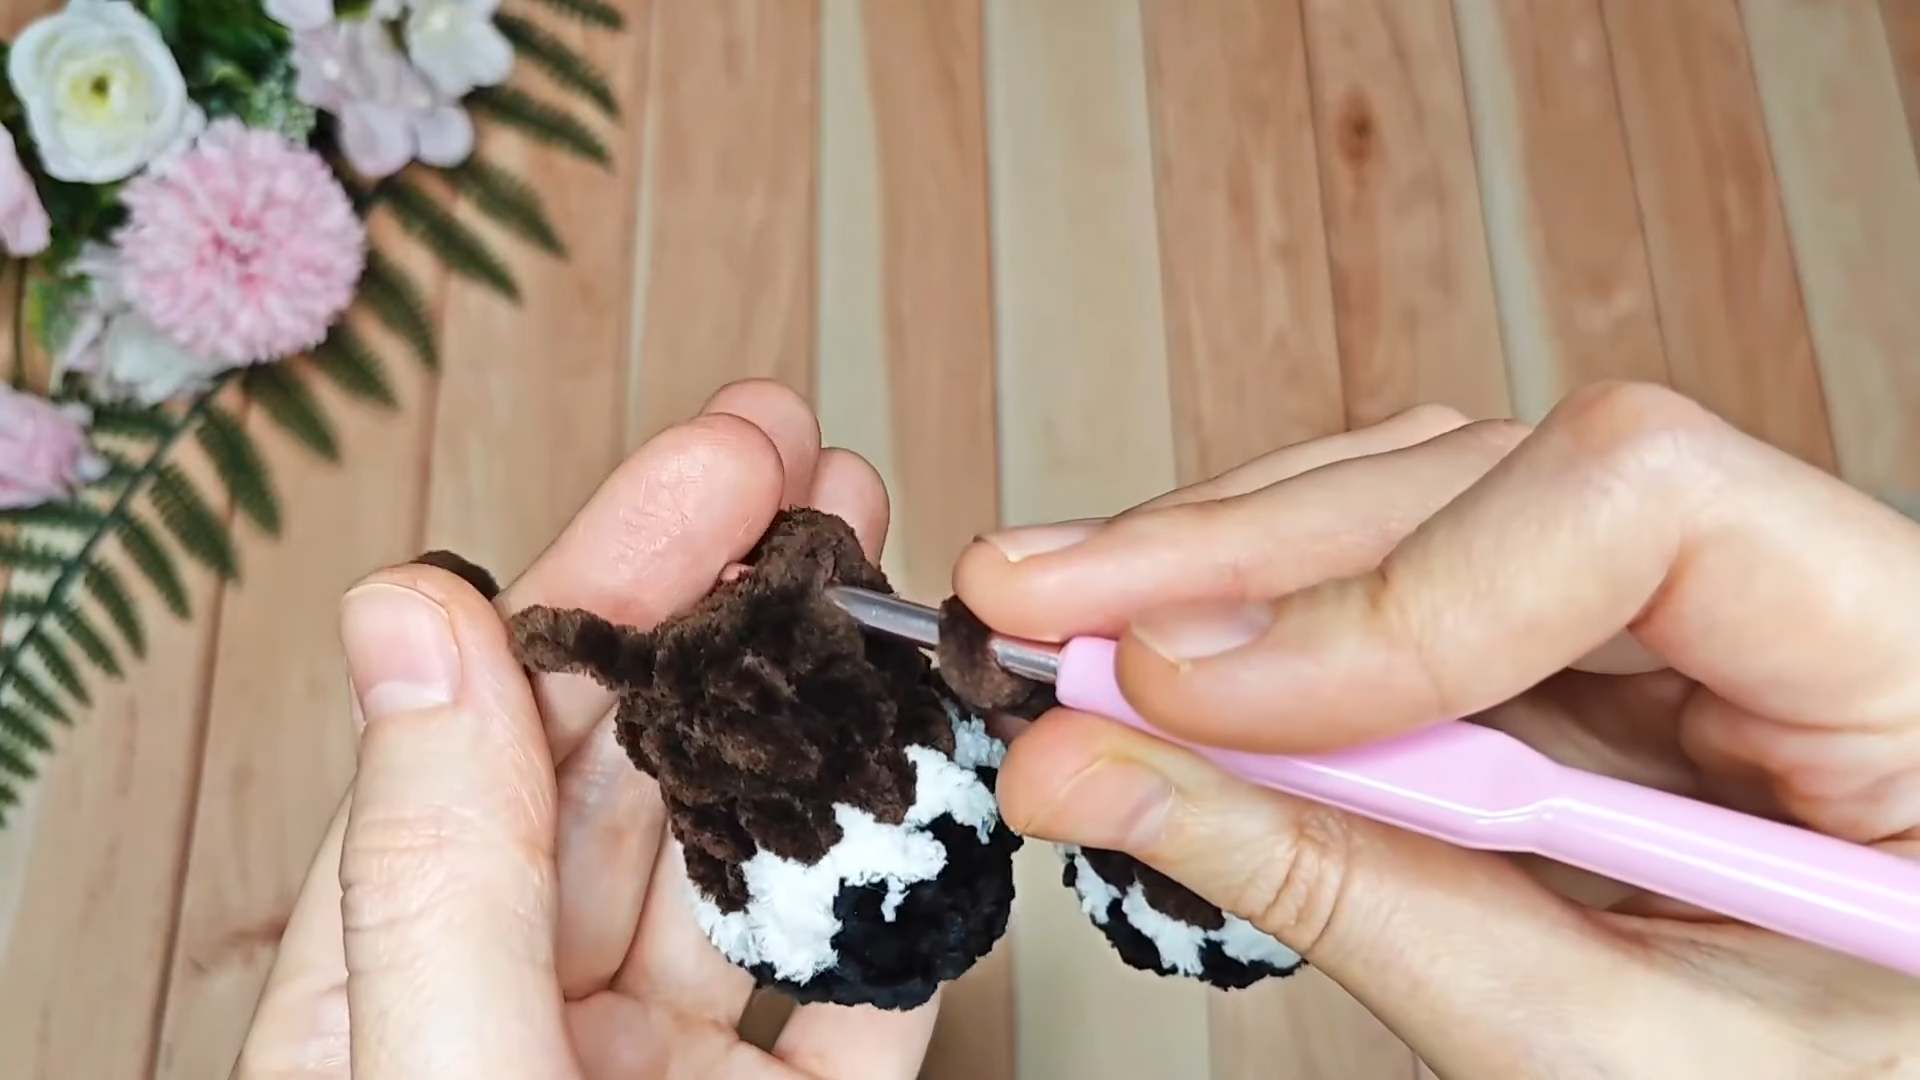
Legs (Make 2)
Start with Black (or hoof color).
R1: 10 sc in MR. (10)
R2: Working in BLO only: 10 sc. (10)
R3: Change to White. 10 sc. (10)
Note: In the last stitch of R3, work a sc to shift the color change if needed, then change to Body Color.
R4: 3 sc, 2 dec, 3 sc. (8)
R5: 8 sc. (8)
R6: 3 sc, inc, 4 sc. (9)
For the first leg: sl st, fasten off and cut yarn.
For the second leg: Do not cut yarn. Crochet 3 additional sc to shift position to the side.
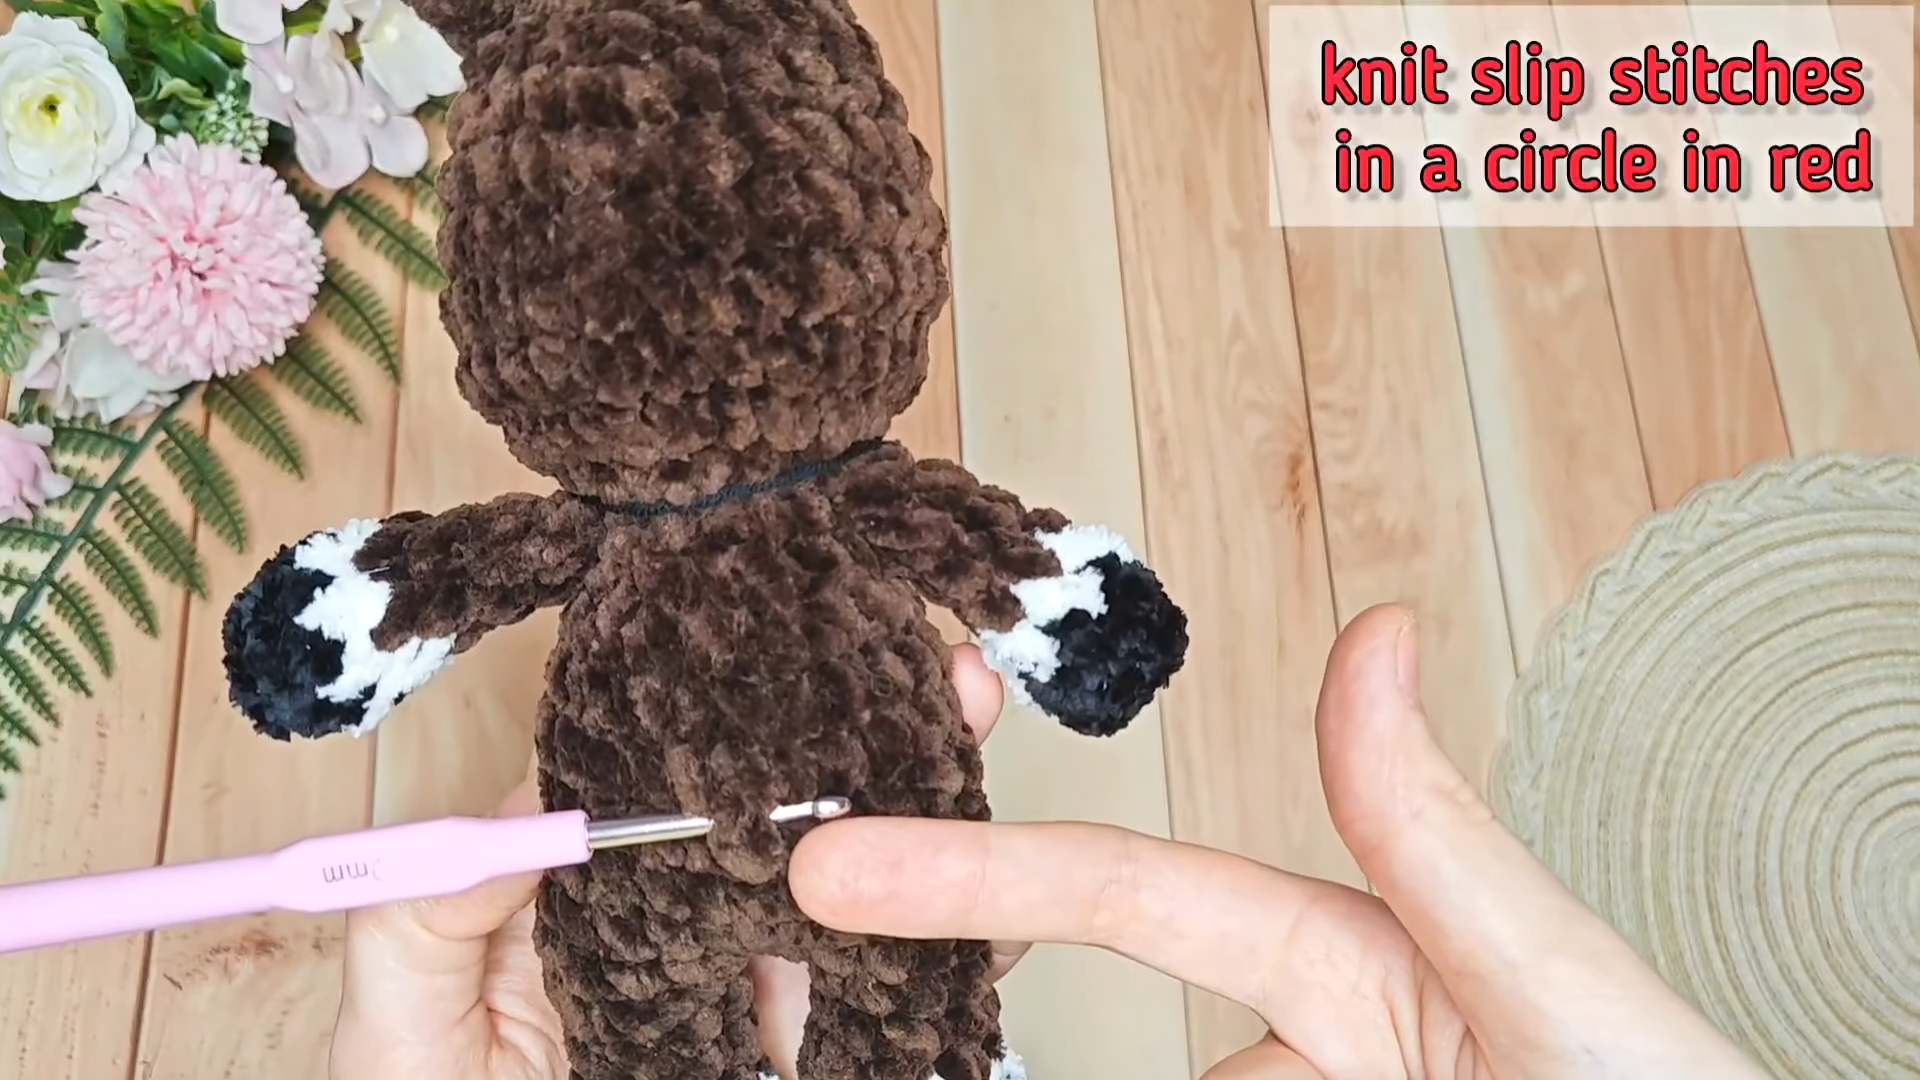
Body Joining
From the second leg, ch 1.
Join to the first leg (ensure the color change seam is at the back).
R7 (Joining Round):
5 sc on the first leg.
inc in the next st.
3 sc on the first leg.
1 sc in the ch-1 space (front loop or back bump).
1 sc in the joining st of the second leg.
3 sc on the second leg.
inc in the next st.
4 sc on the second leg.
1 sc in the remaining loop of the ch-1 space.
(Total 24 sc – adjust if necessary to reach exactly 24).
R8-R11: 24 sc (4 rounds).
R12: (2 sc, dec) repeat 6 times. (18)
R13: 18 sc. (18)
R14: (sc, dec) repeat 6 times. (12)
Stuff legs and body firmly.
Attaching Arms
R15:
2 sc on the body.
Attach 1st Arm: Place arm against body. Crochet 3 sc through both the arm and body stitches together.
3 sc on the body.
Attach 2nd Arm: Crochet 3 sc through both the arm and body stitches together.
1 sc on the body. (12)
Stuff upper body.
Head (Continues from Body)
R1 (R16 overall): 5 inc using Body Color. Change to White (muzzle color). 3 inc using hdc (White). Change back to Body Color. 4 inc (Body Color). (24 sts total)
R2: (2 sc, inc) x 3 (Body Color). Change to White. (4 hdc, inc using hdc) (White). Change to Body Color. (sc, inc, 2 sc, inc, 2 sc, inc) (Body Color).
Note: The white section is the muzzle. Ensure the yarn floats inside are not too tight.
R3: 13 sc (Body Color). Change to White. 8 hdc (White). Change to Body Color. 11 sc (Body Color). (32)
R4: 13 sc (Body Color). Change to White. 4 dec using hdc (White). Change to Body Color. 11 sc (Body Color).
R5: 13 sc (Body Color). Change to White. dec, 2 sc (White). Change to Body Color. 11 sc (Body Color).
R6: 11 sc (Body Color). dec (Body Color). Change to White. dec (White). Change to Body Color. sc (work incomplete, finish with Body Color), dec (Body Color), 9 sc (Body Color).
R7: 12 sc (Body Color). Change to White. 2 sc (White). Change to Body Color. 10 sc (Body Color).
R8: (2 sc, dec) x 3 (Body Color). Change to White. dec (White). Change to Body Color. (2 sc, dec) x 2, 2 sc.
Cut White yarn and secure.
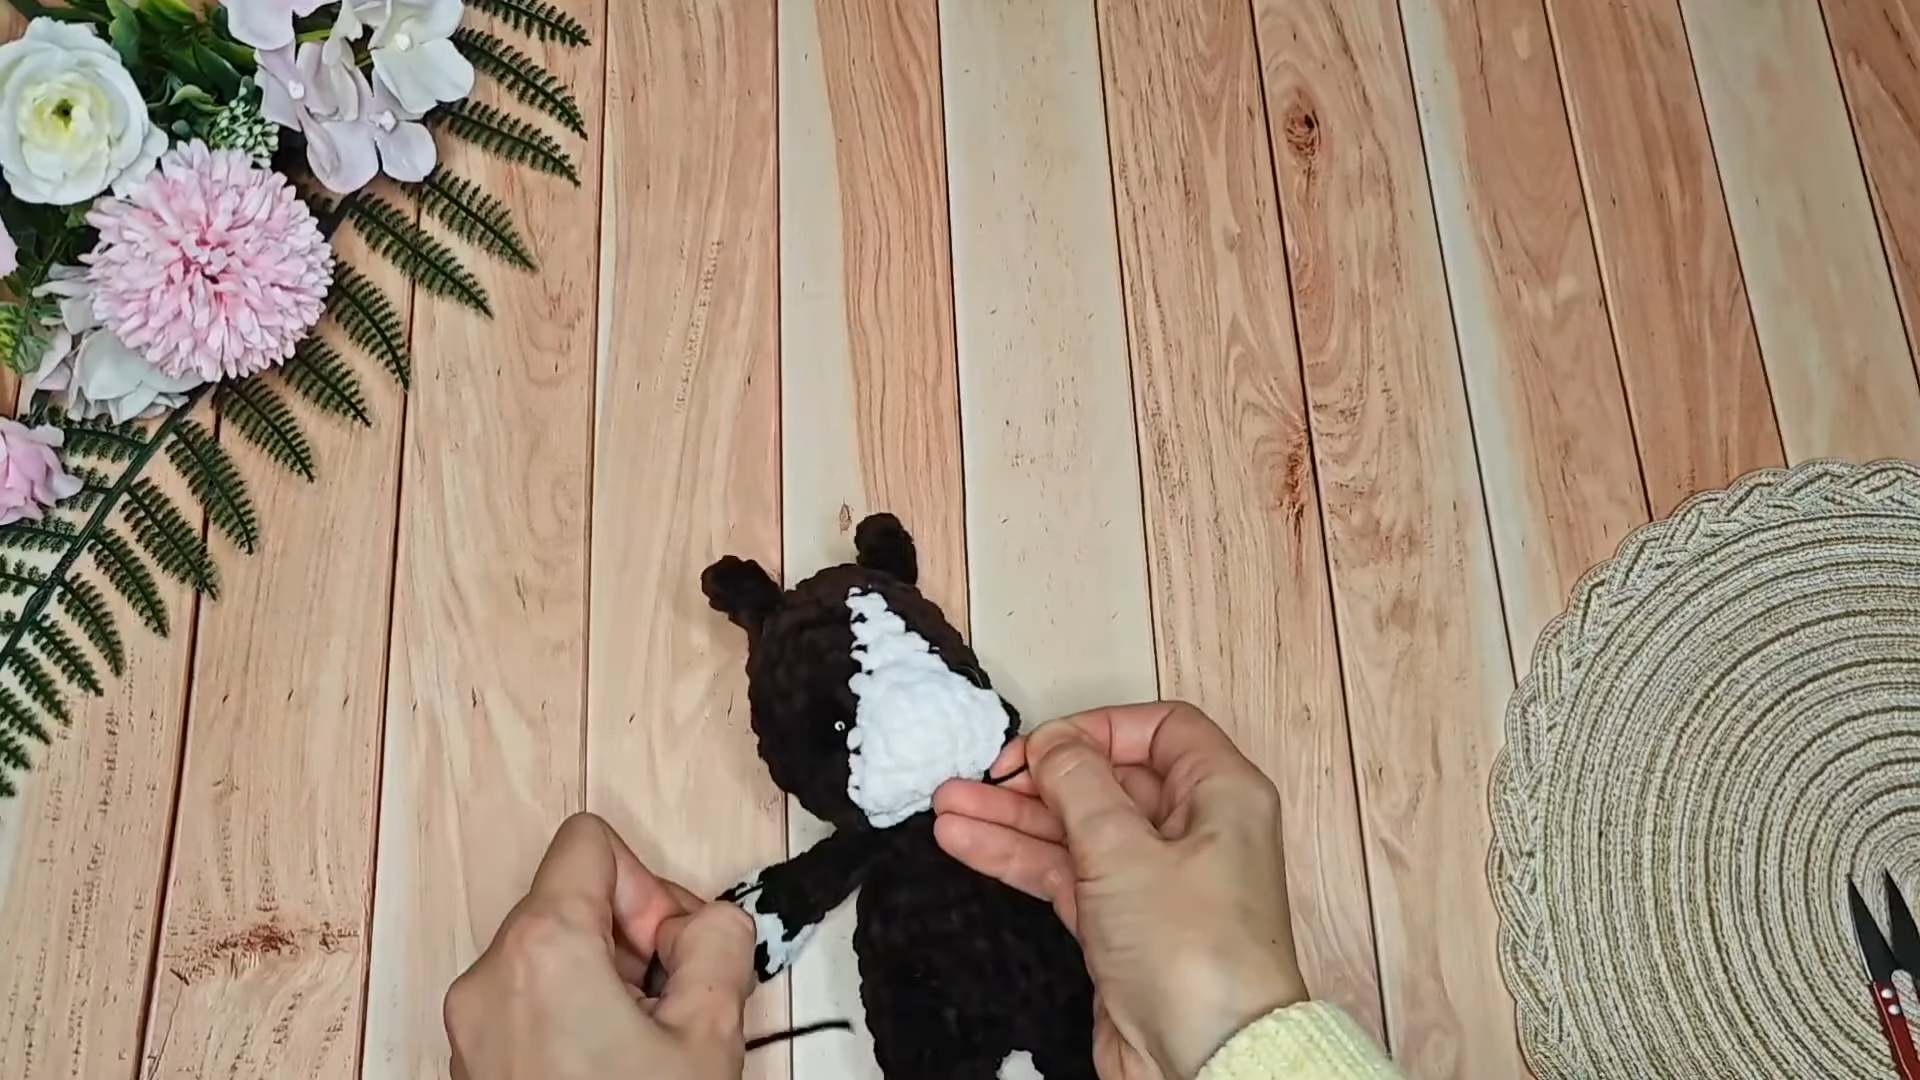
Eyes: Insert 14 mm safety eyes between R4 and R5 of the head (counting from the neck up). Place them at the edge of the muzzle area (approx 1 st away from the white section).
Stuff Head.
R9: (sc, dec) repeat 6 times. (12)
R10: 5 dec.
Close the hole, fasten off and hide yarn.
Ears (Make 2)
Using Body Color.
Attach yarn between R8 and R9 of the head (aligned with the arms).
ch 4.
Starting from 2nd ch from hook: sc, hdc, hdc.
sl st into the same stitch where you attached the yarn.
Fasten off and hide ends.
Muzzle Sculpting (Eye Indentation)
Insert needle with body color yarn from the bottom of the chin (white area) to the outside corner of the eye.
Go over to the inside corner of the eye and insert needle back to the chin entry point.
Repeat for the other eye.
Pull gently to indent eyes and tie ends under the chin (hide inside).
Nostrils
Embroider small nostrils on the white muzzle using black thin yarn/thread.
Embroider the whites of the eyes (optional).
Mane (White Yarn)
Make 5 strands: ch 24. Starting from 2nd ch from hook, work 23 hdc. Fasten off leaving a long tail.
Attach: Sew or tie the strands along the back of the head/neck. One strand goes centrally behind the ears, others follow down the neck. The first strand can be sewn slightly to the side to create a “bangs” look.
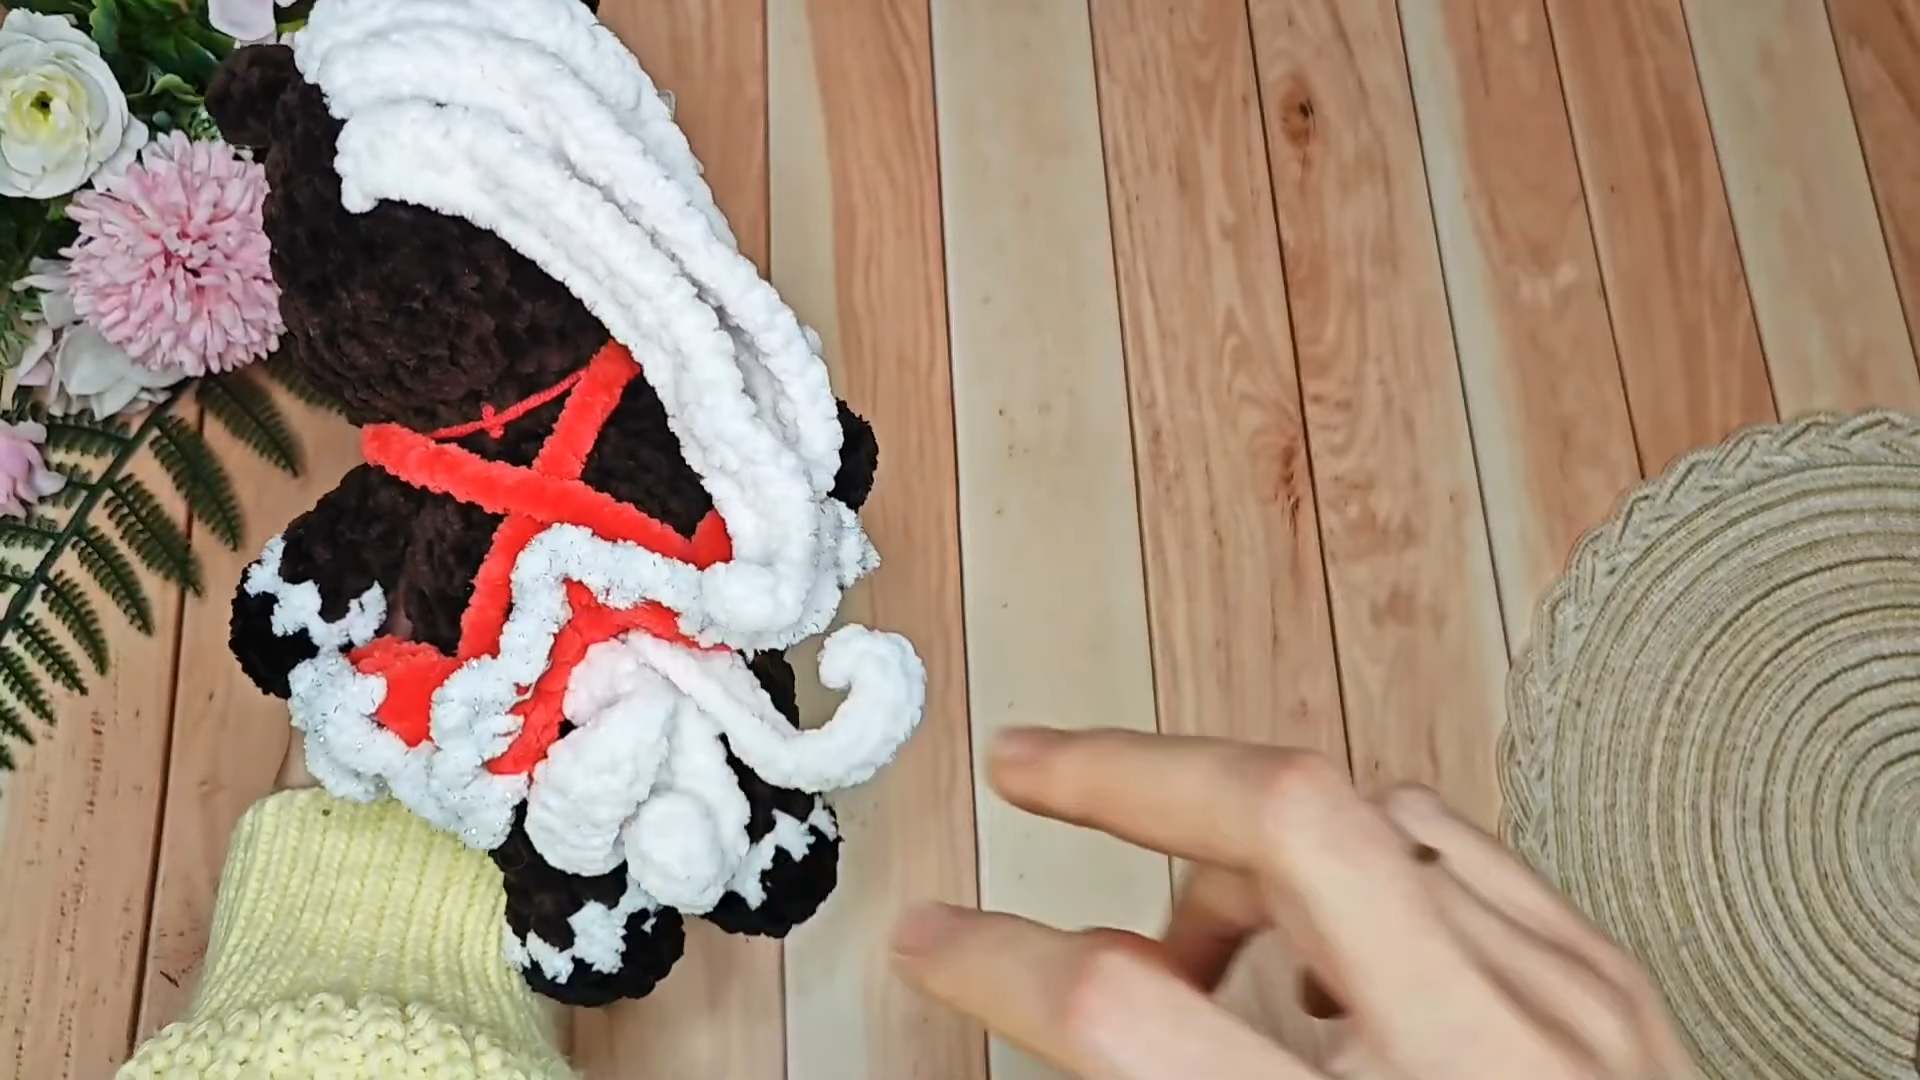
Tail (White Yarn)
Make 3 strands: ch 14. Starting from 2nd ch from hook, work 13 hdc.
Attach: Sew or tie to the back of the body under the dress/clothing line.
Clothing Options
Option 1: Skirt (for Girl)
Identify the row where you want the skirt (usually R6 of the body, just above the legs).
Join Clothing Color (Red).
R1: Surface sl st around the body. (24)
R2: Working in BLO of the sl st row: ch 2, (3 dc in one st, 2 dc in next st) repeat around. Join with sl st.
R3 (Trim): Change to White or trim color. (ch 3, skip 1 st, sc) Repeat around.
Option 2: Bib/Overalls Front
Locate the front center stitches above the skirt.
Attach Clothing Color.
Row 1: ch 2, 7 hdc. Turn.
Row 2: ch 2, 7 hdc. Turn.
Row 3: ch 1, dec, 3 sc, dec.
Straps: Chain approx 17 (measure to fit over shoulder to back). Cross them at the back and sew/sl st to the back of the skirt waist.
Tutorial for Russians
More Like this