
How to Crochet Christmas Tree for Home Decor
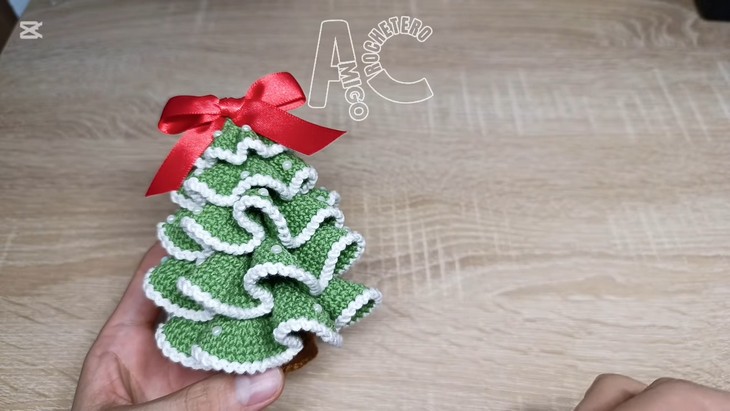
Today’s Christmas tree is another masterpiece that I highly recommend crocheting and gifting! So, with a comprehensive crochet tutorial, learn how to crochet this tiered Christmas tree for home decor inspired by an AI-generated image and recreated by Amazonas Crochet. It ends up so elegant and surprisingly accurate. This Christmas tree is finished with a red ribbon that contrasts very well with the green. So, crochet one today!
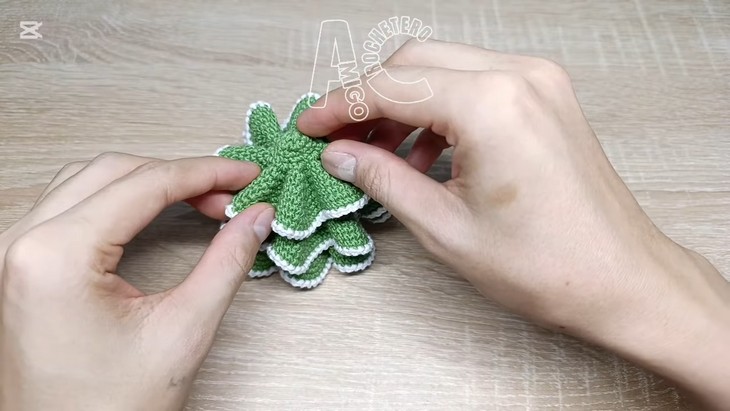
This time, you will crochet five layers of increasing diameter with larger ruffles than usual. With a unique gathering technique, it has a seamless finish. This Christmas tree also features a white border for snow and white beads all around.
Crochet Christmas Tree Gift Idea

Like the rainbow Christmas tree, this Christmas tree features a stable and wide crochet stem for using it as a desktop decoration near the Christmas tree. Usual patterns crocheted shell plus ruffle for mimicking the natural leafy look of a Christmas tree.
But this crochet tree needs a clever approach. Simply crochet the circles, but insert more increases per stitch for the ruffle.
This makes each layer be easy to increase the size for. So, if you have made up your mind to crochet this tree by yourself, continue reading this post till the end.
Know the Designer: The designer behind this Christmas tree project is @amigocrochetero – her expertise in amigurumi is truly exceptional. The library mainly features tutorials on detailed, character-based plushies and keychains.
Make sure to check her Christmas series, which includes so many Christmas ornaments with other Christmas trees, too.
Note: In respect of the creator’s rights, there will be no provision of the written pattern. You can watch the tutorial at the end of this post.
Material List for Christmas Tree
To follow through with this crochet, this tiered Christmas tree pattern, and crocheting it, gather the following crochet materials and tools:
- Yarn or Thread (I think she used super fine weight, which is about 2 – 3 ply.
- Green for the tree, brown for the trunk, and white for the border.
- 2.5 mm Crochet Hook
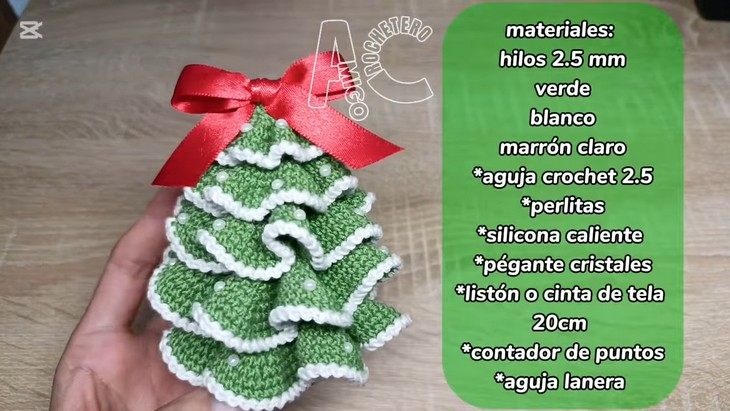
Other Notions:
- Stitch Marker
- Hot Silicone/Glue
- Yarn Needle
- Small beads
- Stuffing/Fiberfill (for the trunk)
- White Yarn (or a color of your choice for the border)
- B6000 Glue (or equivalent for securing small decorations)
- Ribbon (approx. 20 cm for the bow topper)
- Lighter (for sealing the ribbon edges)
About Christmas Tree Tutorial
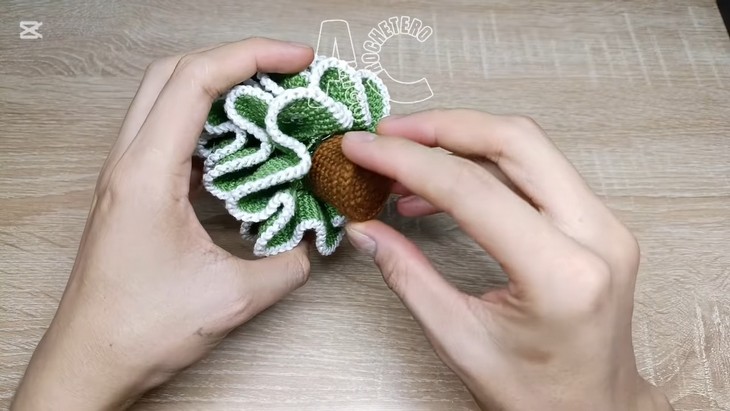
Quick Summary & Skill Level: Intermediate. The crochet Christmas tree is made in two main parts: five cone tiers (levels) and a separate cylinder trunk. Each of the five tiers is crocheted in the round, increasing in size from the top tier to the largest bottom tier.
Once the main layers are complete, a decorative border is added to the edge of each piece in white.
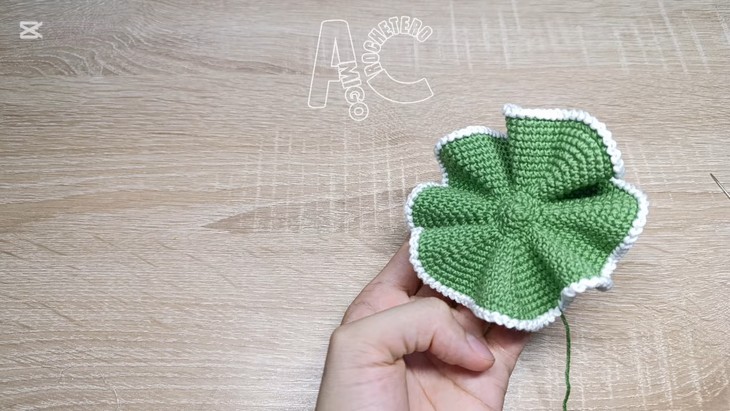
Each tier is folded and stitched to crochet a permanent wavy ruffle. The trunk is crocheted, and then hot silicone is applied to the interior base to make it flat and stable for standing.
Tutorial-Timing: 32 Minutes only
Abbreviations for Christmas Tree
Here are the abbreviations used and the techniques to learn before starting crocheting this tree:
- Single Crochet: Insert hook, yarn over, pull up a loop, yarn over again, and pull through both loops.
- Increase: Work two single crochet stitches into the same stitch.
- Decrease: Insert hook into the next two stitches, yarn over, pull through both, yarn over again, and pull through remaining loops.
- Fake Crab Stitch: Work a slip stitch followed by a chain stitch along the edge for a decorative border.
- Back Loop Only: Insert hook into the back loop only of each stitch instead of both loops.
- Create Wave/Ruffle: Use a yarn needle to gather and fold the crocheted layers evenly to form ruffles.
Christmas Tree Video Guide
In the end, I would like to thank the designer for delivering such a nice project for the Christmas tree tutorial! You will just find her library of amigurumi tutorials like exploring a theater of lovely characters as huggable amigurumi.
What is the increase pattern for 2-6 layers?
Round 2: 1 single crochet (sc), 1 increase (inc)
Round 3: Point on point (1 sc in each stitch)
Round 4: 2 single crochet (sc), 1 increase (inc)
Round 5: This starts the “wavy” border for Level 1. 1 sc followed by an increase of 4 stitches (4 sc in a single stitch) repeated around.
Round 6: This round creates the wavy shape using a sequence of 2 sc, 2 increases, then (3 sc, 2 increases) repeated 7 times, finishing with 1 sc.