
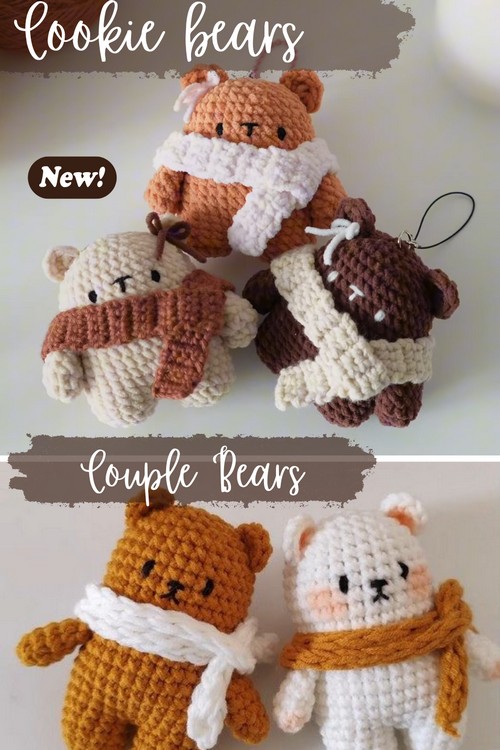
How to Crochet Two Cute Bear Keychains for Gifting (Polar, Grizzly & Cookie)
Gifting tradition is all about crochet bears and flowers! So, learn how to crochet this pair of bear keychains and a cookie bear plushie for a cute couple’s gift with a stitch-by-stitch tutorial from Avocado Handmade and Chubbies by Ash. You will crochet two versions: the polar bear and grizzly bear, with the option to customize for an even panda. Each bear wears a tiny contrasting scarf, making it suitable for even Christmas and other winter celebrations.
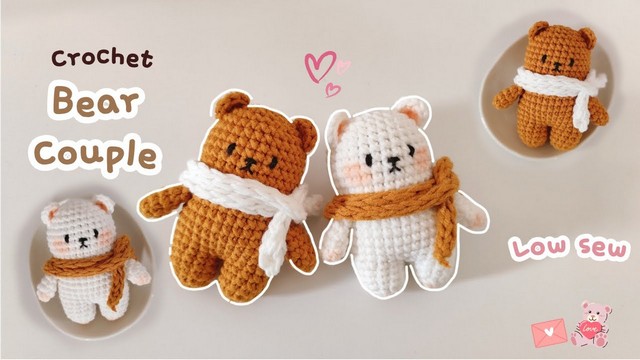
A special feature of this project is its “low-sew” design, which means the legs, body, and head are all crocheted in one continuous piece.
These crochet dolls are super easy, even for beginners, and finished with a unique kawaii face. So, if you are ready to crochet this bear set, continue reading this post till the end for the complete tutorial!
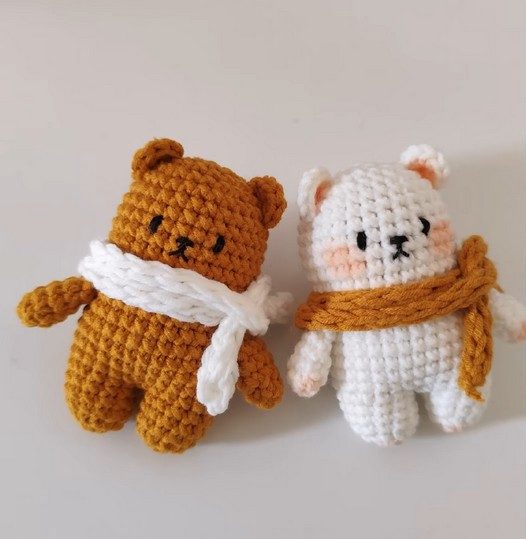
Crochet Couple Bear

About the Designer: The designer behind this set of couple bear project is @AvocadoHandmade – she crochets all things cute, but her animal amigurumi are truly next-level and just irresistible. Her tutorials are all worth checking, but especially good for puppies, cats, ducks, teddy bears, pumpkin bears, and hamsters, as well as other small items like drawstring pouches and keychains. Many of the tutorials are broken into parts to guide you through the entire process stitch-by-stitch, from head and body to attaching limbs and adding details.
Note: In respect of the creator’s pattern rights, there will be no provision of the written pattern. You can watch the tutorial with CC instructions at the end of this post.
Crochet Couple Bear Keychain Tutorial
Skill Level: Beginner. This tutorial uses a “Low Sew” method like the panda bear amigurumi. Like the usual dolls, it is worked from the legs to the head by working in the round. The magic ring is used to begin the arms, ears, and legs. The primary stitch is the single crochet (sc), which is used throughout the pattern. Increases (inc) and decreases (dec) are used to shape the pieces. The tutorial also demonstrates techniques for sewing edges together and hiding yarn tails for a clean finish.
Tutorial Timing: Approximately 36 minutes. (perfect for learning the usual and very versatile no-sew crochet bear body that can also be used for crocheting the amigurumi like the couple cat, cow, reindeer, and more. Plus the unique kawaii embroidery pattern!)
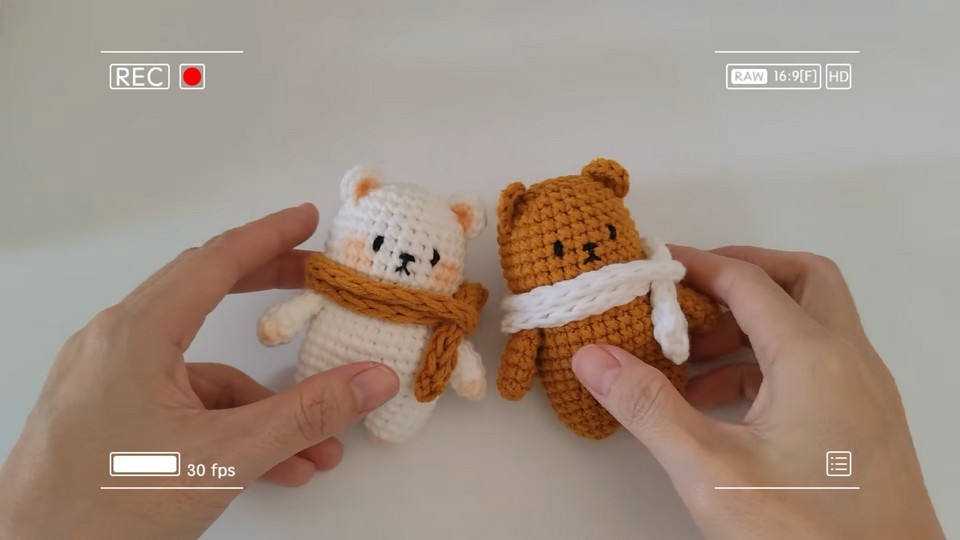
Personalization Tips: As mentioned, you can crochet the bear amigurumi in either the grizzly brown, polar bear white, or panda black and white. For using it as a keychain, attach the keyring! You can also crochet the usual face by adding safety eyes and an embroidered smile. The video provides a guide for the placement of the nose and eyes, with the nose placed between rows 17 and 18 and the eyes four stitches apart on row 18.
Pattern Type: The on-screen written pattern is available if you find written instructions easy to follow along with. Also, the tutorial is slow-paced.
Materials Needed
Unlike the usual routine, avocado mentioned the materials used. So, gather the following suggested tools and materials for crocheting this amigurumi bear:
- Yarn: “Happy Cotton” yarn from Woolclub. The video mentions it is a soft, slightly elastic yarn with a size of 2.0-2.5mm, making it suitable for beginners.
- Hook: A 3.0mm crochet hook is used for the main parts, and a smaller 1.5mm hook is used to hide yarn tails.
- Other supplies: A tapestry needle for sewing, stuffing material, and a keychain attachment.
Techniques Used
Here’s a one-line guide for crocheting each stitch and technique in this crochet bear project:
Magic Ring (MR): Wrap yarn into a loop, insert hook, pull up a loop, and crochet stitches into the ring.
Single Crochet (sc): Insert hook into stitch, yarn over, pull through, yarn over, pull through both loops.
Increase (inc): Work 2 single crochets into the same stitch.
Decrease (dec): Insert hook into stitch, yarn over, pull up a loop; insert into next stitch, yarn over, pull up a loop; yarn over, pull through all loops.

How is it done?
The process begins by crocheting the arms and ears, followed by the legs. The two legs are then joined and crocheted continuously to form the body and head. The bear is stuffed as you go to ensure it is firm. Once the main body is complete, the arms, ears, and facial details are sewn on. A simple scarf is then crocheted separately and tied around the bear’s neck to finish the project.
Complete Video Guide
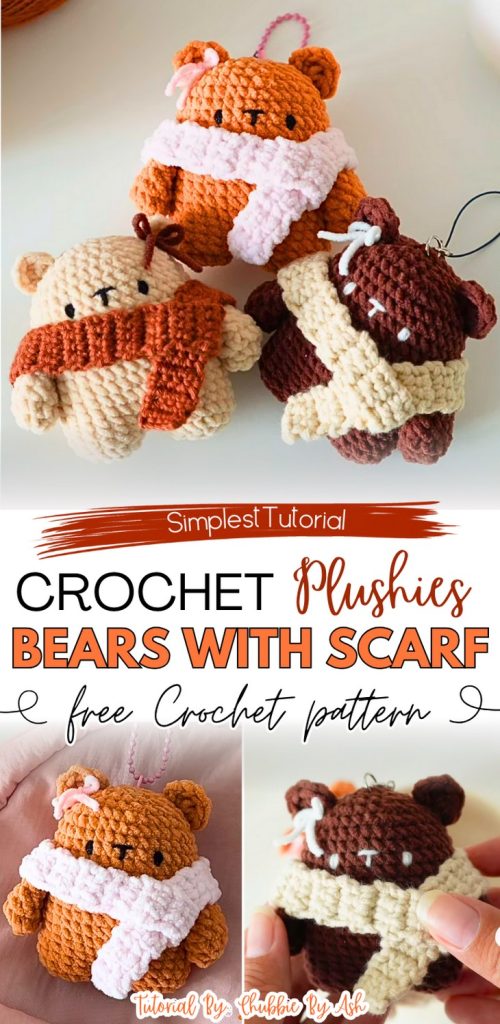
Crochet Cookie Bears
Teddy bear gifting is getting a big moment! Crochet these cute and chubby cookie bear plushies in any of three shades of brown. Each bear also wears a tiny crochet scarf and has basic mouth embroidery. Its special feature is that it is designed to be very easy and beginner-friendly, with mini mal sewing. Only the ears need to be attached. The finished bear can be a Christmas plushie, perfect for keychains, clipping onto bags, or as a handmade gift. The tutor’s suggestion is to use a milk cotton yarn, as was done in the video, to help beginners see the stitches clearly.