
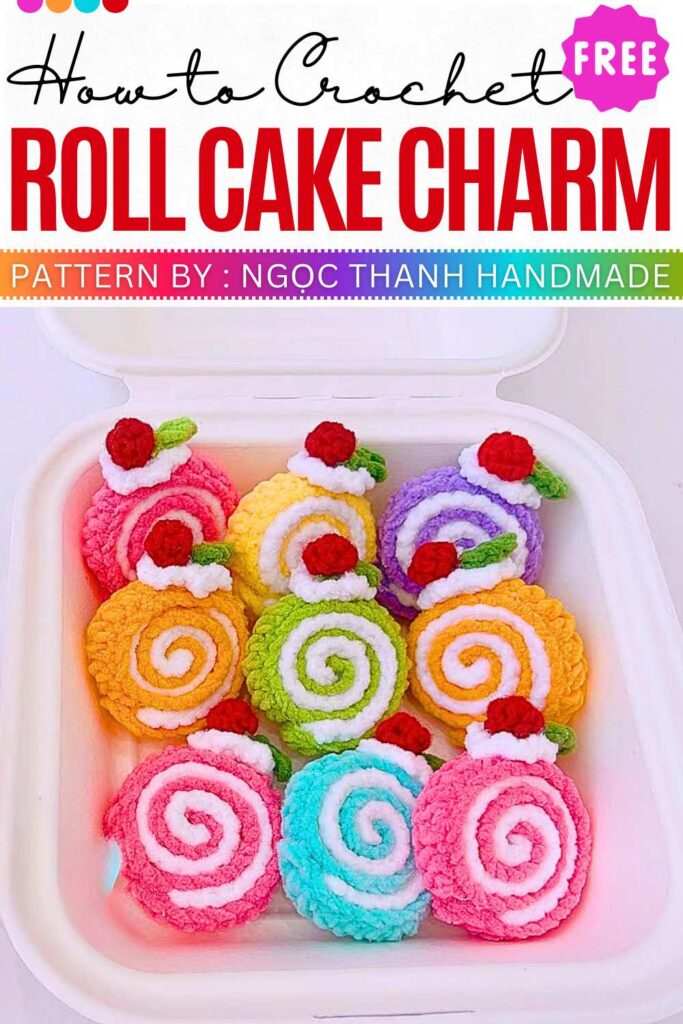
Free Crochet Cream Roll Keychain Pattern (UK and US)
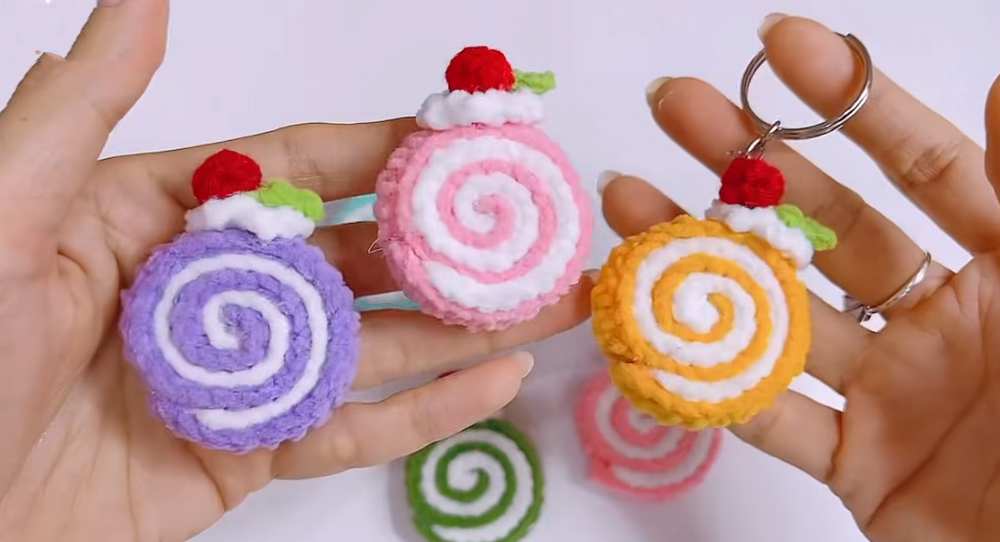
This summer, learn how to crochet this set of 6 crochet roll cakes, plushies for a person with a sweet tooth, with a free written pattern. We will be using the thin plush yarn and follow a clever method to crochet it. That is two separate rectangular strips, one as the cake base and a slightly shorter one for the cream filling.
Includes a small crochet cream topping, a green leaf, and a red cherry, and can be tried in any color. For example, you can choose red, green, purple, yellow, aqua, and orange. You can also use super bulky yarn. I will share both the UK and US patterns in this post.
The designer behind this sweet amigurumi is @NITKA_KZ – she has quite a good grasp on kawaii amigurumi designing with added cuteness and surprises. More tutorials:
This pattern guide explains how to crochet a mini roll cake (Swiss roll) that can be used as a keychain or home decor. The example uses velvet yarn for a soft texture, but standard cotton yarn also works well.
US Abbreviations & Terminology
- ch: Chain
- sc: Single Crochet
- dc: Double Crochet (referred to as “F” in the video)
- inc: Increase (one stitch worked twice into the same stitch)
- sl st: Slip Stitch
- MR: Magic Ring (often used for rounds)
Materials
- Yarn: Velvet or soft yarn (in your preferred colors for the cake, filling, cream, leaf, and cherry)
- Crochet Hook: Size appropriate for your yarn weight
Crochet Swiss Roll Cake Pattern (US)
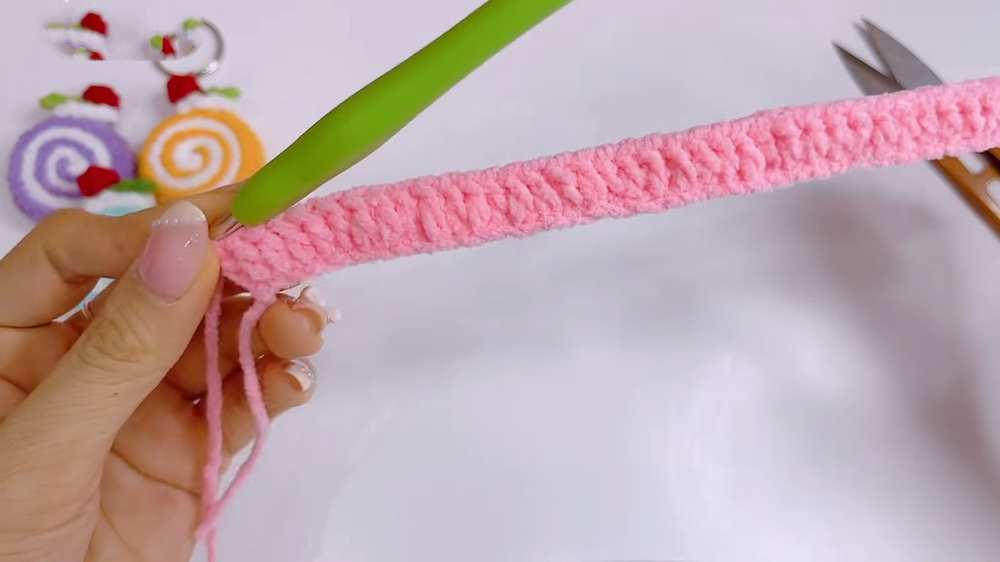
Cake Layer (Main Color)
- Step 1: Ch 50.
- Step 2: Starting in the 2nd ch from hook, work 48 dc across. Fasten off. (48)
Cream Filling (White)
- Step 1: Ch 37.
- Step 2: Starting in the 2nd ch from hook, work 35 dc across. Fasten off. (35)
Whipped Cream Topping (White)
- R1: 6 sc in MR. Join with sl st.
- R2: Ch 2, sl st in next st. Repeat 6 times around to create a ruffled look. Fasten off.
Leaf (Green)
- Step 1: Ch 3.
- Step 2: Skip 1st ch, sl st in 2nd ch.
- Step 3: Ch 1, 1 sc in last ch. Fasten off.
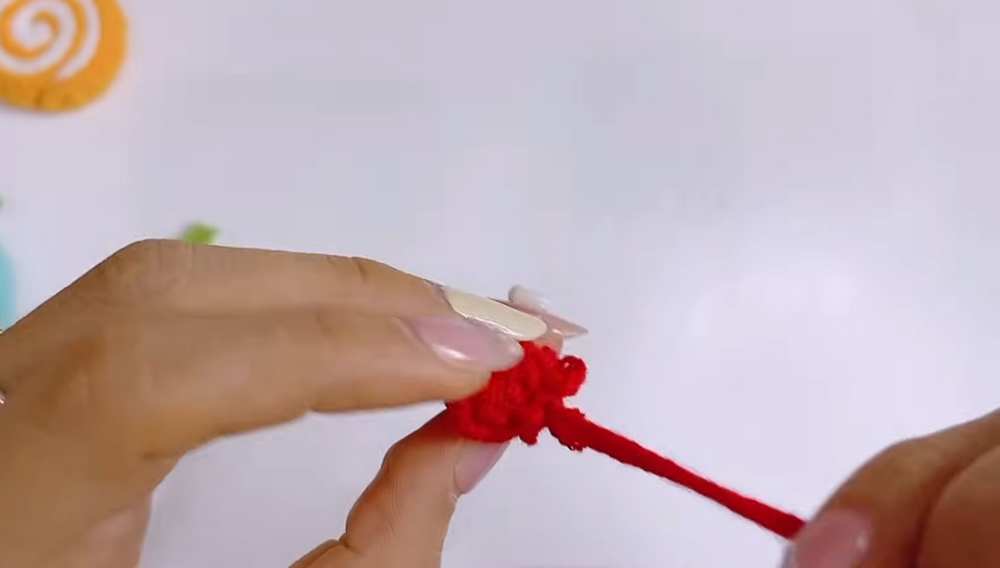
Cherry (Red)
- R1: 4 sc in MR. (4)
- R2: (1 sc, 1 inc) x 2. (6)
- Finishing: Use a needle to weave through the front loops and pull tight to close into a ball.
Assembly Instructions
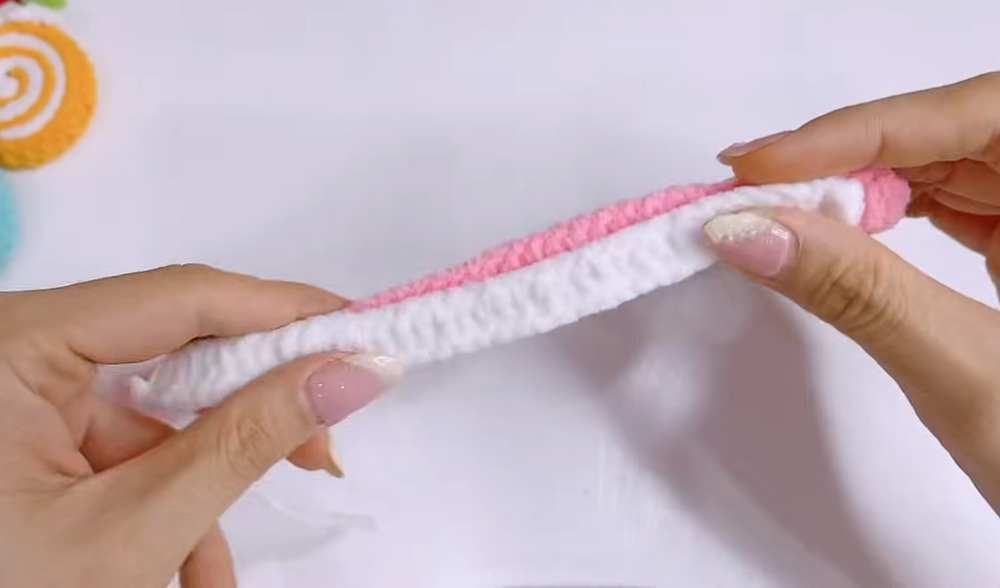
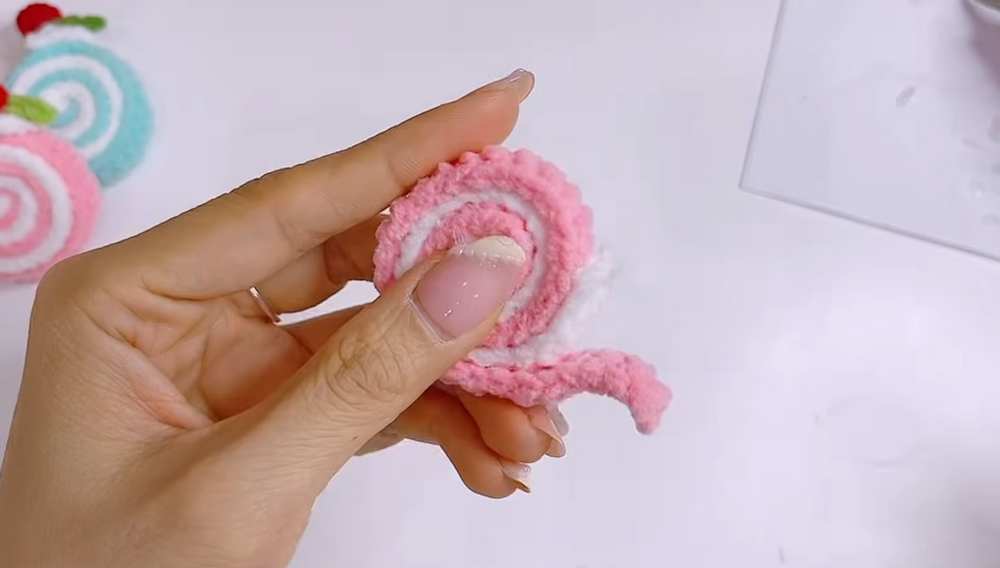
- Layering: Place the Cream layer (White) on top of the Cake layer (Pink). Offset the white piece so it sits about 2 stitches inward from the edge of the pink piece.
- Rolling: Apply a small amount of hot glue and roll the layers tightly together. Secure the end with more glue.
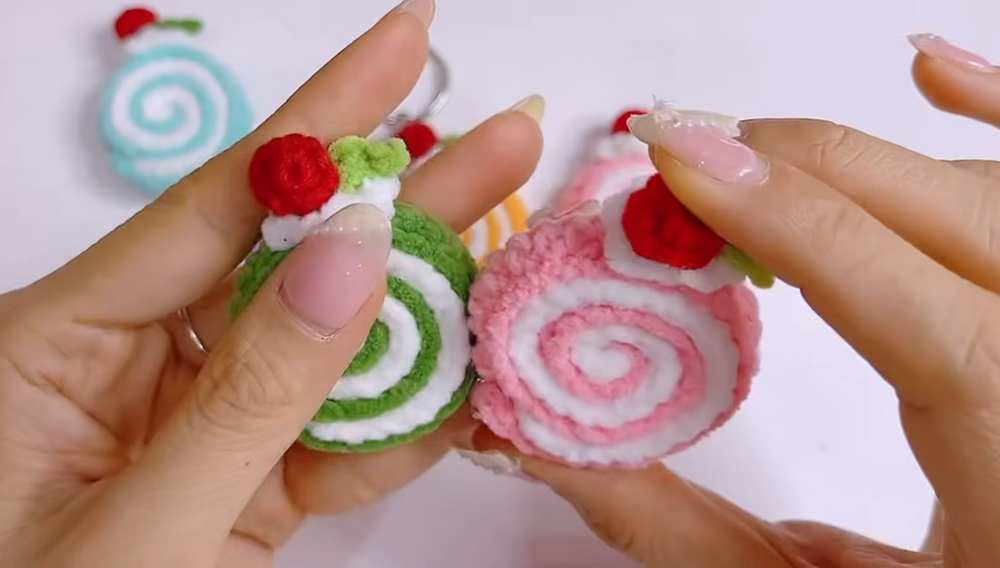
- Topping: Use hot glue to attach the ruffled cream topping to the top center of the roll.
- Accents: Glue the green leaf and then the red cherry on top of the cream.
Video Tutorial
UK Abbreviations & Terminology
- ch: Chain
- dc: Double Crochet (UK term – same as US Single Crochet)
- tr: Treble Crochet (same as US Double Crochet)
- inc: Increase (work two stitches into the same stitch)
- sl st: Slip Stitch
- MR: Magic Ring
Pattern (UK Terminology)
Cake Layer (Main Colour)
- Step 1: Ch 50.
- Step 2: Starting in the 2nd ch from hook, work 48 tr across. Fasten off. (48)
Cream Filling (White)
- Step 1: Ch 37.
- Step 2: Starting in the 2nd ch from hook, work 35 tr across. Fasten off. (35)
Whipped Cream Topping (White)
- R1: 6 dc in MR. Join with sl st.
- R2: Ch 2, sl st in next st. Repeat 6 times around to create a ruffled look. Fasten off.
Leaf (Green)
- Step 1: Ch 3.
- Step 2: Skip 1st ch, sl st in 2nd ch.
- Step 3: Ch 1, 1 dc in last ch. Fasten off.
Cherry (Red)
- R1: 4 dc in MR. (4)
- R2: (1 dc, 1 inc) x 2. (6)
- Finishing: Use a needle to weave through the front loops and pull tight to close into a ball.