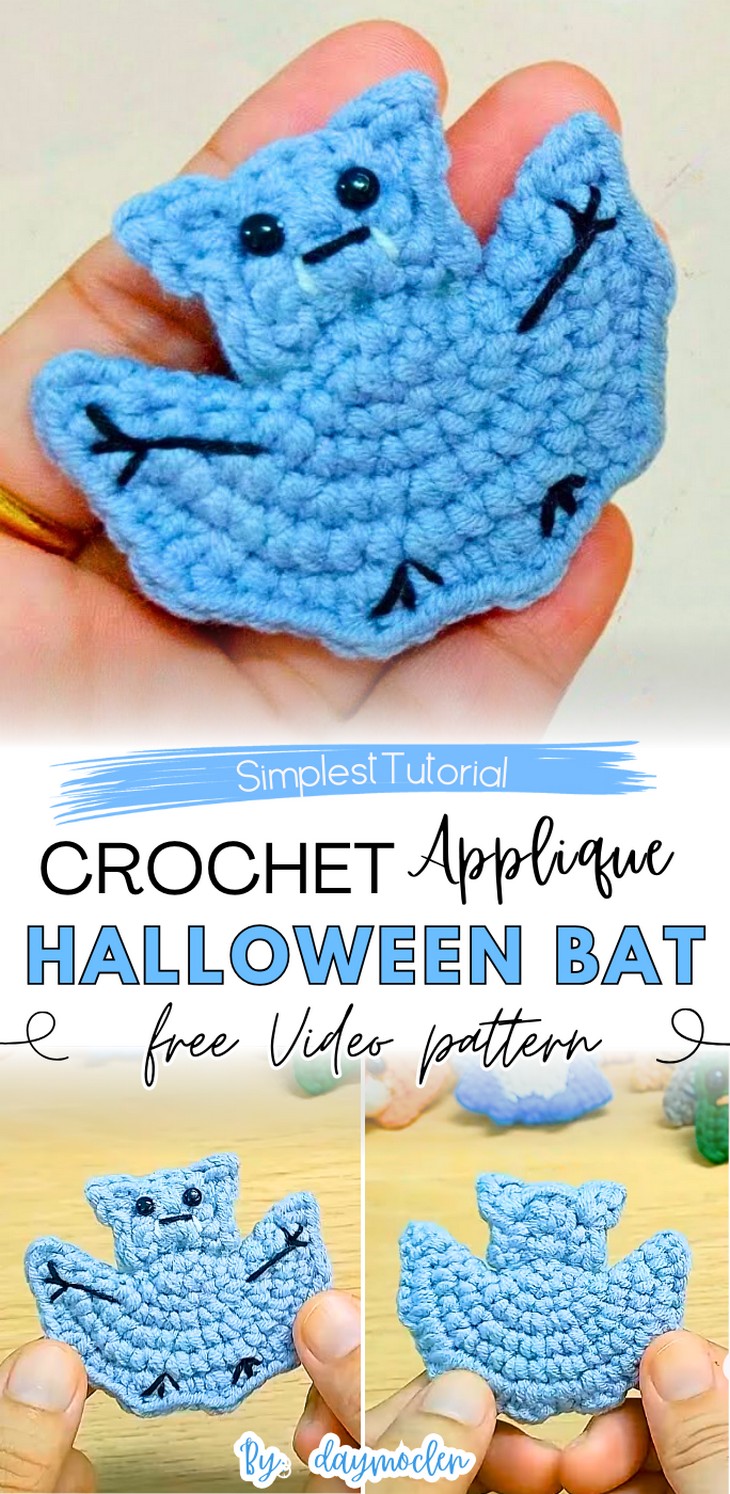
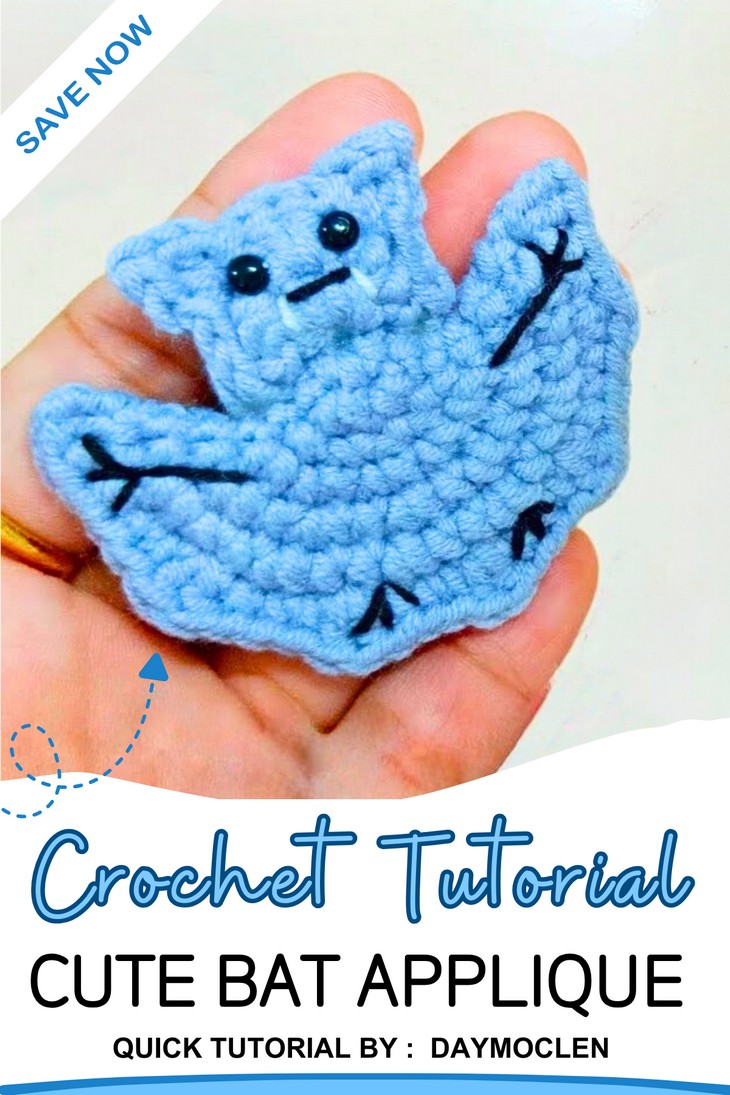
How to Crochet Cute Bat Applique for Last-Minute Halloween
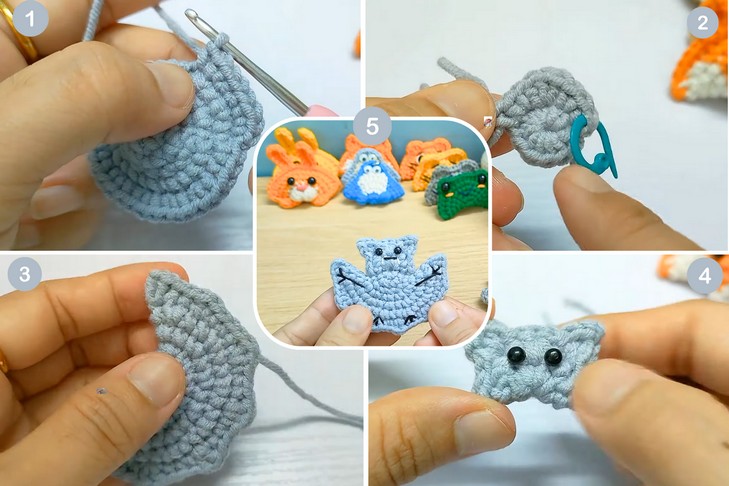
Want the quickest, easiest, and last-minute bat project for selling at craft fairs? With a stitch-by-stitch tutorial from Daymoclen, crochet this puffy, tiny, and cute flying bat applique for Halloween with little sewing and fiberfill (which is obvious!) in just 20 minutes. This crochet bat is shaped perfectly in a 2D flying pose and also features embroidered arms, legs, and a mouth, too. You can crochet it in any color as a keychain, gift charm, bag charm, or simply for decorating outfits and other accessories. Luckily, it needs simply working in the round and a bit of surface-stitching.
So, if you have made up your mind to crochet this festive bat for Halloween, continue reading this post till the end. There you will find the complete tutorial.
About the Designer: The designer behind this Halloween 20-minute bat is @daymoclen – she is an excellent teacher, amigurumi, and accessory designer. Her large library has tutorials for amigurumi animals like a fox, cat, capybara, frog, and more as either a ring, no-sew mini amigurumi, or keychains. Accessories like flowers and flower bouquets, bags, backpacks, scarves, and keychains are available as well. Her designs are simply oh-so cute and creative.
Some tutorials are specifically noted as being “NO SEW” and suitable for beginners. The channel name itself translates to “Teach Crochet so you will also find the tutorials for crochet amigurumi basics, like tips for color changes.
Note: In respect of the creator’s rights, there will be no provision of the written pattern. You can watch the tutorial with on-screen written instructions at the end of this post.

Crochet Bat Applique Tutorial
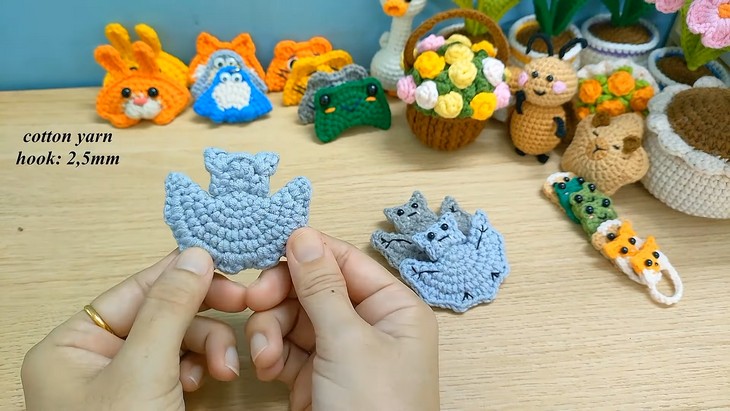
Skill Level: Beginner – Intermediate. The pattern is worked in rounds in one color, crocheting the head of the bat applique and body separately. The main stitch throughout the pattern is the single crochet and single crochet increase, but after the main circle, a pattern of double crochet is used in addition. You will also fold and sew the sides using a needle.
Other stitches include the half double crochet for the ears, the double crochet for the body’s border, and the chain stitch for starting new rows. Overall, ending with embroidery, this Halloween project is super easy for beginners.
Tutorial timing: Approximately 16 minutes only (perfect for learning crochet shaping while working in the rounds, applique designing, and embroidery. The actual Halloween applique will also take no longer than the teaching time, so you can crochet it as-you-go since every row is taught. It is also great for practicing working with small parts and seamless sewing!)
Personalization Tips: The tutor mentions that the completed bat can be used as a keychain. Additionally, it suggests using glue to attach the head to the body, which gives you a simple way to assemble the amigurumi. You can also explore different yarn colors or textures to create a unique bat from purple to black, and even blue. You can also embroider the fangs more prominently using black yarn and make a different facial expression or use a thicker yarn for a larger size.
Pattern Type: An on-screen written pattern is available if you find written instructions easy to follow along with. The instructions are written using US terms.
Materials Suggested
The tutorial specifies this list of materials and tools needed for the mini appliqué bat project for beginners. Gather the same for the same results:
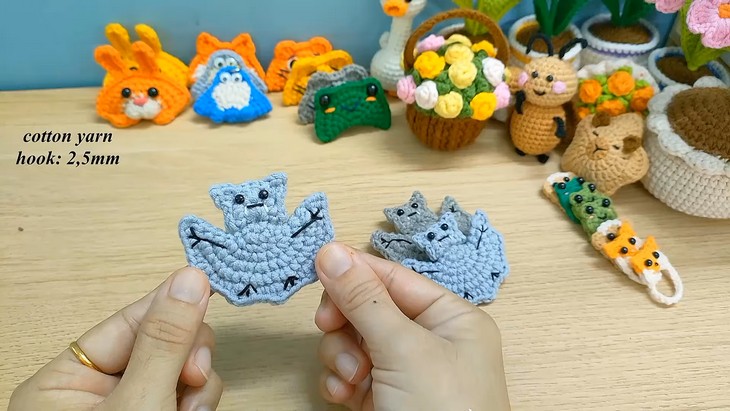
- Yarn: M Cotton 125g Type 1 yarn
- Hook: A 2.5 mm crochet hook
- Other: You can use glue to attach the head to the body.
Techniques Used
Here are the quick crochet guides for crocheting each stitch mentioned and used in the tutorial for crocheting this puffy bat applique:
- Single Crochet: Insert the hook into the stitch, yarn over, pull through, yarn over again, and pull through the two loops on the hook.
- Single Crochet Increase: Work two single crochet stitches into a single stitch to add more stitches to your work.
- Double Crochet: Yarn over, insert the hook into the stitch, yarn over, pull up a loop, yarn over, pull through two loops, yarn over, and pull through the final two loops.
- Half Double Crochet: Yarn over, insert the hook into the stitch, yarn over, pull up a loop, and then yarn over and pull through all three loops on the hook.
- Chain Stitch: Yarn over and pull the yarn through the loop that is already on the hook.