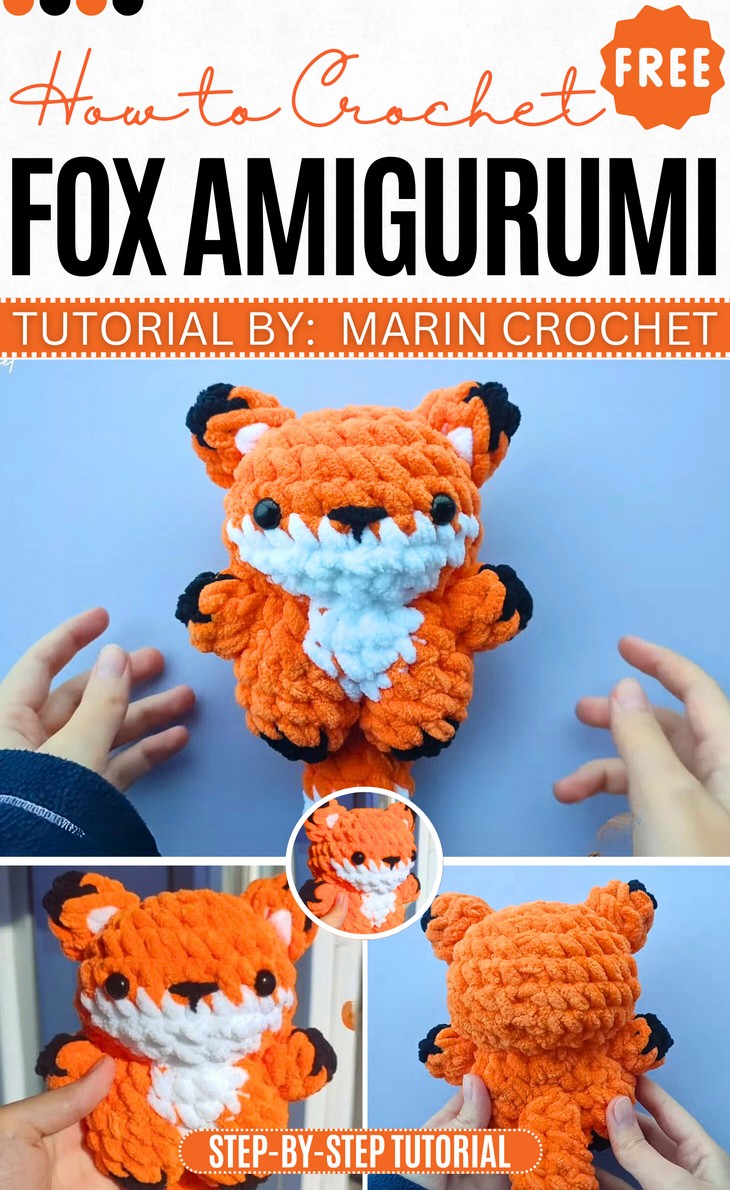
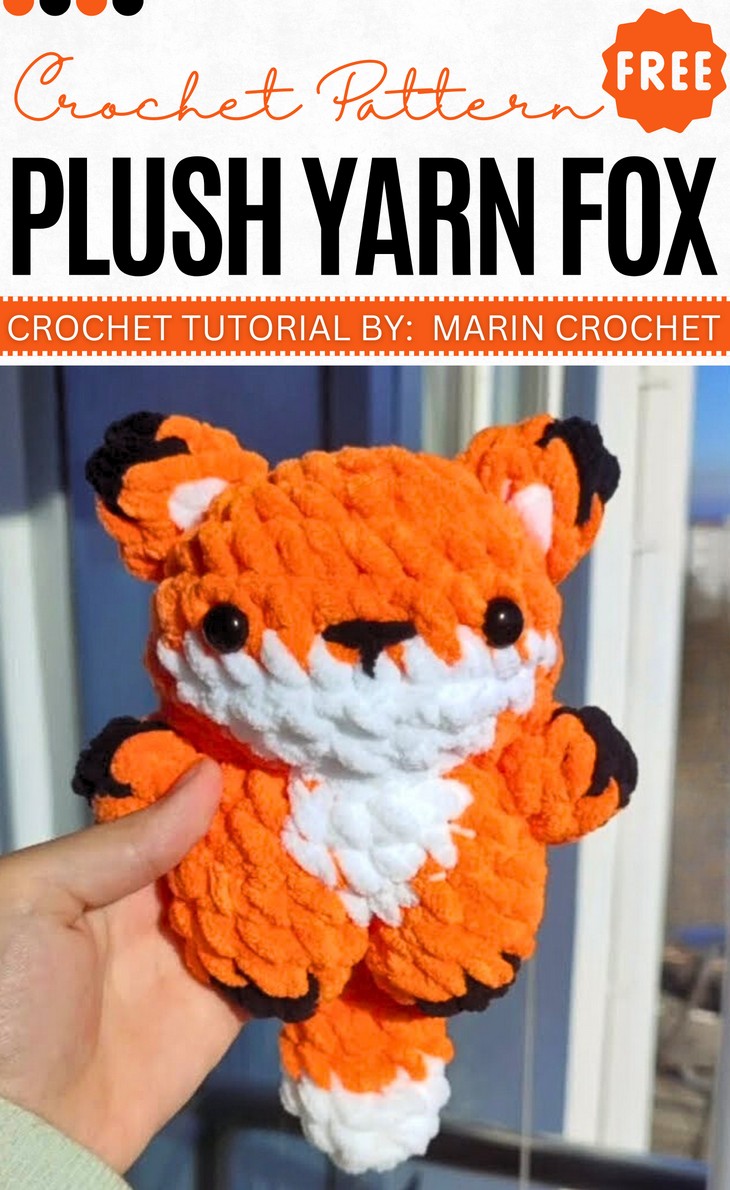
How to Crochet Cute Fox Plushie for Autumn (Plush Fox Doll)
Your crocheted fall companion is here with the same softness and cuteness. With a stitch-by-stitch tutorial, learn how to crochet this large yet quick-hugging fox plushie that requires a little sewing, and you’ll be done in just one hour. With the kawaii fox shape, it has a larger-than-life tail, standing legs, and arms ready to hug. Crochet one this autumn for a little one around you. It also has basic colorwork, which becomes manageable thanks to the use of super bulky yarn. This woodland amigurumi is certainly irresistible.
So, if you have made up your mind to crochet this large fox plushie, continue reading this post till the end. It will be worth crocheting!
About the Designer: The designer behind this super cute plush fox is @marin_crochet – she always crochets the cutest kawaii amigurumi and plushies with a particular emphasis on cute animals and characters like bunnies, bears, penguins, and even a “Little Bunny in Overalls.” The channel also features tutorials for accessories and other projects. Her videos provide free patterns and detailed instructions, often with timestamps to guide you through the different stages of creating a project.
Note: In respect for the creator’s pattern rights, there will be no provision of the written pattern. You can watch the tutorial with on-screen written instructions at the end of this post.

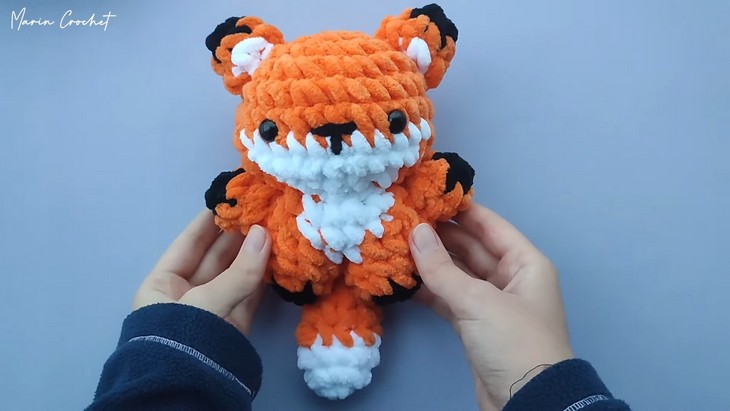
Cute Fox Plushie Amigurumi Tutorial
Skill Level: Beginner – Intermediate. The tutorial provides instructions for a magic ring to begin projects in the round and relies on single crochet (sc) stitches for most of the body parts. The video also covers essential shaping techniques such as increasing (inc) and decreasing (dec) to create the fox’s head, body, and tail. These techniques are used to manipulate the shape of the crocheted piece, giving it its three-dimensional form.
Personalization Tips: You can also add more details to the crochet fox‘s face by creating and attaching eyelashes and embroidering the smile. Crochet a smaller version using worsted or DK yarn.
Tutorial Timing: 1 hour (super detailed, perfect for improving your skills as a beginner, including the color changes and sewing.)
Pattern Type: On-screen written instructions are available if you love written instructions, thanks to their ease of following.
Materials Needed
Gather the following crochet supplies that the tutor suggested for crocheting this cute fox plushie:
- Plush Yarn: Thick, soft, velvety yarn that gives the fox its fluffy, squishy texture. Commonly used for making cuddly amigurumi. You can use Baby Bernat Blanket yarn.
- 8mm Crochet Hook: A large hook suitable for plush yarn. Creates tight enough stitches to hold stuffing inside but still workable.
- Darning Needle Used to weave in yarn ends and sew body parts (ears, arms, legs, tail) onto the fox.
- 12mm Safety Eyes Plastic eyes with washers, snapped in place for a secure and safe finish. Give the plush its cute expression.
- Scissors
- Cotton (Stuffing)
Techniques Needed
You will need the following stitches and techniques to crochet the plush fox. To make yourself familiar with the abbreviations and stitches to read the pattern, make sure to check this cheat list:
- MR (Magic Ring) – Form an adjustable loop to begin crocheting in the round.
- Sc (Single Crochet) – Insert hook, yarn over, pull up a loop, yarn over, pull through both loops.
- st (Stitch) – Refers to the individual “V”-shaped loops from previous rows or rounds.
- sl st (Slip Stitch) – Insert hook, yarn over, pull through stitch and loop on hook in one motion.
- inc (Increase) – Crochet two stitches into the same stitch.
- dec (Decrease) – Crochet two stitches together into one stitch.
- ch (Chain) – Yarn over, pull through loop on hook to create the foundation or turning chains.
Complete Video Guide
Questions You May Ask
1. Should I use safety eyes or embroidered eyes for the fox’s face?
If the toy is for young children, embroidered eyes are safest. If it’s for display or older users, safety eyes add a polished finish—but be sure to secure them firmly with washers.
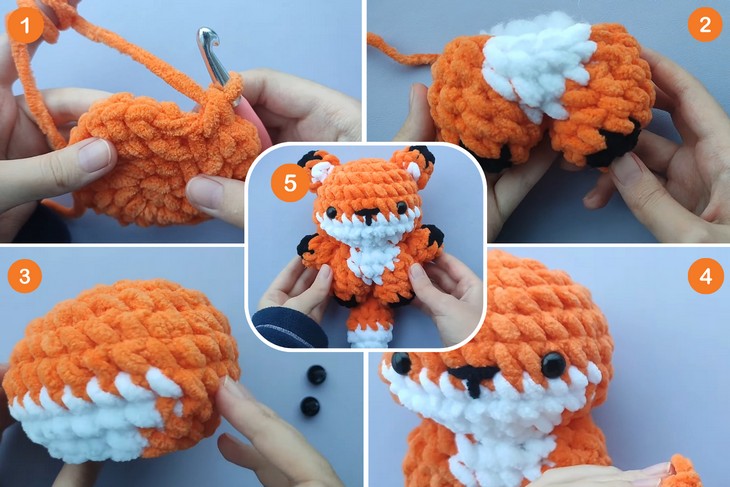
2. What’s the best way to stuff and assemble the fox?
– Stuff parts (head, body, limbs) firmly—but not overstuffed—using small amounts at a time for even shape.
– Use the invisible decrease (crocheting two stitches together tightly) to close gaps cleanly.
– Attach parts (ears, limbs, tail) with a yarn needle and matched yarn color, ensuring they’re secure and aligned symmetrically.
3. How do I choose the right hook size for a neat, tight fabric?
Select a smaller hook than the yarn recommends—this helps create a dense fabric so the stuffing is not visible. Practice a gauge swatch: tiny gaps mean you’ll need to go smaller; overly tight stitches might require bumping up a hook size slightly.
Tips for Working with Plush Yarn
Working with plush or “fluffy” yarn can be challenging because it’s difficult to see your stitches. However, with the right approach, the beautiful, soft result is well worth the effort.
- Feel for your stitches: Instead of relying on your eyes, use your fingers to feel for the loops and stitches. This is the most crucial skill to develop when working with this type of yarn.
- Use a larger hook: A larger hook size than recommended on the yarn label can make it easier to find and work into the stitches.
- Count your stitches: Count every stitch in every row, especially when you are a beginner, to ensure you maintain the correct stitch count.
- Use stitch markers: Place stitch markers at the beginning and end of each round or at regular intervals to help you keep track of your progress.
- Work in good light: Good lighting, especially natural light, can help you see the stitches more clearly.
- Maintain even tension: A looser, even tension will help you feel and work your stitches more easily than a tight, mixed tension.
- Embrace mistakes: The plush texture of the yarn is very forgiving and hides minor mistakes, so don’t worry about being perfect.
- Choose a simple pattern: Start with a simple pattern, like a basic tube, to get a feel for the yarn before moving on to more intricate projects.