
20 Free Crochet Daisy Keychain Tutorials for Spring
The best keychain you can make for spring is with not doubt the daisy keychain. And you can learn how to crochet a daisy in your favorite variation from these 20 free crochet daisy keychain tutorials. From the amigurumi daisy to the flat daisy, basic to intermediate daisy, this small list has everything.
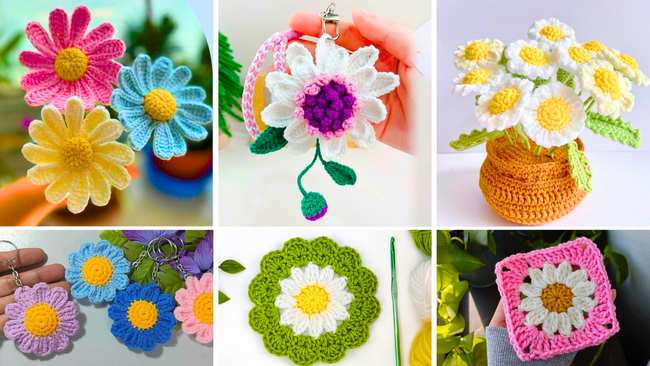
You can crochet daisies with many different petals, too. Even the daisy doll keychain. You will love all of them.
Crochet Daisies Guide
Check these crochet daisies for making your bags and keys special for spring. Shared already:
01 of 20 Crochet Amigurumi Daisy Buddy Keychain
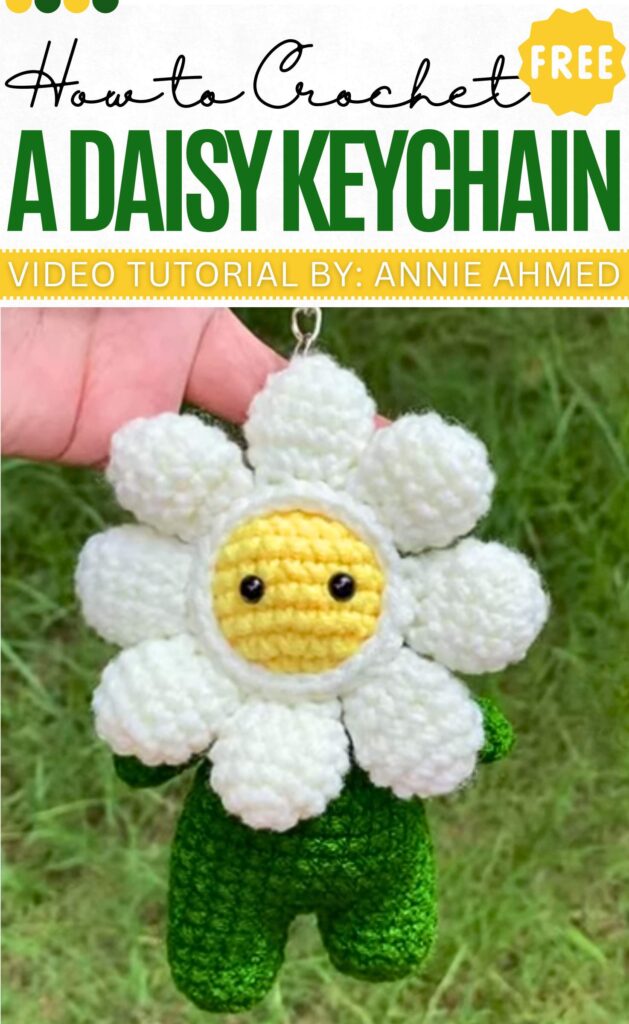
With an amigurumi doll body and eyes, this crochet daisy keychain is so unique and cute. The green body is basic, no-sew, and easy to crochet. This starts with two amigurumi legs separately crocheted, joined with a slip stitch, and the rest of the body is worked around them.
You will crochet an amigurumi daisy with 8 petals around the yellow centre. You can also embroider the mouth, but the opposite one looks cuter. Needs Milk Cotton yarn in three colors.
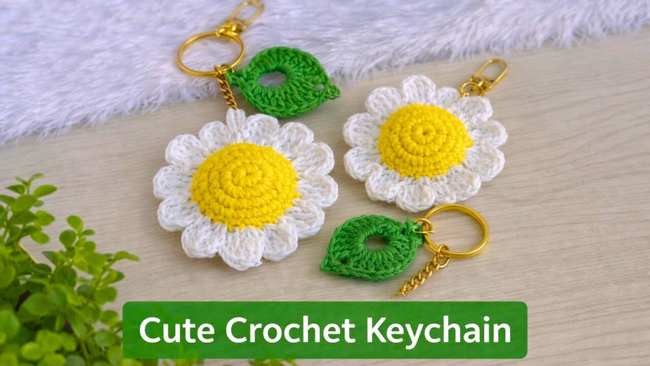
02 of 20 Crochet Flat Daisy Keychain
In less than 12 minutes, learn how to crochet a flat daisy bag charm with two leaves and a crochet string for attaching. There will be 12 petals per daisy, and also two eyes. The method of crocheting the daisy is easy and no-sew.
It needs sewing for assembly and can be attached to the handle of your tote bag. It only needs the basic crochet stitch.
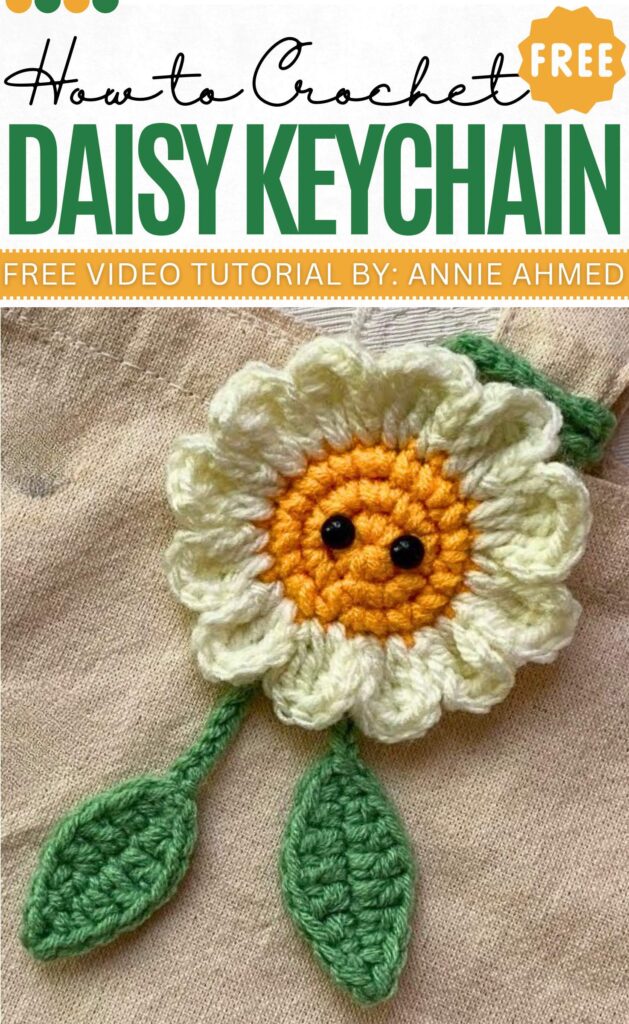
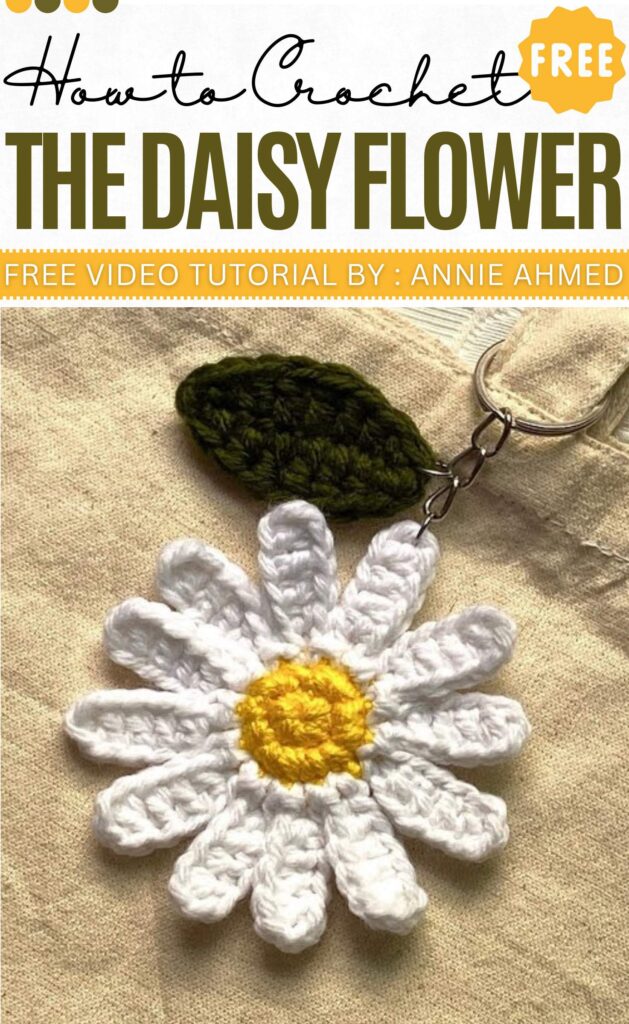
03 of 20 Crochet Cute Daisy Keychain
Follow this tutorial to crochet a trendy amigurumi daisy flower keychain with flat petals and a single leaf. This one also has embroidery, blush, and the safety beads. Crochet the leaf by working in flat rows using stitches of different heights.
The finished one will measure about 2.5 to 3 inches. The tutorial is also only 14 minutes long with an on-screen pattern for ease of following.
04 of 20 Crochet Pink Daisy Charm
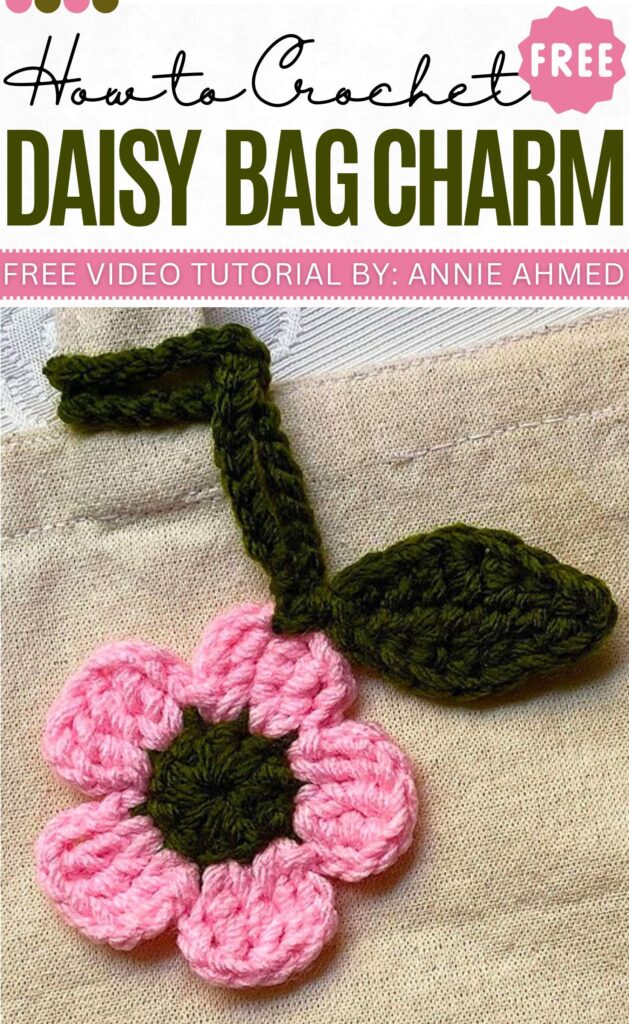
This 5-petal flat daisy flower keychain with a leaf is so easy and cute. You will try a unique color combo of dark green and pink. It can be attached to your bag handle, as you will also learn how to crochet the cord for hanging. If you have thin yarn, the tutor will show you tricks to work with two yarn strands at once to make it a little bigger.
When you start with the magic ring, the whole flower pattern is just two rounds. It is easy and beginner-friendly.
05 of 20 Crochet Daisy Keychain with Many Petals
With this tutorial, learn how to crochet a large daisy keychain with longer petals and a smaller centre. You will need chain, single crochet, half-double crochet, and double crochet for it. If you have 3ply acrylic yarn, use double strands of it.
This will again be a white and yellow daisy worked only in two rounds. Crochet it for sure this spring.
06 of 20 Crochet Pure Daisy Keychain
The leaf pattern in this amigurumi daisy keychain is of interest and is unique. You can also crochet the leaf as a separate keychain. Needs the stitch as large as treble crochet.
07 of 20 Crochet Daisy Flowers And Pots
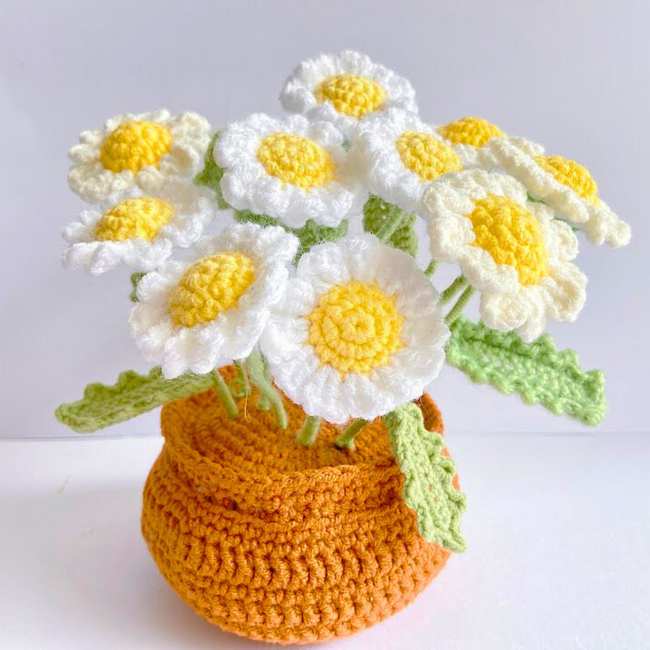
Learn how to crochet a charming bouquet of daisy plants in a pot. It starts with crocheting the flower’s center using yellow yarn in a magic ring, followed by building the petals with white yarn using double crochet and chain stitches.
A green leaf is fashioned with a central wire for stability, and the stem is wrapped in matching green yarn.
The project also includes a “dirt” base and a small pot, both worked in rounds with single and double crochets.
Finally, the components are assembled and sewn together, resulting in a delightful, handmade floral decoration.
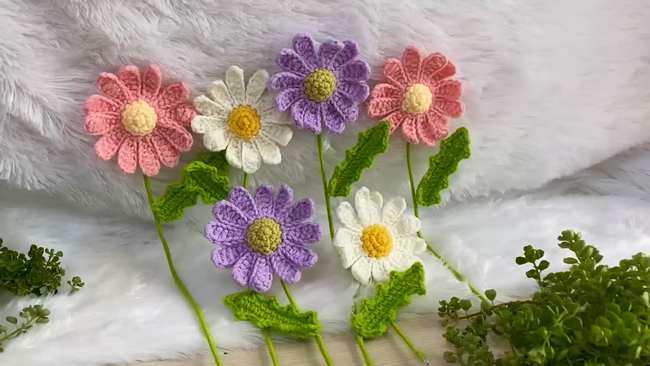
08 of 20 Crochet Daisies Flowers
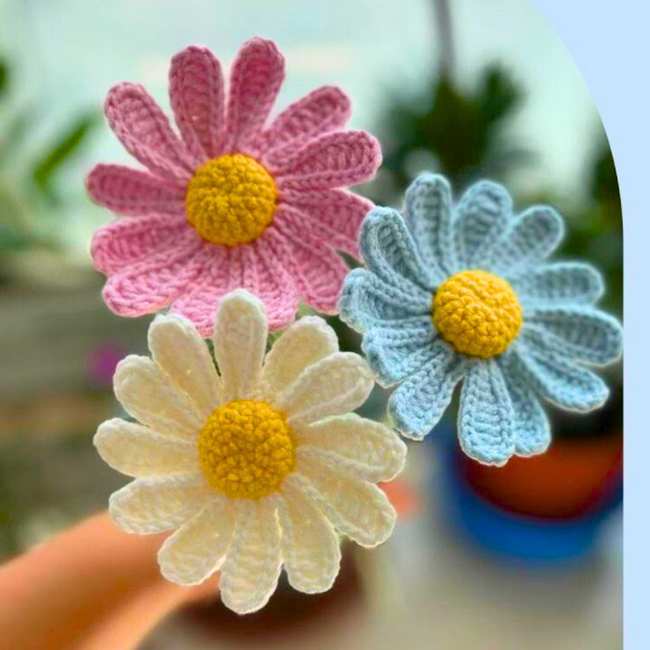
Here is how to crochet a daisy flower with a stuffed centre and 12 petals. The first part of the series focuses on constructing the yellow center of the daisy, utilizing a magic ring foundation to ensure a tight and professional finish.
With the craft wire stem, you can put this in your vase and also crochet a bouquet of the daisy. Choose from the white, pi,nk or blue. The orange centre will work fine.
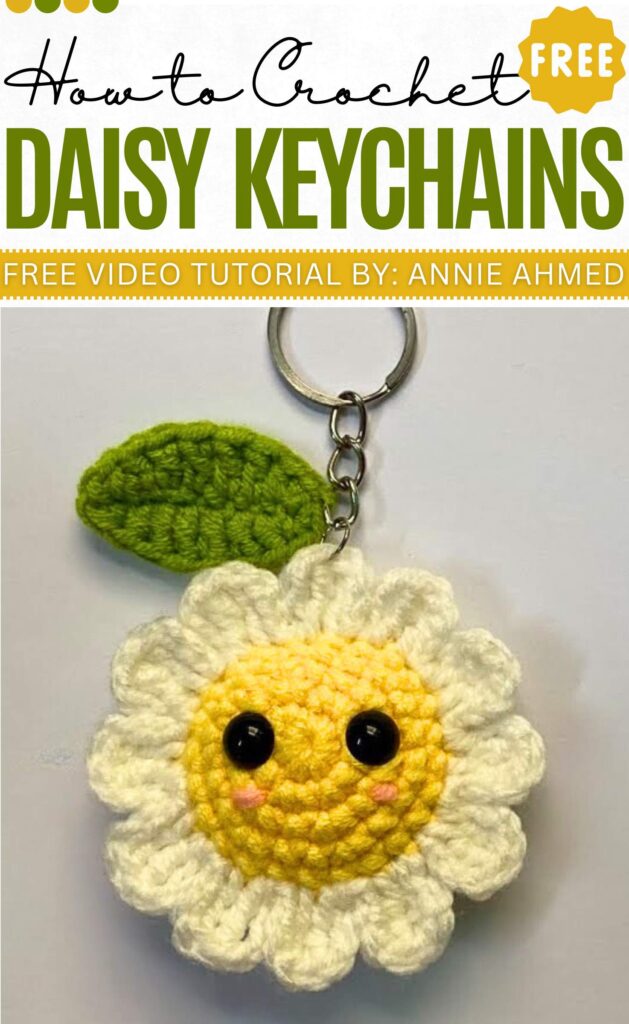
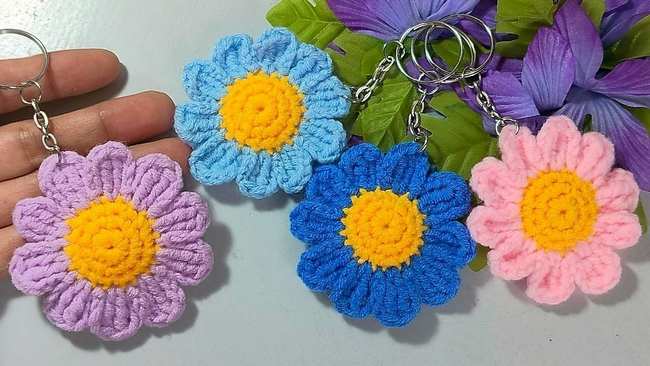
09 of 20 Crochet Daisy Keychain
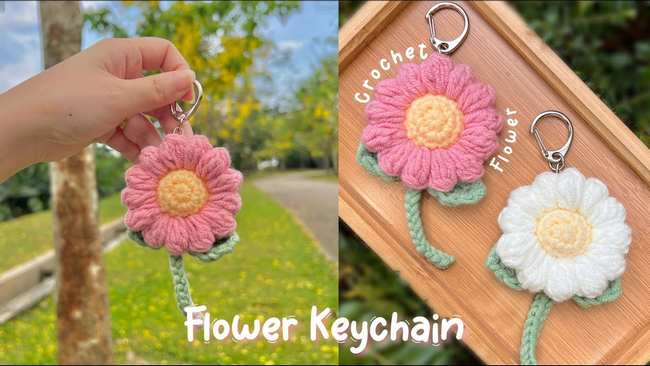
Crochet a charming puffy daisy flower keychain with a yellow center using a magic ring and basic stitches. White yarn is then introduced to crochet the petals, which are worked directly into the edges of the center to give the flower its signature look.
You can also use the pink yarn for the petals. The creator demonstrates how to join the pieces seamlessly and attach a metal keychain ring for functionality.
10 of 20 Crochet Flat Daisy Coaster
Here is how to crochet a crochet daisy coaster and doily. The project begins with a yellow magic circle, into which you work twelve double crochet stitches to form the flower’s center. After fastening off the yellow yarn, you attach white yarn to create the petals using a combination of triple crochet stitches clustered together.
The third round introduces green yarn, worked into the spaces between petals with half double crochet stitches to build the base.
11 of 20 Crochet Daisy Flowers For Springs

Here is how to crochet a daisy flower with a step-by-step tutorial. Crochet a yellow center made using a magic ring and single crochet stitches, which are increased to achieve the desired size. Two identical center discs are crafted and joined with white yarn to form the petals.
Each petal is created by chaining a specific length and working a combination of double, half-double, and single crochet stitches back toward the center. Before finishing, the flower is stuffed with fiberfill for a 3D.
12 of 20 Crochet Daisy Keychain Idea
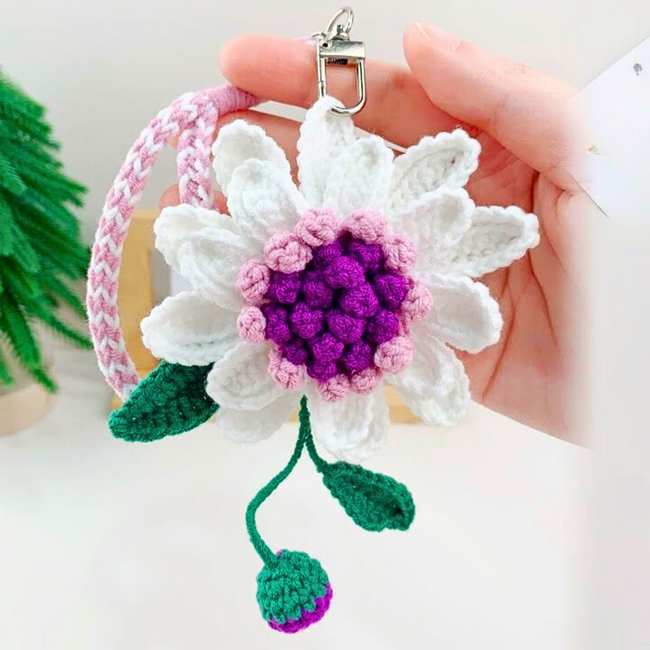
Here is a step-by-step guide for creating a beautiful blue-eyed daisy pendant. Crochet the flower center, using a magic ring and multiple rounds of purple and green yarn to crochet the best textures. Petals are crocheted in two layers using white yarn, with floral wire integrated to allow for shaping.
The crocheter also demonstrates how to crochet additional components, including a calyx, flower bud, and leaves of varying sizes.
13 of 20 Crochet Daisy Bag Charm
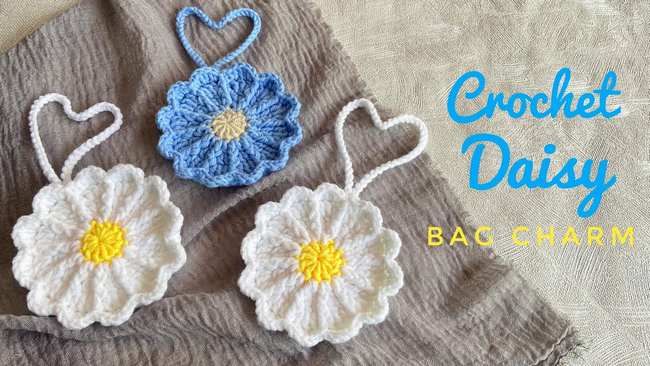
Let’s crochet a charming daisy bag charm that doubles as a functional small pouch. Ideal for beginners, it starts with a magic ring where the tutor works eleven double crochets to form the flower’s yellow center.
The pattern changes from yellow to white yarn for the petals, using double crochet increases to expand the shape. Crochet it today.
14 of 20 Crochet Daisy Bouquet
Here is how to crochet a customized flower charm from the Kane’s tutorial. It forms the classic, long-stemmed daisy flower for bouquets.
- Starts with a yellow magic ring, working small single crochet stitches to create a flat, circular center.
- Uses white yarn to create long, elegant petals using a combination of chain stitches and slip stitches around the circumference of the center.
15 of 20 Crochet Daisy Square
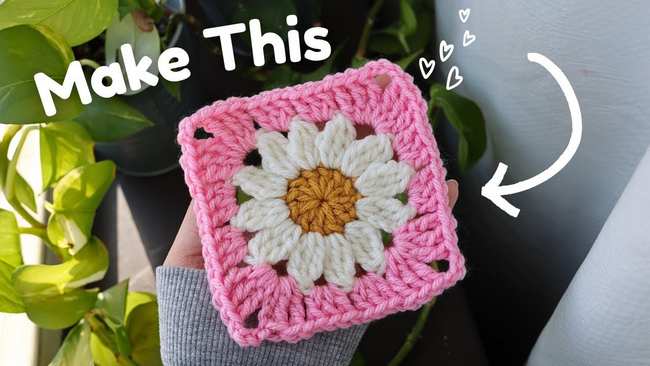
Learn how to crochet a 3D daisy into a functional 4.5″ x 4.5″ square.
The Flower: The center uses double crochets, while the 12 white petals are made using triple crochets worked together to create a “puff” effect.
Squaring Off: To turn the circle into a square, pink yarn is used. The corners are formed by sets of triple crochets and chain-3 spaces, while the sides are flattened using standard double crochets.
16 of 20 Crochet Daisy Flowers Amigurumi

Cherricrochet provides a very in-depth tutorial for a sturdy, stuffed daisy with the craft stems and the long leaves.
The Construction: Unlike flat flowers, this uses two circular pieces (yellow for the top, green for the “sepal” bottom). They are joined together while stuffing the inside with fiberfill to make the flower head 3D.
The Petals: Simple double crochets are worked through both layers.
The Leaf: Includes a clever method of crocheting over a craft wire to make the leaf poseable.
17 of 20 Crochet Daisy Keychain
Kat Adriayes demonstrates a quick, beginner-friendly flower keychain project.
Design: This version is smaller and flatter than the amigurumi version, making it ideal for keys. It uses a high-contrast yellow center and white petals created with a sequence of chains and double crochets.
Finishing: A metal keychain ring is secured through the top of one petal or a custom chain loop.
18 of 20 Crochet Daisy Coasters
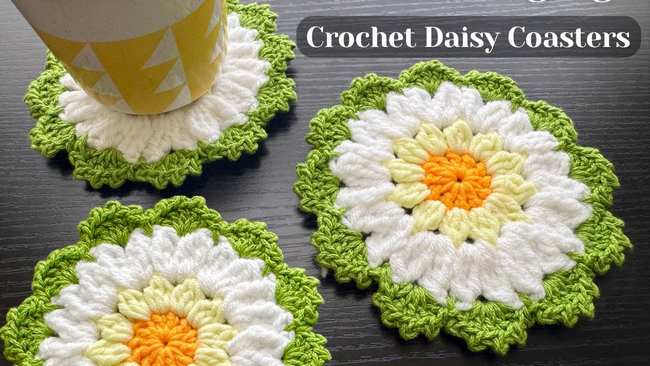
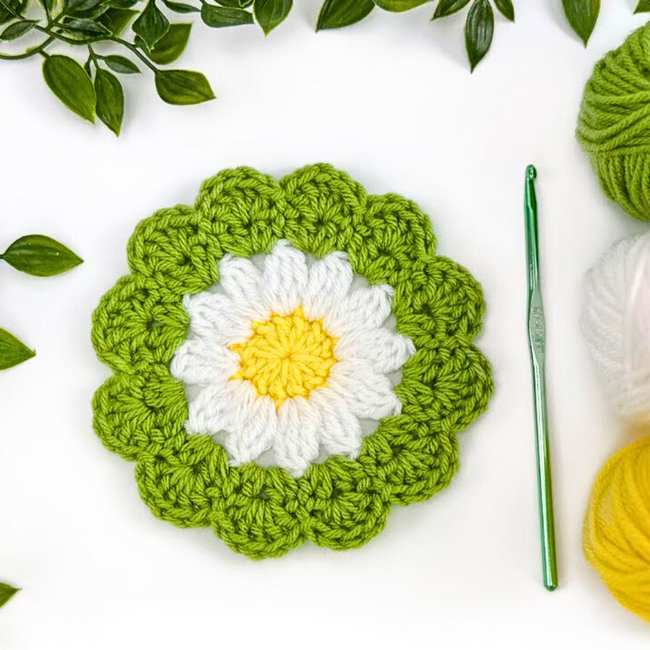
Make It Yourself By Papari shows how to make wide, absorbent flower-shaped coasters.
The Petals: Uses a “three double crochets together” cluster stitch to create large, textured petals.
Edge Detail: Features a unique green border using Pico stitches, which gives the effect of tiny leaves or a decorative frame around the flower petals.
19 of 20 Crochet Daisy Keychain
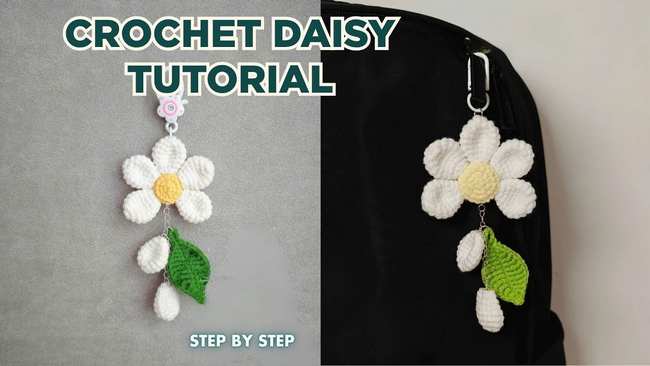
Ngochan Crochet shares a hanging daisy flower charm eychain that features multiple parts.
The Center: A stuffed 3D sphere made with single crochet increases and decreases.
The Petals: Interestingly, the petals are made as separate 3D units (7 total) that are stuffed and then sewn to the center.
The Leaf: Uses a long chain-20 foundation to create a larger, decorative leaf.
20 of 20 Crochet Flat Daisy Bookmark
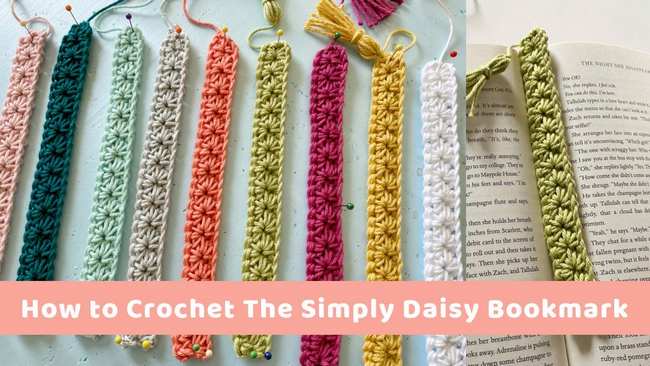
This Pixie Creates uses the Star Stitch to create a beautiful, flat texture for a bookmark.
Texture: Instead of traditional petals, the “Star Stitch” creates a repeating floral pattern across the length of the bookmark.
The Tassel: The tutorial includes a guide on how to make a custom 3-inch yarn tassel to attach to the end.
Pro Tip: She recommends “blocking” the bookmark (using steam or water) to ensure it stays perfectly flat inside a book.