
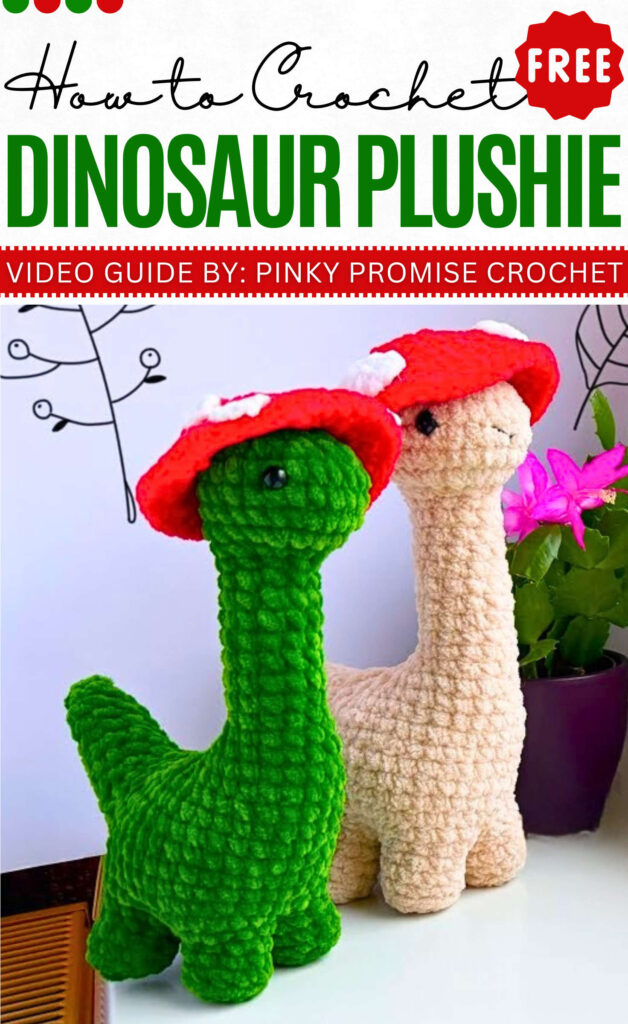
How to Crochet Dinosaur Plushie with Mushroom Hat
If you are looking for the most creative way to crochet a Brontosaurus dinosaur, here is a tutorial for you. You will learn how to crochet a cute baby dinosaur plushie wearing a mushroom hat that will become a favorite instantly.
The tutor has called this crochet Bronto plushie the “Mushroomosauras,” which suits its look the best.
You can crochet it either in completely green or beige. The dinosaur body is no-sew, words up fast with the super bulky yarn.
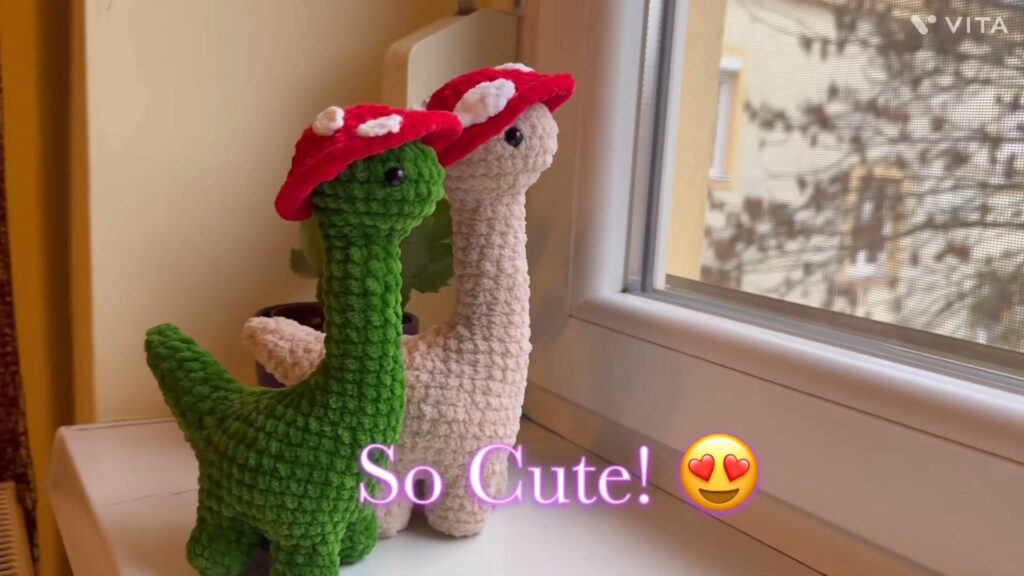
She has designed it to stand on its own on your table and is easy enough for beginners. So, try for a little one today.
Crochet Dinosaur Plushie
The Designer of Dino Plushie:
The designer behind this crochet dino plushie is @Pinkypromise_crochet – she has quite a good expertise in crochet amigurumi and is always able to find new ways of crocheting cute amigurumi and plushies.
But needs your support since her amigurumi seems a bit underrated, maybe due to increased competition. So, make sure to follow her library.
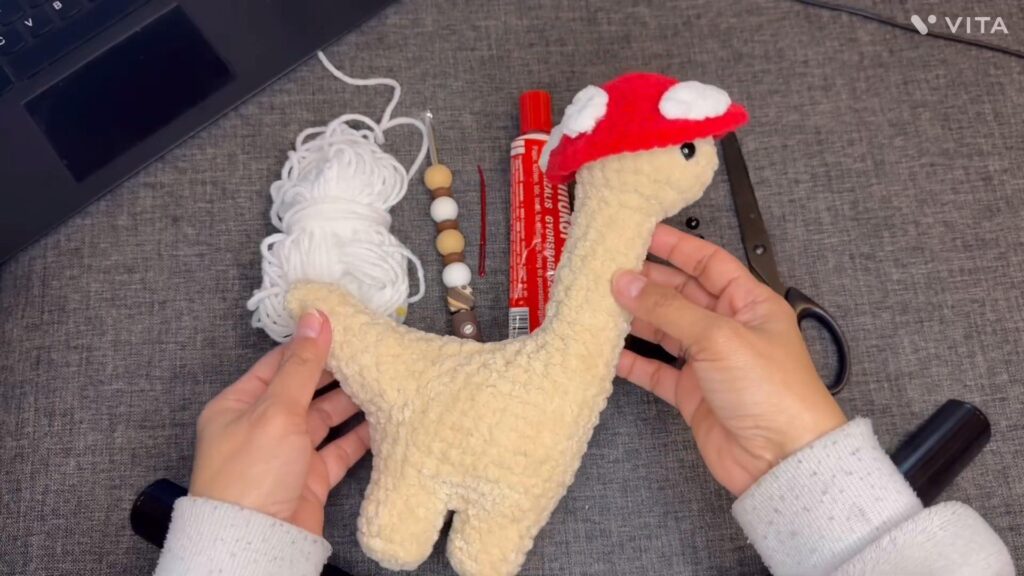
Supplies for Dinosaur Plushie
The following materials and tools are needed for crocheting this new, cute mushroom dinosaur plushie for beginners:
- Size 6 / Super Bulky plushie yarn (red and other color of your choice). You can use Himalayan velvet yarn or Bernat Baby blanket yarn, too.
- Crochet hook: 4.5mm
- Safety eyes: size 8mm or 12mm
- Fiberfill
- Scissors, sewing needle, glue
- Stitch markers
Abbreviations in the Dinosaur Pattern
- Chain (ch): Yarn over, pull through loop on hook.
- Single Crochet (sc): Insert hook, yarn over, pull up a loop, yarn over, pull through both loops.
- Increase (inc): Make two single crochets in the same stitch, each: insert hook, yarn over, pull up a loop, yarn over, pull through both loops.
- Decrease (dec / sc2tog): Insert hook in first stitch, yarn over, pull up a loop; insert hook in next stitch, yarn over, pull up a loop, yarn over, pull through all loops on hook.
- Slip Stitch (sl st): Insert hook, yarn over, pull through the stitch and the loop on the hook.
Dinosaur Complete Tutorial
Summary of Construction Steps
Legs (Make 4):
Create 4 egs using plush yarn.
Fasten off the first three; keep the yarn attached to the fourth leg to begin the joining process.
Body Assembly:
Join: Connect all four legs in a square formation.
Belly: Slip stitch (approx. 14 sts) in the center gap between the legs to close the belly hole.
Torso: Crochet around the outer perimeter of the joined legs (approx. 16 sc per section) to build the body walls upwards.
Head & Neck:
Decrease from the body to form the neck.
Chin Shaping: On the front side of the face, work 5 increases in a single row to create the snout/chin protrusion.
Insert 8 mm eyes and close the top of the head.
Tail:
Attach yarn to the remaining opening at the back of the body (left over from the leg join).
Crochet in rounds, decreasing gradually to form a pointed tail.
Mushroom Cap (Red):
Create a standard red dome (Magic Ring → Increases) sized to fit over the top of the head like a hat.
Sew or glue onto the dinosaur’s head.
Details:
Crochet small white circles (Magic Ring of 6 sc) using cotton yarn and glue them to the red cap.
Embroider a smile with thin black thread.
Hey I was wondering if you could send me a pattern, I personally learn better by reading the pattern. I have trouble following videos.