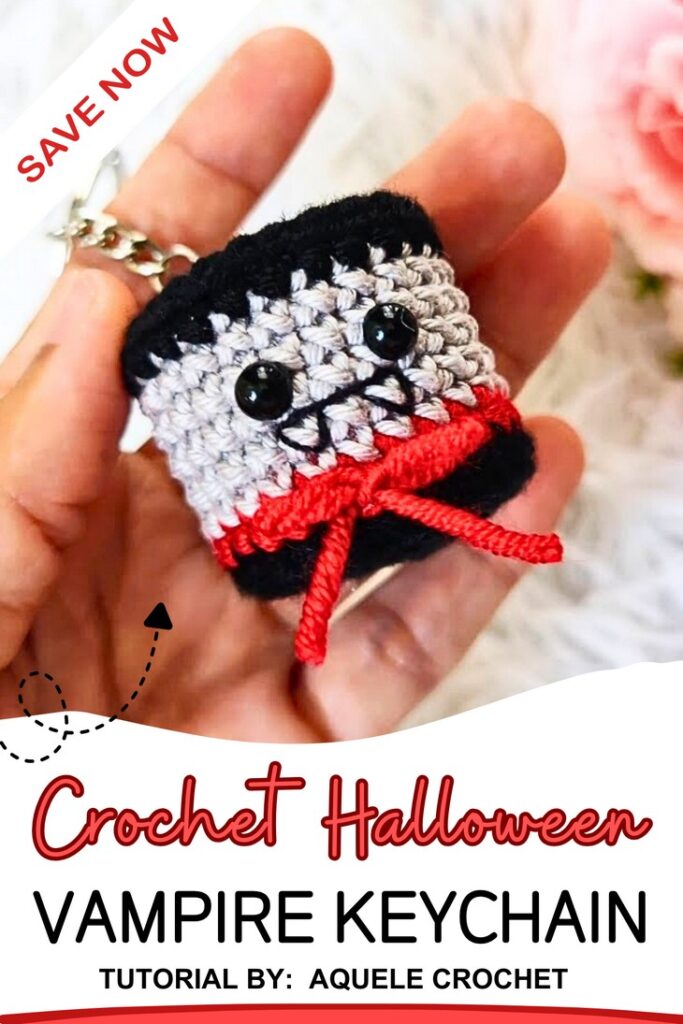
How to Crochet Easiest Vampire Keychain in Just 20 Minutes
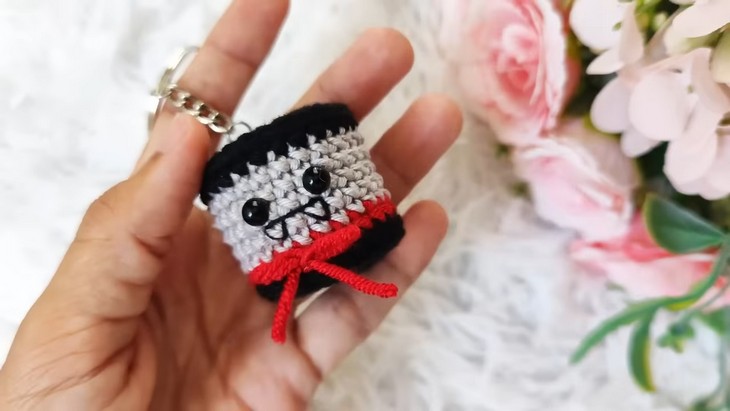
Cylindrical keychains are super quick and easy to crochet, and here is the coolest design for Halloween. Learn how to crochet this mini vampire head keychain with a stitch-by-stitch tutorial designed by Aquele Crochet that has the brightest vampire colors. You will crochet the head and face, with color changes for the vampire’s hair, collar, and skin, and finish with a tiny ribbon, making it perfect for gifting. It also features embroidered fangs that make it oh-so cute! You can crochet one within just 20 minutes, whether you are a beginner or an expert!
So, if you have made up your mind to crochet this mini Halloween keychain, whether for selling or gifting, continue reading this post till the end. There you will find the complete tutorial!
About the Designer: The designer behind this vampire amigurumi is @aquelecrochett – she designs oh-so cute crochet pouches, appliques, bag charms, and mini keychains with so many fun themes from animals to cartoon characters, flowers, and everyday objects like cars. Her crochet items are designed to be quick and sell well at craft fairs. She has a truly admirable collection of cylindrical keychains for Christmas, fall, and Halloween plus accurately shaped ones also from eye ice-cream, Christmas wreath, and skull to pumpkin, penguin, and much more. My favorite ones are a crochet Totoro, owl, and penguin cylinder keychain!
Note: In respect of the creator’s rights, there will be no provision of the written pattern. You can watch the tutorial with on-screen written instructions at the end of this post.
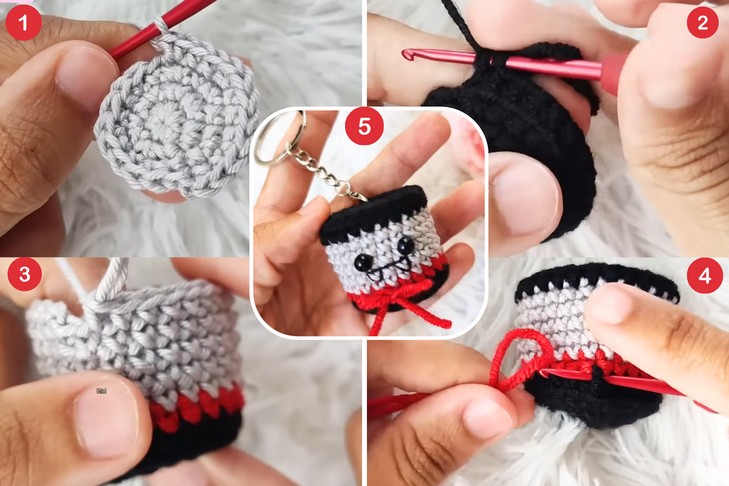
Crochet Vampire Keychain Tutorial
Skill Level: Beginner – Intermediate. Working in the round, you will crochet the base of the vampire keychain using single crochet, increase, chain, and slip stitch. Then, BLO, you will begin creating the height and switch the color. Then the pattern just needs to be worked in the round with the same stitches in each row until the top is reached. Here you will place the BLO decrease and continue working on decreases and stuff until the round is small enough for sewing. For the fangs, you will need embroidery using thin thread.
Tutorial Timing: 11 Minutes Only (worth the time as you will learn crocheting one of the most versatile crochet keychain patterns, and you can crochet many other things using different colors and a bit more crochet additions. It will improve your color changes, embroidery, and working in the round.
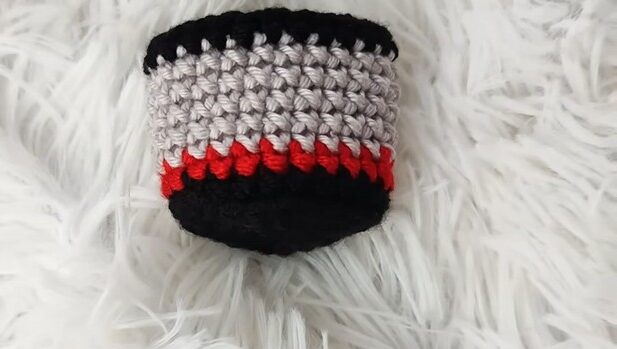
Personalization Tips: The tutor suggests using beige or white yarn instead of gray for the skin. The small red bow is optional; you can also crochet a small vampire cape or create tiny chain legs and arms. You can also embroider a simple smile or crochet a different keychain, such as one inspired by Frankenstein, using green yarn and purple. Attach the keyring after finishing it.
Pattern Type: A detailed on-screen written pattern is available if you find written instructions easy to follow along with.
Materials Needed
This vampire keychain project requires the following materials and tools:
- 100% cotton yarn (2mm) in black, red, gray/beige/white, and a fine thread for embroidery.
- A 2.2mm crochet hook.
- Scissors.
- Key rings.
- Synthetic fiber for stuffing.
- A plastic bottle cap.
- Black half-pearl beads for the eyes.
Techniques Used
Here’s a one-line guide for crocheting each stitch and technique for this vampire Halloween amigurumi for beginners:
- Magic Ring: Form a loop, insert the hook, yarn over, pull through, and crochet over the loop to create an adjustable center.
- Single Crochet: Insert the hook into the stitch, yarn over, pull through, yarn over again, and pull through both loops.
- Working in Back Loop Only: Insert the hook into just the back loop of the stitch, yarn over, and complete the stitch as usual.
- Increase: Place two stitches into the same stitch to expand your project.
- Slip Stitch: Insert the hook into the stitch, yarn over, and pull through both loops on the hook.
- Embroidering: Use a threaded needle to sew details onto the project, like eyes or patterns, for added designs.
- Weaving in Ends: Use a needle to thread the loose yarn tails through stitches to hide them.