
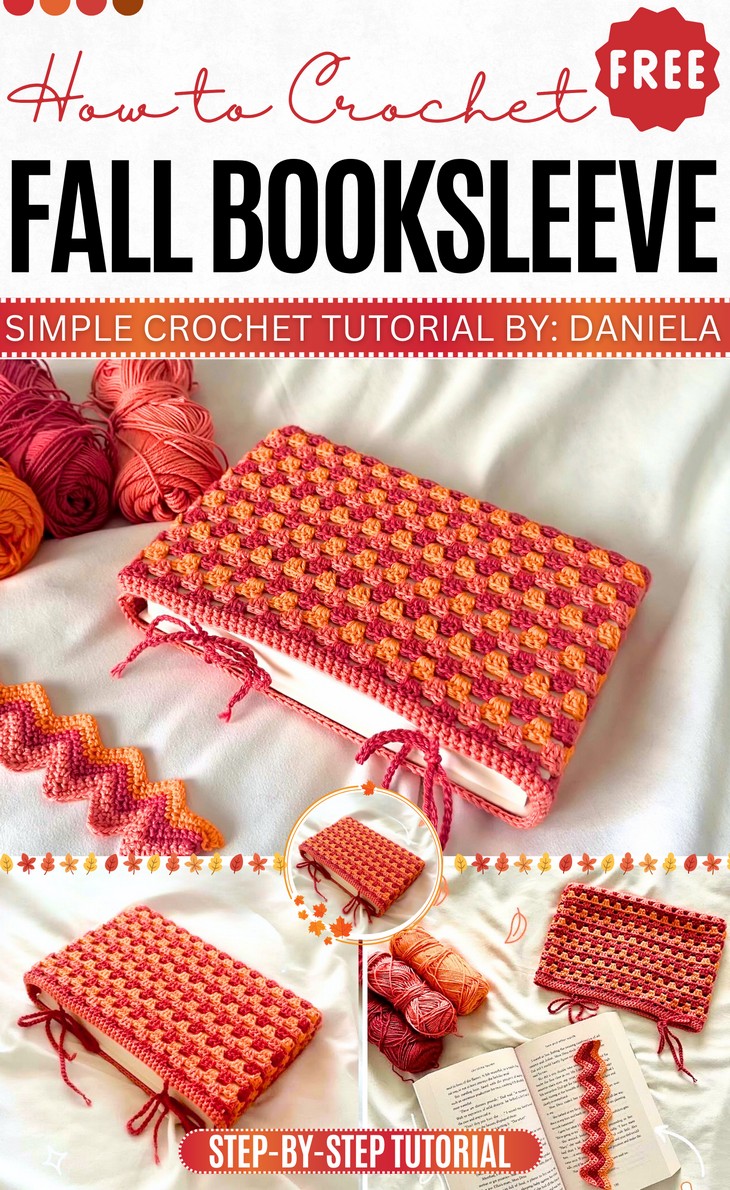
How to Crochet Fall Book Sleeve And Matching Bookmark
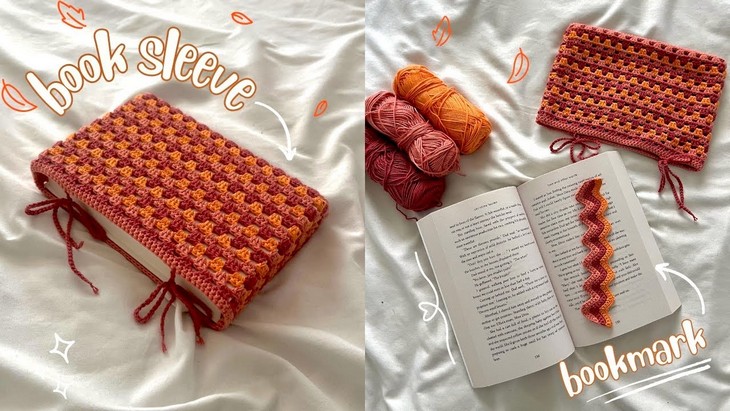
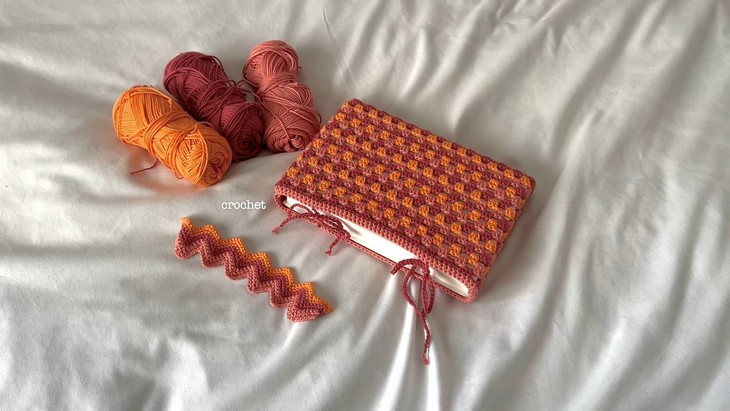
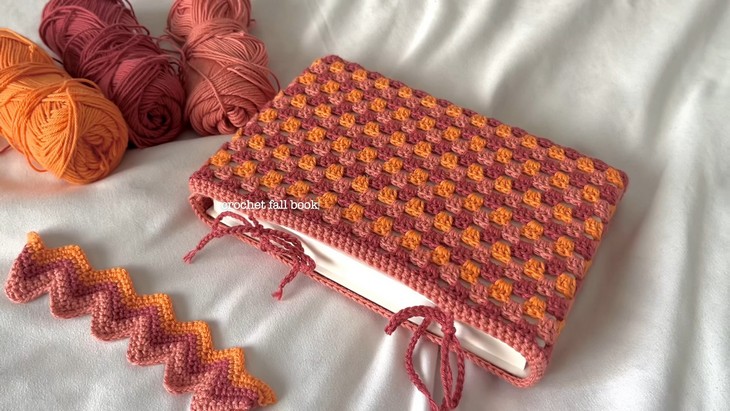
Make your autumn reading special by crocheting this customizable fall book sleeve and matching bookmark with a stitch-by-stitch tutorial from Crochet Daniela. Thanks to the use of granny stripe stitch and chevron stitch for the bookmark, you can easily adjust both for any book size.
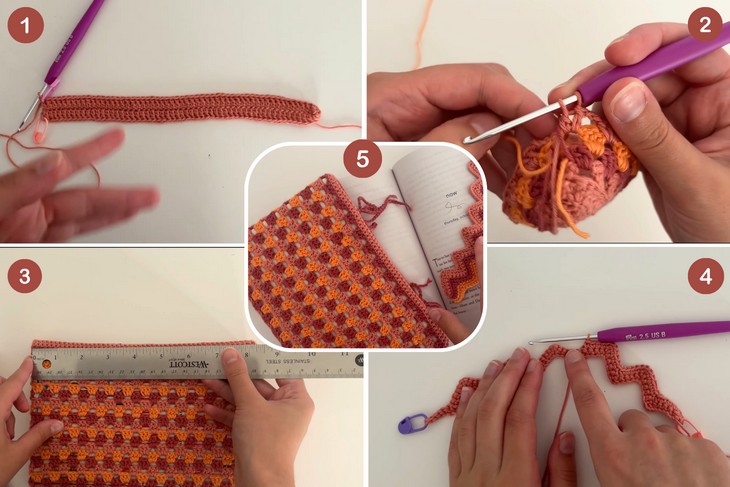
Finished with autumn colors and single crochet edging, these crochet accessories will make your book look oh-so-cute. Gift this set to a graduate or back-to-schooler; it is truly irresistible.
So, if you find yourself interested in crocheting this set of stationery gifts, continue reading till the end, where the two-in-one tutorial is available.
The designer of this fall stationery set is @crochetdaniela – known for her lovely crochet accessories like hats, sweaters, bags and much more. In respect for the creator’s pattern rights, there will be no provision of the written pattern. You can watch the tutorial with on-screen written instructions at the end of this post.
Skill Level: Beginner – Intermediate (You will need color changes and advanced stitches like cluster lace stitch and wavy stitch, but both of them need creating slip knots, chains, skipping, double crochets, and single crochets, making the set easy even for beginners.)
Tutorial Timing: 32 Minutes Only (recreating the amigurumi yourself will take a lot more time. This project is perfect if you are looking for a unique combination of themes.)
Tutorial Timing: 40 Minutes (perfect for crocheting a book sleeve and bookmark that can be even customized for regular use.)
Pattern Type: An on-screen written pattern is available if you find written instructions easy to follow along with.
Fall Book Sleeve + Bookmark Tutorial
Here is a list of materials used to create the crochet book sleeve and matching bookmark as described in the tutorial:
- Yarn: Recommended: Super fine yarn, 100% cotton. The tutorial used yarn from the “Hobby” brand in three colors (but you can use as many or as few colors as you like).
- Crochet Hook: A 2.5mm hook (you should use the hook size recommended for your chosen yarn).
- Stitch Markers: To mark the first and last stitches.
- Darning Needle: For weaving in the ends.
- Scissors
Techniques Used in the Tutorial
You’ll need the following crochet techniques for crocheting both the bookmark and Fall Book Sleeve:
-
Slip Knot Creation
- Guide: Loop yarn on two fingers in an “X” shape, insert the hook below, grab the yarn, and pull to tighten.
-
Foundation Chain
- Guide: Chain a multiple of 4 plus 1 (e.g., 56 + 1 = 57) to create the base chain for your project.
-
Double Crochet Stitch
- Guide: Yarn over, insert hook into a chain, yarn over and pull through, then finish with two pull-throughs of two loops.
-
Increase in Last Stitch
- Guide: Place two double crochets into the last chain of the row when increasing stitches.
-
Clusters of Double Crochets
- Guide: In the fourth stitch of a row, create a cluster of three double crochets.
-
Color Changing
- Guide: Stop midway through a stitch, pick up new yarn, and complete the stitch with the new color.
-
Slip Stitch to Finish a Round
- Guide: Insert hook through first two loops of the top stitch, yarn over, and pull through all loops.
-
Chaining and Turning Work
- Guide: Chain 4 at the start of a round, flip the work to continue in the opposite direction.
-
Single Crochet Edging (Finishing Touch)
- Guide: Work one single crochet in every stitch to create a neat border.
-
Strap Attachment
- Guide: Chain 50 (or desired length), attach to desired points on the sleeve with a simple knot.
Bookmark-Specific Techniques
-
Back Bar Stitching
- Guide: Turn the foundation chain to crochet into the back bars for a cleaner finish.
-
Pattern Repeats
- Guide: Work 4 single crochets, skip 2, and increase with 3 single crochets on the peak of the pattern.
-
Row Increases
- Guide: Start and end each row with an increase of 2 single crochets.
-
Color Change on Last Stitch
- Guide: Complete the last stitch in your row with the new color yarn for seamless transitions.
-
Finishing and Weaving Ends
- Guide: Knot the tail of the yarn at the end, trim the excess, and weave it into the project for a tidy look.