
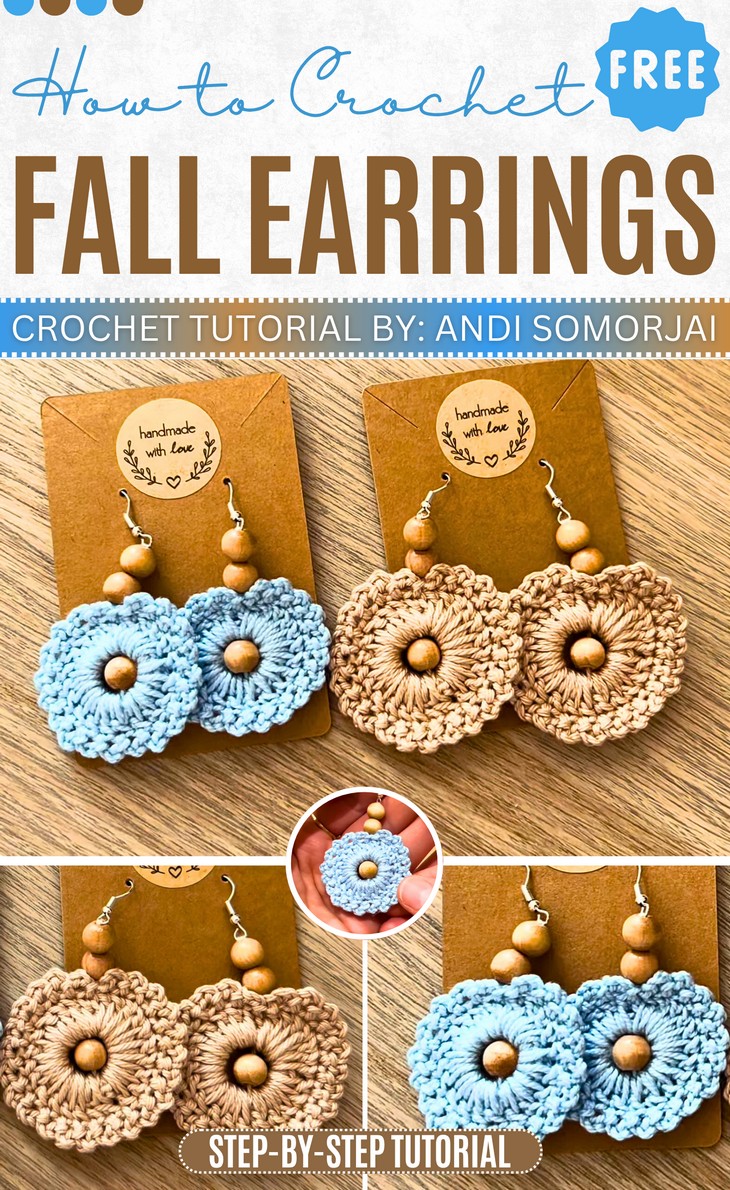
How to Crochet Fall Earrings (Tutorial for Beginners)
Crochet earrings are so quick and easy to make. So, learn how to crochet these stunning round fall earrings with a step-by-step tutorial for beginners. These earrings are simple but elegant, and they only take about 10 minutes per earring to complete! Finished with a lovely zigzag border and wooden beads, these farmhouse earrings will become your autumn’s favorite.
So, if you are interested in crocheting these fall earrings, continue reading as the quick tutorial from Andy will be available at the end of this post. With step-by-step instructions, this project is perfect for beginners, but anyone can enjoy customizing the earrings in their favorite colors.
The designer of this fall tiny appliques is @AndisCrochet – she crochets the crochet jewlery in bulk and each ends up beautifully. In respect for the creator’s pattern rights, there will be no provision of the written pattern. You can watch the tutorial with on-screen written instructions at the end of this post.
Skill Level: Beginner (This pattern uses basic crochet techniques like chain stitch, slip stitch, single crochet and more. It’s also a way to practice working in the round and incorporating beads into your crochet.)
Tutorial Timing: Only 12 Minutes long, but takes approximately 10 Minutes per Earring. It’s quick! You can easily finish both earrings in under half an hour, depending on your level of experience.
Personalization Tips:
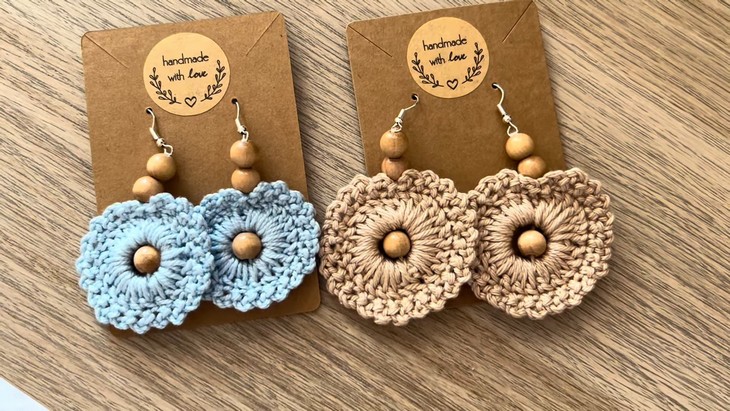
- Choose your colors: Andy used blue and beige cotton yarn in her earrings, but you can pick any color you love. Pastels, metallics, can make your earrings truly stand out.
- Beads and embellishments: Andy used 8mm wooden beads, but you can also choose the resin beads or glass beads.
- Hooks: Make sure to choose hangers that suit your style—gold, silver, or brass hangers work perfectly with this design.
- Create matching accessories: Use the same pattern to create matching pendants or keychains! Then put it in a crochet jewlery holder like this!
Pattern Type: This tutorial does not include a printable pattern but features easy-to-follow step-by-step instructions on video.
Supplies Needed
Here’s what you’ll need to recreate your crochet earrings:
- Yarn: Size 2 cotton yarn (Andy uses blue, but you can choose your preferred color).
- Hook: 1.5 mm crochet hook.
- Beads: Two wooden beads, 8mm each.
- Hangers for Earrings: You can use standard earring hooks or any style you prefer.
-
Tools:
- Scissors.
- Yarn needle.
- Stitch marker (optional but helpful).
Techniques Used (One-Line Guide for Each)
This tutorial uses a variety of beginner-friendly techniques, including:
- Slip Knot & Chain Guide: Make a slip knot to prepare your yarn for crocheting, then create a chain of 10 stitches to form the initial structure.
- Magic Ring Guide: Crochet into a magic ring to create the earring’s round foundation and ensure a seamless finish.
- Single Crochet (SC) Guide: Insert hook, yarn over, pull through, yarn over again, and pull through both loops on the hook.
- Double Crochet (DC) Guide: Yarn over, insert hook, yarn over, pull through, yarn over again and pull through two loops twice.
- Slip Stitch (SL ST) Guide: Insert the hook, yarn over, and pull through both loops on the hook to close rounds and create decorative edges.
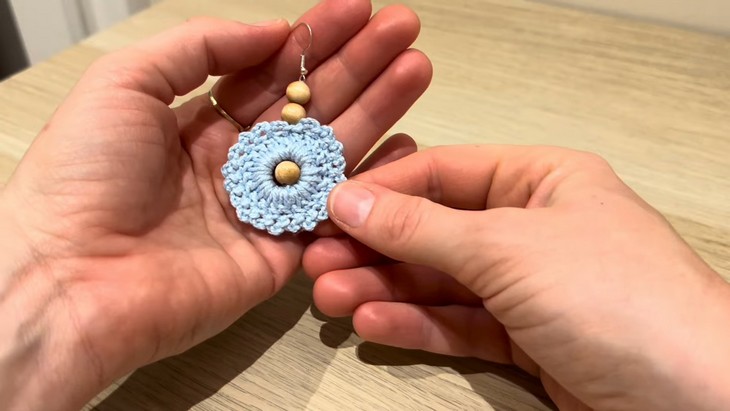
- Bead Placement Guide: Use the crochet hook to pull yarn through a wooden bead and add it to the center of the earring for extra detail.
- Attaching the Earring Hook Guide: Attach the earring hook at the top and secure it by closing it tightly to prevent it from slipping off.
- Weaving in Ends with a Tapestry Needle Guide: Secure excess yarn to ensure the earrings look neat and last long.
How is it done (Summarized!)
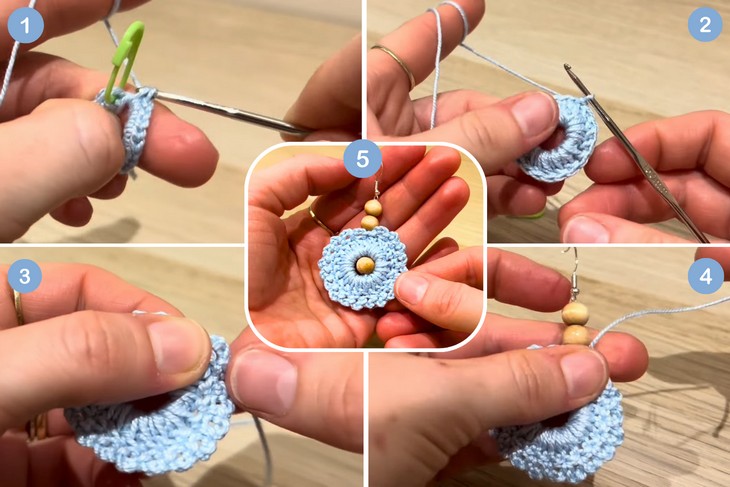
Here’s a quick rundown of how the earrings are made (detailed steps are shown in the video):
- Start with a Slip Knot and Chain: Create a slip knot and chain 10 stitches to begin. Slip stitch into the first chain to form a ring.
- Single Crochet Round: Work 20 single crochets into the ring, using a stitch marker for the first stitch.
- Double Crochet Round: Work 20 double crochets into the ring, using the same technique.
- Edge Details: Create decorative loops by working slip stitches and chaining three into each stitch around the circle.
- Add Beads and Hooks: Attach wooden beads to the center, and secure the earring hooks at the top of the design.
- Secure Finishing: Weave in any loose yarn ends with a yarn needle, ensuring the earring back looks polished and professional.
- Repeat for the Second Earring: Make sure both earrings match for a complete set.
If you’re ready to begin your crochet journey, watch Andy’s step-by-step video tutorial. She explains every part of the process, showing each stitch clearly so you can follow along at your own pace.
Click here to watch the full tutorial