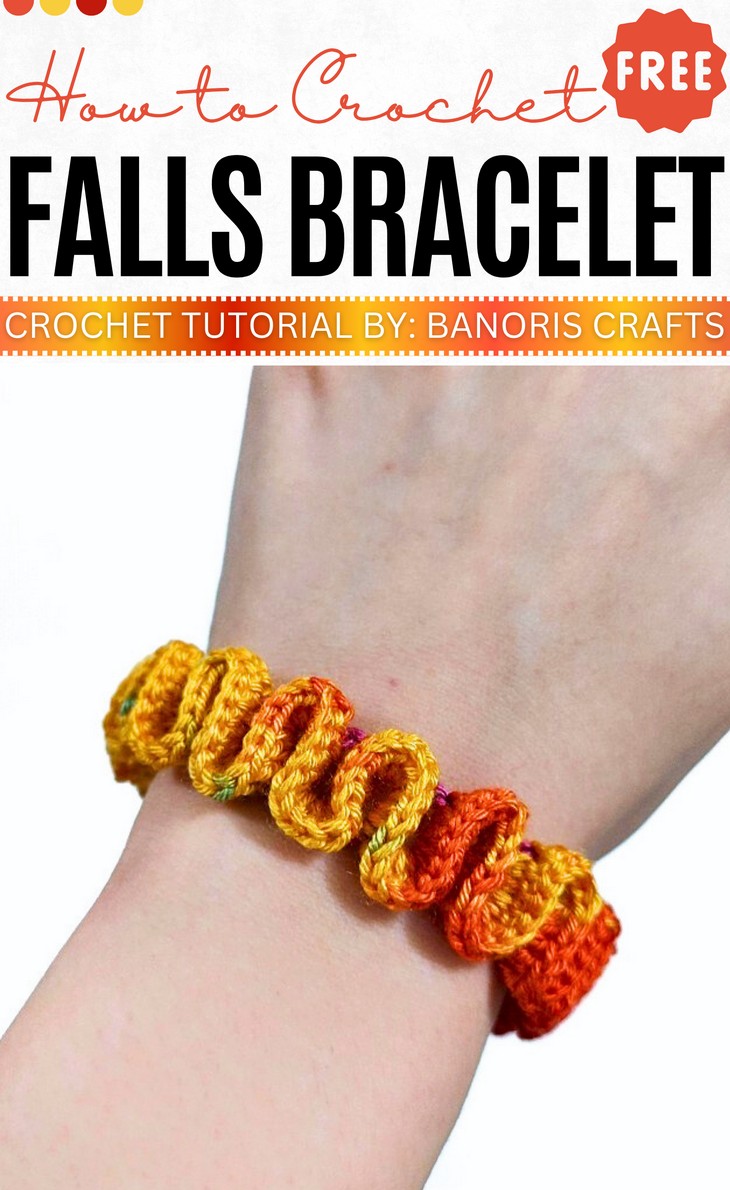
How to Crochet Fall Ruffle Bracelet | Super Easy & Pretty
Looking for a last-minute and beginner-friendly autumn jewelry? Learn how to crochet this easy and quick ruffle bracelet for fall with a stitch-by-stitch tutorial using lovely self-striping yarn. It will sell equally well at fall craft fairs with loads of color options available. The versatile design of this bracelet can also be used as a necklace or anklet, and the closure can be finished with a bead or button. You can easily adjust the size by adjusting the initial chains.
It is super comfy and can be completed within 14 minutes. So, if you have made your mind in crocheting this easiest bracelet by yourself, continue reading this post.
About the Designer: The designer behind this crochet twisted bracelet project is @BanorisCrafts – She is an expert of creative crochet jewelry and accessories. The tutorials cover a range of projects, including earrings, rings, bracelets, chokers, and eyeglasses chains. The channel’s description notes that while the primary language spoken may be Persian, new videos include short English subtitles to help viewers follow the process. You will find her crochet library filled with quick crochet projects, so check for sure.
Note: In respect for the creator’s pattern rights, there will be no provision of the written pattern. You can watch the tutorial with on-screen written instructions at the end of this post.

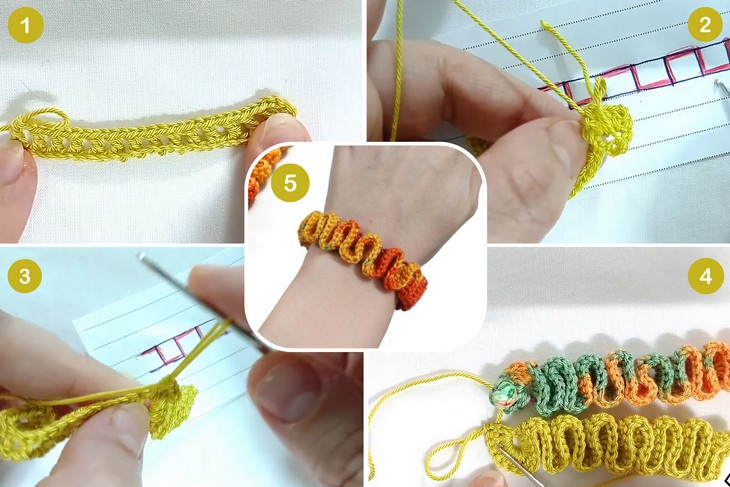
Crochet Fall Bracelet Tutorial
Skill Level: Beginners. You will begin with 60 foundation chains and it determines the length of the bracelet. The main part of the bracelet is then created using double crochet stitches. The pattern needs to create groups of four double crochets (the double crochet cluster), with the first stitch of each group being the initial three chains at the beginning of the row. Finish the bracelet using the slip stitch for ease.
Tutorial Timing: Approximately 8 minutes (perfect for learning the fundamentals of crocheting jewelry and bracelets and learning the ruffle stitch.)

Personalization Tips: Adjust the number of initial chains to adjust the bracelet for your wrist. The color options include blue and yellow, orange and blue, and orange and yellow. You can use any other ombre yarn.
Pattern Type: An on-screen written pattern is available if you find written instructions easy to follow along with.
Supplies Needed
The materials used to crochet the bracelet are:
- Yarn: A fine yarn. (Use any ombre yarn)
- Hook: A 1.5 mm hook.
- Closure: A bead or button is suggested.

Techniques & Stitches
The following are the crochet techniques and stitches that the tutor uses for crocheting this bracelet:
- Foundation Chain (CH): Make a slip knot, yarn over the hook, and pull through the loop to form chains, continuing until you have 60 chains (or the number needed for your desired length).
- Double Crochet (DC): Yarn over, insert the hook into the stitch, yarn over and pull through, yarn over again, pull through two loops, yarn over, and pull through the remaining two loops on the hook.
- Double Crochet Cluster (4 DC Group): Create four double crochet stitches in the same space, with the first stitch being the initial three chains at the start of the row.
- Slip Stitch (SL ST): Insert the hook into the stitch, yarn over, and pull through both the stitch and the loop on the hook to secure and finish.