
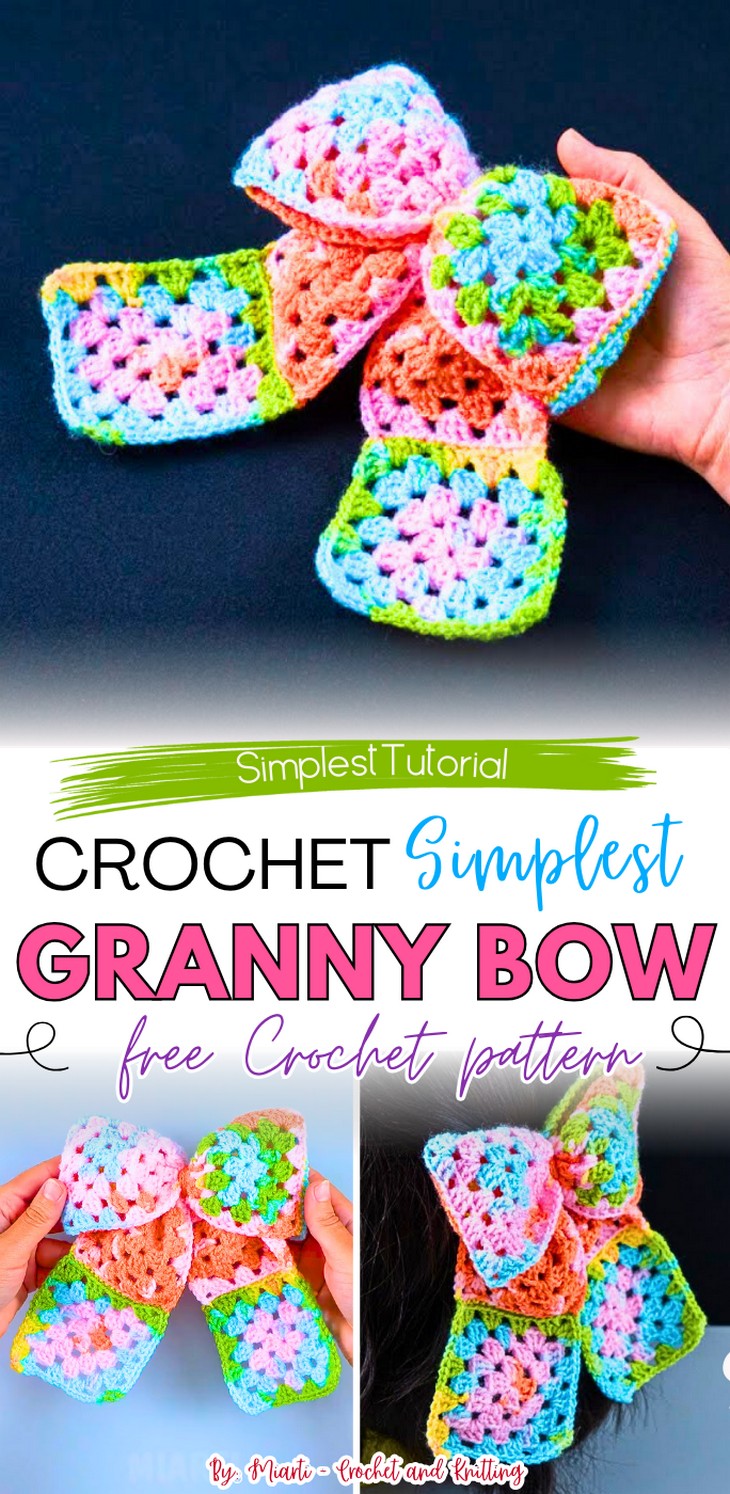
How to Crochet Granny Square Bow (Colorful & Super Easy)
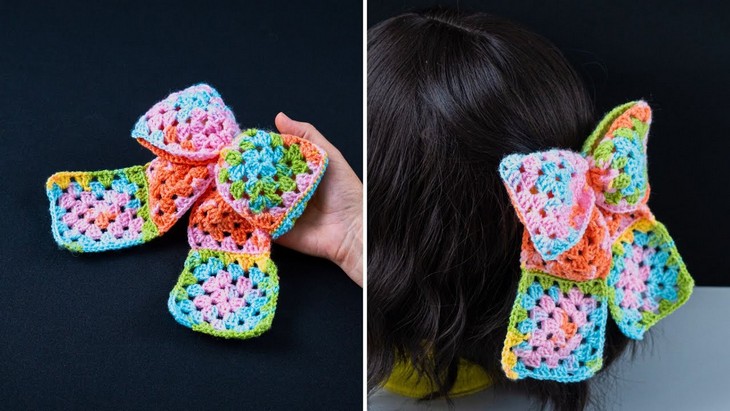
Colorful, lightweight, and super easy hair accessory project is here that just needs crochet squares! So, learn how to crochet this 5-colored granny square bow inspired by the lacy coquette bow with a stitch-by-stitch tutorial for beginners. It is elegant, lightweight, and needs zero color changes thanks to the self-striping yarn. After crocheting the eight classic granny squares, you will learn how to assemble them to form the bow shape. Crocheting this project is actually easy and perfect for girls of all ages. You will also see a perfect technique for maintaining the square shapes while sewing and attaching a hair clip to it.
You will love wearing them all over the year. So, if you are interested in crocheting a Coquette bow using granny squares for yourself or a friend, continue reading this post!
About the Designer: The designer behind this simply adorable bow project is @mikimeloco – she has one of the largest libraries for both crochet and knitting projects, mostly for wearables from flat fabrics, but with so many unique stitches. She is known for her easy-to-follow and short tutorials for beginners, including popular crocheting granny square slippers, a bag, and cowls. The channel also features content on various knitting techniques and projects, and has related channels, “Miarti – Amigurumi” and “Miarti – Yarn and Stitch.” You can also check her other libraries.
Note: In respect of the creator’s rights, there will be no provision of the written pattern. You can watch the tutorial with on-screen written instructions at the end of this post.
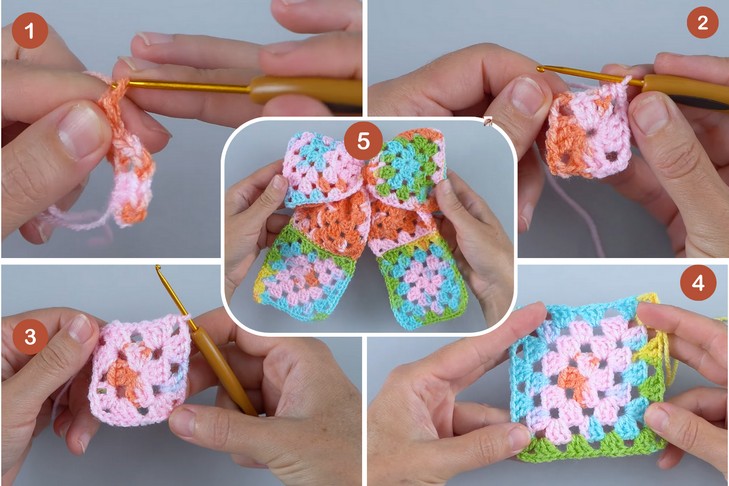
Crochet Granny Square Bow Tutorial
Skill Level: Beginners – Intermediate. You will crochet the ordinary classic granny square without color changes needed. This square already has a mesh texture. The magic ring is used to start the first row of the granny square. The primary stitch used throughout the pattern is the double crochet, which is used to build the main part of the square. The chain stitch is used to create spaces and corners, which are essential for shaping the square. Finally, the half double crochet is used to finish a row. I think the basic sewing method will be used for attaching the squares.
Tutorial Timing: Approximately 4 minutes only (perfect for quickly learning how to crochet and joining the classic granny square, which is usually the very first beginner project! You will especially love the sewing technique and the self-striping yarn. The tutorial is worth the time and super quick. You can use the method for many other projects!)
Personalization tips: If you prefer the uniform color changes after each row, you can change the yarn color at the start of each row to create a multicolored design. The video also shows how to assemble multiple squares to create the final bow shape, which you can customize by using more or fewer squares, especially for the back.
You can also use other combinations of colors for the self-striping yarn, like pink, grey, and light pink, shades of orange and yellow for a fall bow, or any other colors you have! Also, use the yarn scraps!
Pattern Type: An on-screen written pattern is available if you find written instructions easy to follow along with. The instructions are written using US terms.
Materials Suggested
The tutor specifies this list of materials and tools for the bow tie for beginners. Gather all for similar results:
- A ball of yarn (260 meters, 100 grams, 100% acrylic)
- A 2.5 mm crochet hook
- Scissors and a needle
- A hair clip
Techniques Used
Here are the quick crochet guides for crocheting each stitch mentioned and used in the tutorial for crocheting this bow tie:
Magic Ring – Wrap yarn into a loop, insert the hook, pull up a loop, and crochet stitches into the ring to form a closed center.
Double Crochet (dc) – Yarn over, insert hook into stitch, yarn over, pull through, yarn over, pull through two loops twice.
Chain Stitch (ch) – Yarn over, pull through loop on hook to create spaces or turning chains.
Half Double Crochet (hdc) – Yarn over, insert hook, yarn over, pull through, yarn over, pull through all three loops on hook.
Basic Sewing Method – Use a yarn needle and whip stitch or mattress stitch to join granny squares edge-to-edge.
How is it done?
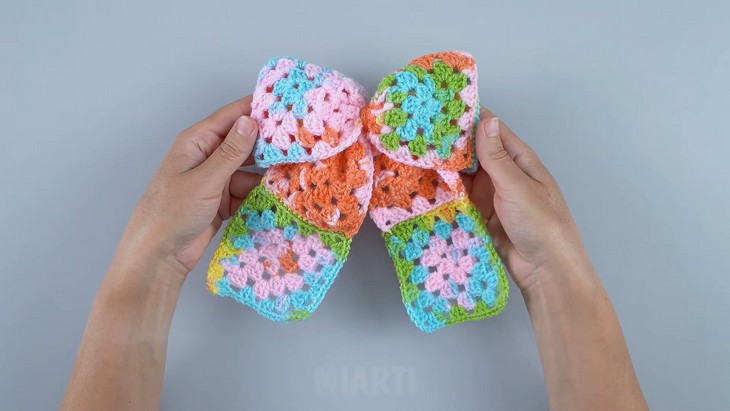
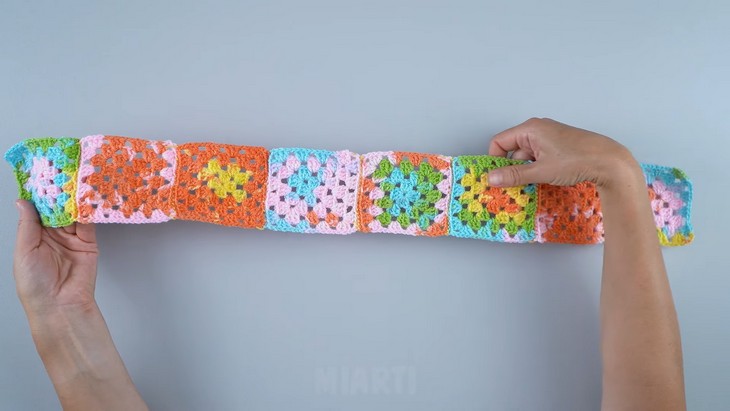
The process involves creating a single granny square in four rows. You start with a magic ring and then use a combination of chain stitches and double crochets to form the square. The video then shows how to join multiple squares together to create a strip.
This strip is then folded and cinched in the center to form the bow shape, which is then secured with a separate piece of yarn. The completed bow is then attached to a hair clip.