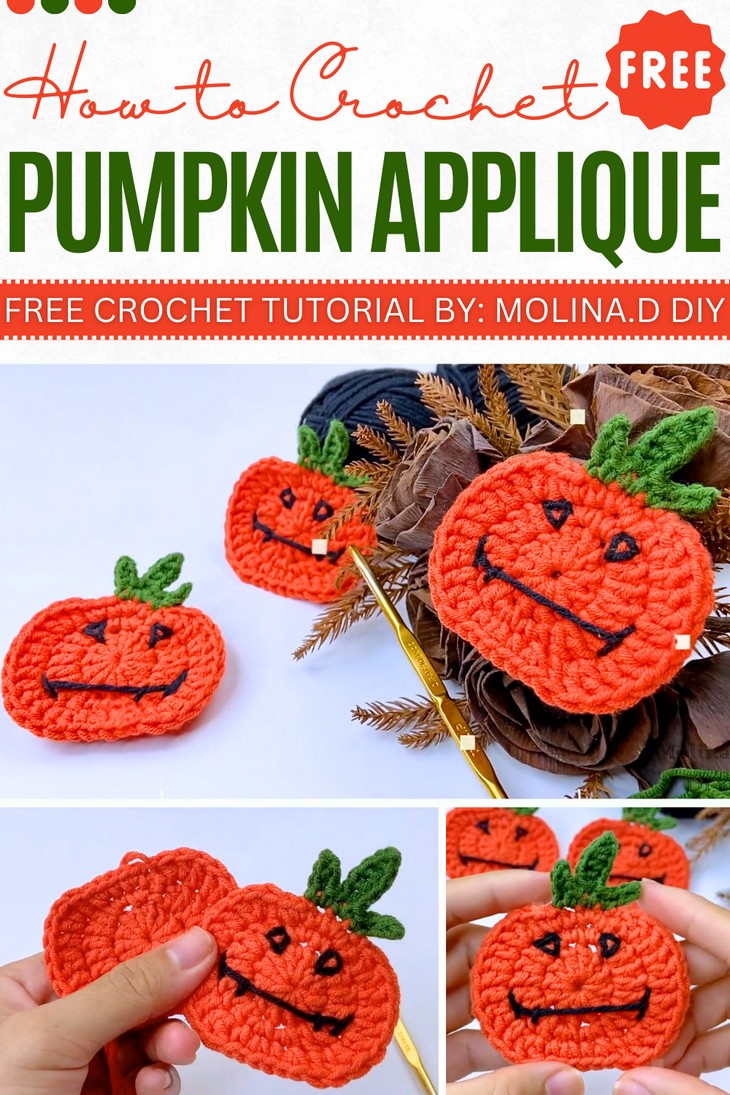
How to Crochet Jack Pumpkin Applique for Halloween Buntings
Looking for a quick 10-minute applique idea for Halloween garland and bunting? With a stitch-by-stitch tutorial from Molina, learn how to crochet a jack-o-lantern pumpkin applique for fall celebrations that can also be added to dishcloths, key rings, book sleeves, and more. This pumpkin applique features simple jack embroidery, three leaves without sewing, and the same pattern that starts from an oval. You can crochet a whole bundle of these within an hour thanks to the easy pattern.
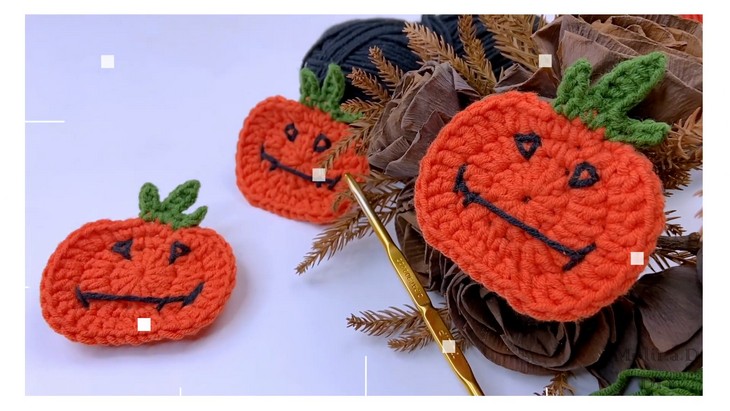
So, if you are interested in crocheting a quick Halloween garland addition for fall and Halloween, continue reading this post till the end. There you will find the complete tutorial. It is worth crocheting!
About the Designer: The designer behind this small ghost and pumpkin applique is @MolinaDDIYcrochet – she is a next-level all-rounder in crochet and has made tutorials for crocheting easy-to-make bags, tops, coasters, decorations, amigurumi, and small accessories. She has a whole playlist of Christmas decorations like bells, wreath leaves, and more, and this garland is one of her occasional projects. Her bunny amigurumi, calf face appliques, and Christmas tree are my favorite projects!
Note: In respect of the creator’s pattern rights, there will be no provision of the written pattern. You can watch the tutorial with on-screen instructions at the end of this post.
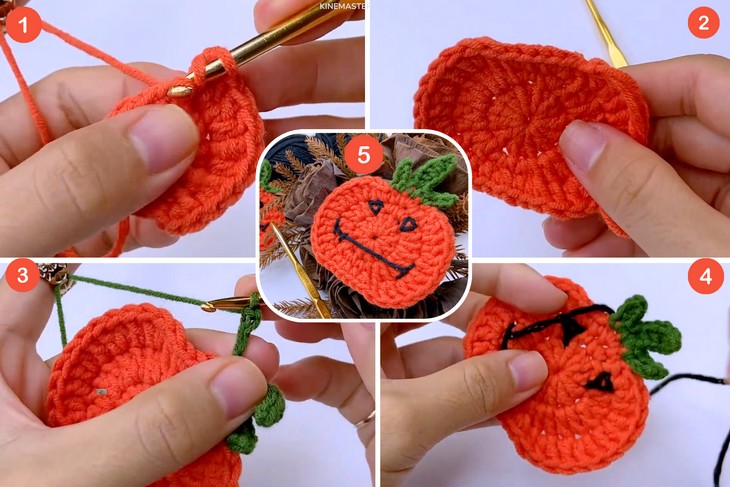
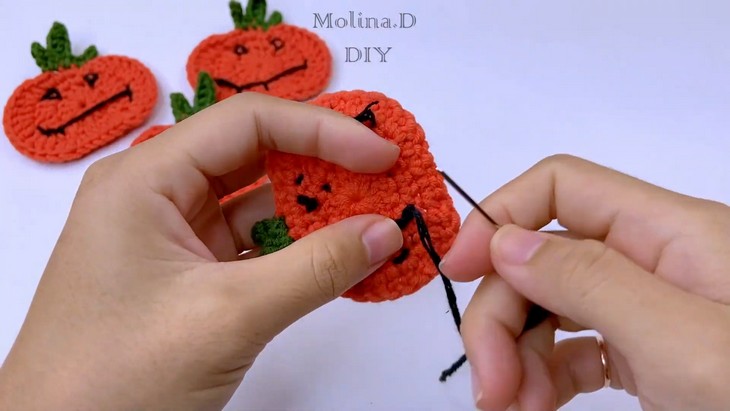
Crochet Halloween Bunting Pumpkin Tutorial
Skill Level: Beginner – Intermediate. The pumpkin applique will use the oval as a base and work stitches around it in rounds. As for basic stitches of different heights, you need single crochet, increase, half double crochet, double crochet, and slip stitch, all of which are used to form different shapes and textures for the applique in the bunting. Additionally, you will need the color changes for the green part and embroidery for the face.
Tutorial Timing: The tutorial is approximately 16 minutes long, making it a quick and valuable resource for one of the most popular fall and Halloween projects. Even if you don’t plan on crocheting the entire bunting, it’s worth watching to learn important techniques, such as shaping with stitches of varying heights and mastering color changes. Additionally, the tutorial covers how to create the widely-used oval base in any desired width and length, making it an excellent skill-building opportunity.
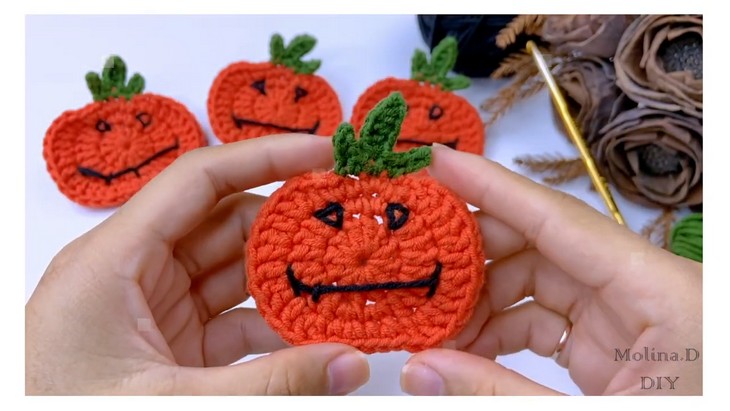
Personalization Tips: You can enhance your embroidery skills by adding more detail to the pumpkin’s mouth or creating a mouth for the ghost. To adjust the size, simply make a larger oval base; however, keep in mind that you’ll need to modify the rest of the pattern accordingly. These adjustments allow you to personalize the project to your liking!
Pattern Type: An on-screen written pattern is available if you find written instructions easy to follow along with.
Materials & Tools
The following are the crochet materials and tools that the tutor uses for crocheting this Halloween and autumn bunting ad-on:
- 7mm crochet hook. I think the tutor used a larger hook size for the yarn.
- Worsted weight yarn (I suppose!)
- Thin black thread
- A stitch marker
- Scissors
Crochet Stitch Guides
Here’s a one-line guide for crocheting each stitch and technique in the pumpkin applique pattern:
C (Crochet): Insert hook, yarn over, pull through, and complete as per stitch type.
Ch (Chain): Yarn over, pull through loop on hook.
SC (Single Crochet): Insert hook in stitch, yarn over, pull through, yarn over, pull through both loops.
DC (Double Crochet): Yarn over, insert hook, yarn over, pull through, yarn over, pull through 2 loops twice.
HDC (Half Double Crochet): Yarn over, insert hook, yarn over, pull through, yarn over, pull through all loops.
Dec (Decrease): Start stitch in one stitch, half-finish, repeat in next stitch, then pull through all loops.
Inc (Increase Crochet): Work two stitches into the same stitch.
Sl (Slip): Insert hook, yarn over, pull directly through both loops.
St/Sts (Stitch/Stitches): Refers to one or more completed stitches.
Sl St (Slip Stitch): Insert hook, yarn over, pull through stitch and loop on hook in one move.
Rev (Reverse): Work stitches in the opposite direction (back across row/round).