
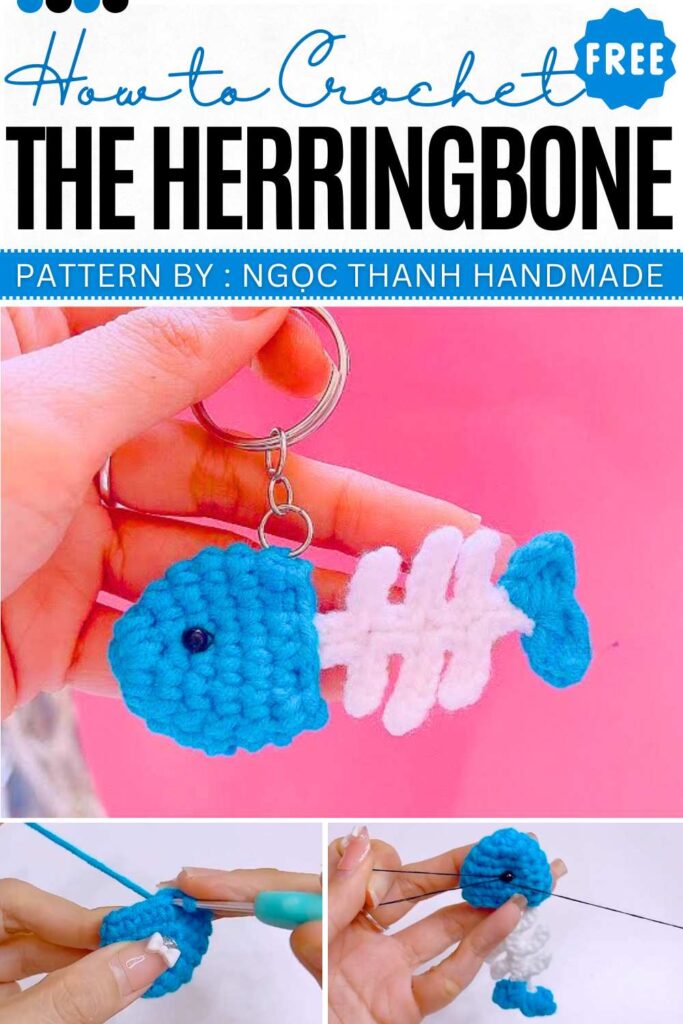
Crochet Herringbone Keychain & Bag Charm Done
As a cute and funny fidget toy, learn how to crochet this fishbone keychain, called a Herringbone keychain, with a free written pattern. It features only a head, a spine, and a tail that looks so cute and easy. The spine is made by crocheting a chain and adding multiple small ribs of multiple lengths through slip stitches and chains.
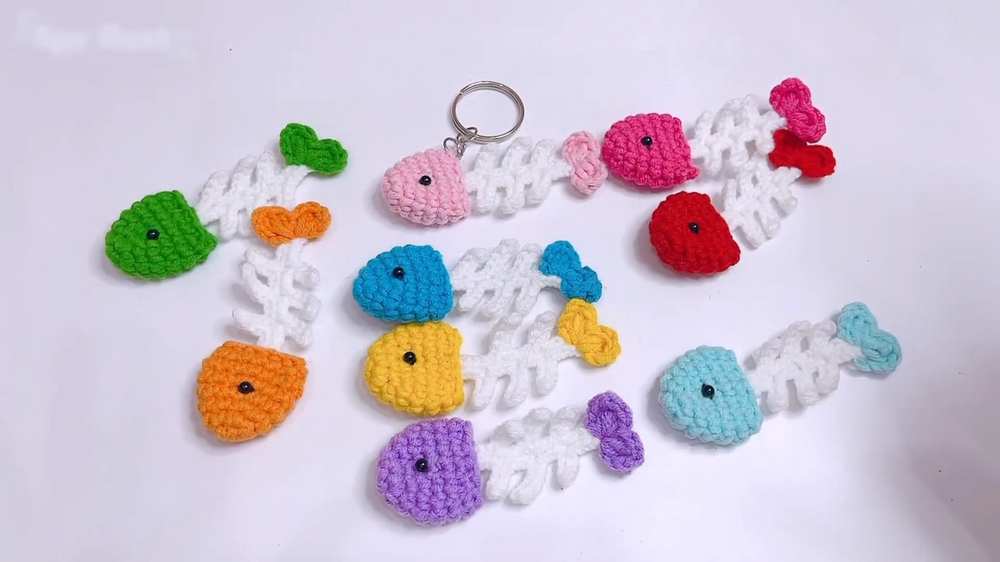
A two-part tail is added to the end of the spine in the end. Summer is also not far now, so I recommend that you crochet this fish in any color from red to blue, and even yellow. Today, I will share both the UK and US patterns.
Crochet Herringbone Bag Charm
The designer behind this fish amigurumi is @NITKA_KZ – she has quite a good grasp on kawaii amigurumi designing with added cuteness and surprises. More tutorials are here:
Crochet Fish Pattern (US Terminology)
This pattern is for a “Fish Bone” amigurumi keychain, consisting of a head, a skeletal spine with branches, and a tail fin.
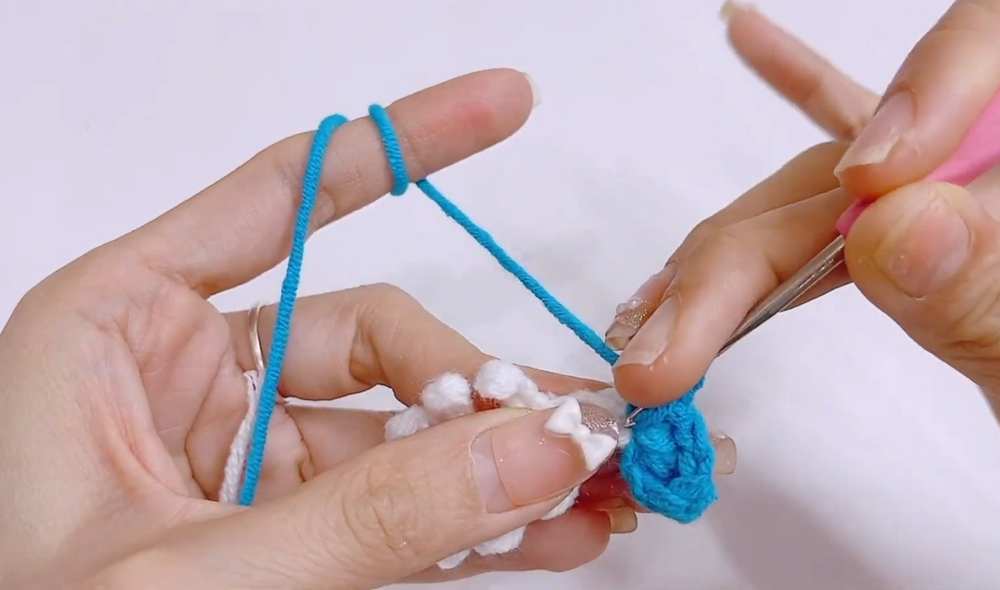
Part 1: Fish Head
- R1: 6 sc in MR. (6)
- R2: (1 sc, 1 inc) x 3. (9)
- R3: (2 sc, 1 inc) x 3. (12)
- R4: (3 sc, 1 inc) x 3. (15)
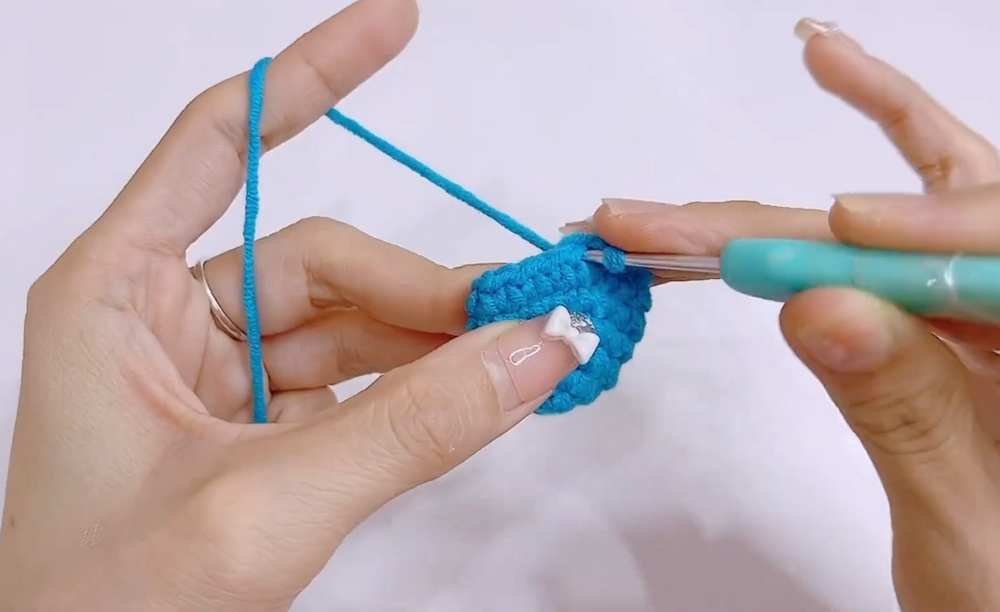
- R5–R6: 15 sc around (2 rows). (15)
- R7: 1 dec, 6 sc, 1 dec, 5 sc. (13)
- Fasten off, leaving a long tail for sewing. Stuff the head lightly with fiberfill.
Part 2: Spine & Bones (White Yarn)
- Main Chain: Ch 17.
- Step 1: Sl st in 2nd ch from hook and next 5 ch (6 sl st total).
- Step 2 (First Rib): Ch 4, sl st in 2nd ch from hook and next 2 ch (3 sl st). Sl st back into the main chain.
- Step 3: Sl st in next 3 main ch.
- Step 4 (Middle Rib): Ch 5, sl st in 2nd ch from hook and next 3 ch (4 sl st). Sl st back into the main chain.
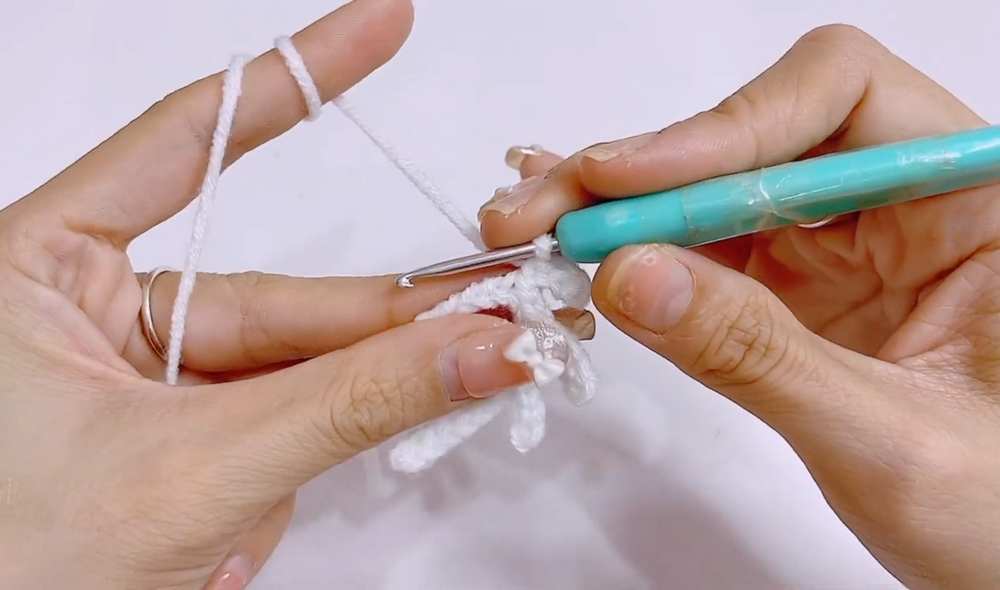
- Step 5: Sl st in next 3 main ch.
- Step 6 (Last Rib): Ch 4, sl st in 2nd ch from hook and next 2 ch (3 sl st). Sl st back into the main chain.
- Step 7: Sl st in remaining 4 ch.
- Step 8 (Tail Loop): Ch 2.
- Step 9 (Opposite Ribs): Work back up the other side of the foundation chain, repeating Steps 2–6 at the same intervals to create symmetrical rib bones. Fasten off.
Part 3: Tail Fin
- Join the head color yarn to the Ch 2 loop at the end of the spine.
- Fin Half 1: Ch 3, 1 tr, 1 dc, 1 hdc into the loop. Sl st into the loop.
- Fin Half 2: 1 hdc, 1 dc, 1 tr into the loop, ch 3, sl st into the loop.
- Fasten off and weave in ends.
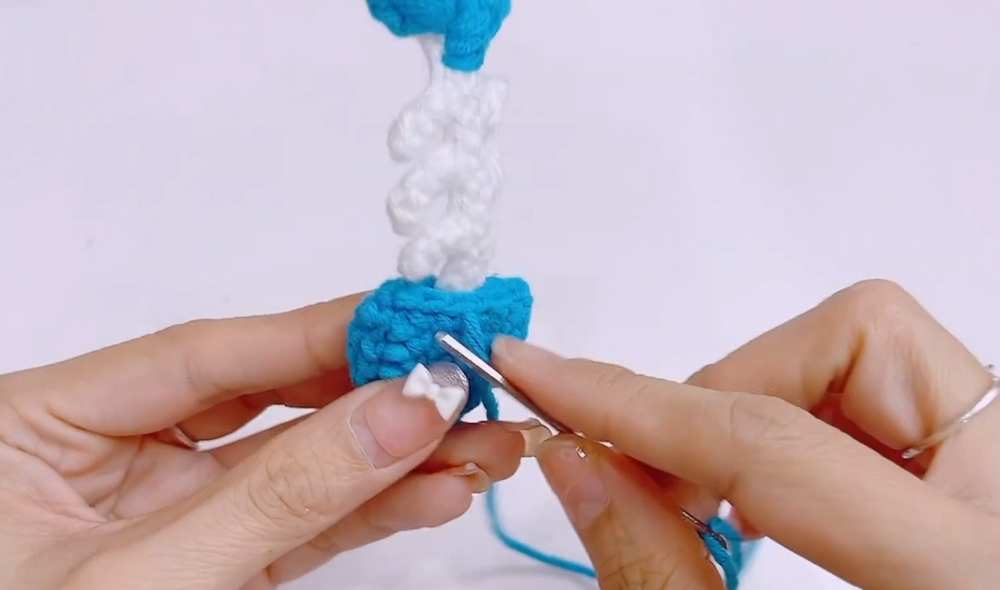
Assembly & Finishing
Connecting: Sew the flat end of the head to the top of the spine (the end with the 6 sl st).
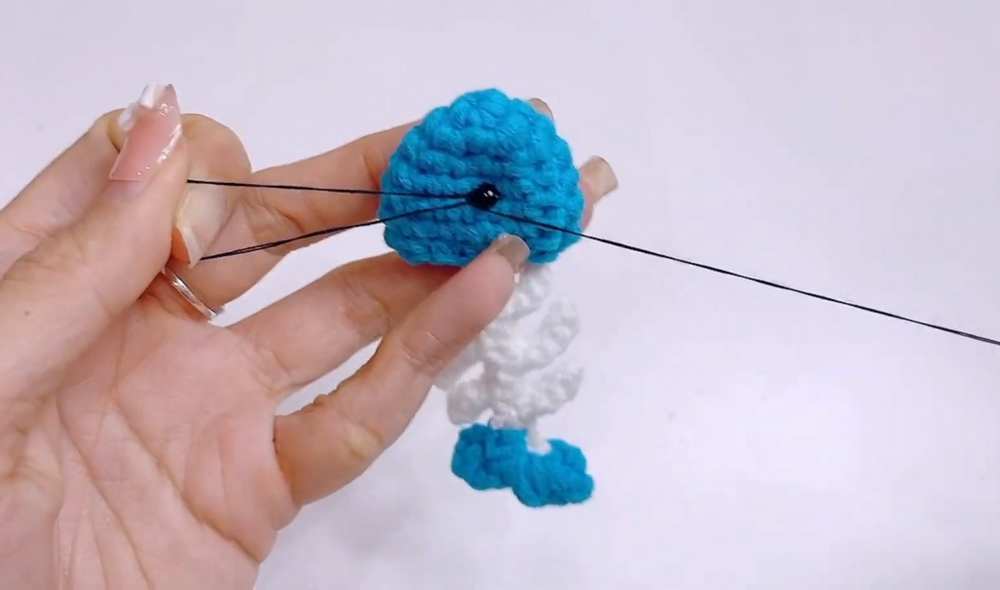
Eyes: Attach beads or safety eyes between R3 and R4 of the head on both sides.
Keychain: Attach a keychain ring to the top of the head or the tip of the spine.
Video Tutorial
Pattern (UK Terminology)
Part 1: Fish Head
- R1: 6 dc in MR. (6)
- R2: (1 dc, 1 inc) x 3. (9)
- R3: (2 dc, 1 inc) x 3. (12)
- R4: (3 dc, 1 inc) x 3. (15)
- R5–R6: 15 dc around (2 rows). (15)
- R7: 1 dec, 6 dc, 1 dec, 5 dc. (13)
Fasten off, leaving a long tail for sewing. Stuff the head lightly.
Part 2: Spine & Bones (White Yarn)
- Main Chain: Ch 17.
- Step 1: Sl st in 2nd ch from hook and next 5 ch (6 sl st).
- Step 2 (First Rib): Ch 4, sl st in 2nd ch from hook and next 2 ch (3 sl st). Sl st back into the main chain.
- Step 3: Sl st in next 3 main ch.
- Step 4 (Middle Rib): Ch 5, sl st in 2nd ch from hook and next 3 ch (4 sl st). Sl st back into the main chain.
- Step 5: Sl st in next 3 main ch.
- Step 6 (Last Rib): Ch 4, sl st in 2nd ch from hook and next 2 ch (3 sl st). Sl st back into the main chain.
- Step 7: Sl st in remaining 4 ch.
- Step 8 (Tail Loop): Ch 2.
Step 9 (Opposite Ribs): Sl st back up the other side of the foundation chain, repeating the rib branches symmetrically. Fasten off.
Part 3: Tail Fin
- Join yarn to the Ch 2 loop at the end of the spine.
- Fin Half 1: Ch 3, 1 dtr, 1 tr, 1 htr into the loop. Sl st into the loop.
- Fin Half 2: 1 htr, 1 tr, 1 dtr into the loop, ch 3, sl st into the loop.
Fasten off and weave in ends.