
17 Free Crochet Kawaii Big Plushie Tutorials for Kids
With super bulky yarn, you can crochet super soft and plush kawaii characters. Here are 17 free crochet kawaii big plushies with stitch-by-stitch instructions as my recommendations. These will be low-sew and mostly can be finished within an hour.
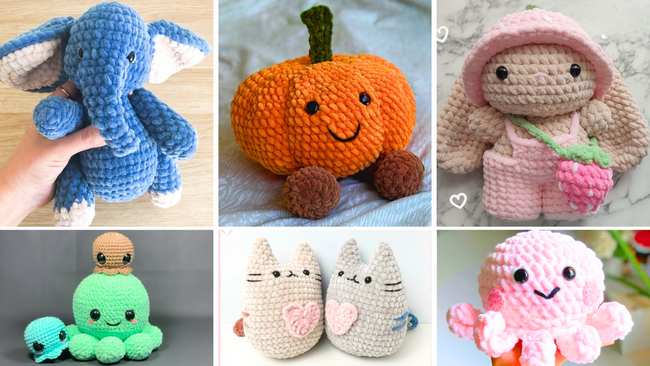
From the teddy bear to Cinnamorol, kawaii cats to capybara, these will make great presents. They are also beginner-friendly and quite popular these days.
Crochet Big Plushie Tutorials
Shared already:
01 of 17 Crochet Frog Cinnamoroll
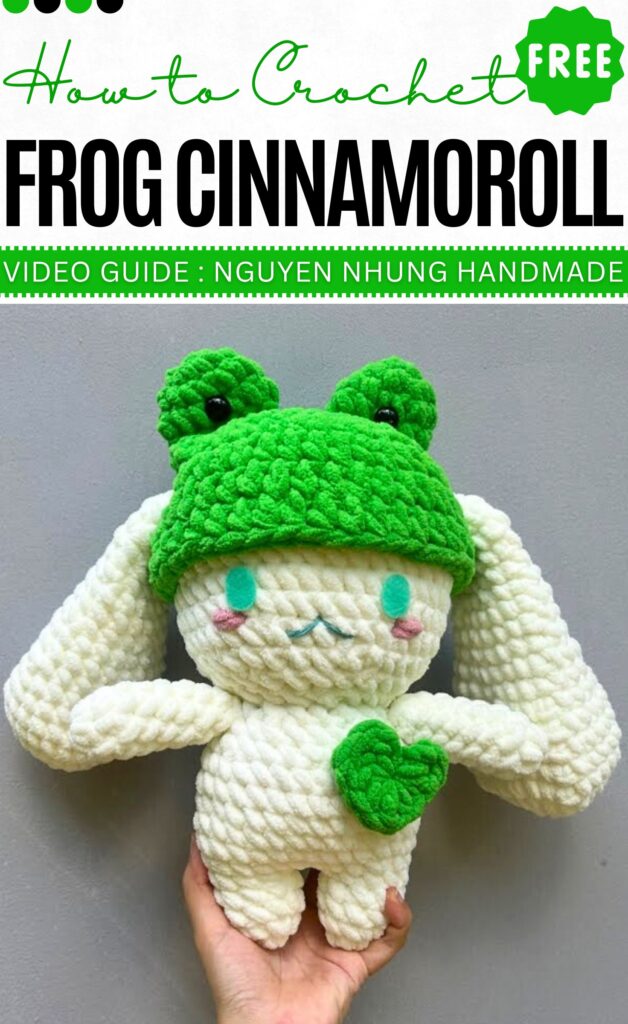
With either a frog or a pig hat, this crochet 28cm Cinnamoroll big plushie looks oh-so cute. The tutorial is divided into two parts, with the first one teaching the big plushie. This plush Cinnamoroll will also have a small crochet heart attached to it.
So, it will be an irresistible gift. For the eyes, you will use aqua felt and sew the blush and an embroidered mouth, too. The whole amigurumi body is low-sew and quick. I loved the stuffed ears.
02 of 17 Crochet Plush Capybara

Follow this tutorial to crochet a “lazy” lying big Capybara plushie with a “peach butt.” It will make a funny gift, especially for an anniversary. For crocheting the muzzle, you don’t have to crochet a separate piece or stuffed part. Just change the color to brown.
It will be a sleeping capybara that looks oh-so cute. The finished capybara will measure 28 cm in length. You need 8mm crochet with super bulky yarn.
03 of 17 Crochet Plush Teddy Bear
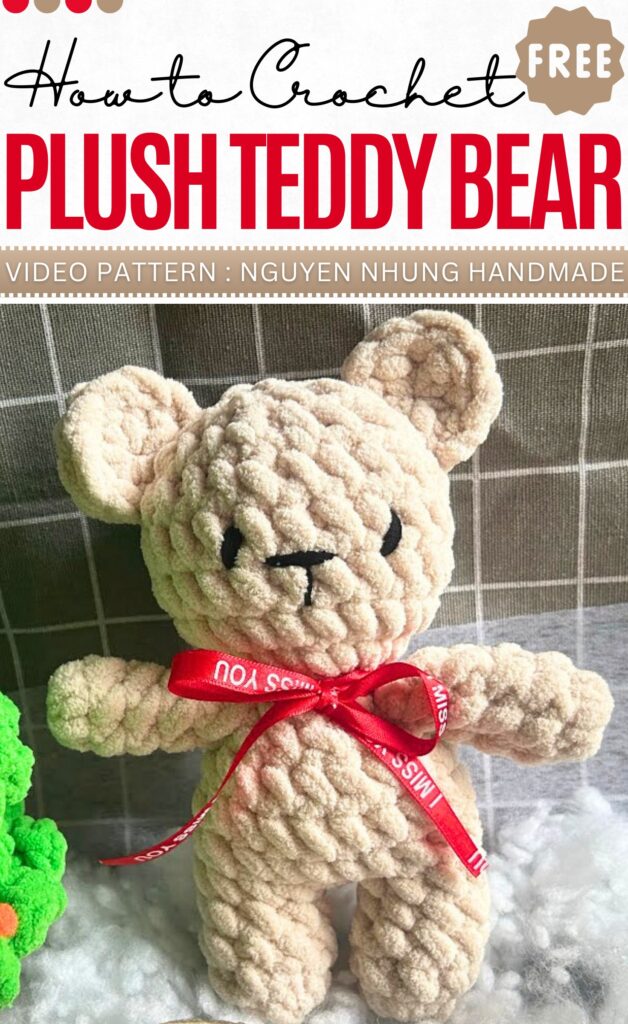
For Christmas or birthdays, this big teddy bear plushie will make a cherished present. Only needs one color, and the head, body, and legs will be worked as a single piece. The finished teddy bear for kids will be 20 high, using 6mm thick yarn and an 8mm crochet hook.
You can attach a ribbon or a crocheted bow knot before gifting. Use beige, brown or white for polar bear.
04 of 17 Crochet Plush Doraemon
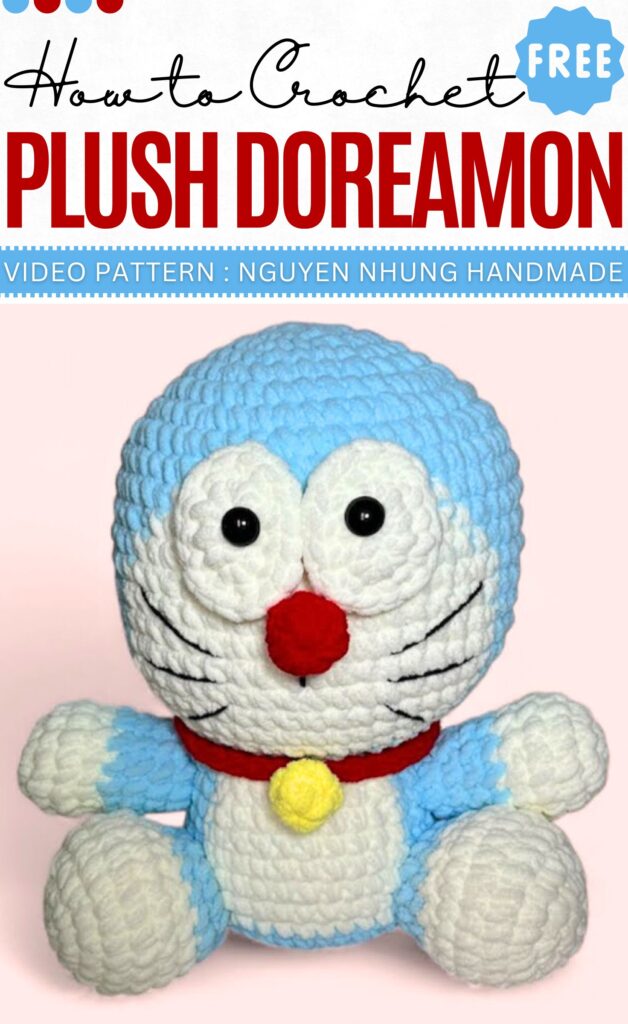
This chubby and sitting Doremon plushie is so big and cute. There will be instructions for crocheting the head, body, eyes, arms, legs, and the bell and collar. The finished Doraemon will measure about 30cm when sitting.
It would make a sofa and desktop buddy for you or your little ones. You can learn crocheting this adorable plushie in less than 30 minutes. So, crochet one for sure. Use 3 skeins of blue and 1 skein of white.
05 of 17 Crochet Plush Alpaca
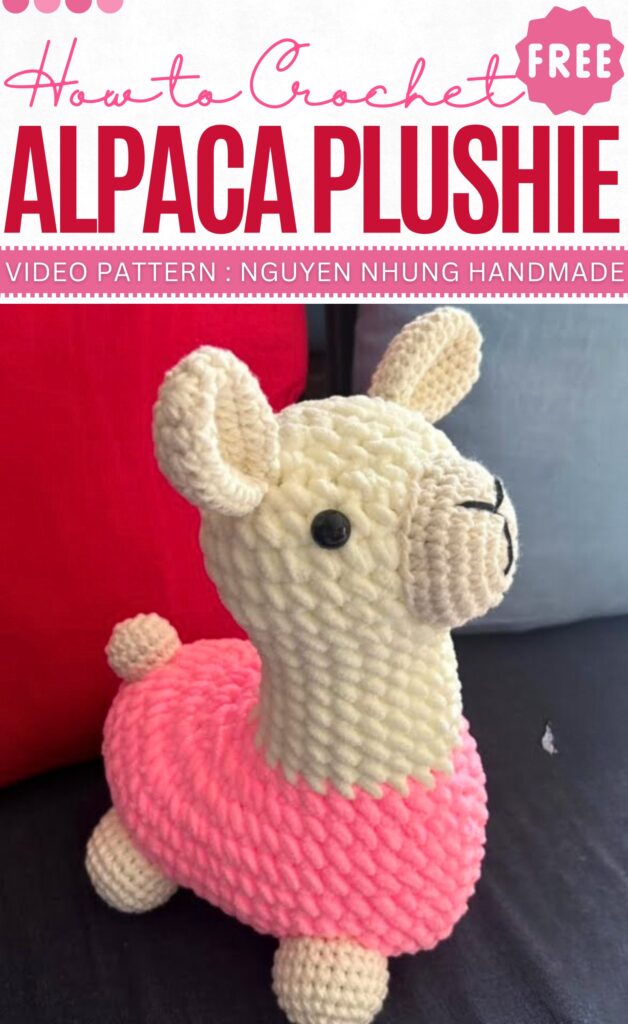
The baby Alpaca plushie in an animal pose is what you need as your next buddy. You will need velvet yarn for the body and cotton yarn for the muzzle, legs, tail, and ears. This plushie will wear a pink sweater that needs no sewing.
You can place it on the desk, and it will need no support. You can complete it in 2-3 hours and will end up with the 40cm Alpaca.
06 of 17 Crochet Plush Axolotl
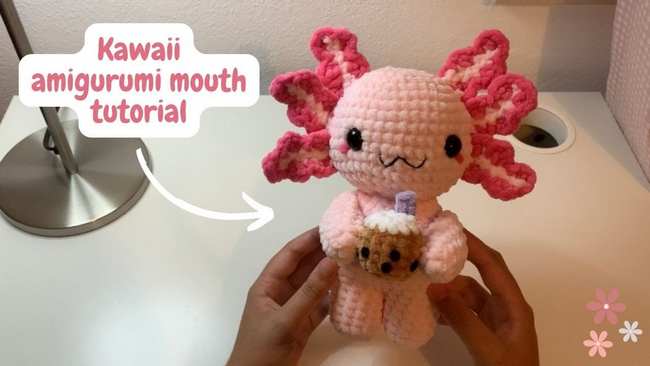
This project crochet axolotl doll plushie, is a fan-favorite for its “derpy” look and customizable colors.
Body Construction: Usually worked in one piece from the head down to the tail, often using a “flat” stitch for the tail fin.
Key Details: Features six iconic external gills (frills) made by chaining and slip-stitching directly onto the head.
Technique Tip: Use safety eyes positioned wide apart to capture that signature axolotl “stare.”
07 of 17 Crochet Plush Strawberry
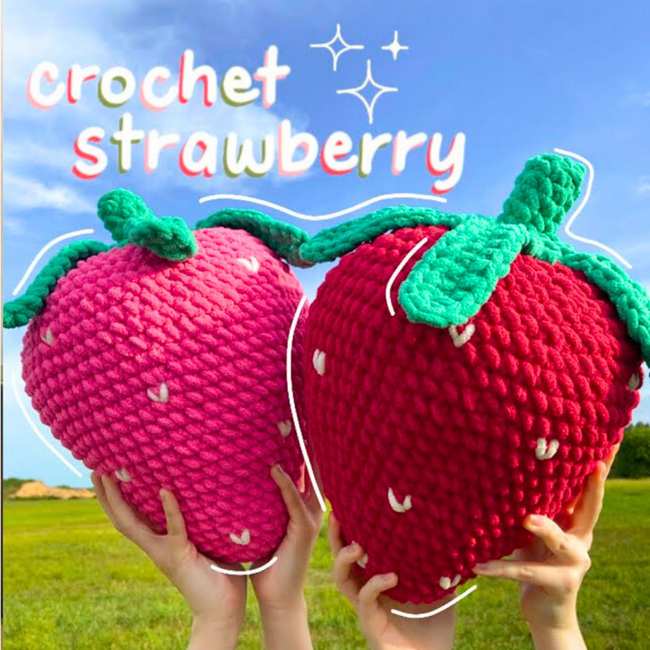
Here is how to crochet a large strawberry plushie in any of two colors:
Body Construction: Worked in a teardrop shape, starting with a magic ring and ending with a tapered point.
Key Details: Features a green “leafy” topper (calyx) that is usually crocheted separately and sewn on.
Technique Tip: Add “seeds” by embroidering small V-shaped stitches with yellow or white yarn after the body is stuffed.
08 of 17 Crochet Plush Pumpkin
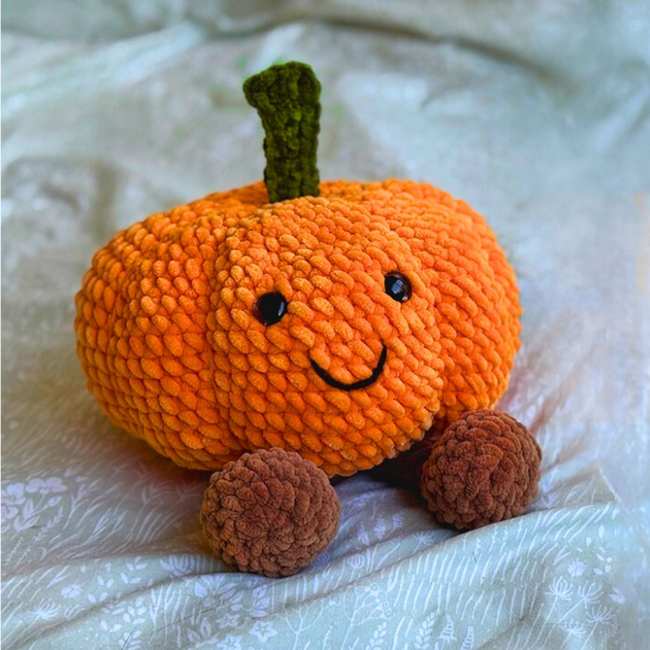
This tutorial by LalaBeCrocheting teaches you how to create an adorable, “long-legged” plush pumpkin inspired by the Jellycat brand. It uses soft chenille yarn to give it a premium, huggable feel.
The Legs: Unlike traditional pumpkins, this one has thin, floppy legs. You start with a magic ring of 8 stitches and work up to 16 rounds to get the length.
Body Shaping: The body is worked from the bottom up. To get the classic “ribbed” pumpkin look, you use a darning needle and long strands of yarn to pull sections tight from the top to the bottom after the stuffing is inside.
09 of 17 Crochet Plush Bunny
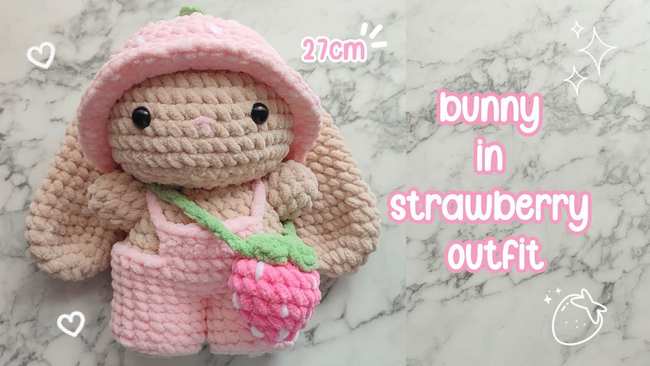
This tutorial focuses on a “long-eared” bunny plushie doll. It is designed to be a soft, “squishy” companion with overalls and a strawberry charm.
Ear Construction: The most important part of this pattern is the long, floppy ears, which are usually worked in flat rows or long oval rounds to give them their length and “flop.”
Seamless Transitions: The tutorial emphasizes smooth color changes and invisible decreases to ensure the plush looks professional and has no visible “seams.”
10 of 17 Crochet Plush Octopus
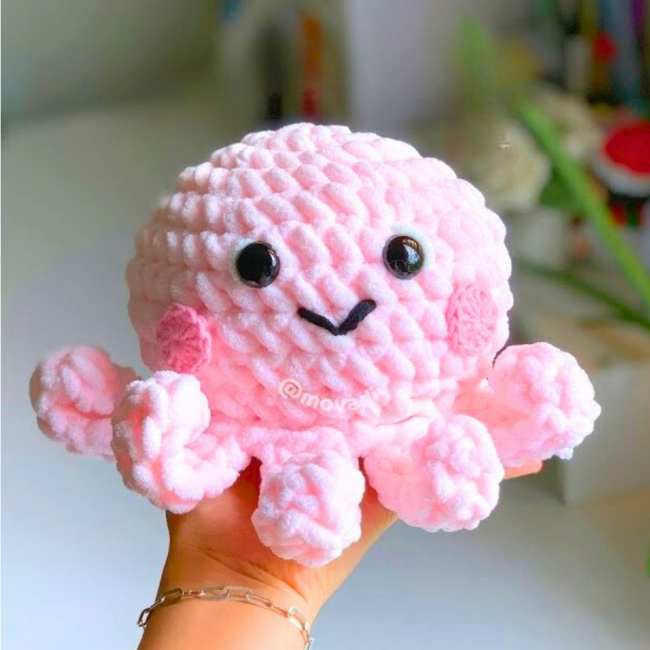
A beginner-friendly “no-sew” octopus by Mova DIY in pink for girls. It uses 6mm plush yarn and a large 7mm hook for a fast, chunky result.
The Head (Mantle): The head is a simple spherical shape starting with 8 single crochets in a magic ring, increasing up to 36 stitches to create a round, “bulbous” look.
The Tentacles: These are worked directly into the front loops of Round 11. You chain 10 and work half-double crochets back down the chain to create 10 curly tentacles.
11 of 17 Crochet Plush Elephant
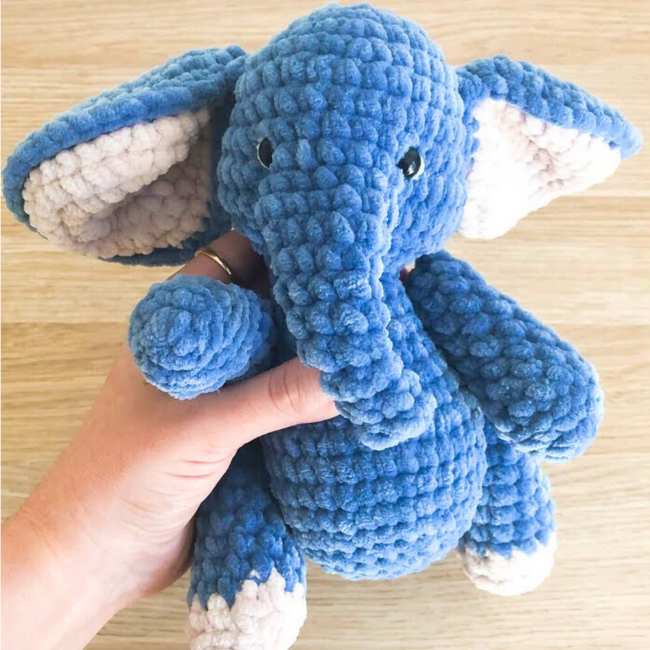
This “TikTok famous” pattern by Rose and Lily Crochet is designed to be a one-piece body and head, making it sturdier and easier for beginners who dislike sewing parts together.
The Trunk: The most technical part. Instead of sewing a trunk on later, you “skip” 7 stitches during the head rounds and chain across to create a hole. You then go back and crochet the trunk directly out of that hole.
Stability: The tutorial specifically notes to “stuff the neck firmly.” This is a crucial tip for plushies with large heads to prevent “floppy head syndrome”.
12 of 17 Crochet Plush Pusheen
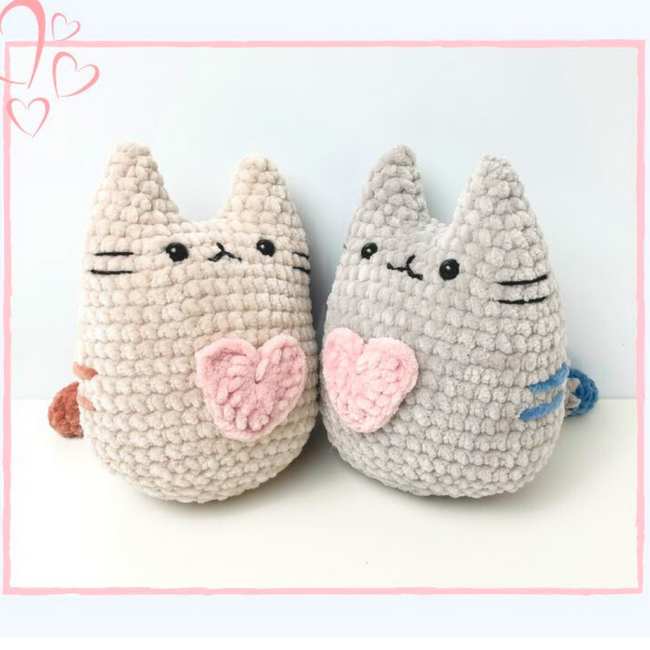
This tutorial focuses on crocheting an iconic “tubby” grey cat shape with a heart and stuffed. Unlike more complex animals, Pusheen is essentially a rounded loaf, making it a great project for practicing tension consistency.
The “Loaf” Shape: Pay close attention to the transition between the body and the flat bottom to ensure she stands (or sits) upright without wobbling.
Embroidery is Key: The tutorial highlights how to stitch the whiskers and back stripes. Small, tight stitches are essential so they don’t get lost in the plush yarn.
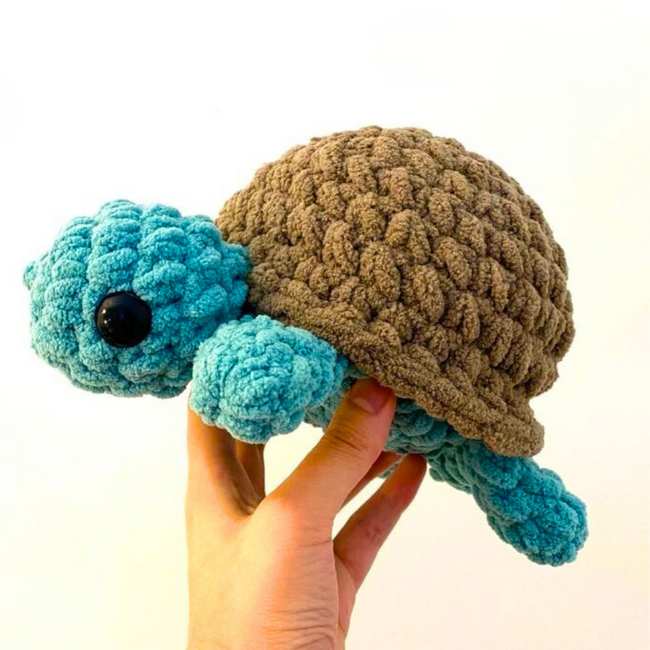
13 of 17 Crochet Plush Turtle
This video by Rose and Lily Crochet provides a comprehensive, step-by-step tutorial on how to create a soft, “TikTok-style” crochet turtle using super chunky plush yarn .
Yarn: Two colors of super chunky plush yarn (e.g., Hobby Baby Snuggle).
Hook: 4.25mm (G) crochet hook.
Other: 10mm safety eyes, yarn needle, scissors, and polyester fiberfill.
14 of 17 Crochet Plush Dino
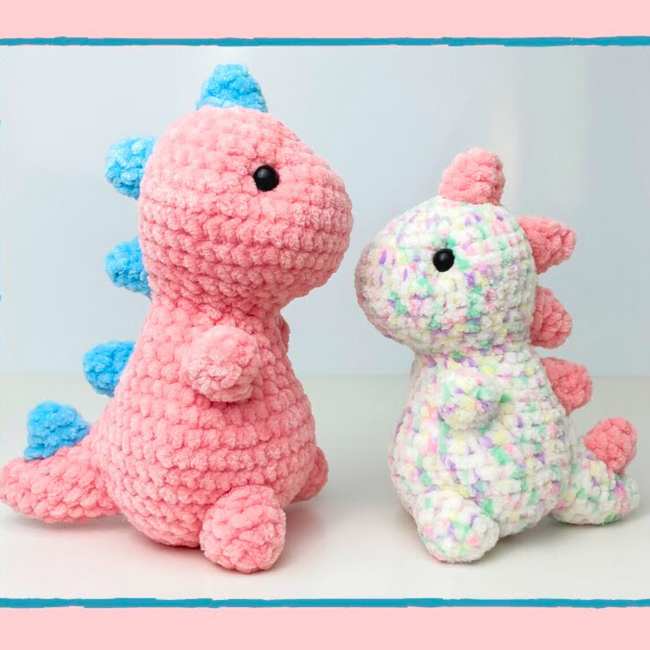
This tutorial is the second part of a tutorial by Rose and Lily Crochet on how to create an amigurumi T. rex. It covers the patterns for the remaining body parts and the final assembly of the dinosaur.
Tail: The tail begins with a small magic ring and gradually increases in size across nine rounds. Specific increases are placed in the final rounds to give the tail a curved shape that fits flush against the body.
Arms: These are small, simple pieces. You create two arms by working three rounds, starting with a magic ring and ending with nine stitches.
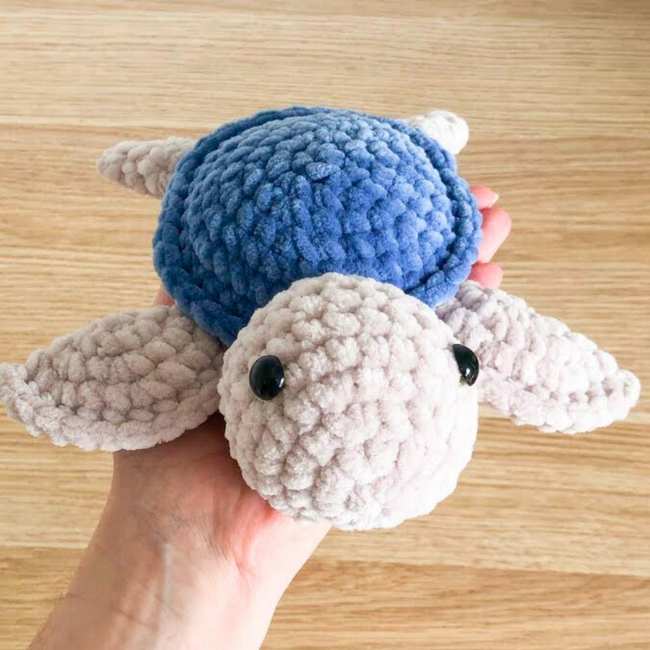
15 of 17 Crochet Plush Turtle
This tutorial is a comprehensive, beginner-friendly tutorial for crocheting a simple amigurumi turtle using a 7mm hook and super bulky blanket yarn.
The turtle is constructed in several parts: the shell (top), the belly (bottom), the head, the tail, and four legs. The tutorial uses US crochet terms and emphasizes skills like the magic circle, single crochet, increases, and invisible decreases.
16 of 17 Crochet Plush Octopus
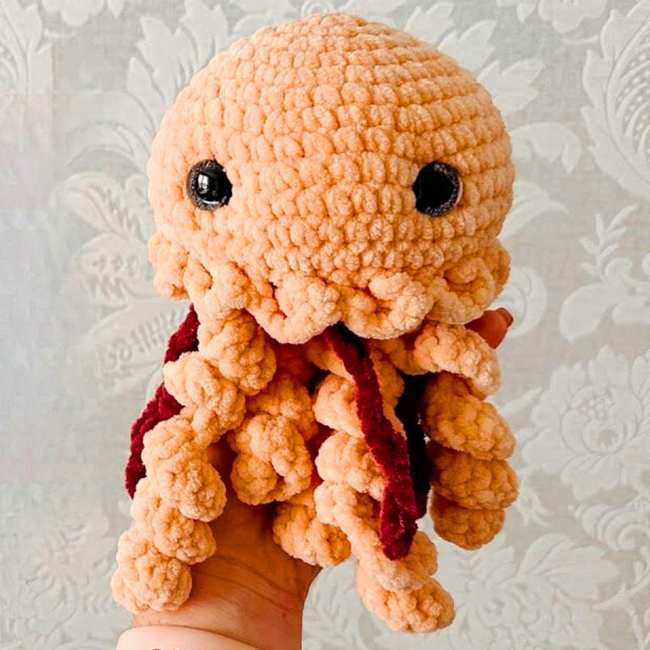
This tutorial by Double Dutch Crochet demonstrates how to create “Jasmine the Jellyfish,” a no-sew plushie project suitable for beginners.
Yarn: Chunky weight 6 yarn (peachy for the body, deep red for details).
Hook: 5.5mm crochet hook for the body and a 3.75mm hook for the skirt and tentacles.
The result is a soft, chunky jellyfish with a ruffled skirt and a mix of curly and straight tentacles.
17 of 17 Crochet Plush Octopus
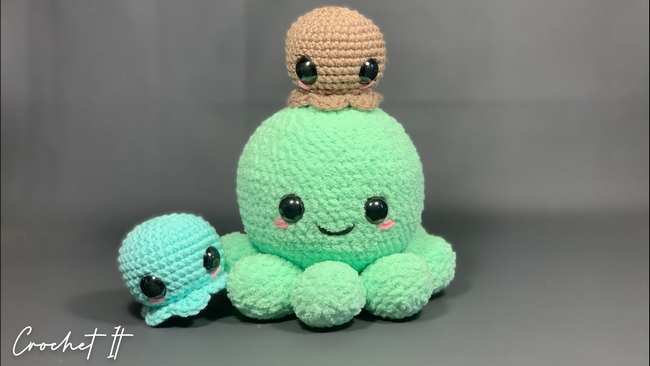
Learn how to crochet a small octopus plushie. This project is designed to be “no-sew,” meaning the legs and body are worked in one continuous piece or joined as you go, eliminating the need to sew separate parts together at the end.
- Creating the Head: The process begins with a magic ring. The creator works in continuous rounds, increasing the number of stitches to create a rounded dome shape for the top of the head.
- Adding Facial Features: Before the body is closed and stuffed, the safety eyes are inserted between specific rounds. A small mouth is often embroidered using black yarn or embroidery floss.