
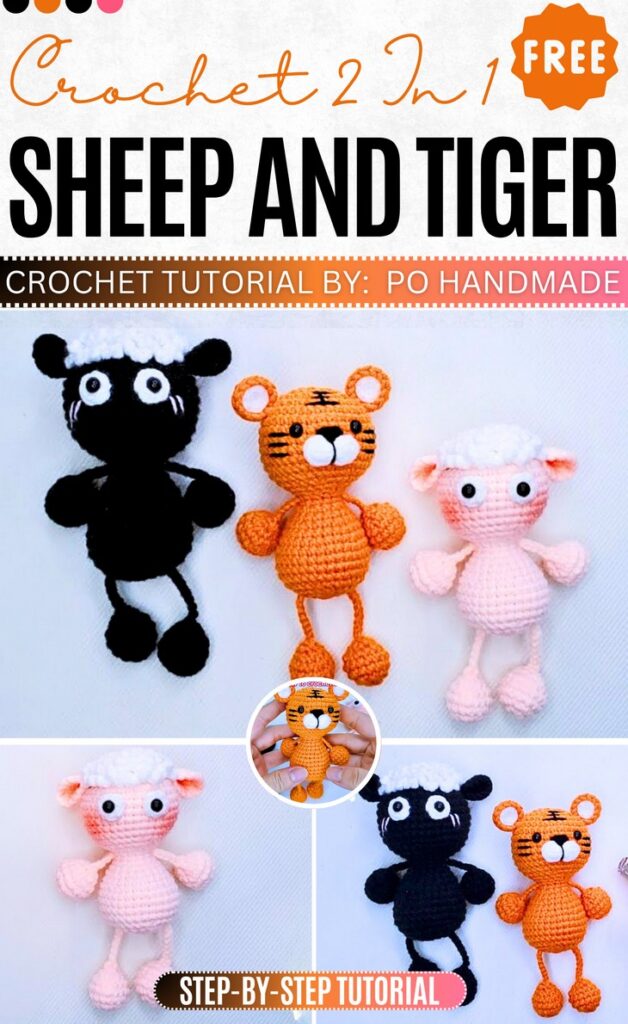
How to Crochet Lamb And Tiger Amigurumi (2-In-1 Tutorial for Beginners)
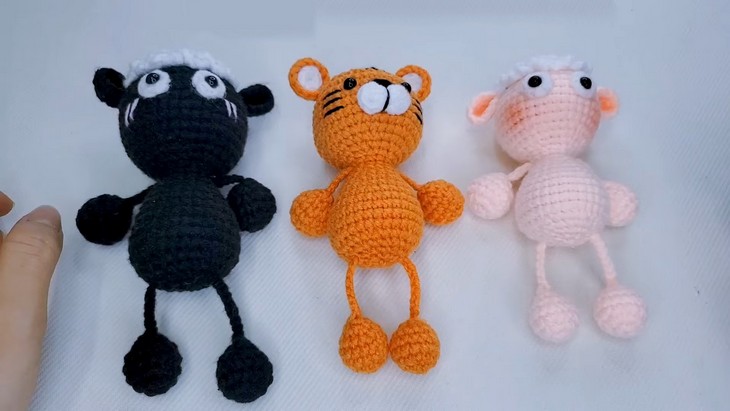
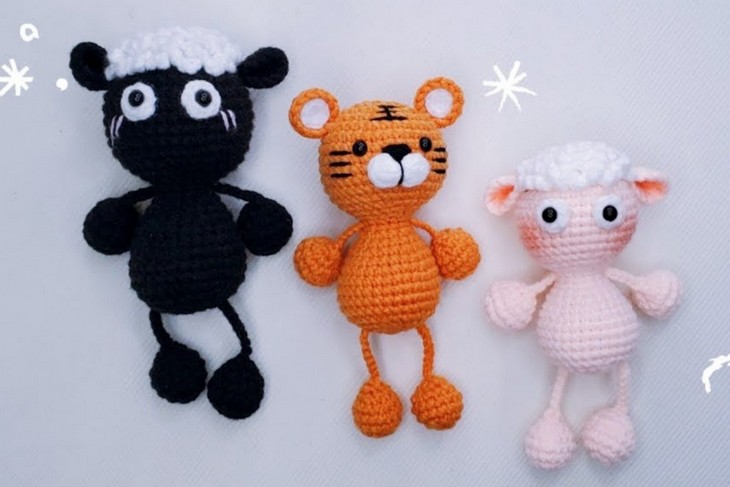
Today, we have come up with a two-in-one amigurumi tutorial for beginners. Learn how to crochet leggy lamb and tiger amigurumi dolls, perfect for using as car hangers and fidget toys. You can crochet the lamb in either black or signature white, following the same pattern.
Crocheting these animal amigurumi is very easy, as the pattern has many similarities. Follow through with us for the complete tutorial by Po Handmade for crocheting this tiger and lamb set!
Kindly note that the media and the pattern belongs to the creator @pohandmadevn. We won’t provide any artifically or self-written fetched pattern but details about this project to make it easy for you! The tutorial can be found at the end of this post!
Crochet A Tiger and a Lamb Tutorial Features
Skill Level: Beginners can easily crochet the set, thanks to the tutorial
Tutorial Timing: 1 hour 13 Minutes, making it super detailed and easy
Personalization Tips: You can use a similar pattern for the body and add more crochet to the leggy frog amigurumi or similar animals like that, from a crochet pig to a lion. You can also use magnets in the spheres of the animals to make them a curtain tie!
Pattern Type: On-screen written instructions are available if you find written instructions more convenient.
Supplies Used
Here is a list of supplies used for crocheting the lamb and tiger:
- Skin-colored, black, and orange wool yarn: For creating the base of the lamb and tiger. the 4ply or 6ply yarn!
- White wool yarn: For crocheting parts such as fleece, eyes, and stripes.
- Crochet hook: Use a 2.5mm to 3.5mm hook size.
- Sewing needle: For assembling and sewing the parts together.
- Cotton stuffing: To add firmness and shape to the body, arms, and legs.
- Glue: Used for attaching embellishments like eyes and ears.
- Embroidery floss or thread: For creating details like facial features and tiger stripes.
Here’s a quick guide on how to crochet each stitch used in the two-in-one crochet tiger and lamb pattern:
- Chain Stitch (ch): Yarn over hook, pull through the loop on the hook.
- Single Crochet (sc): Insert hook into stitch, yarn over, pull through stitch (2 loops on hook), yarn over, pull through both loops.
- Increase (inc): Work two single crochet stitches into the same stitch.
- Decrease (dec): Insert hook into stitch, yarn over, pull through (2 loops on hook), insert hook into next stitch, yarn over, pull through (3 loops on hook), yarn over, pull
- through all 3 loops.
- Slip Stitch (sl st): Insert hook into stitch, yarn over, pull through the stitch and the loop on the hook.
- Back Loop Only (BLO): Insert hook into only the back loop of the stitch, then complete your single crochet as normal.
The Lamp and Tiger Tutorial Rodamap
Here is a quick overview of how the tutorial will teach crocheting this set of a lamb and tiger amigurumi for beginners:
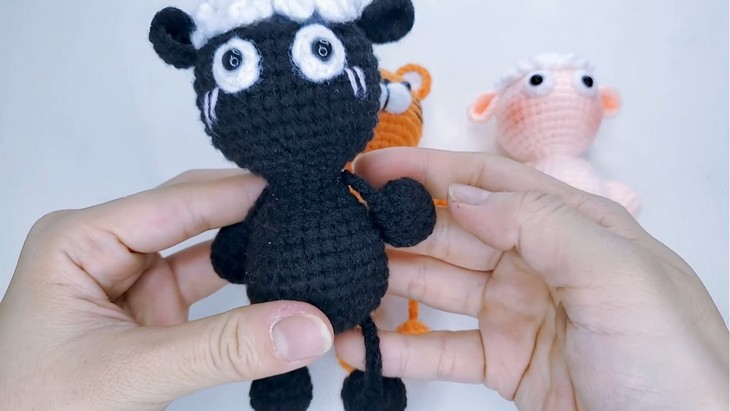
Crocheting the Lamb’s Body
- Begin with a magic circle using skin-colored or black yarn.
- Work single crochet stitches, increasing in each row to shape the lamb’s round body.
- From rows 7 to 12, crochet 36 single crochet stitches per row for the rounded shape. Proceed with decreases gradually in the later
- rows until completing the body with stuffing.
Creating and Attaching Arms and Legs
- For arms and legs, start with magic circles and build up using single crochet stitches (e.g., 6V stitches to 12 single crochet stitches).
- Fill these with cotton and chain stitch sections to attach them seamlessly to the body.
- Sew arms between rows 17–18 and legs between rows 29–30 in alignment with the body shape.
Adding Fleece Details to the Lamb
- Use white yarn to crochet fleece-like textures on the body—work by inserting into the remaining edge stitches and creating repeated 4-chain loops.
- Continue loop stitches across rows to give the lamb its characteristic woolly texture.
Creating Facial Features
- Make small details like the eyes using magic circles and white yarn. Attach eyes evenly spaced from the fleece.
- Embroider the nose and any blush using red or dark pink yarn for highlights, sewn proportionally to the rows between the body and fleece.
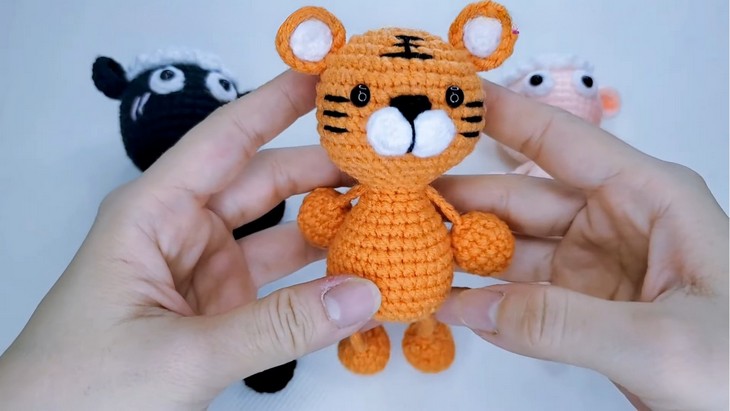
Crocheting the Tiger Variant
- Use similar techniques for shaping the tiger’s body but skip crocheting on the inner edge for smoother transitions.
- Use orange yarn for arms and legs, adding white detail for the ears and nose.
- Embroider black stripes on rows like 5–6 and attach facial features (nose and eyes) between rows 8–11 to finalize the tiger’s design.