
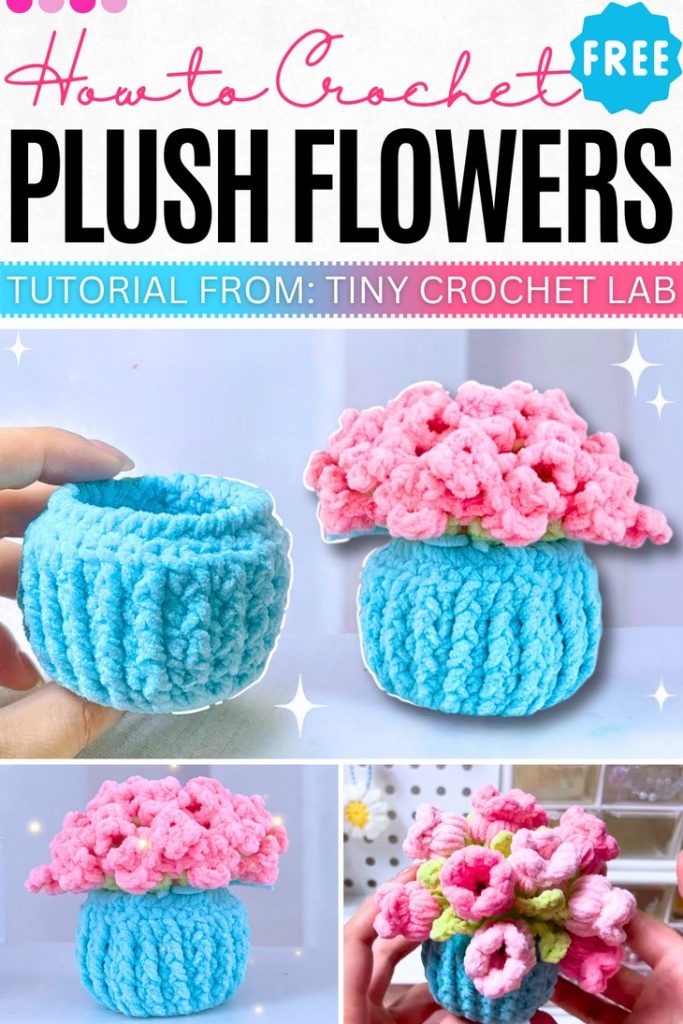
How to Crochet Lily of the Valley Coaster & Pot (Gift Bouquet Pot)
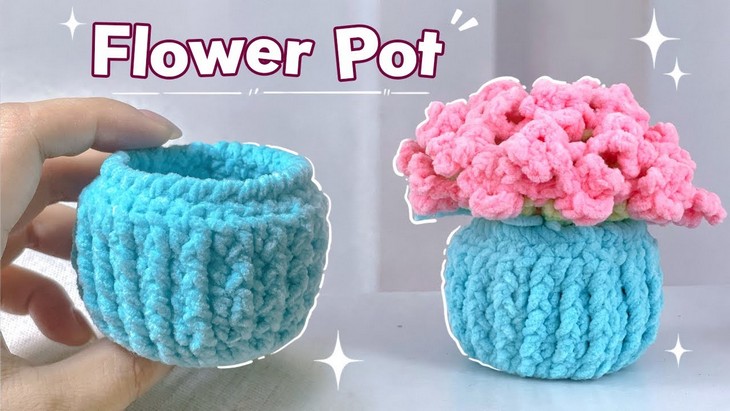
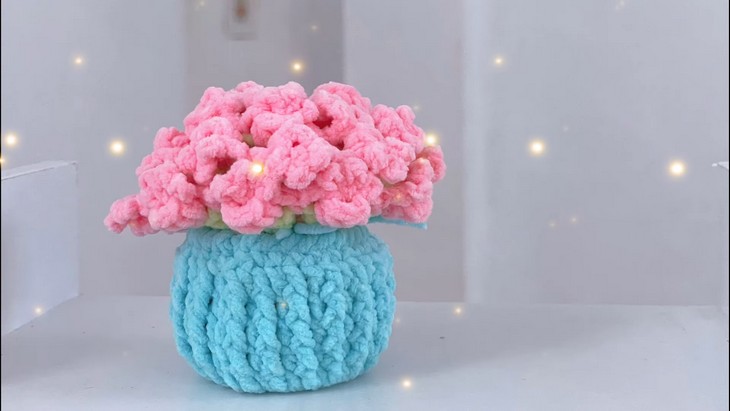
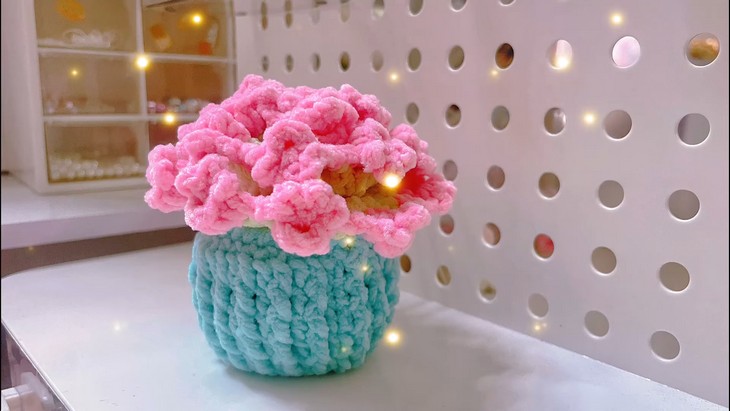
Among all flower coaster designs, the “bouquet in a pot” is indeed the most elegant, surprising, and irresistible gift idea. And here is the most detailed and elegant version of this creative flower idea! Introducing the set of a Lily of the Valley flower coaster and a perfectly-shaped flower pot with a stitch-by-stitch tutorial from Tiny Crochet Lab! The pot features a flexible fibbed texture and has a better and different shape than the usual bouquet coaster pots. With the softness and shine of plush yarn, the color combo and texture, the coaster is also a masterpiece in its own right. Try it for spring and even Christmas!
Luckily, with the 2-part tutorial, crocheting the coaster and the pot will be super easy even for beginners. The coaster has a medium size and will work well for mugs. It features larger tulips in the edging. So, if you have made up your mind to crochet this flower coaster pattern, continue reading this post till the end. There you will find the complete tutorial.
About the Designer: The designer behind this flower pot and coaster project is @TinyCrochetLab – Headbands, flower charms, coasters, and mini amigurumi. She has the most unique, cute, and perfectly-colored designs for these projects. Her small library has everything you may need for gifting. You will especially love her bunny holding a carrot, the recent cat ice-cream keychain, flower headbands, a no-sew mini octopus, and many crocheted flowers and small accessories like the tulip AirPods case. Her tulip series is simply my favorite and the most versatile in this regard. So, check her tutorials for sure!
Note: In respect of the creator’s pattern rights, there will be no provision of the written pattern. You can watch the tutorial with on-screen written instructions at the end of this post.
Crochet Flower Coaster & Pot Tutorial
Skill Level: Beginner – Intermediate. Starting with the magic ring for the flower pot, you will crochet the base by working the round using the single crochet, chain stitch, and slip stitch. To begin the sides, you will work in BLO and perform double crochet stitches. Alternate between the front post and back post double crochet for the ribbed texture. To taper the top a bit, you will also need the decrease and single crochet pattern.
Tutorial Timing: 13 minutes only for the Valley coaster and 9 minutes for the pot (perfect for learning the connected tulip flower stitch but with more 3D and detailed flowers, cluster stitches, and lace-work. Plus, crochet the pot pattern that can be used as a general-purpose basket or for other crochet potted animal amigurumi and flower projects. You can also crochet this flower coaster for Christmas, using the red yarn for the flower. Moreover, practicing working in rounds.)
Personalization Tips: The Lily of the Valley colors are much more diverse, red, orange, yellow, purple, white, pink, blue (or near-blue), maroon/burgundy, black, cream, bi-colored / multicolored (variegated). Always use the pastel shades for the Lily of the Valley coaster. As for my recommendation, pink and purple will work best!
You can easily increase the size of this flower coaster by making more inner rounds and, in the end, crochet the tulip stitch. Attach the beads to your finished crochet pot!
Pattern Type: An on-screen written pattern is available if you find written instructions easy to follow along with. The pattern is written in US terms.
Materials Suggested
The tutor has mentioned this list of materials and tools for the mini bouquet coaster and pot project for spring. Gather all for similar results:
- Cotton yarn (your choice of colors) or use the medium-weight plush yarn for a velvety finish.
- Hook size 2.50 mm; No.4/0 will work best
- Yarn needle & scissors
Techniques Used
The following are the crochet techniques that the tutor will use for crocheting this tulip coaster flower pattern and the top:
Chain stitch (ch) – Yarn over, pull through loop on hook.
Slip stitch (sl st) – Insert hook into stitch, yarn over, pull through both stitch and loop.
Single crochet (sc) – Insert hook into stitch, yarn over, pull through, yarn over, pull through both loops.
Back loop only (BLO) – Work stitch into the back loop only of next stitch.
Double crochet (dc) – Yarn over, insert hook into stitch, yarn over, pull through, yarn over, pull through 2 loops twice.
Front post double crochet (FPdc) – Yarn over, insert hook around front of post of stitch, yarn over, pull through, complete as dc.
Back post double crochet (BPdc) – Yarn over, insert hook around back of post of stitch, yarn over, pull through, complete as dc.
Decrease (sc2tog or dc2tog) – Partially work 2 stitches, then yarn over and pull through all loops on hook.
Increase – Work 2 stitches into same stitch.
Chain space (ch-sp) – Skip designated stitches, work chains, and stitch into space created.
Double crochet cluster (dc cluster) – Yarn over, pull up loops for multiple dc in same stitch, yarn over, pull through all loops on hook.
Crochet a Flower Coaster Tutorial
Like the tulip flower coaster, the Valley of the Flower coaster is worked from the center outward by working in the round without any sewing, using the basic double crochet and increase pattern for the first two rounds. For the third round, you will also need the chain spaces and then a single crochet round, too.
Color changes and the leaf pattern need to decrease and chain spaces. For the flower stitch, you will need double crochet clusters, a chain for the tulip look, and working in chain spaces. As per usual, you will also need a slip stitch.