
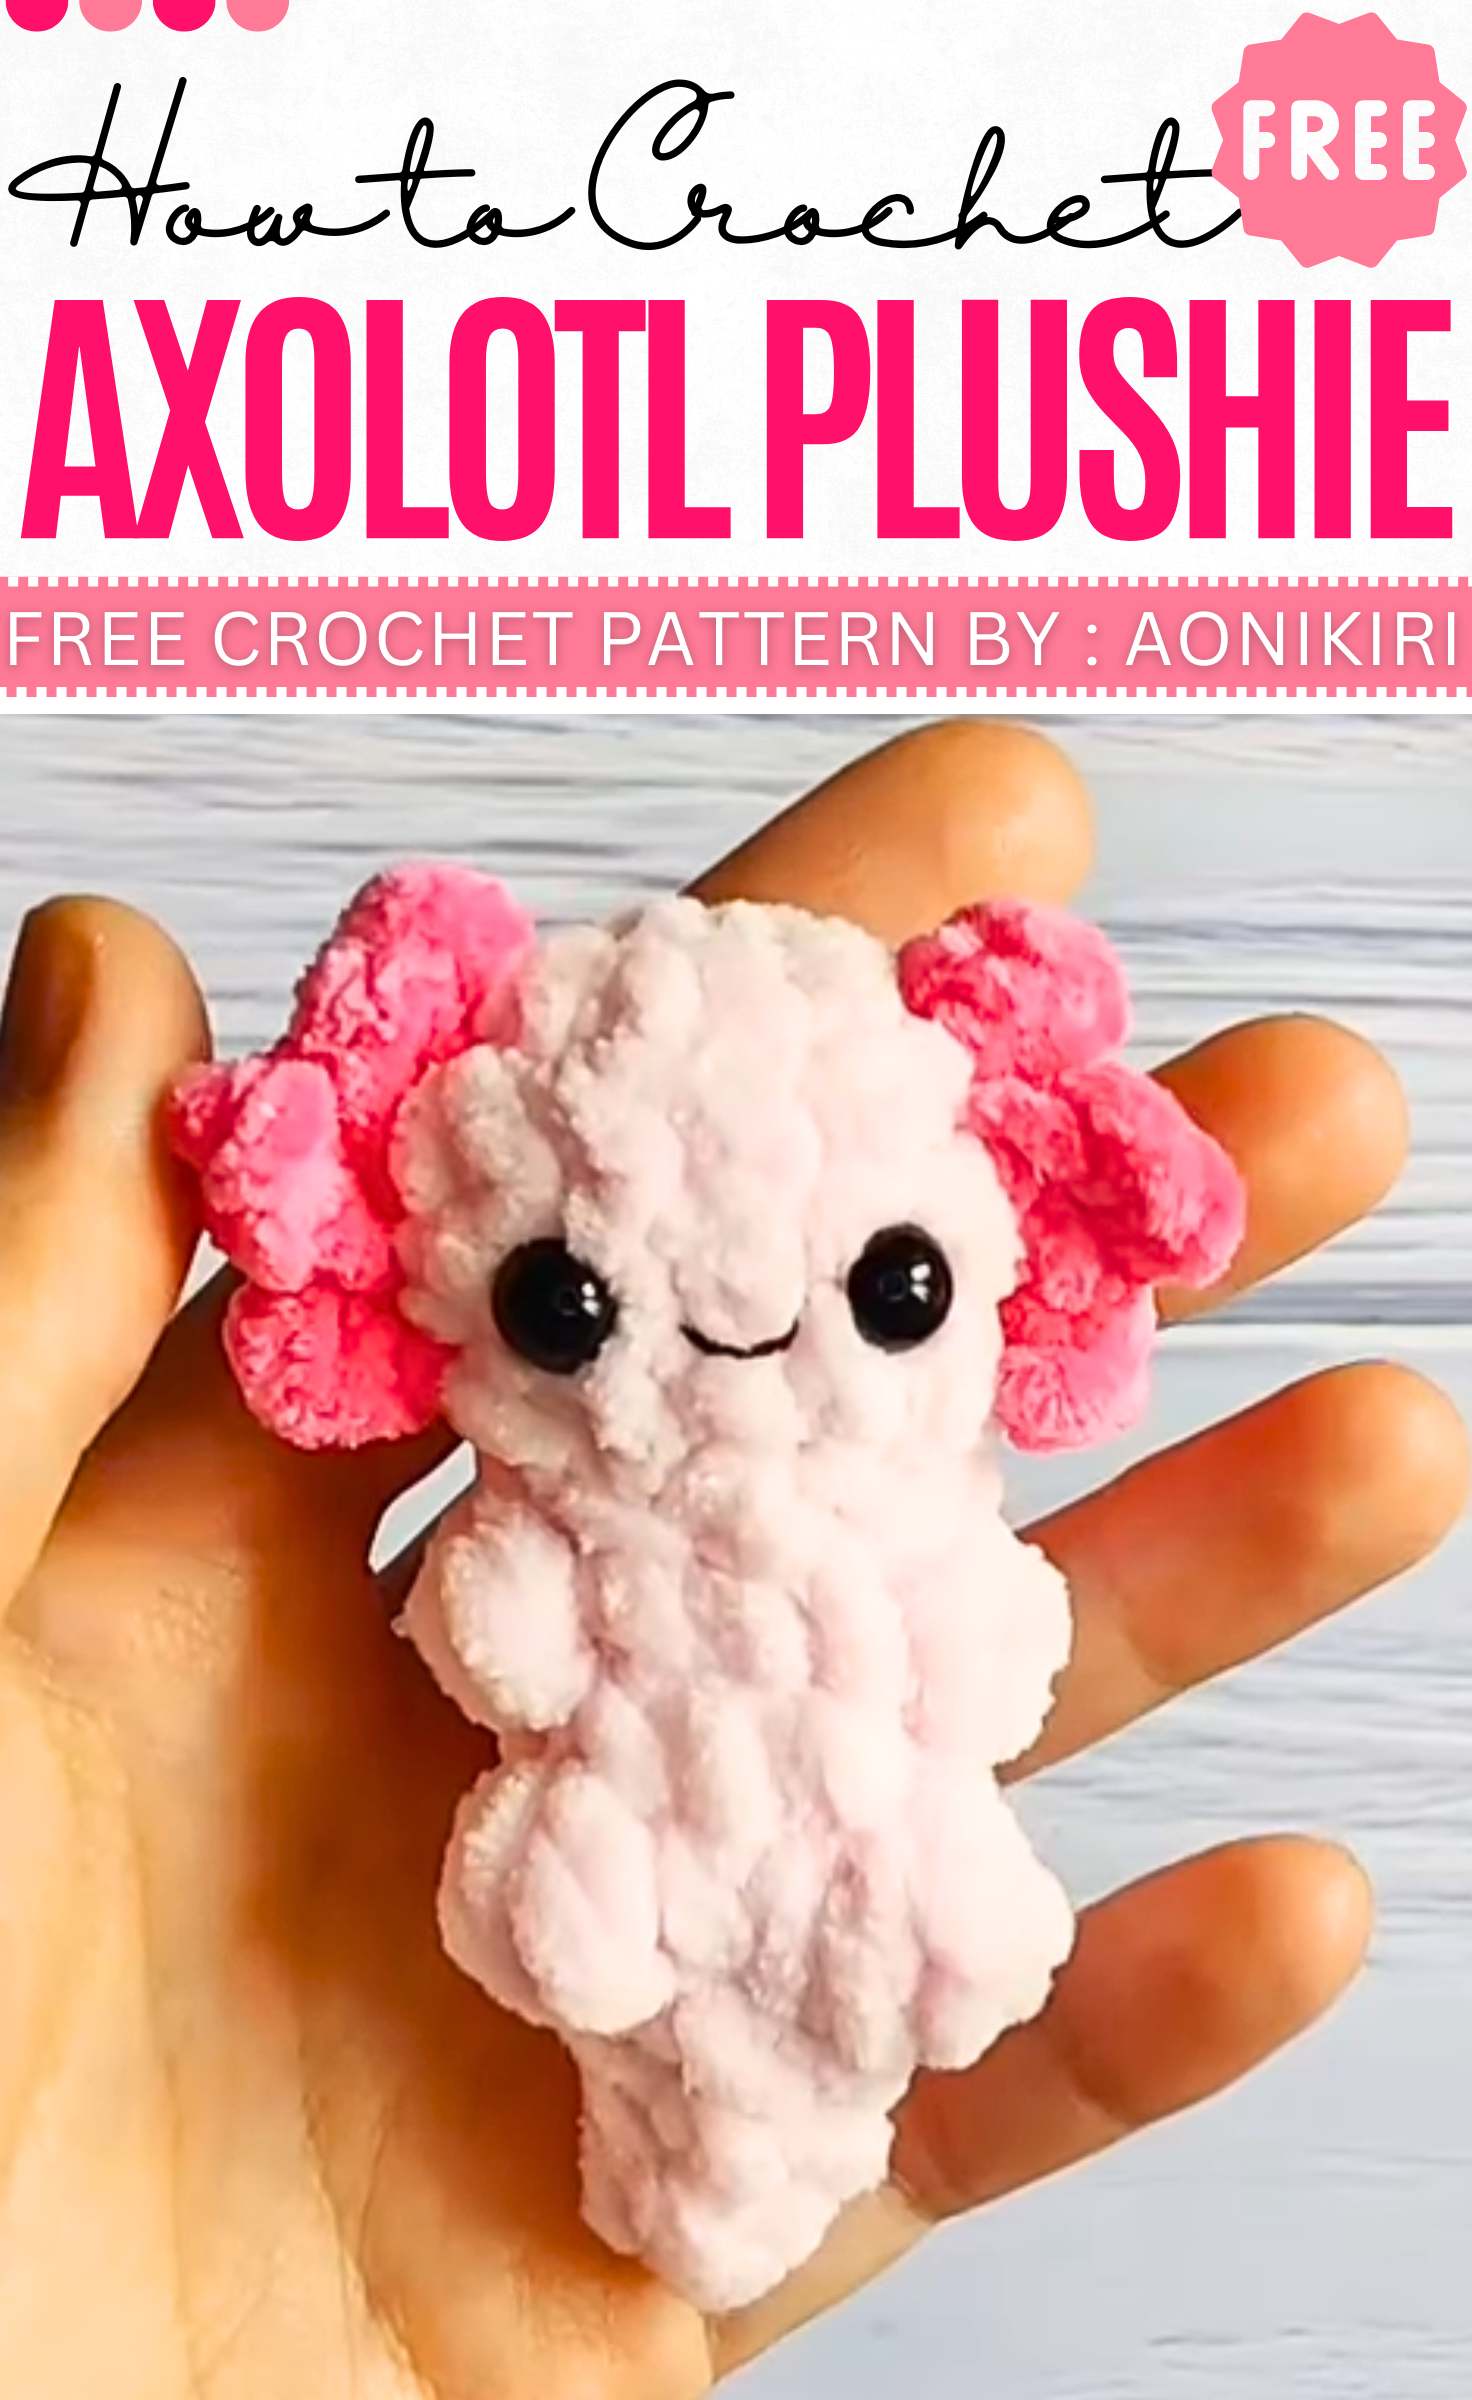
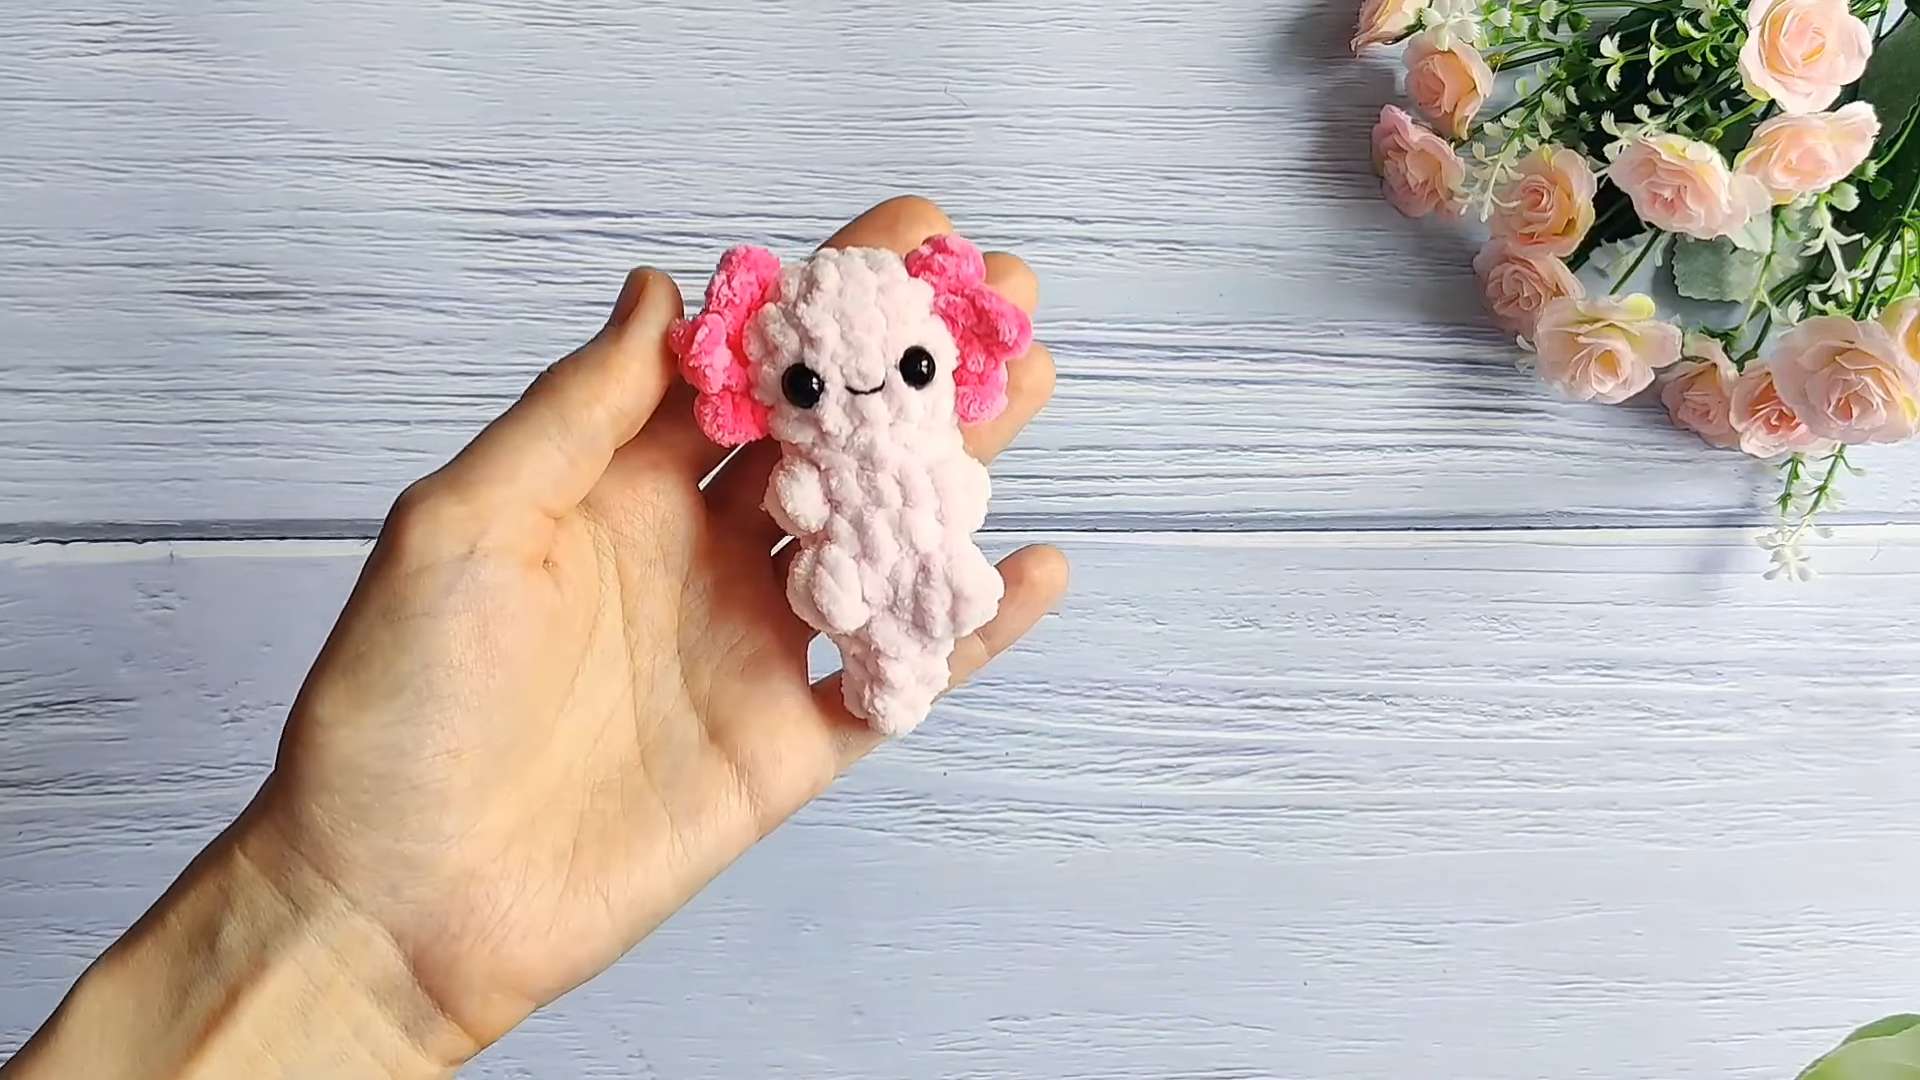
Free Crochet No-Sew Axolotl Plushie Pattern for Beginners
No-sew, quick, and super easy, here is a crocheter’s dream axolotl written pattern for absolute beginners. Just pack it in a transparent bag, attach a small message tag, and sell this fast axolotl plushie at craft fairs. With the super bulky yarn and no-sew construction, you can complete crocheting this one within 15 minutes.
Whether you need Russian or US instructions, you are welcome to explore this crochet plushie pattern. Once you finish crocheting this axolotl plushie, make sure to send me your product. Now, continue reading for the complete written pattern.
Pattern for Crochet Axolotl Plushie
This particular crochet axolotl pattern was mainly designed by Stitch by Fay and then became quite popular in the community. This crochet pattern will help you crochet a similar and no-sew crochet kawaii axolotl named “baby axolotl”.
Designer of the Axolotl Plushie
The designer of this no-sew aolotl plushie for kids is @aonikiri – she has expertise in “no-sew” crochet keychains and small plushies that are always so cute.
Note: For this crochet axolotl plushie in particular, I will provide you with the complete pattern using English terms.
Mini Axolotl Crochet Pattern
This crochet pattern is written in the US terms for crocheting the mini axolotl plushie that is easy, quick and great for beginners:
Supplies for Plush Axolotl
The following materials and tools are needed for crocheting this new axolotl plushie:
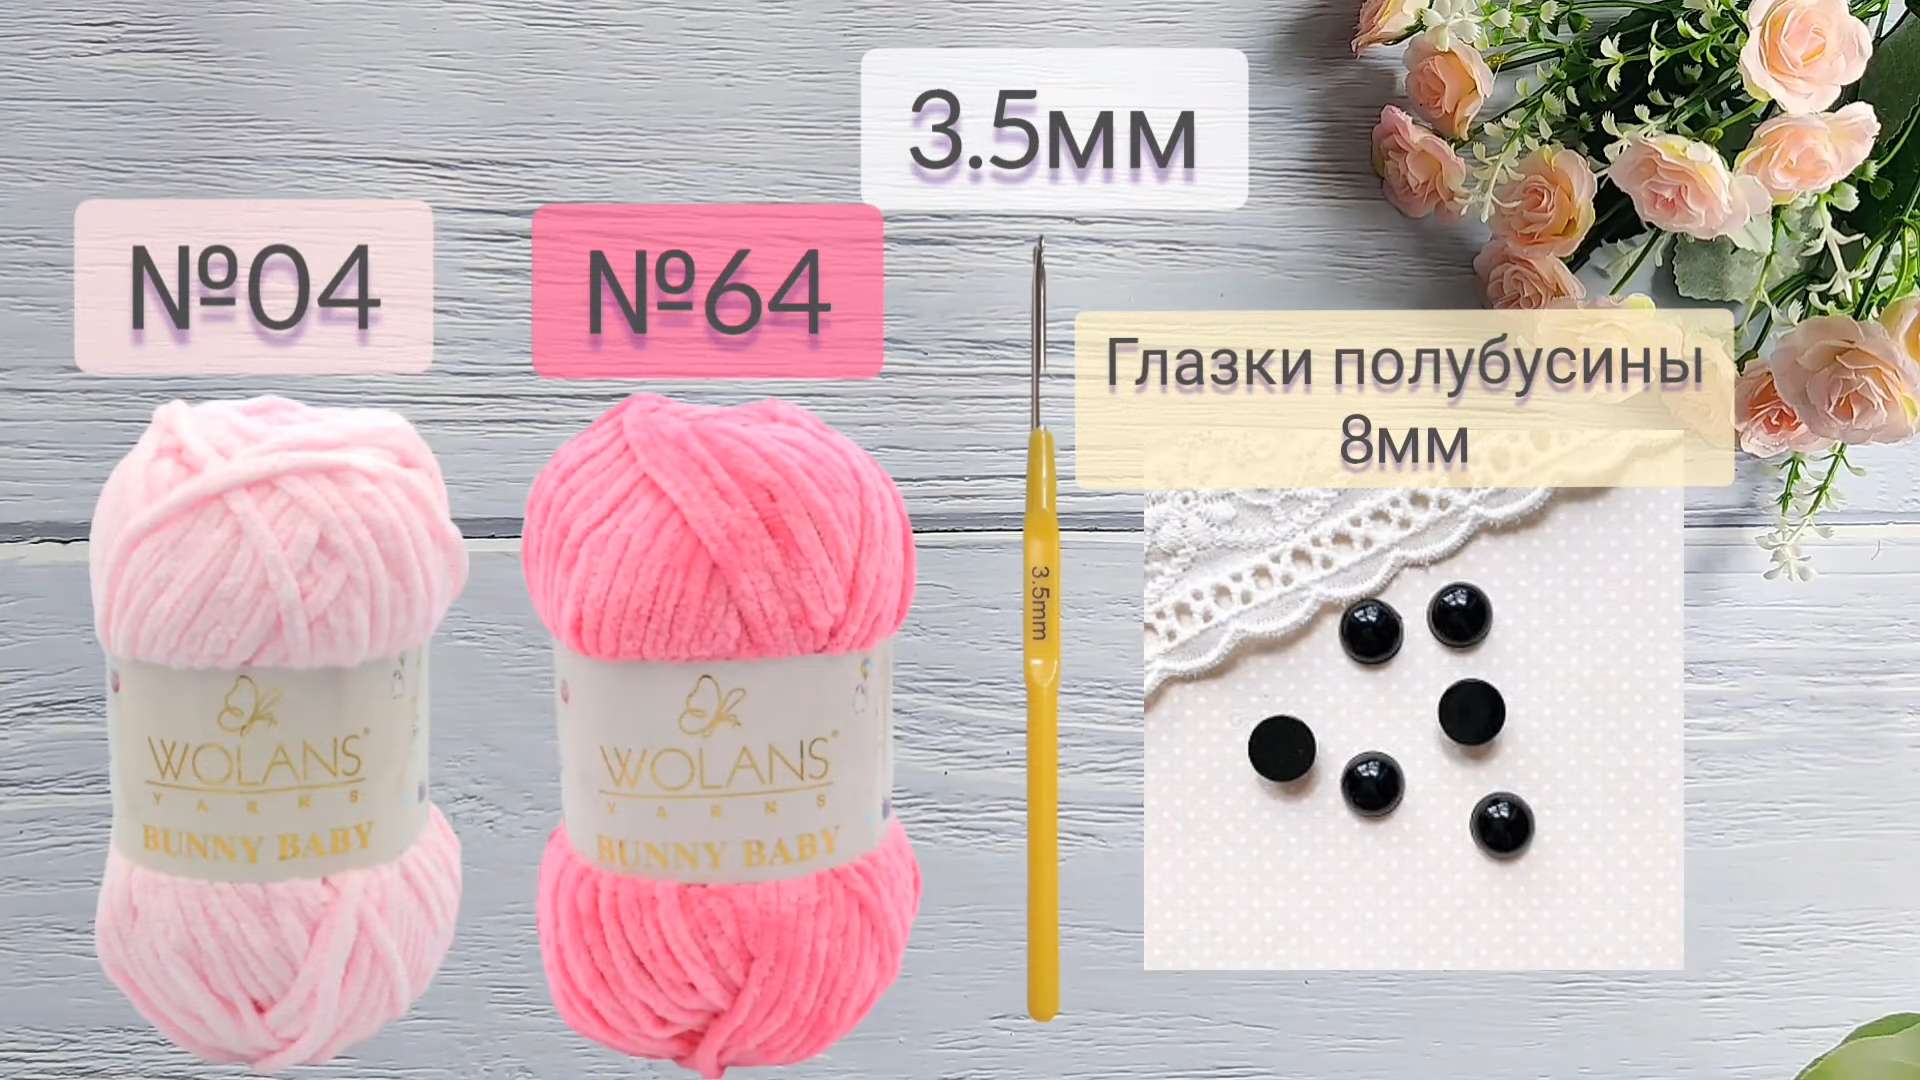
Yarn: Plush/Chenille yarn in Light Pink (body) and Dark Pink (gills).
Hook: 3.5 mm
Eyes: 7mm or 8mm safety eyes or half-beads.
Filler: Polyester fiberfill.
Needle & Thread: For sewing and embroidering the mouth.
Glue: (If using half-beads) B7000 or similar.
Abbreviations (US Terms):
The following are the abbreviations that I will be using for the US-written instructions of this axolotl plushie:
MR: Magic Ring
sc: Single Crochet
inc: Increase (2 sc in one st)
dec: Decrease (sc2tog)
ch: Chain
sl st: Slip Stitch
Bobble: Bobble stitch (3 unfinished double crochet clusters in one stitch, yarn over and pull through all loops).
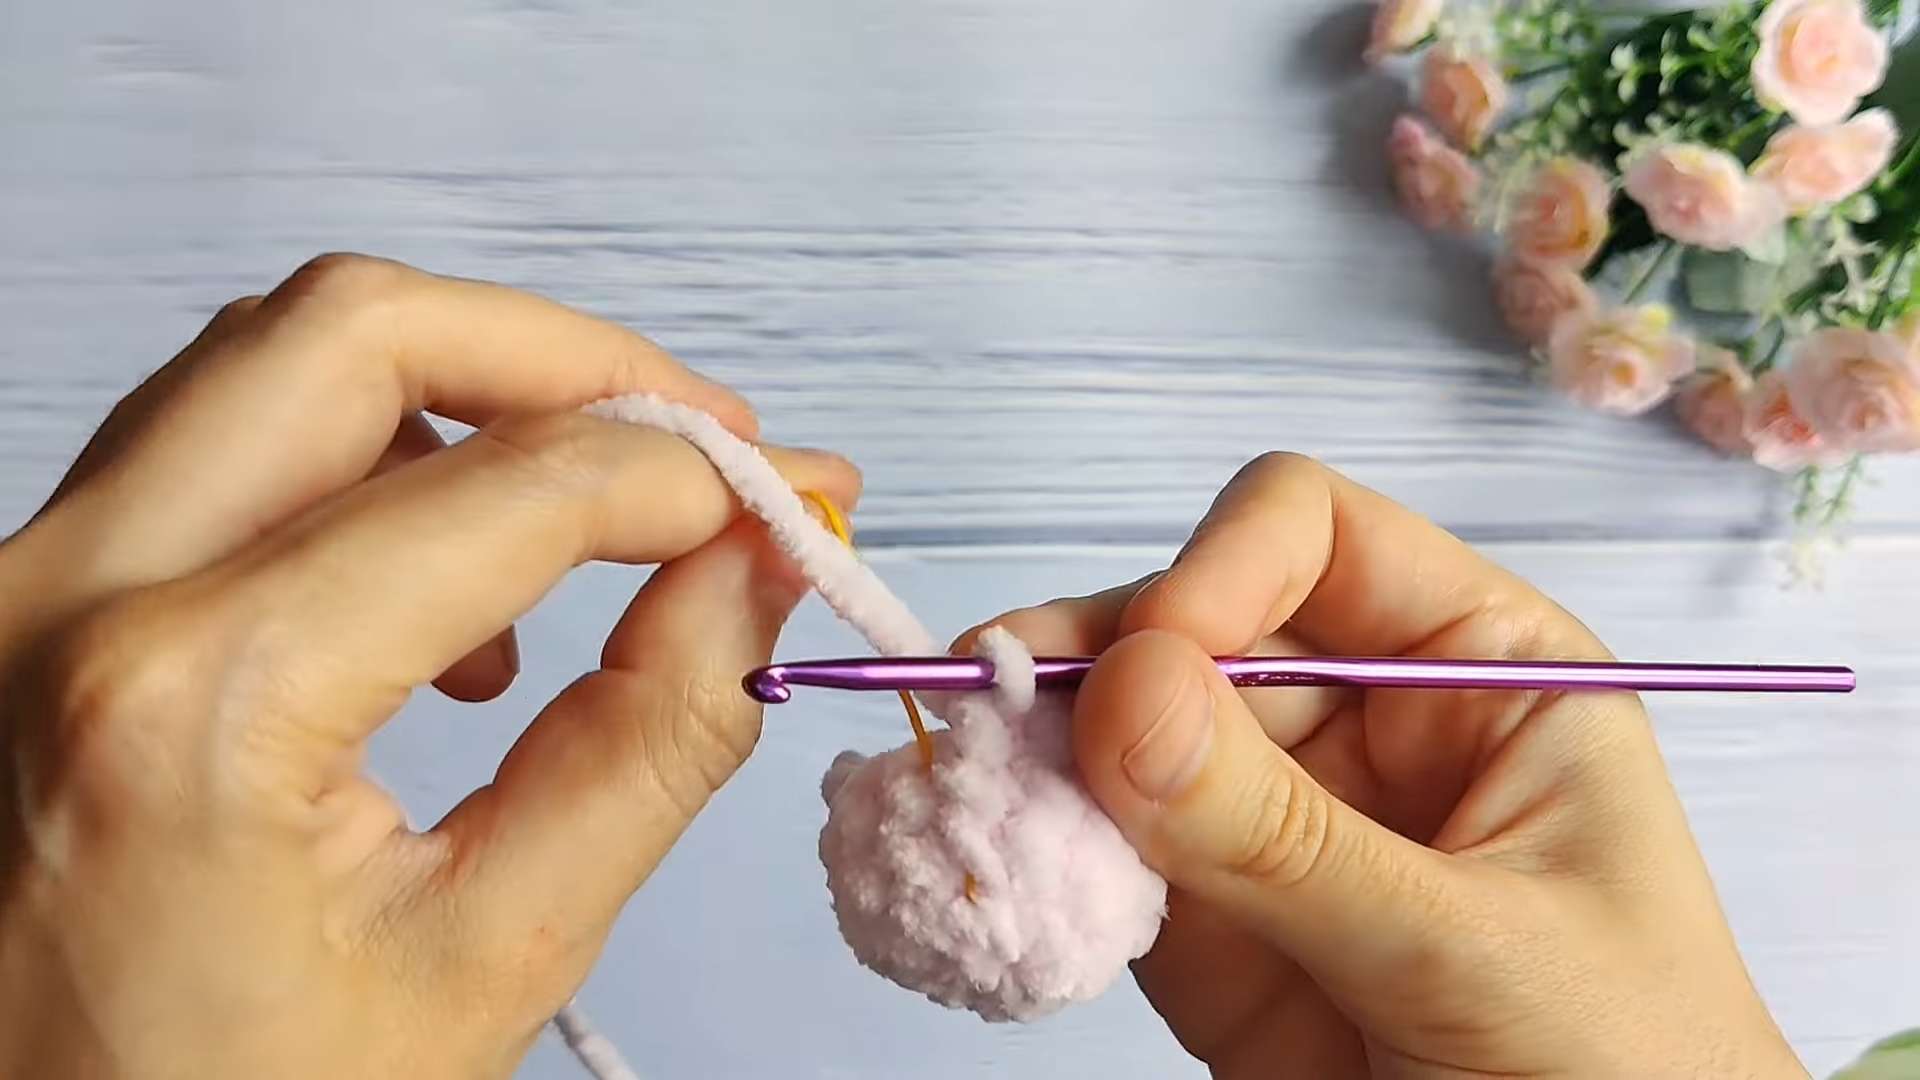
Head & Body
Work in continuous rounds using Light Pink yarn.
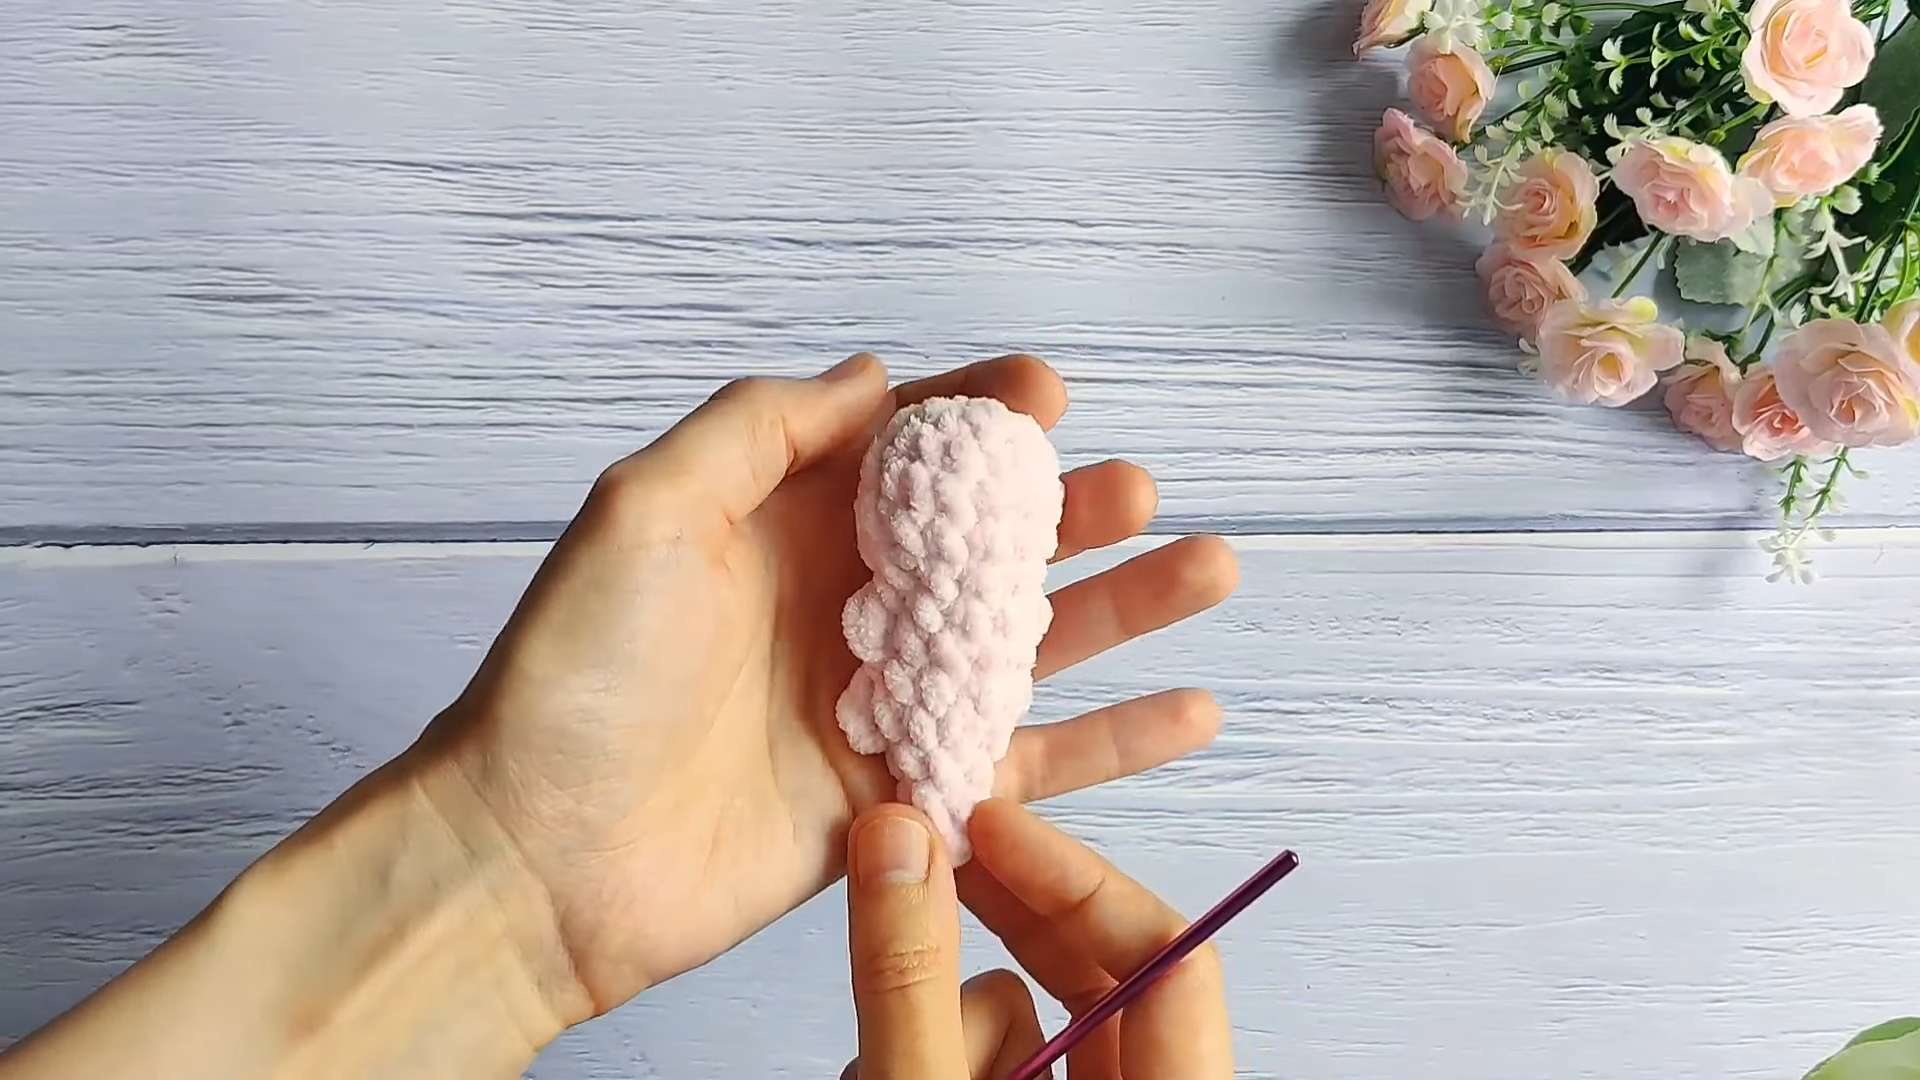
R1: 6 sc in MR. (6) R2: 6 inc. (12) R3: (3 sc, inc) x 1, (5 sc, inc) x 1, 2 sc. (14) R4: 14 sc. (14) R5: 3 sc, dec, 5 sc, dec, 2 sc. (12) R6: 3 sc, 3 dec, 3 sc. (9) R7 (Arms): 2 sc, Bobble, 3 sc, Bobble, 2 sc. (9) R8: 9 sc. (9) R9 (Legs): 3 sc, Bobble, 2 sc, Bobble, 2 sc. (9)
Stuff the toy firmly.
R10: 2 sc, 3 dec, 1 sc. (6) R11: 4 sc, dec. (5)
Finish stuffing a stick. Work 3 or 4 more sc to close the gap, or fasten off and close the hole using a needle. Hide the yarn tail inside the plushie.
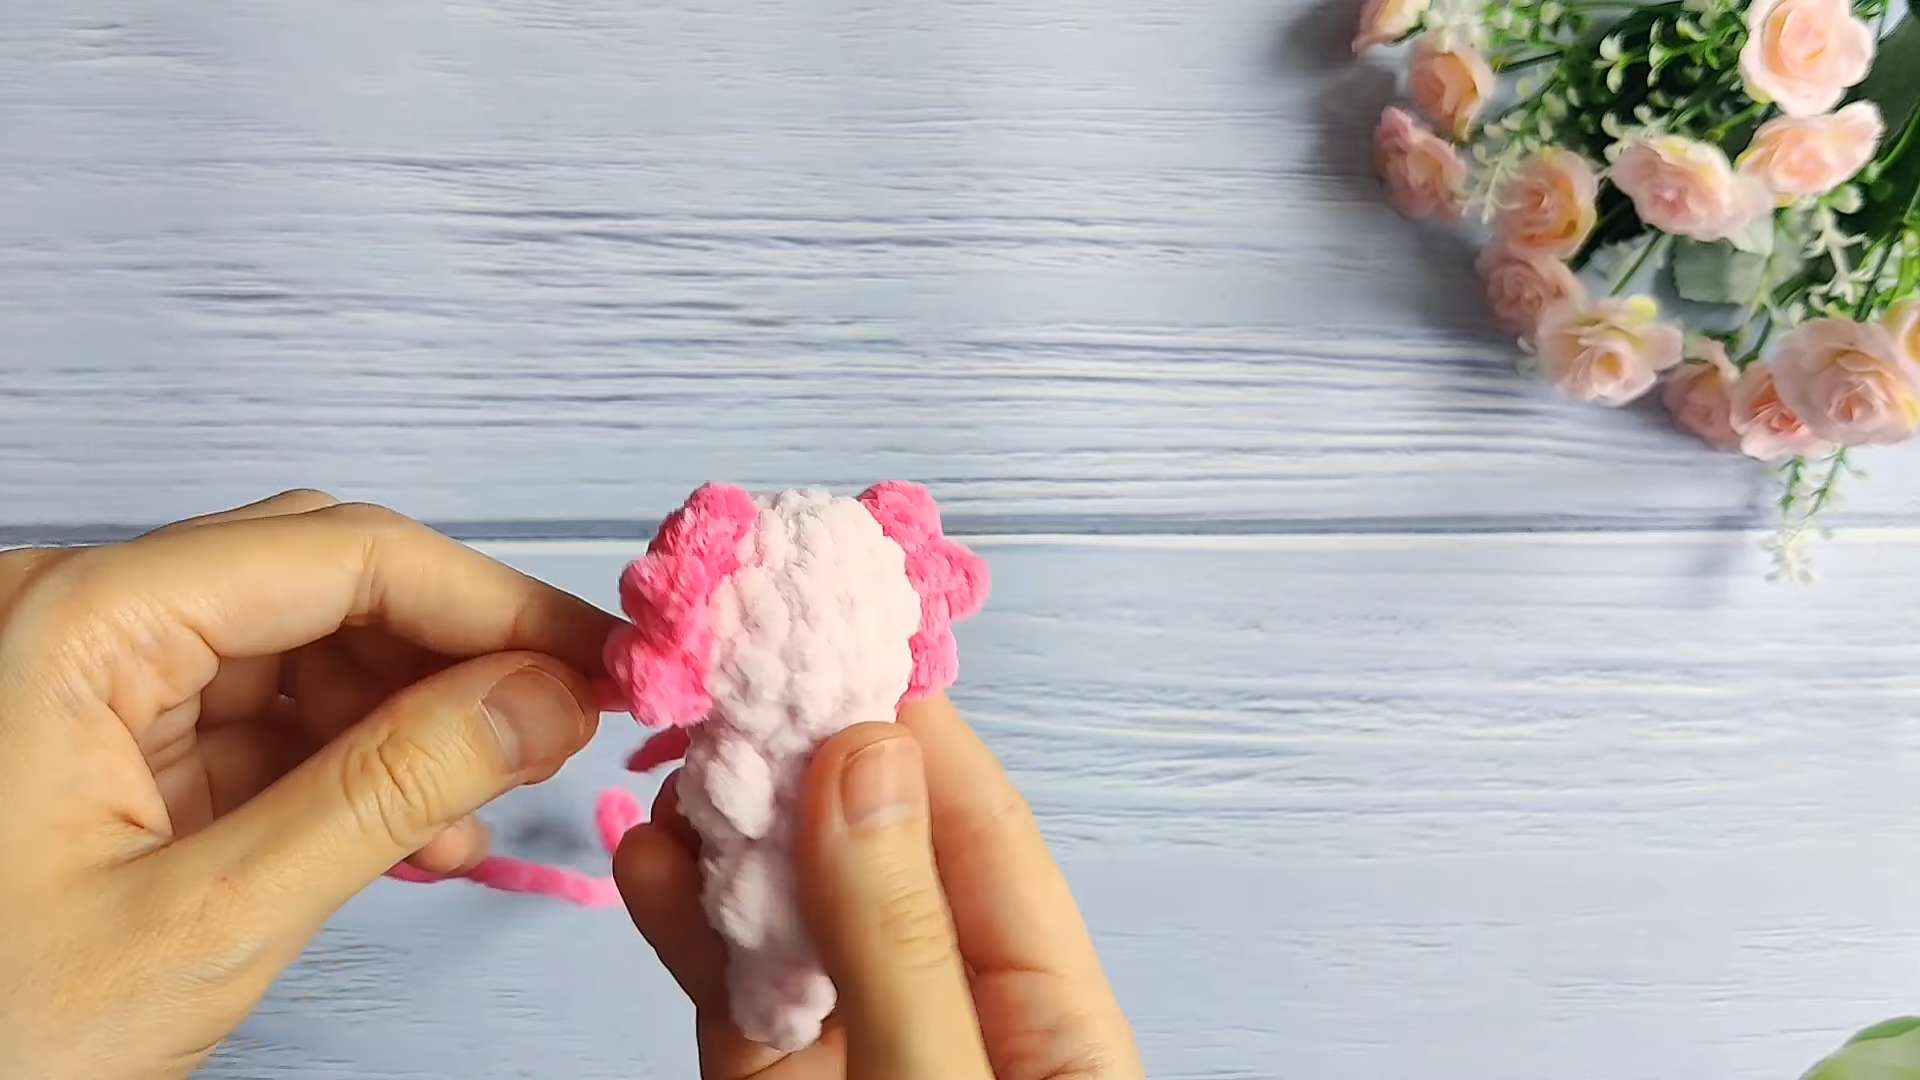
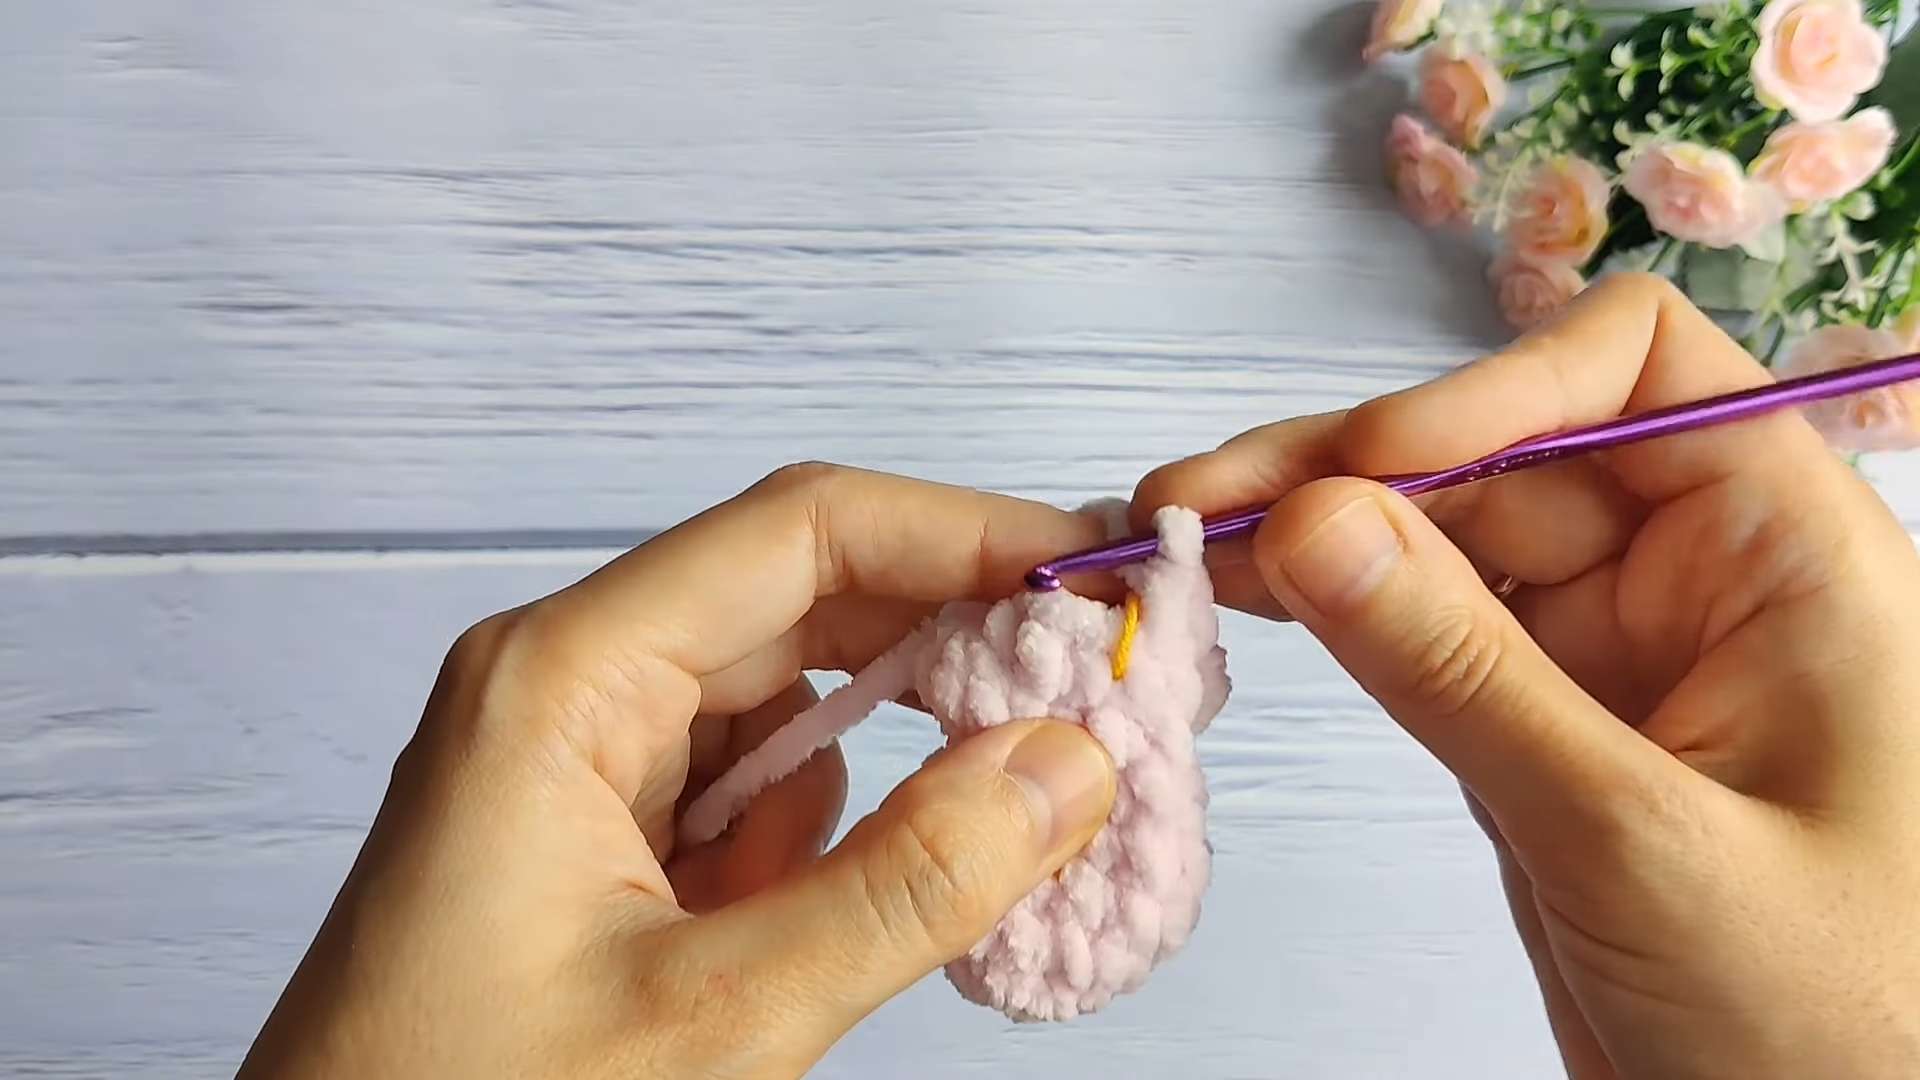
Gills (Outer Gills)
Use Dark Pink yarn. Work on the sides of the head (Rows 2-4).
Right Side (Working Bottom to Top):
Hold the toy with the face towards you.
Attach yarn at the side of the head (near R4).
Gill 1: Ch 2. In 2nd ch from hook: sc. Sl st into the next stitch up on the head.
Gill 2: Ch 2. In 2nd ch from hook: sc. Sl st into the same stitch on the head (to cluster them).
Gill 3: Ch 2. In 2nd ch from hook: sc. Sl st into the next stitch up/adjacent.
Fasten off, tie ends, and hide inside the head.
Left Side (Working Top to Bottom):
Hold the toy with the face towards you.
Attach yarn at the side of the head (near R2).
Repeat the same process: (Ch 2, sc in 2nd ch, sl st) x 3, clustering the middle one if necessary to match the look of the first side.
Fasten off, tie ends, and hide inside.
Assembly & Details
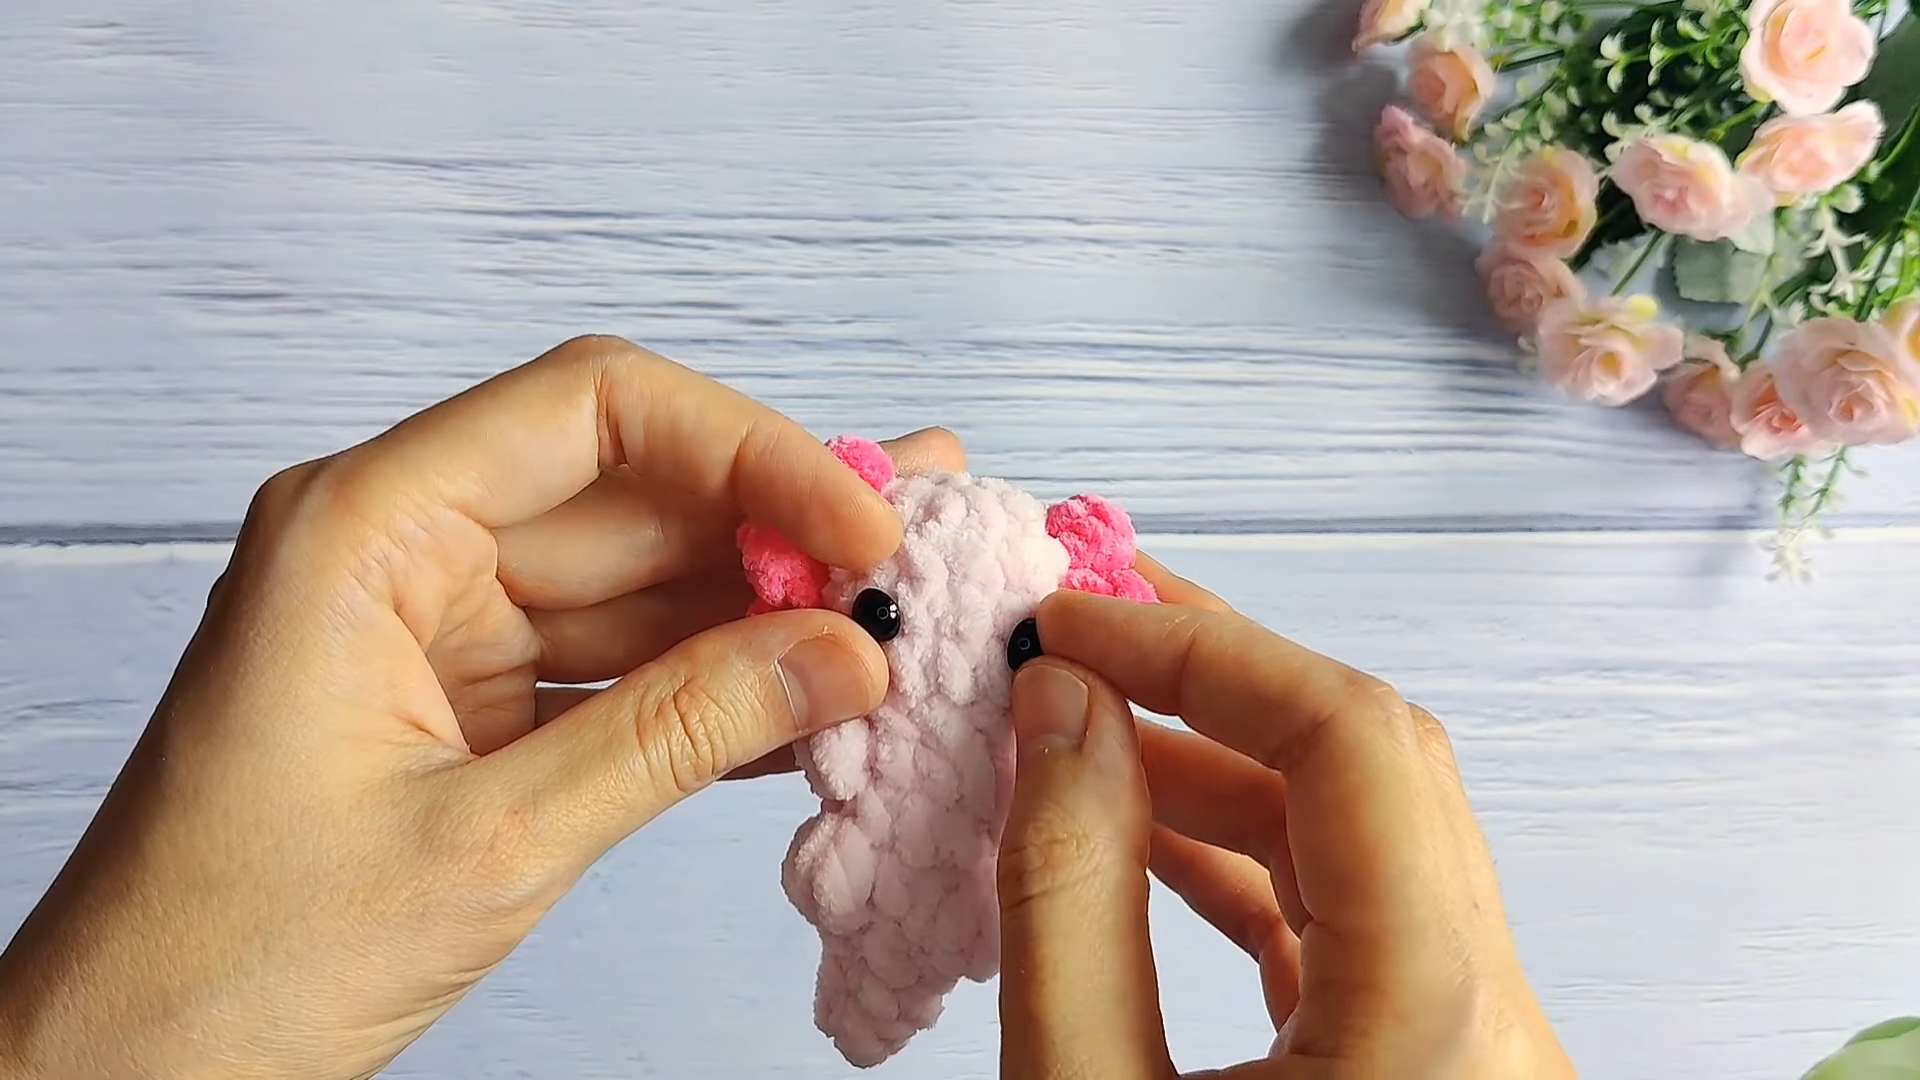
Eyes: Glue or place eyes between R4 and R5.
Mouth: Embroider a small smile with thin black or dark pink thread between R4 and R5, centered between the eyes.
Tutorial for Russian Instructions
Pattern In UK Terms
Materials:
Yarn: Plush/Chenille yarn in Light Pink (body) and Dark Pink (gills)
Hook: 3.5 mm
Eyes: 7mm or 8mm safety eyes or half-beads
Filler: Polyester fiberfill
Needle & Thread: For sewing and embroidering the mouth
Glue: (If using half-beads) B7000 or similar
Abbreviations (UK Terms)
MR: Magic Ring
dc: Double Crochet (UK)
inc: Increase (2 dc in one stitch)
dec: Decrease (dc2tog)
ch: Chain
sl st: Slip Stitch
Bobble: Bobble stitch (3 unfinished treble crochet clusters in one stitch, yarn over and pull through all loops)
🔎 Note: UK dc = US sc
UK tr = US dc
Head & Body
Work in continuous rounds using Light Pink yarn.
R1: 6 dc in MR. (6)
R2: 6 inc. (12)
R3: (3 dc, inc) x 1, (5 dc, inc) x 1, 2 dc. (14)
R4: 14 dc. (14)
R5: 3 dc, dec, 5 dc, dec, 2 dc. (12)
R6: 3 dc, 3 dec, 3 dc. (9)
R7 (Arms): 2 dc, Bobble, 3 dc, Bobble, 2 dc. (9)
R8: 9 dc. (9)
R9 (Legs): 3 dc, Bobble, 2 dc, Bobble, 2 dc. (9)
Stuff the toy firmly.
R10: 2 dc, 3 dec, 1 dc. (6)
R11: 4 dc, dec. (5)
Finish stuffing. Work 3 or 4 more dc to close the gap, or fasten off and close the hole using a needle. Hide the yarn tail inside the plushie.
Gills (Outer Gills)
Use Dark Pink yarn. Work on the sides of the head (Rounds 2–4).
Right Side (Working Bottom to Top)
Hold the toy with the face towards you.
Attach yarn at the side of the head (near R4).
Gill 1: Ch 2. In 2nd ch from hook: dc. Sl st into the next stitch up on the head.
Gill 2: Ch 2. In 2nd ch from hook: dc. Sl st into the same stitch on the head (to cluster them).
Gill 3: Ch 2. In 2nd ch from hook: dc. Sl st into the next adjacent stitch.
Fasten off, tie ends, and hide inside the head.
Left Side (Working Top to Bottom)
Hold the toy with the face towards you.
Attach yarn at the side of the head (near R2).
Repeat the same process:
(Ch 2, dc in 2nd ch, sl st) x 3, clustering the middle one if necessary to match the look of the first side.
Fasten off, tie ends, and hide inside.
Assembly & Details
Eyes: Glue or place eyes between R4 and R5.
Mouth: Embroider a small smile with thin black or dark pink thread between R4 and R5, centered between the eyes.