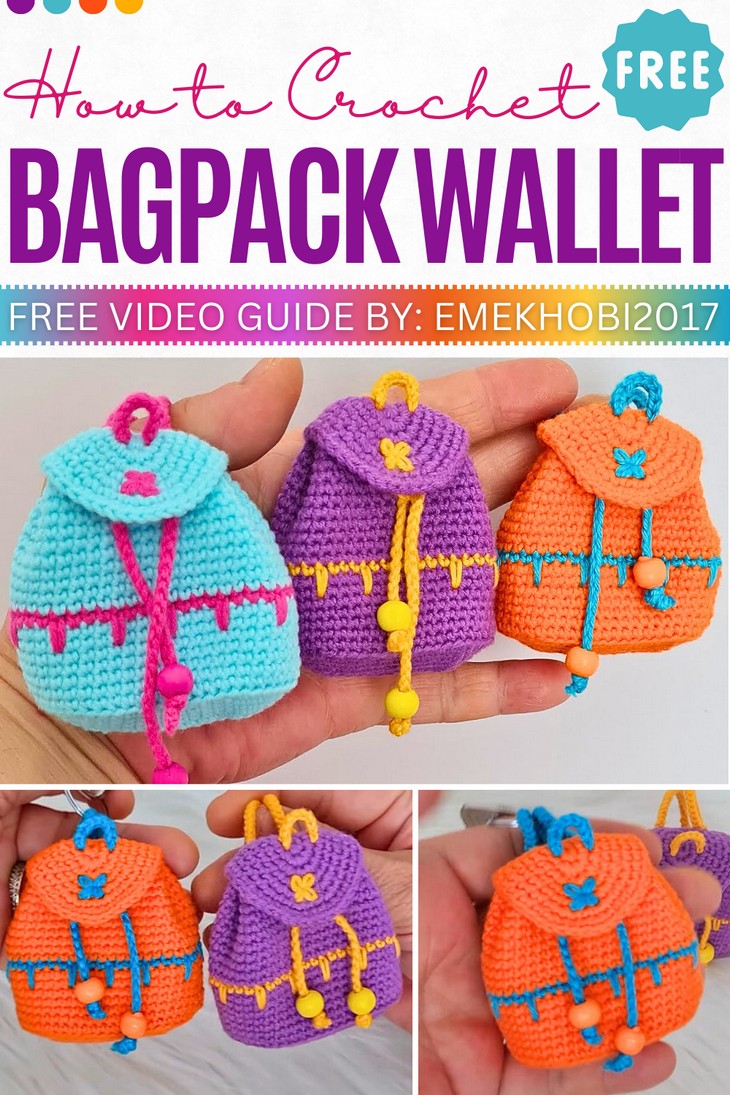
How to Crochet Mini Backpack Keychain & Wallet in Many Colors
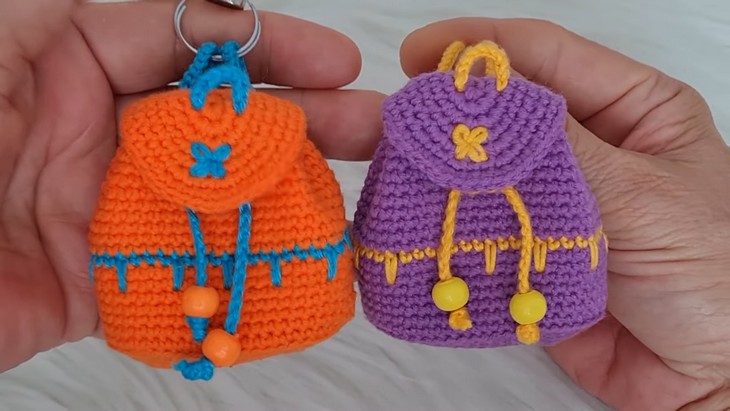
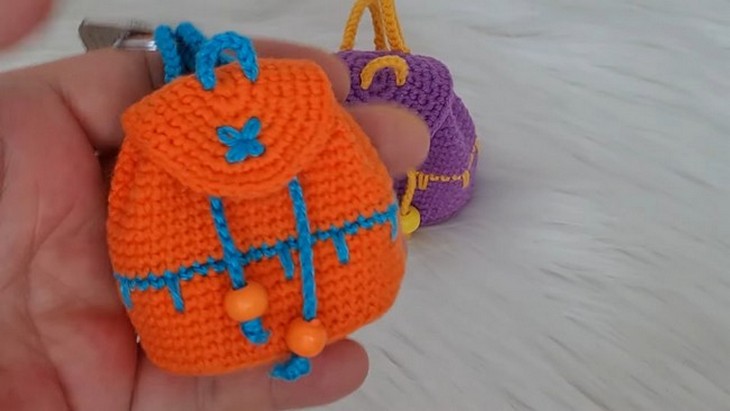
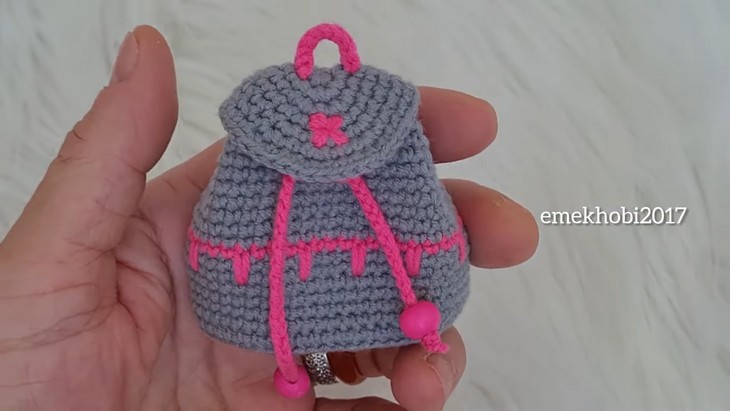
Whether for the first day or back-to-school or simply as an accessory pouch, small backpacks are a must-have. So, with a stitch-by-stitch tutorial, learn how to crochet a miniature backpack keychain that can also hold coins with three unique color combinations to choose from. The design of this backpack bag charm and wallet has a functional design, including a secure snap closure, a bead drawstring, and a flap cover. You can crochet it for fall using an orange combo and for other occasions using any two shades.
So, if you have decided to crochet this detailed mini backpack for beginners, continue reading his post till the end. It is worth crocheting this summer!
About the Designer: The designer behind this back-to-school project is @emekhobi-in3rp – she has so many oh-so cute multi-part tutorials for making amigurumi dolls with specific features, such as movable heads and fedora hats and much more. It also features patterns for amigurumi animals like cats, dogs, and frogs. Many videos have English and Spanish subtitles, making the library accessible to a broader audience.
Note: In respect for the creator’s pattern rights, there will be no provision of the written pattern. You can watch the tutorial with on-screen instructions at the end of this post.

Mini Bagpack Keychain Tutorial
Skill Level: Beginner – Intermediate. The keychain backpack uses making a starting knot, chain stitches (ch), single crochet (sc), single crochet in back loop only (BLO), slip stitches (sl st), and increasing stitches. These techniques are used to create the body, shape, and details like the flap closure and straps.
Tutorial Timing: Approximately 44 Minutes only (you will learn the widely used oval base for crocheting many projects, like candy corn, bags, and many other no-sew projects. You will also learn the spiked or long-leg stitches.)
Personalization Tips: Use your favorite beads or tassels on the drawstrings. The flap size, handle length, or backpack size can also be adjusted by modifying the number of rows or stitches. Personalize the straps or keychain loop to match your needs.
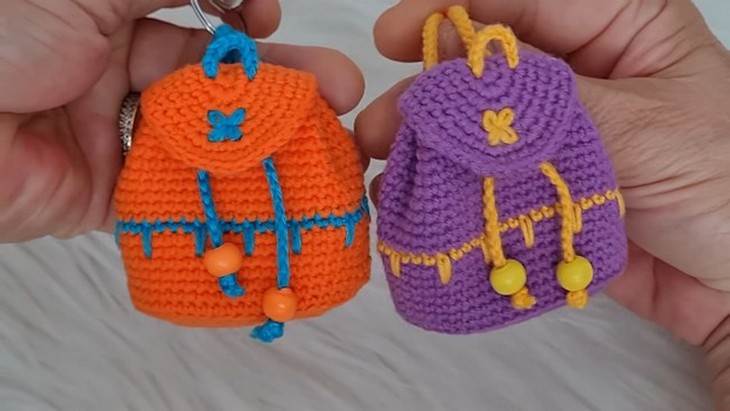
As mentioned, you can choose from three color combos: grey and pink, orange and blue, sky blue and pink.
Pattern Type: The on-screen written pattern is available if you find written instructions easy to follow along with.
Materials Needed
Gather the following suggested tools and materials for crocheting this lovely backpack charm project:
- Yarn: Preferred colors for the backpack and flap (e.g., cotton yarn in solid or multiple colors).
- Crochet Hook: 1.75 mm hook (or size best suited to your yarn).
- Wooden Beads: For the drawstring.
- Scissors: For cutting yarn.
- Yarn Needle: To weave in loose ends and sew.
- Snap Closure or Button: To secure the flap.
Techniques Used
Learn the following crochet techniques for crocheting this backpack keychain:
- Starting Knot: Loop the yarn and pull it through to create a secure knot on the hook.
- Chain Stitch (ch): Yarn over and pull through the loop on the hook to create a foundation chain.
- Single Crochet (sc): Insert the hook, yarn over, pull up a loop, yarn over again, and pull through both loops.
- Single Crochet in Back Loop Only (BLO): Insert the hook into the back loop only and complete a single crochet stitch for a ribbed texture.
- Slip Stitch (sl st): Insert the hook, yarn over, and pull through both the stitch and the loop on the hook to join or finish.
- Increasing Stitches: Work two single crochet stitches into the same stitch to expand the round.
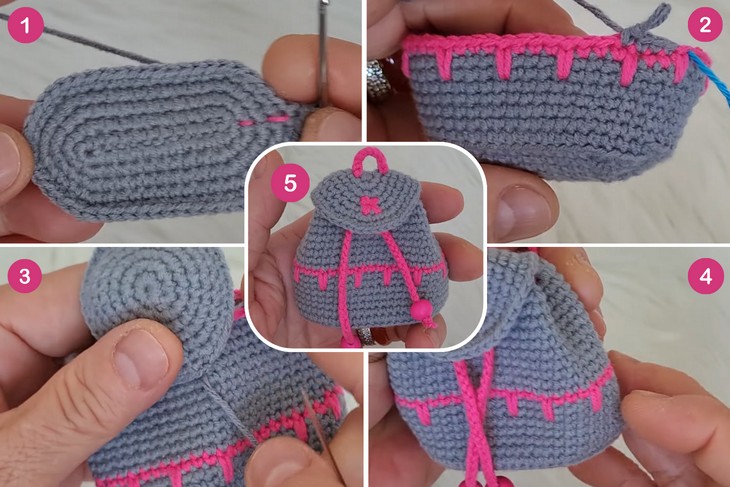
How is it done?
- Start with a foundation chain and single crochet to create the base.
- Work single crochets in the back loop only (BLO) to build up the ribbed textured body.
- Shape the backpack’s body with systematic increases.
- Create the drawstring holes by skipping stitches and continue building height.
- Add a flap cover using a magic ring and increase stitches to shape.
- Attach straps, sew the flap onto the body, and thread a drawstring with beads for closure.
- Finish with a snap or button for extra security.