
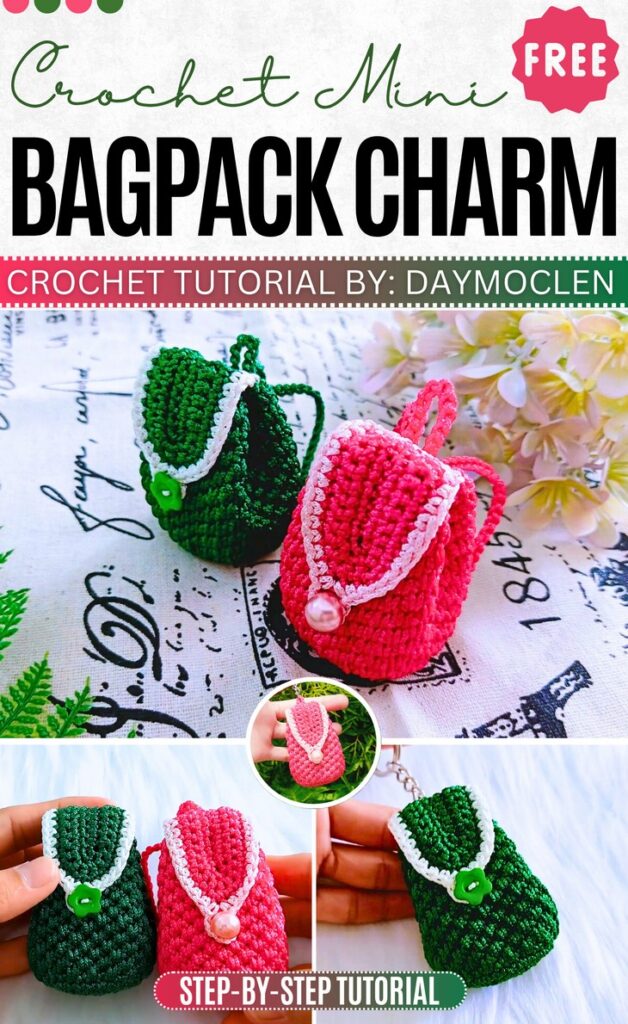
How to Crochet Mini Backpack Keychains (Tutorial for Beginners)
Mini Backpack charms are one of he most irresistible back-to-school gift ideas. It is the late summer, so In this post, we’re gonna share a tutorial for these textured crochet backpack bag charms finished with a beautiful border and bead button presented by Daymoclen. These mini backpacks can hold many of your essentials at once, thanks to their larger size. They look oh-so cute with the shimmering yarn and use of dark colors.
You can gift one to a graduate, preschooler, or simply make one for your shoulder bag. Follow through with is for finding the complete tutorial for crocheting these backpack charms at the end of this post!
The designer and make of the tutorial: @daymoclen. Respecting the pattern right of the creator, there will be no provision of any written pattern!
Miniature Backpack Keychain Tutorial
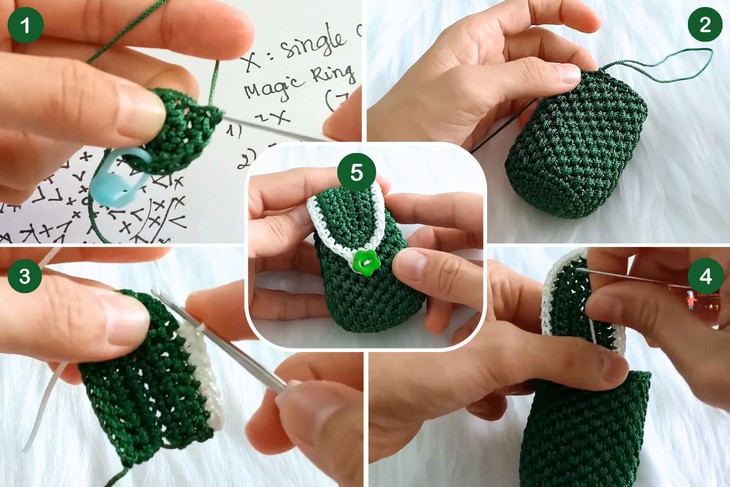
Skill Level: Beginner-Intermediate (This tutorial uses basic single crochet, stitch increases, and spike single crochet for added texture. If you are comfortable with the variation of basic stitches, color changes, and bit sewing, try this bag accessory project for sure.
Tutorial Timing: 42 Minutes (perfect for a new variation of single crochet plus a lovely border).
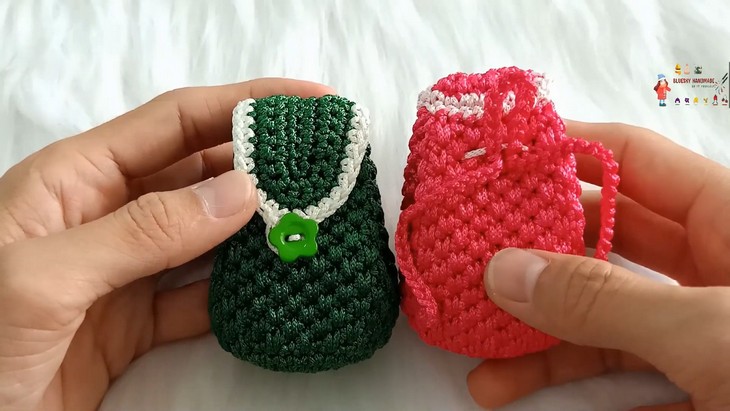
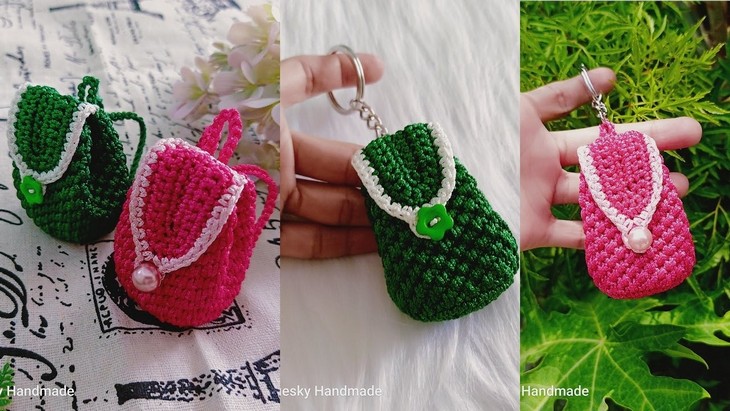
Personalization Tips: You can choose from green and pink versions of this crochet mini backpack or try a unique one like red and orange will work nice also. The tutor uses such a technique that makes adjusting the size easy. You can also use different buttons instead of star buttons!
Pattern Type: An on-screen written pattern is available if you find written instructions easy to follow along with.
Supplies Used
Thread types: Parachute thread, woven thread, coarse thread, or cotton thread (all are suitable). If the thread is larger than the instructions for crocheting mini backpacks, then crochet fewer rows at the bottom and the body.
- Colors: pink or green shades (light and darker).
Crochet hook: 2.0 mm (adjust the hook size according to your chosen thread).
- A button
Techniques and Stitches Used
Here is a list of every technique that you’ll need for crocheting this mini backpack keychain:
- Magic Circle: Used to begin the project and create a tight, uniform starting point.
- Single Crochet (SC): The primary stitch used throughout the pattern. Guide: Insert hook into the stitch, yarn over, pull through, yarn over again, and pull through both loops.
- Increasing Stitches: Used to expand the base and ensure a circular shape. Guide: Crochet two single stitches into the same stitch.
- Stitch Marking: Marks the start of each row for precision in a spiral design. Guide: Use a stitch marker or alternate color yarn to track row starts.
- Alternating High and Low Toes (Extended Single Crochet): Creates texture and alternation between larger and smaller stitches. Guide: For low toes, insert the hook into the stitch below the current row; for high toes, crochet as usual.
- Symmetrical Single Crochet for Backpack Lid: Ensures the lid has a uniform curve. Guide: Crochet symmetrical single and spaced stitches along each edge.
- Spiral Crocheting: No connecting slip stitches, allowing the rows to build continuously. Guide: Begin the next row where the previous one ends without joining stitches.
- Finishing the Base: Adjust the rows to desired backpack size with single crochet rows. Guide: Continue single stitches in marked spiral rows until satisfied with the base size.
- Edging (Optional). Applied around the backpack’s edge for a polished look. Guide: Use single crochet or slip stitches to outline edges and finish details.
These techniques combine to form the mini backpack as outlined in the tutorial.
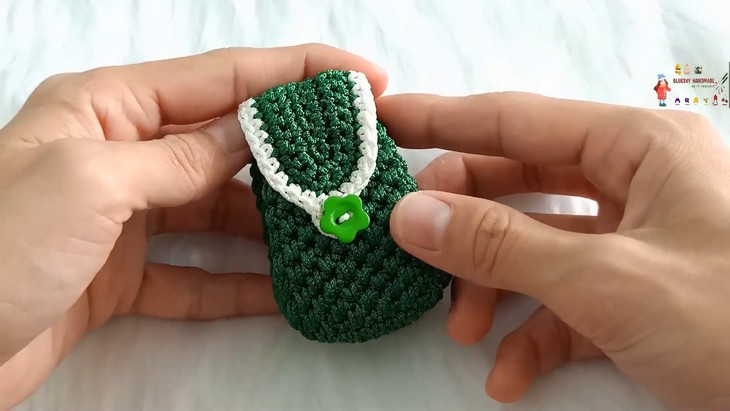
Special Technique
The special stitch used to give the textured look in the backpack is the Spike Single Crochet (also referred to as Extended Single Crochet or Low Toe in some tutorials). This stitch creates elongated stitches that drop down to the row below, adding a visually appealing texture to the project.
- Guide to Spike Single Crochet:
- Insert your hook into a stitch one row below the current row.
- Yarn over and pull the loop through all the way to the current row’s height.
- Yarn over again and pull through the two loops on the hook to complete the stitch.