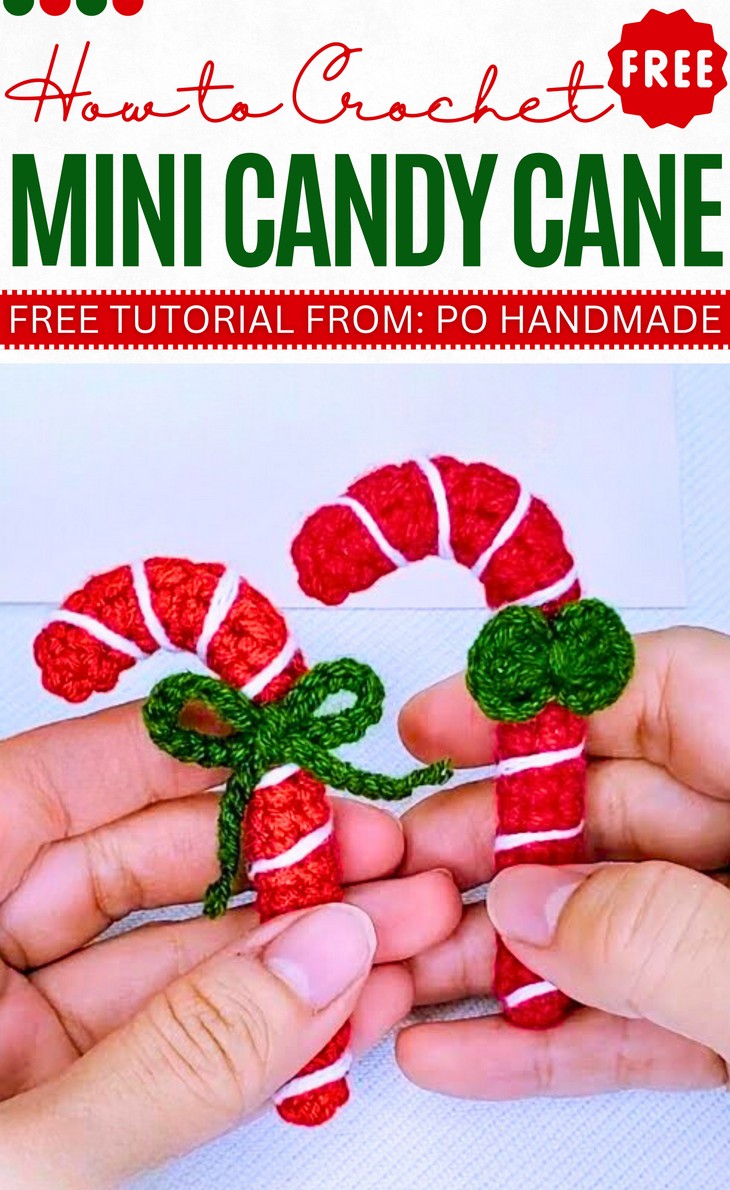
How to Crochet Mini Candy Cane Ornament for Christmas
Candy cane tutorial remained missed in our Christmas list, until now, since I have found an easy, quick, and so cute design thanks to Po Handmade. So, learn how to crochet this simple and easy mini candy cane Christmas ornament with a stitch-by-stitch tutorial for absolute beginners. In this candy cane, the recognizable striped design is created not by changing colors in every row, but by wrapping white yarn.
Crochet Mini Candy Cane Gift
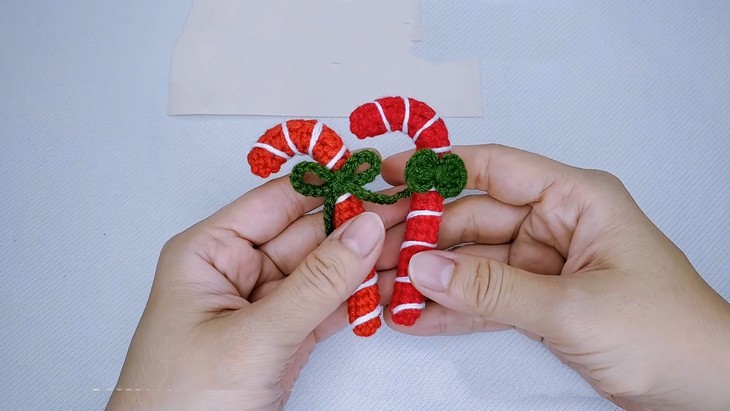
For making it gift-ready, this candy cane also has a tiny crochet bow with an option to either make a French knot or a tiny crochet bow. This candy cane is itself a gift, but I recommend using it as a gift charm. You can easily complete crocheting it within 20 – 30 minutes.
Throughout the tutorial, there are many good tips you can follow. So, if you have made up your mind to crochet this small candy cane for Christmas, continue reading this post till the end. There you will find the complete tutorial for beginners. It will certainly be the best gift ever!
About the Designer: The designer behind these mini candy cane charms is @pohandmadevn – many will recognize her for her popular “baby mushroom” keychain series.
Still, her other projects, including the Christmas series, are among my favorites, of which this wreath is a part. You will also love her Christmas gift box, wreath, and Christmas house very much.
Note: In respect of the creator’s pattern rights, there will be no provision of the written pattern. You can watch the tutorial with on-screen written instructions at the end of this post.
Supplies for Crochet Candy Cane
The tutor has provided a list of materials and tools for this easy candy cane project suitable for beginners. Gather all for similar results:
Yarn: You can use 4ply Milk Cotton yarn in 50 grams, which is a blend of cotton and milk protein.
- Red: For the candy cane.
- White/Cream: For the stripe.
- Green: For the decorative bow.
Crochet Hook: 2.5mm
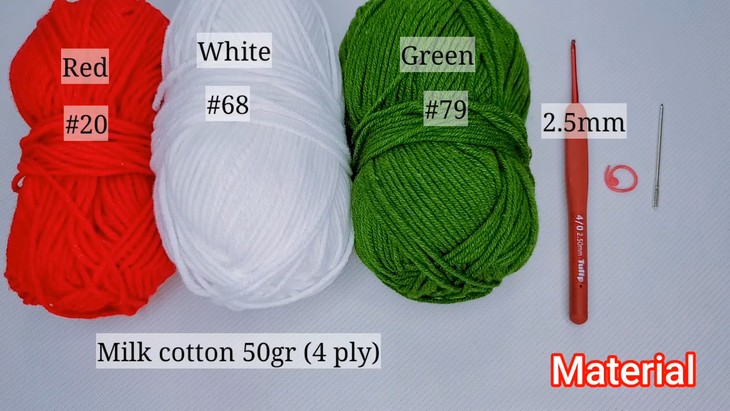
Other Notions:
- Tapestry/Sewing Needle: Used for closing the cane, adding the stripe, and attaching the bow.
- Fiberfill/Stuffing: Used to fill the candy cane.
- Glue: Recommended for securing the finished bow to the cane.
Crochet Mini Candy Cane Tutorial
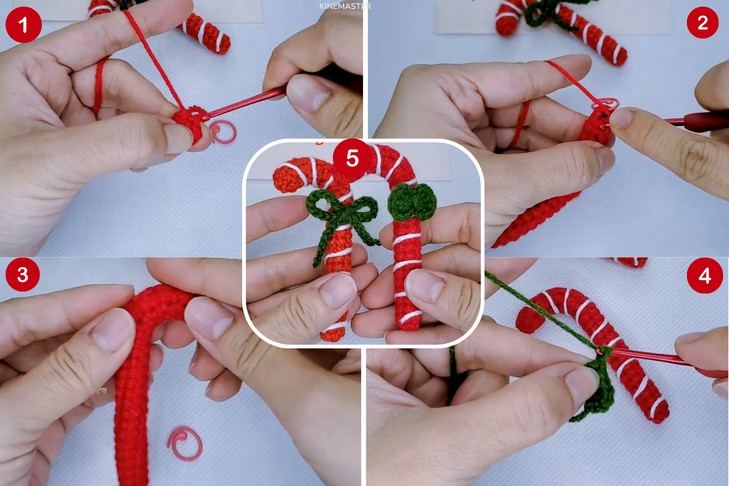
Quick Summary & Skill Level: Beginner. This whole crochet candy cane is crocheted by working in the round as a single piece. You then crochet straight rounds (SC in the round) up to row 16. The next six rows (17-22) use a mix of double crochet and single crochet to give the tube its final shape and curve.
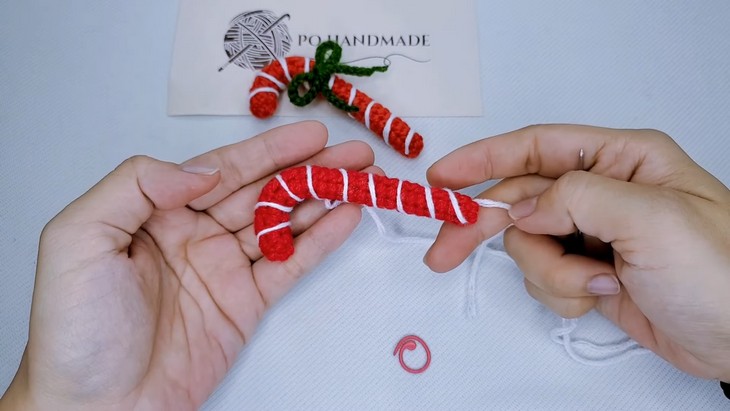
After row 22, the remaining length is finished with a few final single crochet rounds, and the tube is stuffed. The open end is then sewn closed.
The contrasting white stripe is added using a needle to wrap the yarn spirally around the entire cane. Finally, a separate bow is crocheted using chain and double crochet stitch.
Tutorial-Timing: Just 13 Minutes
Stitches & Abbreviations
The following are the quick guides for the crochet techniques that the tutor will use for crocheting this mini candy cane keychain:
- Chain Stitch (CH): Used to start a row or for decorative elements.
- Single Crochet (SC): The basic stitch used for most of the candy cane and for the final joining.
- Slip Stitch (SL ST): Used to join rounds or secure the end of a piece.
- Double Crochet (DC): A taller stitch used in specific rows to help structure the main cane body.