
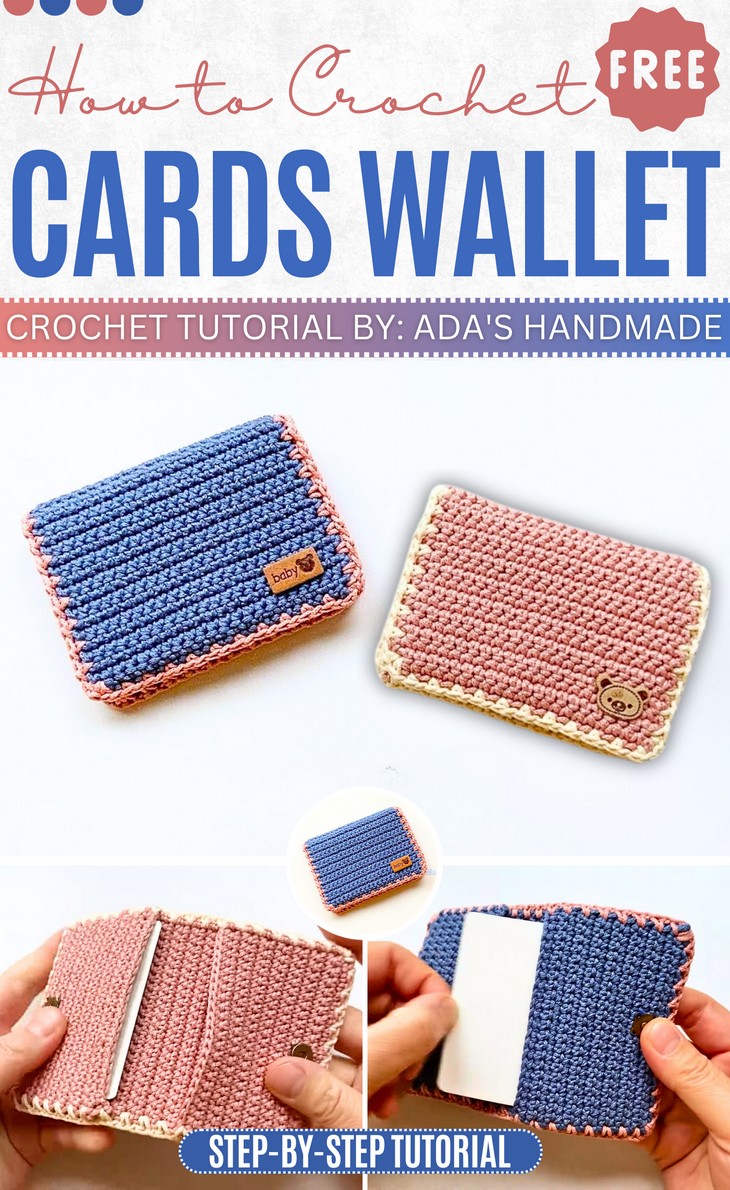
How to Crochet Mini Card Holder (Tutorial for Beginners)
Looking for the fastest crochet project? Learn how to crochet this simple and easy mini card holder with a step-by-step tutorial for beginners. This crochet wallet has two colors and is finished with a metal button and a little wooden tag. You can complete crocheting one within 30 minutes just by working flat.
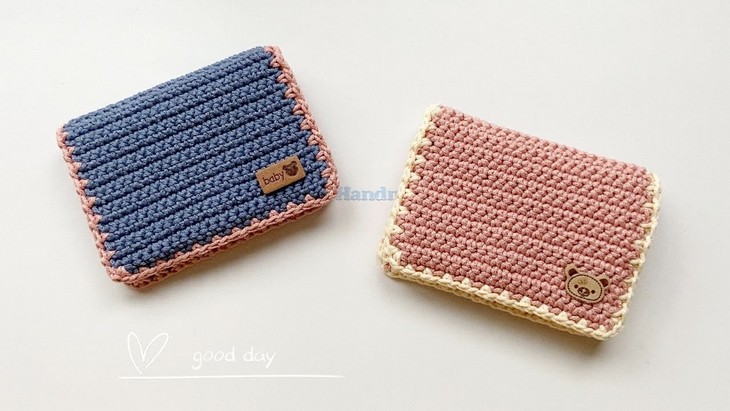
Crochet one for a girl in pink or in blue for a boy, following the same pattern and some color changes. To follow through with the complete guide, continue reading till the end!
Skill Level: Beginner (You will only need the flat-work in the back and forth rows with the basic stitches like the chain stitches, single crochet, skip stitches, and slip stitches. As an advanced technique, you will also work the corner stitching in this crochet wallet.)
Tutorial Timing: 8 Minutes Only (perfect for learning or practicing the basic crochet stitches, especially the 6 basic stitches)
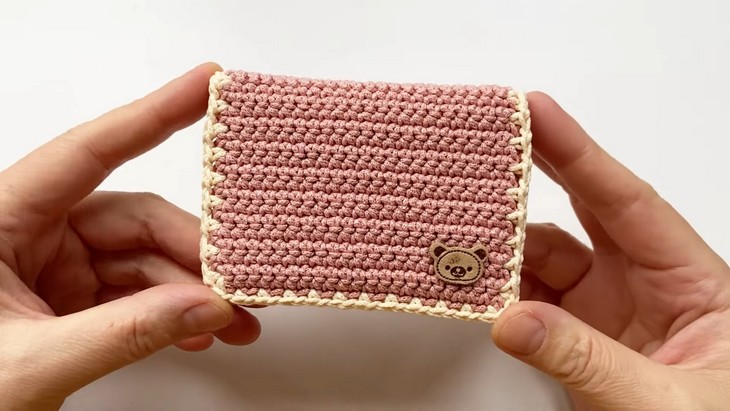
Personalization Tips: Use the color combos – blue and pink, and pink and beige. You can select the handmade tag or even a unique tag like a bear leather tag. You can easily adjust the size.
Pattern Type: An on-screen written pattern is available if you find written instructions easy to follow along with.
Size: W – 10cm, H – 7.5cm
Supplies Used
The following are the crochet supplies that the tutor uses for crocheting this customizable wallet:
- 1.5mm Hollow Cotton in pink, blue, and beige.
- 2.5 Crochet Hook
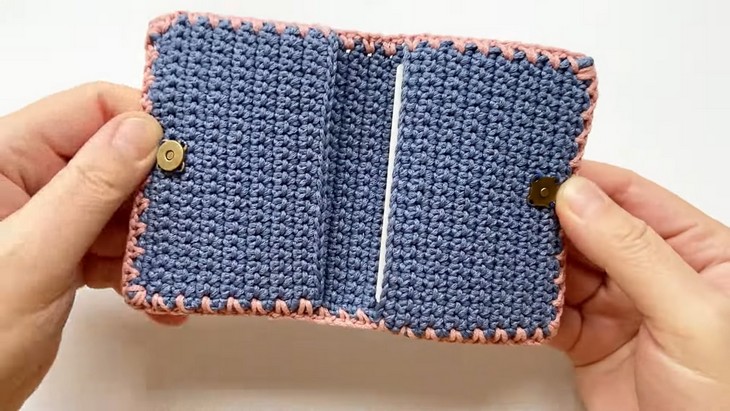
- Metal magnet button
Techniques Used in Video
The project uses basic to slightly intermediate techniques (slip knot, chaining, single crochet, turning chains, corner shaping, and skipping stitches). This makes it a good project for beginners looking to practice consistent stitches and minor shaping techniques.
- Slip Knot: Create a slip knot by looping the yarn and securing it on your hook for the starting chain.
- Chain (ch): Yarn over and pull through the loop on your hook to create a foundation chain.
- Single Crochet (sc): Insert your hook into the stitch, yarn over, pull up a loop, yarn over, and pull through both loops on the hook.
- Turning Chains: At the end of a row, chain 1 and turn your work to begin the next row.
- Repetitive Stitch Rows: Crochet a consistent number of single crochet stitches (e.g., 22 sc) in each row for the specified number of rows (R2–R38).
- Corner Shaping (2sc in the Corner): At corners, place two single crochet stitches in the same stitch to maintain the square shape.
- Skip Stitch (skip1): Skip one stitch as instructed, creating gaps or shaping in the pattern.

How is it done?
It begins with a slip knot and foundation chain, followed by repetitive rows of single crochet for the base. Corner shaping is achieved using two single crochets in the same space, while decorative gaps are added by alternating single crochets and chain spaces.
The project consists of one larger piece and two smaller pieces, with clear instructions for maintaining even stitches and clean edges.
This tutorial is ideal for beginners and intermediates looking to build their crochet skills with a simple yet elegant design.