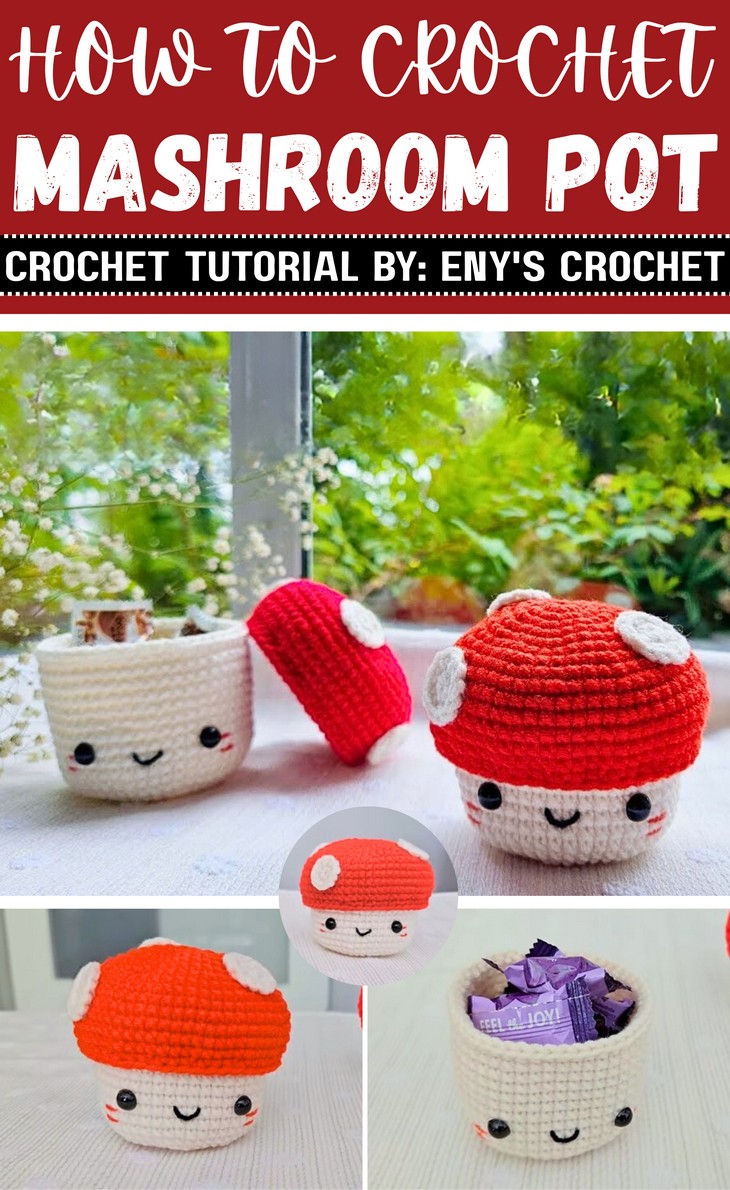
How to Crochet Mini Mushroom Pot for Fall & Halloween
Desktop buddy, a basket, and a cute support toy, do you need all in one project? Learn how to crochet this kawaii mushroom mini pot and basket that will keep your fall and Halloween treats hidden. The idea is to crochet the head of the toadstool separately from the body and use it as a cap for your bucket.
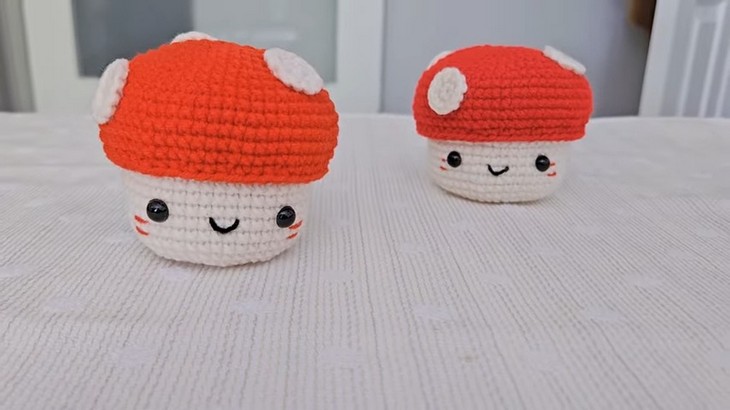
This mushroom is very similar to a Mario mushroom and will certainly bring smiles to little innocent faces. So, if you are interested in crocheting this mushroom amigurumi for yourself, continue reading this post till the end!

About the Designer: The designer behind this crochet storage mushroom basket project is @eny’scrochet – her notable ability is to always try a unique twist over the amigurumi without losing the porfessionalism. Her crochet big acorn amigurumi and elephant amigurumi are my favorite examples.
Note: In respect for the creator’s pattern rights, there will be no provision of the written pattern. You can watch the tutorial with on-screen written instructions at the end of this post.
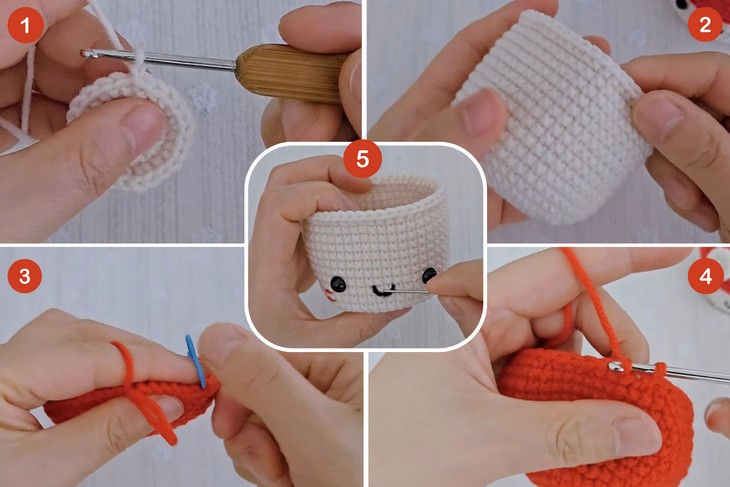
Crochet Mushroom Mini Bucket
Skill Level: The basic amigurumi techniques are needed, like the magic ring, slip stitch, single, increase, decrease, and basic sewing. The instructions are written in US terms. You will have no need for color changes. Glue is recommended for certain portions, and embroidery will make your mushroom pot cuter!
Tutorial Timing: Approximately 16 minutes. (Perfect for learning how unstuffed 3D crochet fabrics can be used to crochet lovely baskets. A popular example is a crochet animal basket that needs the same technique.

Personalization Tips: Choose from red, purple, green, brown and many other official Mario’s mushroom colors. The tutor will also show that you can simply use the glue after stuffing if you still want a crochet mushroom amigurumi.
Pattern Type: The on-screen written pattern is available if you find written instructions easy to follow along with.
Supplies Needed
Gather the following crochet supplies for crocheting this amigurumi toadstool mushroom amigurumi:
4-ply yarn – Choose your preferred color (here red and white) and (cotton or acrylic recommended).
2mm crochet hook – Perfect for tight, neat stitches with 4-ply yarn.
Yarn needle – For weaving in ends and sewing parts together.
8mm safety eyes – Great for amigurumi or doll projects; secure with backing.
Glue gun – Use for attaching small parts securely (optional but helpful).

Stitch Guides
Here are the crochet techniques that the tutor uses for crocheting this amigurumi mushroom for beginners to understand the pattern:
- ch (Chain): Yarn over, pull through loop on hook.
- sc (Single Crochet): Insert hook into stitch, yarn over, pull through, yarn over again, pull through both loops.
- inc (Increase): Work two stitches (same type) into the same stitch.
- Dec (Decrease): Partially work across two stitches, then pull through all loops on the hook to finish.
- sl st (slip stitch): Insert hook into stitch, yarn over, pull through both loops.
- blo (back loop only): Work into only the back loop of a stitch.
- flo (Front Loop Only): Crochet into the front loop of the stitch only.