
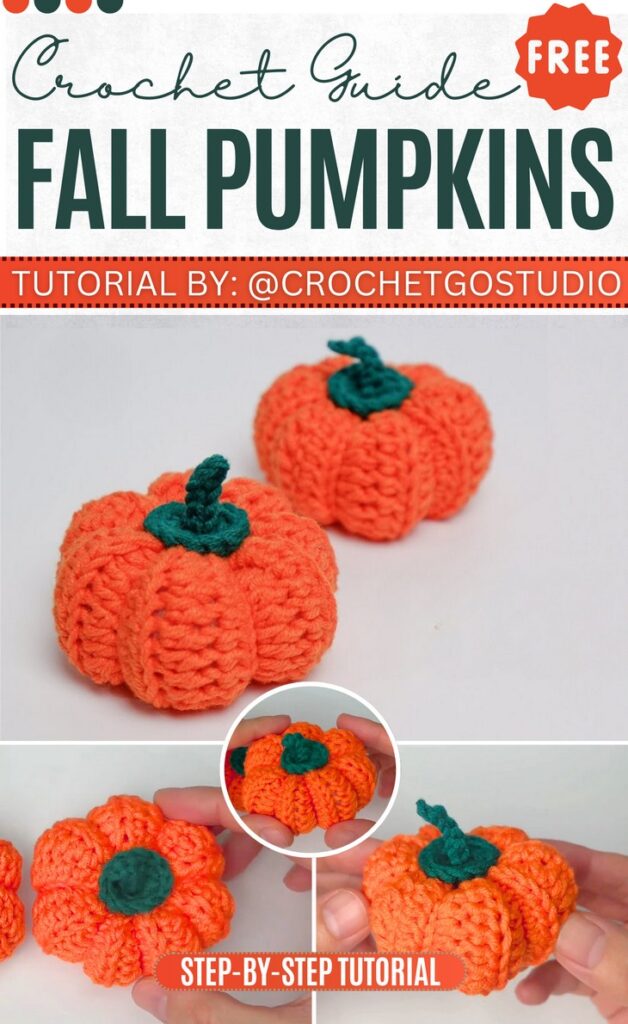
How To Crochet Mini Pumpkin Amigurumi for Fall Decor
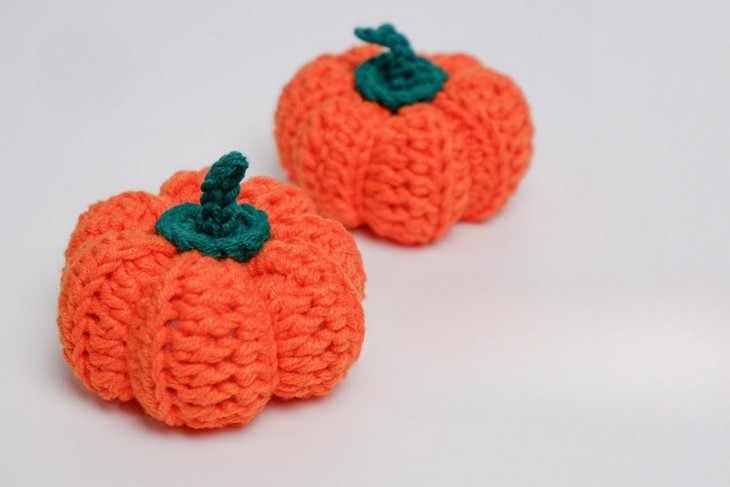
Fall is around the corner, so let’s learn how to crochet a mini pumpkin amigurumi with a step-by-step tutorial from Crochet Go Studio. With a realistic finish for the ribs and a quick completion time of about 20 minutes, this amigurumi pumpkin is worth decorating your dining table with.
You can also turn it into a Halloween pumpkin with just a few additions. For the complete tutorial on how to crochet this mini pumpkin, follow along with us until the end. Let’s get started!
Note: Every media file and the pattern belongs to the creator @CrochetGoStudio on You tube. We won’t provide any artificially or self-written or fetched pattern but details about this project to make it easy for you! The tutorial can be found at the end of this post.
Features of the Crochet Realistic Pumpkin Tutorial
Skill Level: Between beginners and intermediates as it uses ribbing and sewing for making the accurate ribs. The quick tutorial will make it easy for beginners.
Tutorial Timing: Just 6 minutes long.
Personalization Tips: Turn your finished amigurumi pumpkin into a Jack o Lantern pumpkin for Halloween using cuttings from the felt or embroider the teeth, eyes, and eyebrows. You can also use the plush yarn for crocheting a large pumpkin that doubles as a toy.
Pattern Type: On-screen written instructions are available if you find written instructions more convenient.
Supplies Used
The pattern will require the following supplies on hand to crochet a mini amigurumi pumpkin with the same look as suggested by the tutor:
- 5/0 3.0 mm crochet hook
- 5ply cotton yarn
- Polyester fiberfill
- Yarn needle
- Glue (optional) for the stem
- Colors are orange and green.
Guides to Crochet the Stitches
This crochet pumpkin uses many advanced techniques and stitches, too. If you feel rusty or lack the skills needed to crochet this pumpkin, check out this pattern cheat list:
sc (single crochet) – 短针
→ Insert hook, yarn over, pull through, yarn over, pull through two loops.ch (chain stitch) – 锁针
→ Yarn over, pull through loop on hook.sl (slip stitch) – 引拔针
→ Insert hook, yarn over, pull through both loops.inc (increase) – 加针
→ Work two stitches in the same stitch.dec (decrease) – 减针
→ Crochet two stitches together to reduce the stitch count.hdc (half double crochet) – 中长针
→ Yarn over, insert hook, yarn over, pull through, yarn over, pull through all three loops.dc (double crochet) – 长针
→ Yarn over, insert hook, yarn over, pull through, yarn over, pull through two loops twice.tr (triple crochet) – 长长针 / 两卷长针
→ Yarn over twice, insert hook, yarn over, pull through, yarn over, pull through two loops three times.pc (popcorn) – 爆米花针
→ Work 5 dc in one stitch, remove hook, insert into first dc, pull loop through.cluster – 束形针
→ Crochet multiple incomplete stitches into one stitch, then yarn over and pull through all loops.bp (Back post) – 内钩
→ Work stitch around the post from the back.fp (Front post) – 外钩
→ Work stitch around the post from the front.dtr (Double treble crochet) – 三卷长针
→ Yarn over three times, insert hook, yarn over, pull through, yarn over, pull through two loops four times.trtr (Triple treple) – 四卷长针
→ Yarn over four times, insert hook, yarn over, pull through, yarn over, pull through two loops five times.BLO (Back loops only) – 只钩内半针 / 后半针
→ Work into the back loop of the stitch only.FLO (Front loops only) – 只钩外半针 / 前半针
→ Work into the front loop of the stitch only.Rep (Repeats) / sk (Skipped) – 重复
→ Repeat instructions or skip stitches as directed.sk (skip) – 跳过
→ Skip the indicated stitch.tog – 并针
→ Crochet two or more stitches together.Turn – 翻面
→ Turn your work to start the next row.
Complete Video Guide
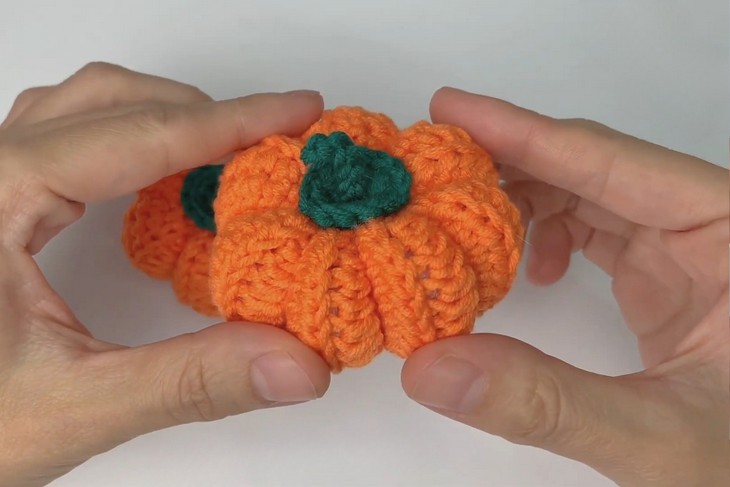
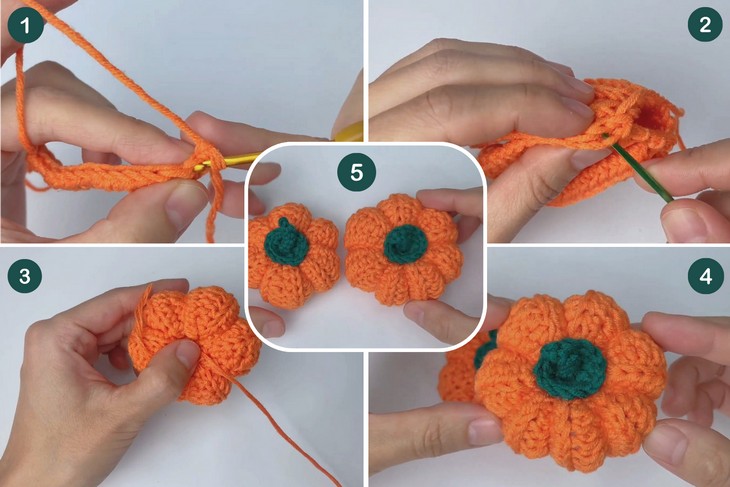
Crocheting this pumpkin involves the flat work in back-and-forth rows with ribbed stitches. The stem also requires the popcorn stitch.
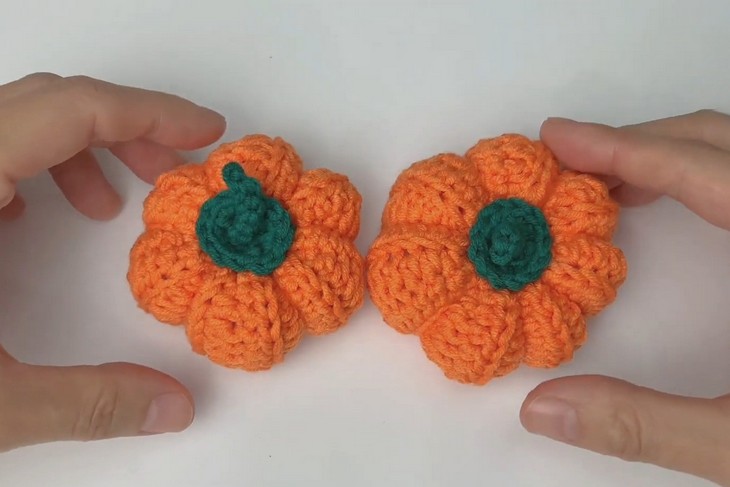
You will sew together the ends to get a pumpkin shape, then wrap the yarn around to make the ribbing. Learn everything about this clever idea with this tutorial.