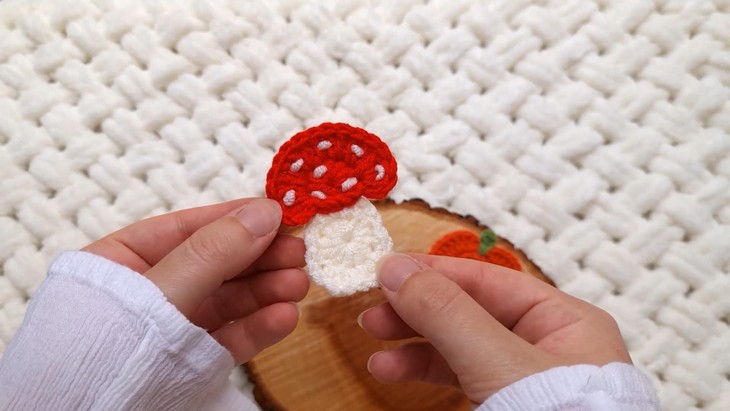
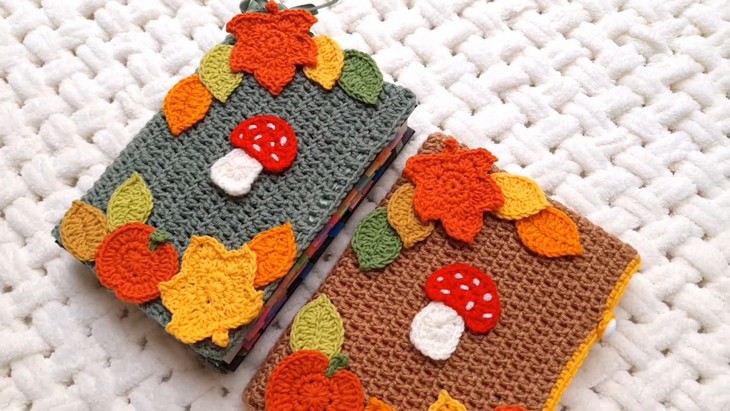
How to Crochet Mini Pumpkin And Mushroom for Fall
With a two-in-one tutorial, learn how to crochet a small pumpkin and mushroom appliqué that will be the loveliest add-ons for fall book sleeves and clothing. You can crochet both within 30-35 minutes, which is quite fast. Finished with zero sewing needed and bright colors, these pumpkin and mushroom appliques will make anything super special.
If you are interested in crocheting these fall appliques for yourself, continue reading till the end of this post.
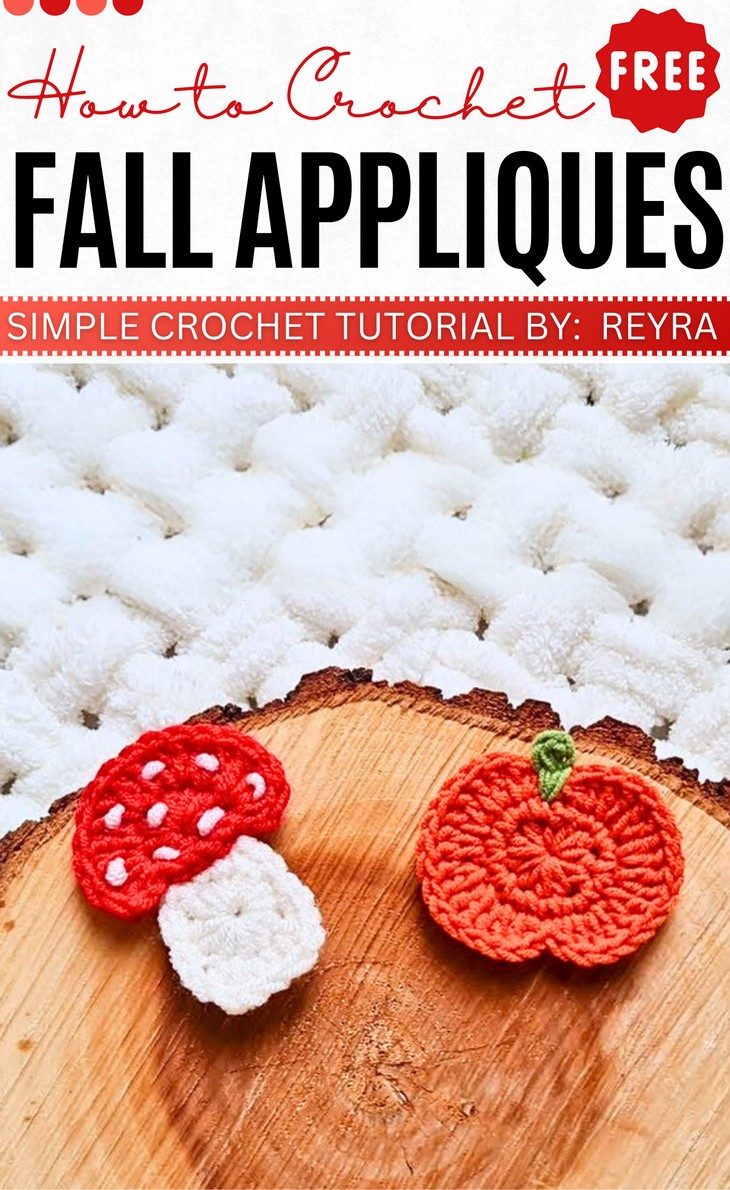
The designer of this fall tiny appliques is @Reyracrochets – currently crocheting all things related to fall, winter and spring especially quick projects. In respect for the creator’s pattern rights, there will be no provision of the written pattern. You can watch the tutorial with on-screen written instructions at the end of this post.
Skill Level: Beginner (Magic ring, half-double crochet, double crochet, slip stitches, color-changes, and basic shaping. While the step-by-step instructions are clear, you should have tension control.)
Tutorial Timing: 15 Minutes Only (perfect for learning how appliques are crocheted by using the stitches of heights.)
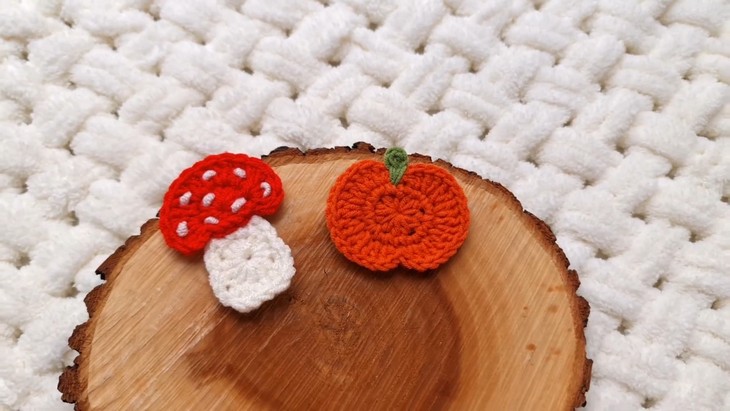
Personalization Tips: By increasing the number of rounds in equal amounts, you can easily crochet a large mushroom or pumpkin appliqué. To use in a fall book sleeve, you’ll need one mushroom and one pumpkin appliqué.
Pattern Type: An on-screen written pattern is available if you find written instructions easy to follow along with.
Supplies Needed
Gather the following crochet supplies mini pumpkin and a mushroom.
- Pumpkin: YarnArt jeans ( 2.5mm hook)
- Mushroom: Alize baby best ( 3mm hook)
- Colors: Orange and green + red and white
Techniques Used and One-Line Guide for Each
Here are the crochet techniques used in the tutorial, with a quick guide for each:
- Magic Ring Guide: Create an adjustable loop by wrapping yarn around your fingers, pulling through, and chaining once to secure.
- Half-Double Crochet (HDC) Guide: Yarn over, insert hook into stitch, yarn over, pull through, and complete by pulling through all three loops on the hook.
- Double Crochet (DC) Guide: Yarn over, insert hook into stitch, yarn over, pull through, yarn over again, and pull through two loops twice.
- Single Crochet (SC) Guide: Insert hook into stitch, yarn over, pull through, and yarn over again to pull through both loops.
- Slip Stitch (SL ST) Guide: Insert hook into stitch, yarn over, and pull directly through both the stitch and the loop on the hook.
- Chain (CH) Guide: Yarn over and pull through the loop on your hook to create a simple chain stitch.
- Increasing Stitches Guide: Work two stitches into the same space to gradually expand your circle or shape.
- Attaching Parts with Slip Stitches Guide: Use slip stitches to connect separate parts (e.g., attaching the mushroom stem to the cap).
- Decorative Embellishments (Dots) Guide: Insert yarn through specific points to create surface details like the mushroom dots.

The project needs increasing stitches, crocheting small details such as stems and dots, and attaching pieces seamlessly. It’s ideal for confident beginners and intermediate crocheters looking to expand their skills in creating 3D decorative items.