
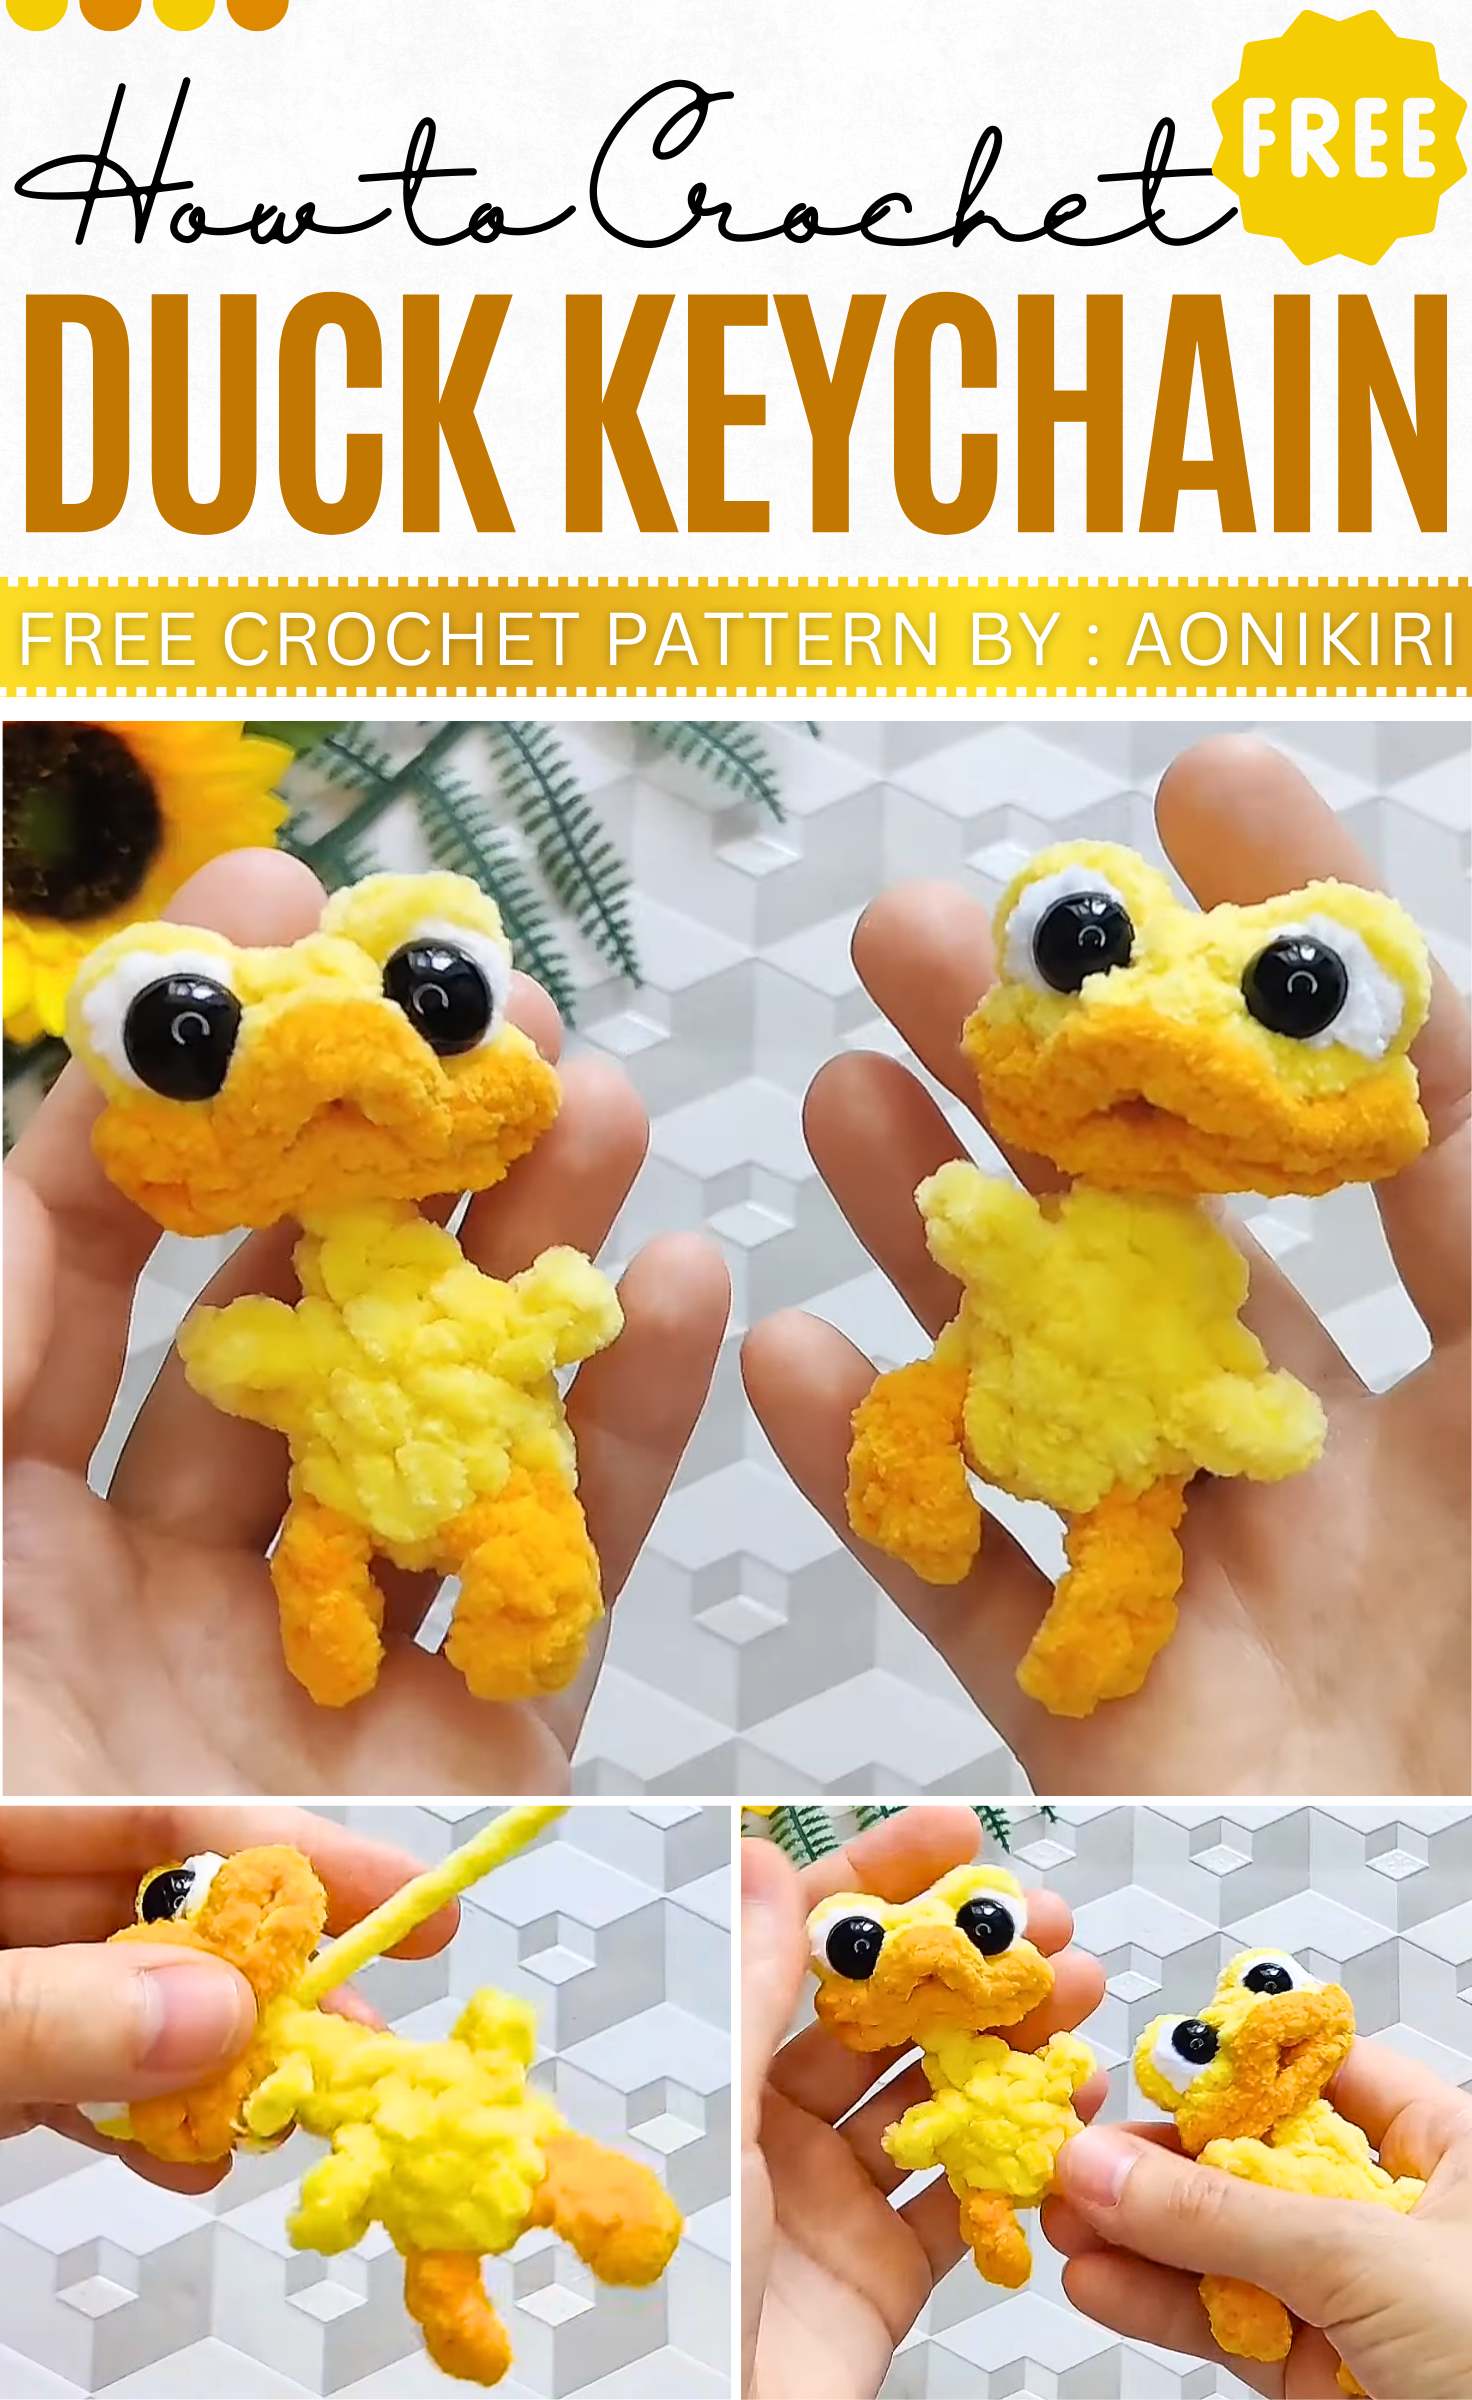
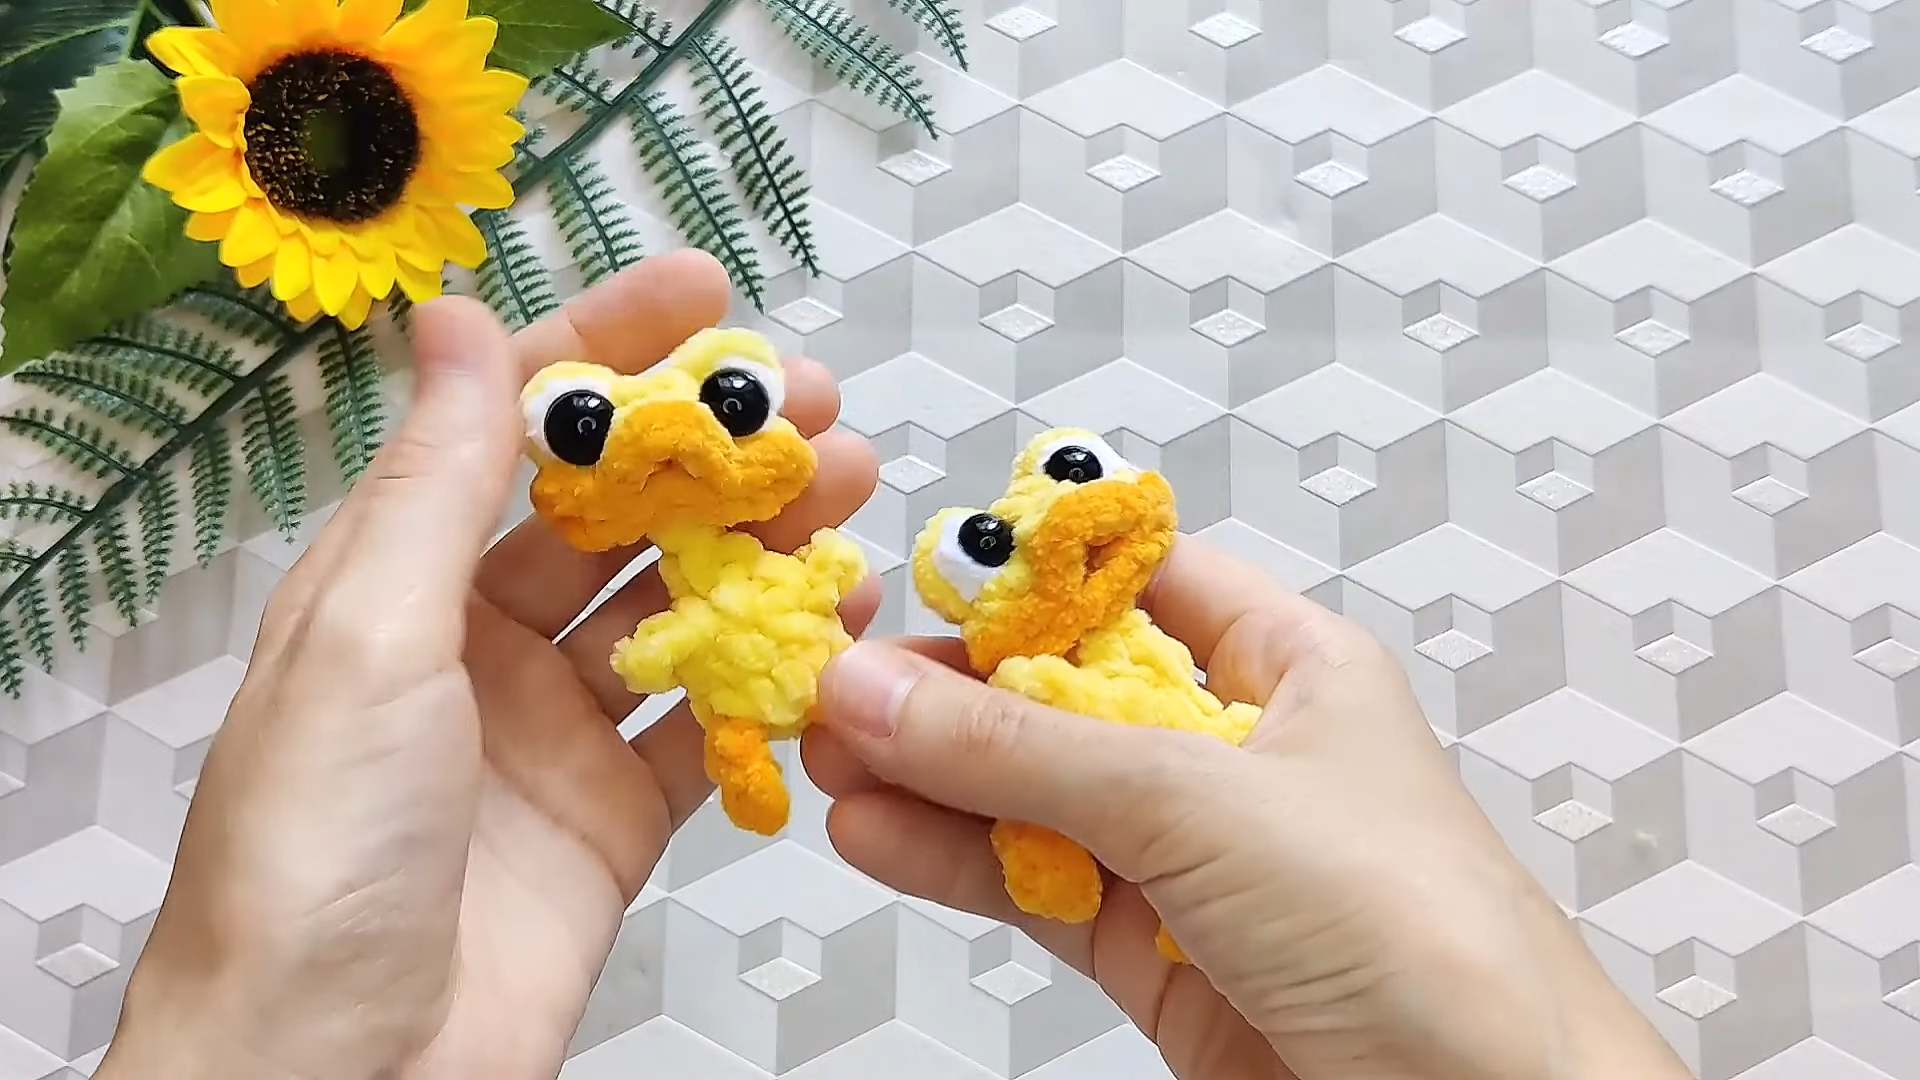
Free Crochet No-Sew Duck Plushie Pattern (Funny & Cute)
Last time, I shared a tutorial for funny duck amigurumi, too. But this time, I have a free written pattern on how to crochet a no-sew duck plushie with the same googly eyes and mini size, perfect to be used as a keychain.
It is crocheted using the super bulky yarn and works up fast enough to be completed within 30 minutes, and even 20 minutes.
The pattern is small and will make you end up with a last-minute gift. With all the quirky features, it will bring smiles. So, crochet one today!
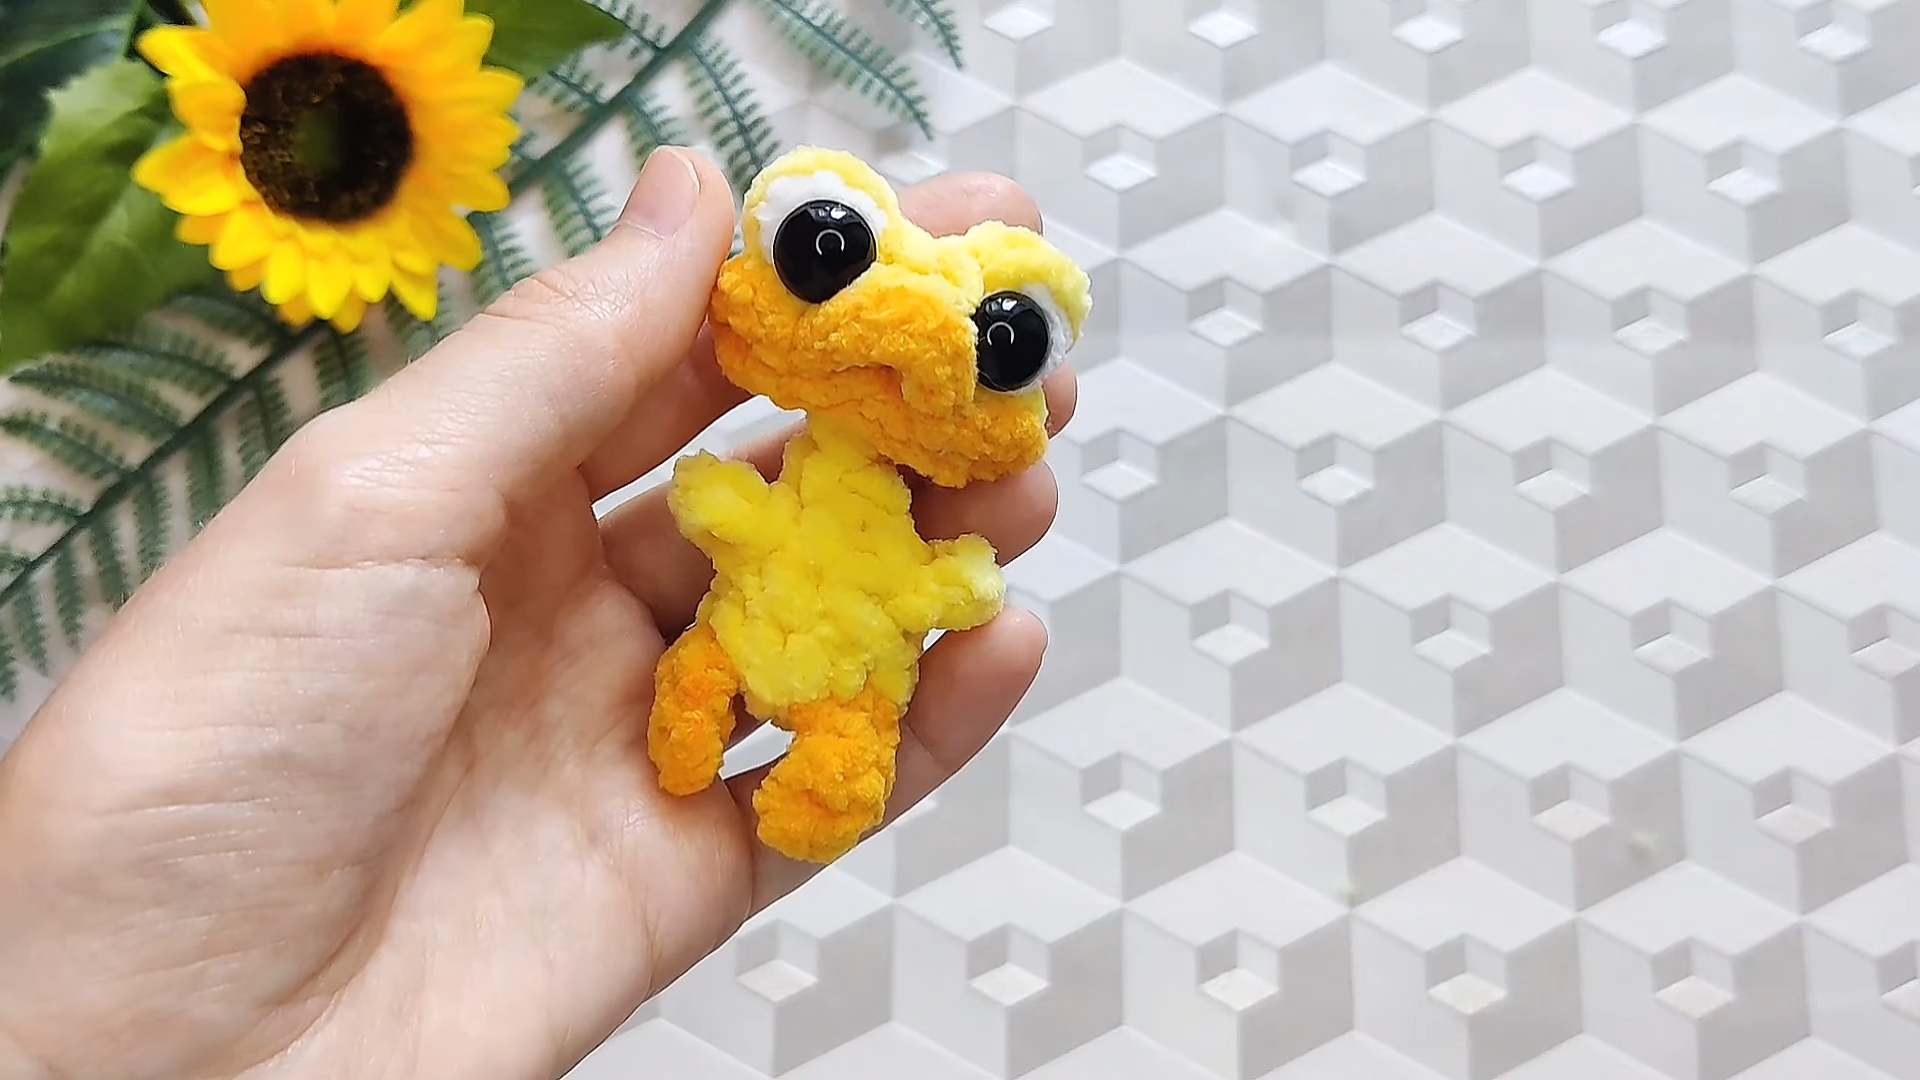
Mini Crochet Duck Plushie Pattern
Designer of the Funny Duck Plushie
The designer of this duck plushie for kids is @aonikiri – she has expertise in “no-sew” crochet keychains and small plushies that are always so cute.
Note: For this crochet duck plushie in particular, I will provide you with the complete pattern using English terms.

Here is the complete and accurate written pattern for the Duckling Keychain in US terms.
Materials for Duck Plushie
Here are the supplies needed for this cute duck amigurumi plushie:
Plush Yarn: Yellow (Body/Head), Orange (Beak/Legs), White (Eyes). WOLANS Bunny Baby Plush yarn no. 01, 14, and 39.
Hook: 3.5mm used.
Eyes: 10mm or 12mm half-bead eyes.
Tools: Glue, needle, scissors, lighter (to melt ends if using polyester plush yarn).
Abbreviations (US Terms):
MR: Magic Ring
sc: Single Crochet
inc: Increase (2 sc in one st)
dec: Decrease (sc2tog)
dc: Double Crochet
hdc: Half Double Crochet
sl st: Slip Stitch
ch: Chain
Bobble: 4 dc cluster in one stitch (4 dc unfinished, yarn over, and pull through all loops).
FLO: Front Loop Only
BLO: Back Loop Only
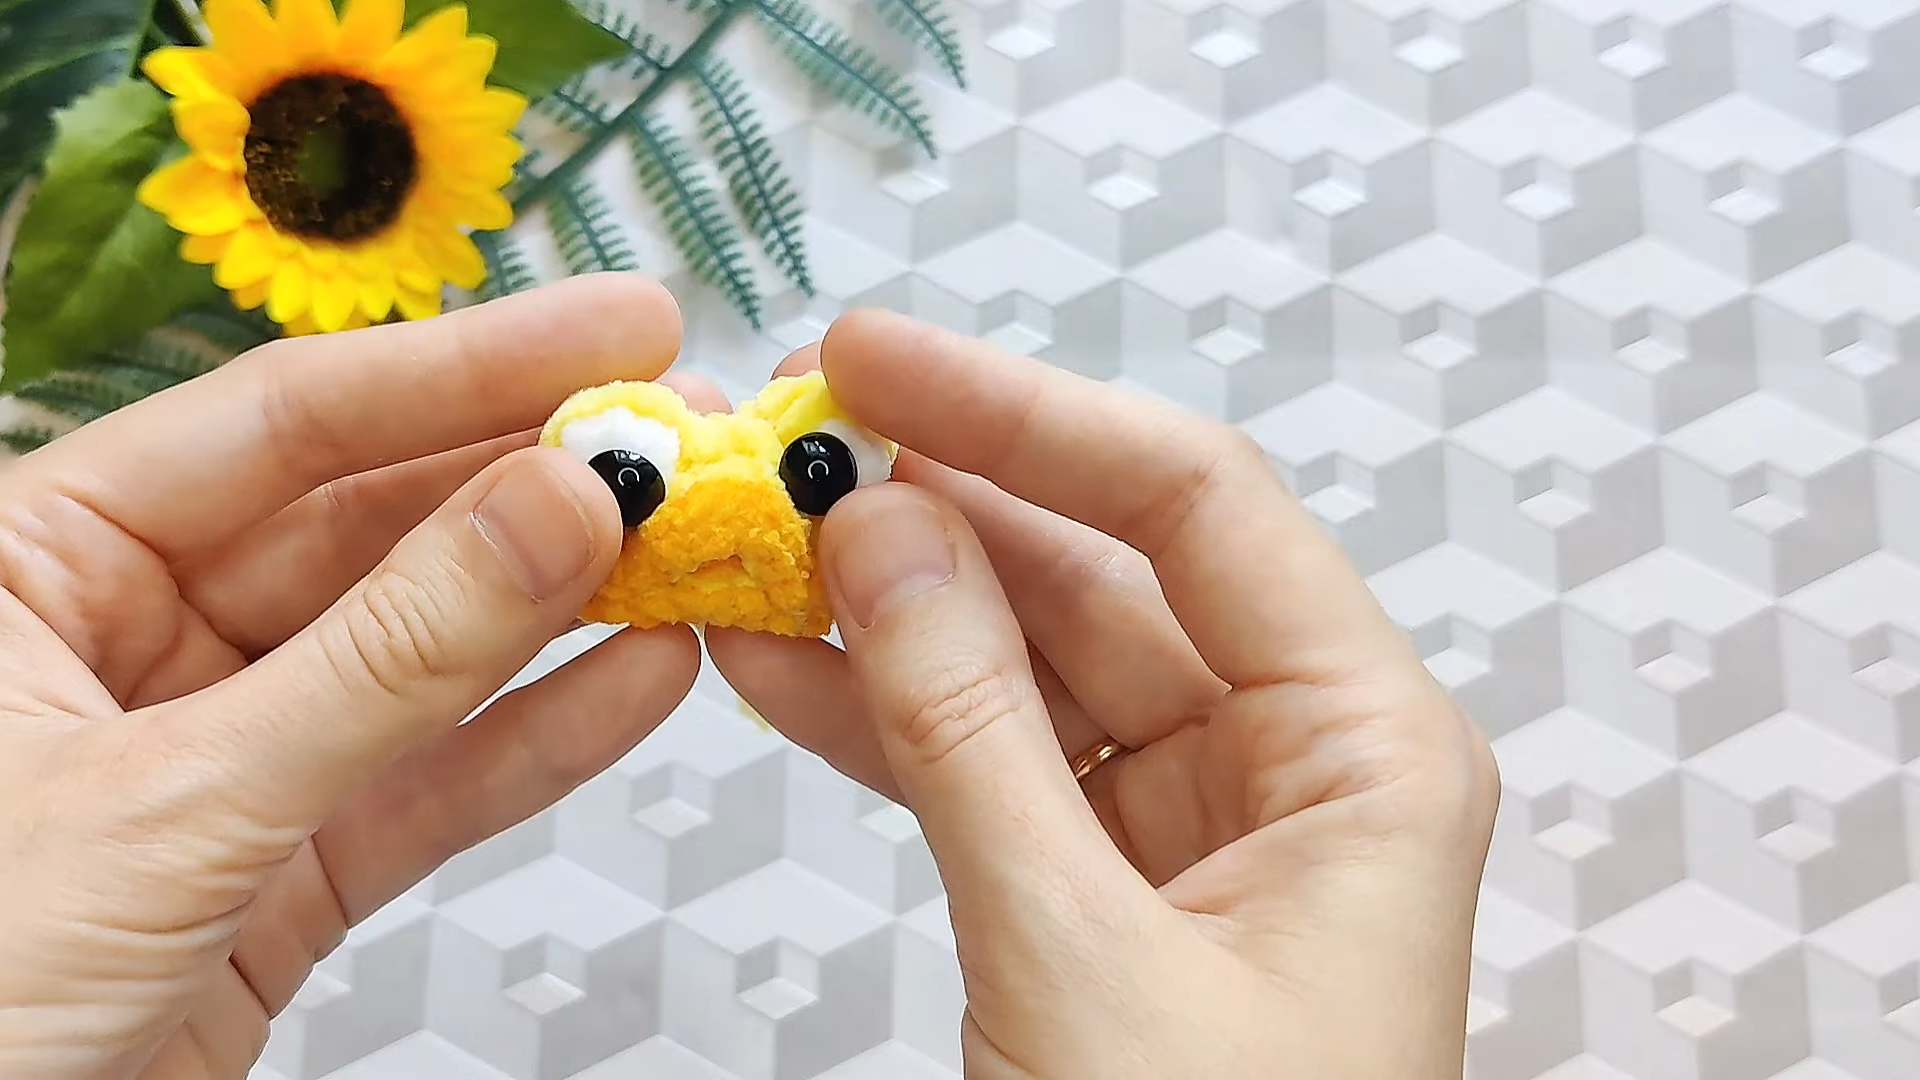
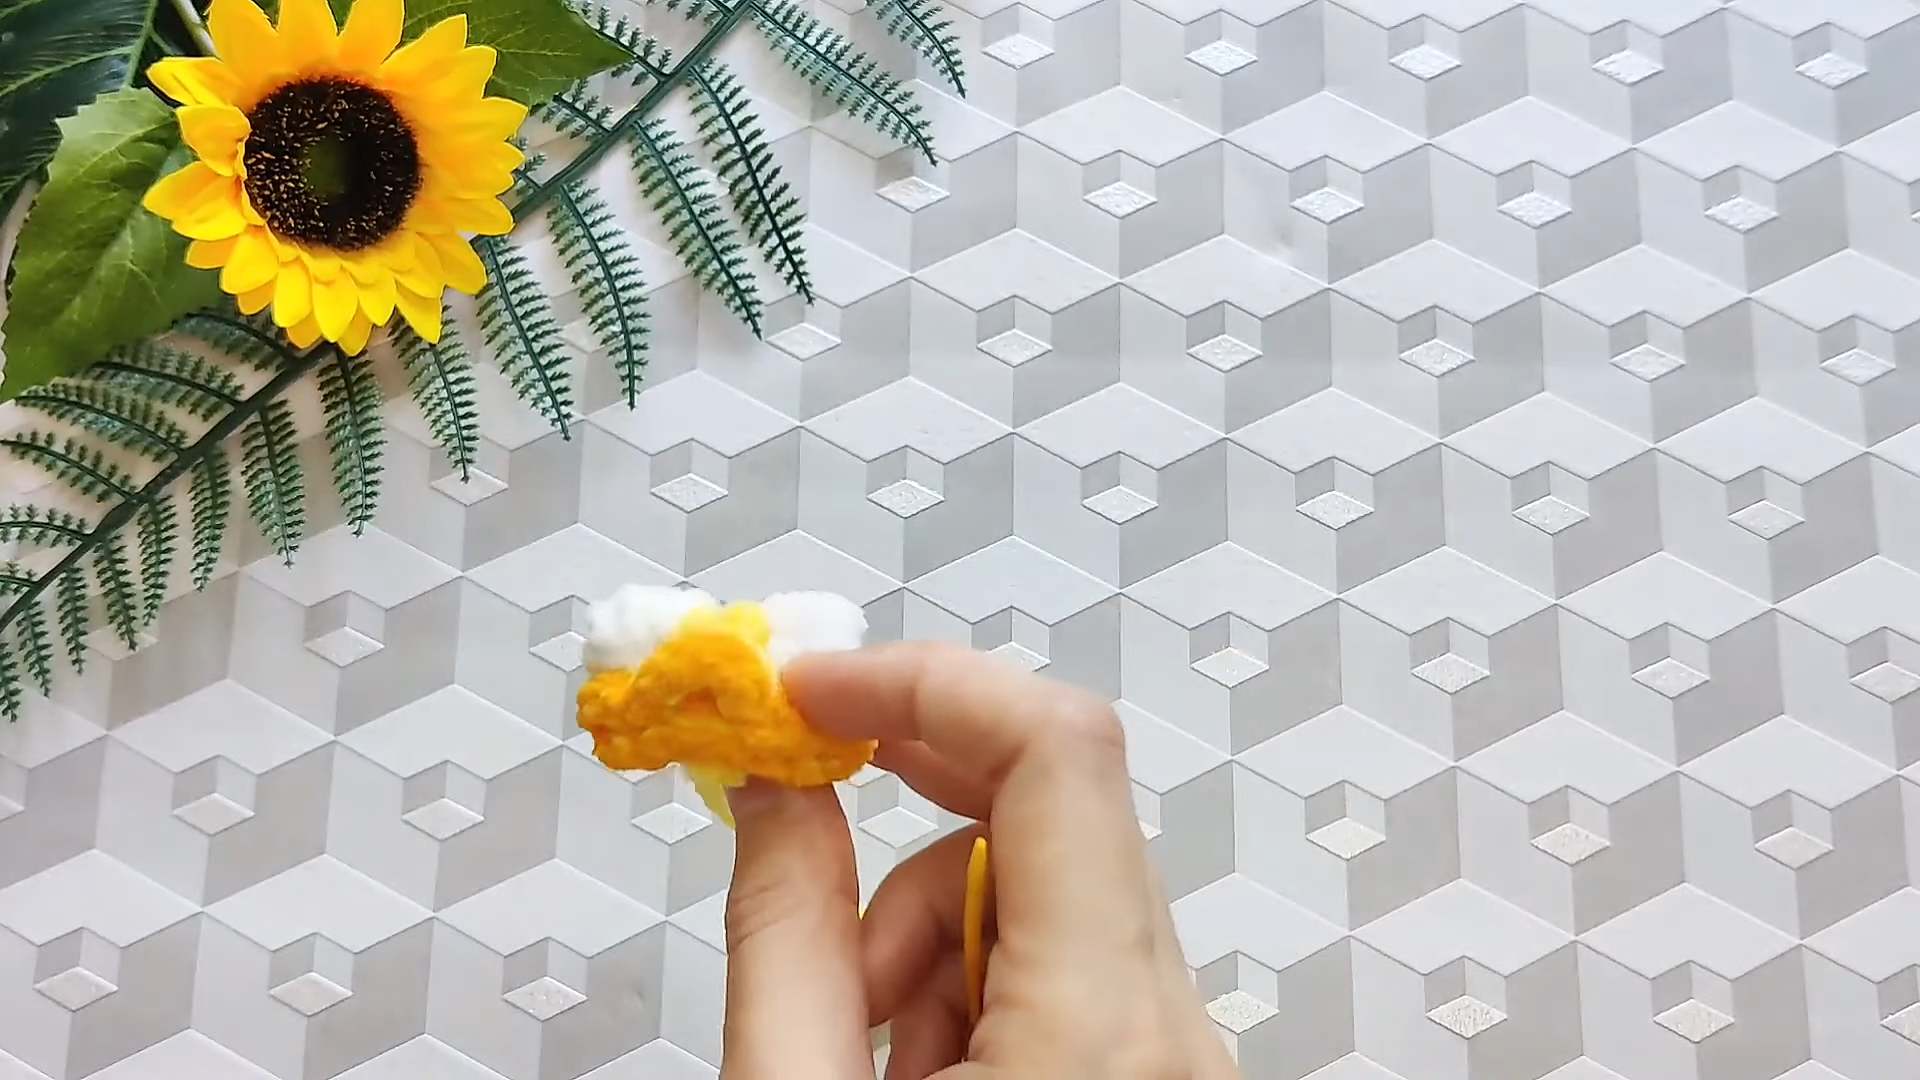
Head (Start with Yellow Yarn)
R1: 7 sc in MR. (7) R2: This row incorporates the white part of the eyes using Bobble stitches.
Inc 1: 1 sc (Yellow) + Bobble (White) in the same stitch.
Inc 2: 2 sc (Yellow) in one stitch.
Inc 3: 2 sc (Yellow) in one stitch.
Inc 4: Bobble (White) + 1 sc (Yellow) in the same stitch.
Inc 5-7: 2 sc (Yellow) in each of the remaining 3 stitches. (Cut White yarn and secure ends inside. Melt ends if needed.)
R3 (Beak Row – Two Colors):
Change to Orange yarn in the last stitch of R2.
Work this entire row with both Yellow and Orange strands held together.
Pattern for this row: (sc in BLO, sc in both loops) in the same stitch (This is a special increase).
Repeat this special increase around. Start stitches with the Yellow loop, finish with the Orange loop to create a speckled/beak effect if desired, or simply carry both.
Total stitches should be around 21.
Finish with a sl st in Orange.
Fasten off and hide ends inside. Fold the orange part to make the beak shape and tack it down with a needle and thread (using the orange tail) to keep it pointed. Also, embroider eyelids using the orange yarn around the white bobbles.
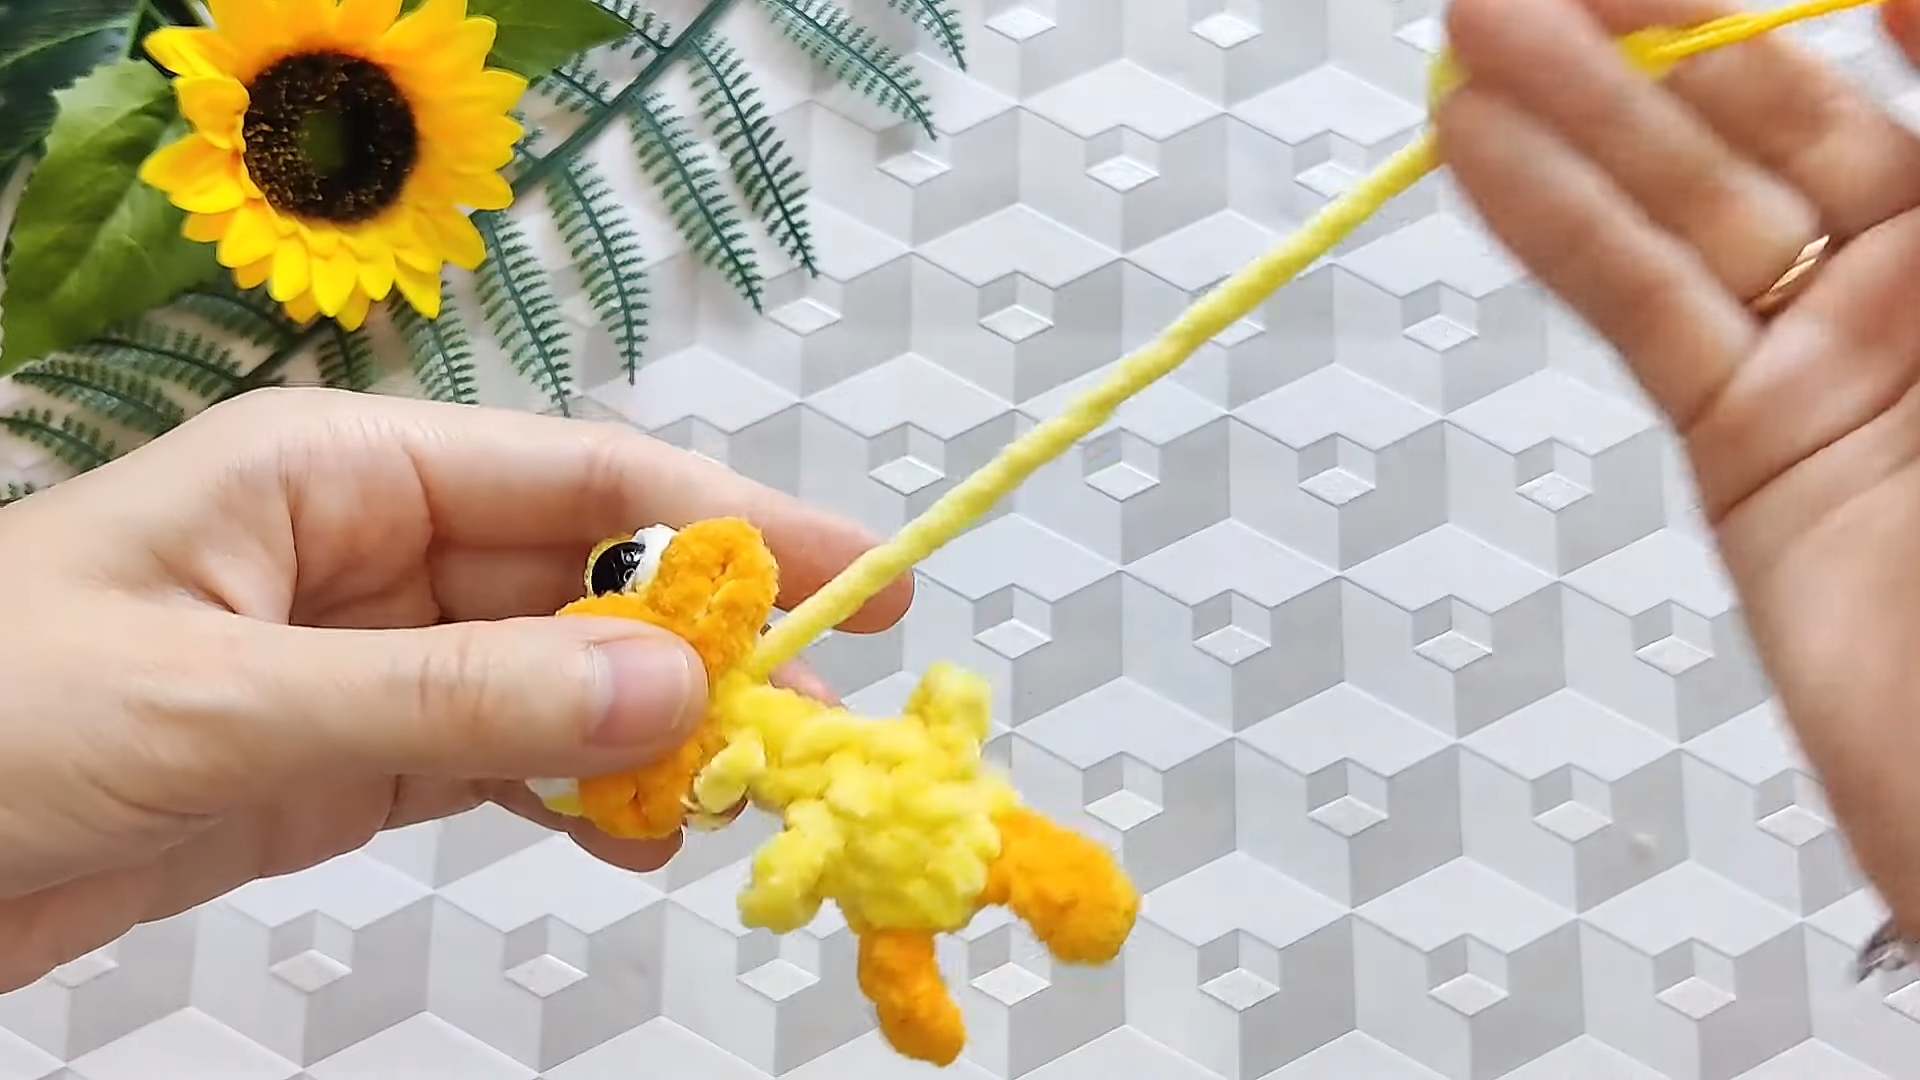
Body (Start with Yellow Yarn)
R1: 2 sc in MR.
In the 2nd stitch, change to Orange for the leg.
Leg 1: ch 4. In 2nd ch from hook: hdc. Next ch: sc. Next ch: sl st.
Sl st (Yellow) into the base of the MR loop.
2 sc (Yellow) into MR.
In the 2nd stitch, change to Orange for the leg.
Leg 2: ch 4. In 2nd ch from hook: hdc. Next ch: sc. Next ch: sl st.
Sl st (Yellow) into the base of the MR loop.
1 sc (Yellow). (Pull MR tight. Cut Orange yarn.)

R2:
Tail: sc, ch 3, sc in the same stitch (counts as increase).
inc.
sc (work into the leg area).
inc, sc.
sc (work into the leg area).
inc.
R3:
dec (skip the tail chain).
2 sc.
Wing 1: ch 4, sl st in the same stitch.
dec, sc, dec.
Wing 2: ch 4, sl st in the same stitch.
2 sc.
R4:
dec, sc.
dec (incorporating the wing stitch).
sc.
dec (incorporating the wing stitch).
Last dec.
R5:
Stuff the body firmly.
3 dec.
Finishing:
Close the hole with sc across the top or draw the opening closed.
Leave a tail for sewing.
Sew the Head onto the Body (near the beak area for a cute look).
Glue the eyes onto the white Bobble sections.
Tutorial for Russians
How to Crochet Funny Duck Keychain for Autumn – Duck Bag Charm