
How to Crochet No-Sew Mini Fox Plushie (Written Pattern)
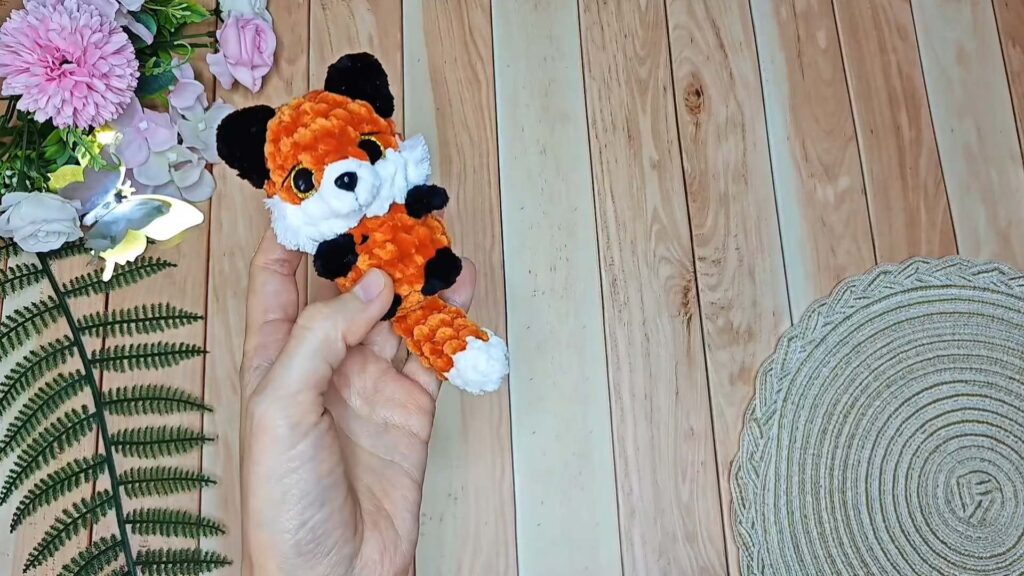
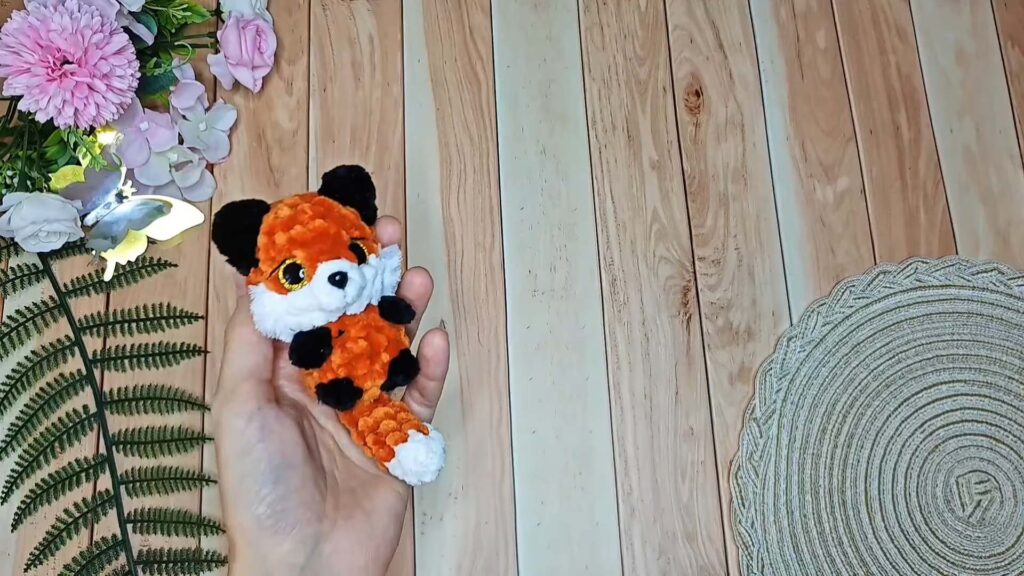
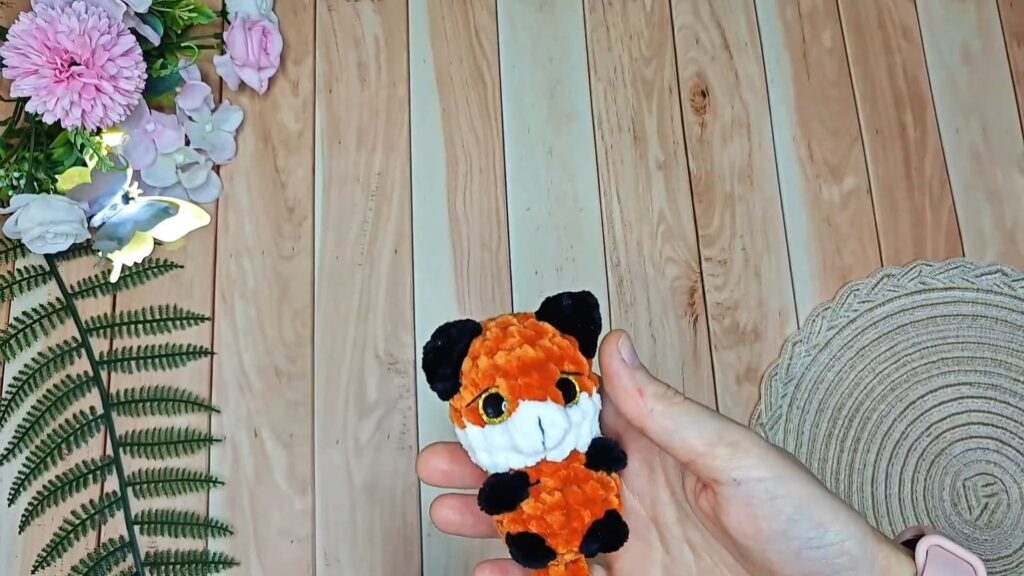
In this post, I will share a quick written pattern on the cutest mini fox plushie I have ever seen. About 8.5 cm tall, this fox plushie is detailed yet no-sew and designed beautifully than any other creator.
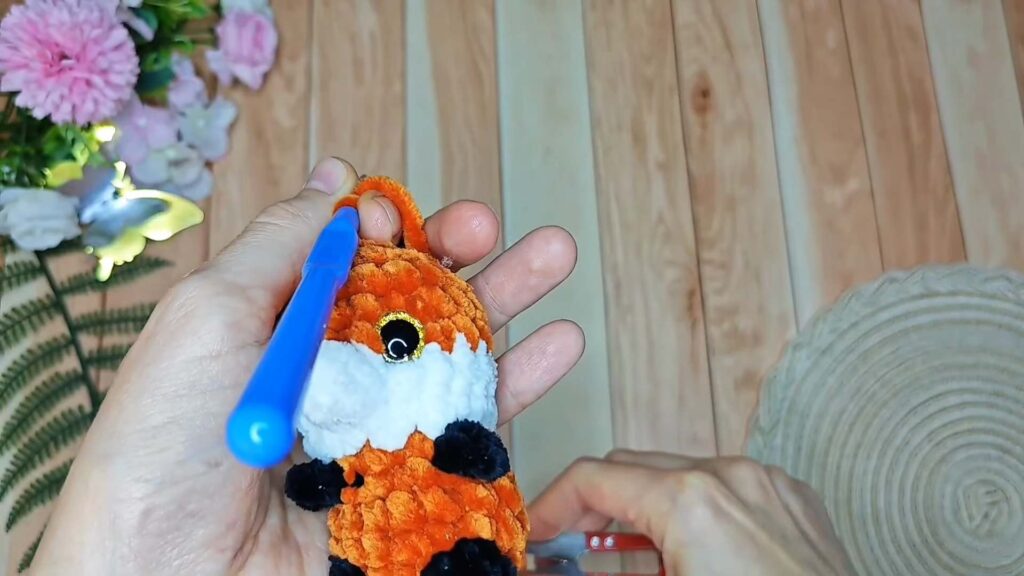
I instantly fell in love with the fox head, with even the fuzzy cheeks and the glittery eyes that reflect a nice, life-like feel. Only the tail is crocheted separately, but then joined to the body as you work.
Crochet Mini Fox Plushie Pattern

You can easily complete crocheting this fox amigurumi within 30 minutes. Thanks to high-quality orange, white, and black velvet yarn, it has a shiny finish. So, I suggest using a similar one. Also, don’t forget to share your work.
Designer of the Fox Plushie:
The designer of this fox plushie for kids is @aonikiri – she has expertise in “no-sew” crochet keychains and small plushies that are always so cute.
Note: For this crochet fox plushie idea in particular, I will provide you with the complete pattern using English terms.
Abbreviations Used
The following are the abbreviations used in the pattern:
MR: Magic Ring
ch: Chain
sl st: Slip Stitch
sc: Single Crochet
hdc: Half Double Crochet
dc: Double Crochet
inc: Increase (2 sc in one st)
dec: Decrease (sc2tog)
Puff St (3dcCl): 3 Double Crochet Cluster (yarn over, insert hook, pull up loop, pull through 2 loops; repeat 3 times in the same stitch; yarn over and pull through all 4 loops on the hook).
Puff St (4dcCl): 4 Double Crochet Cluster (used for the snout).

Materials
The following materials and tools are needed for crocheting this fox plushie:
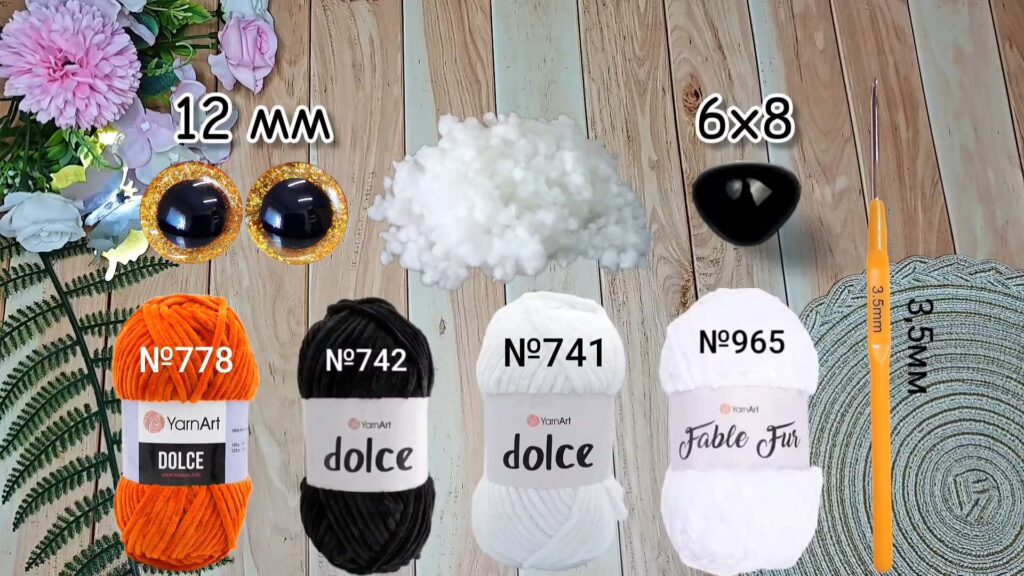
Yarn: Plush/velvet yarn (Orange, White, Black, or Dark Brown)
Hook: 3.5 mm (or size appropriate for your yarn)
Eyes: 12 mm safety eyes (trapezoid or round)
Stuffing: Fiberfill
Needle: Tapestry needle for yarn, thin needle for embroidery
Embroidery Floss/Thin Yarn: Black or Dark Brown
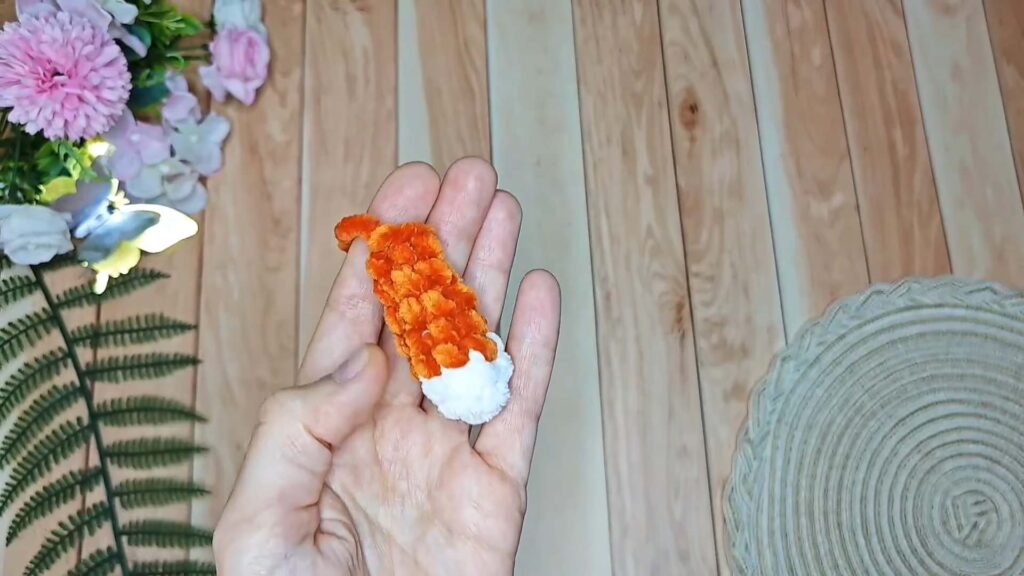
1. Tail (White and Orange Yarn)
The tail is worked in continuous rounds. Do not stuff the tail.
R1 (White): In a MR, 5 sc. (5)
R2 (White): inc, 4 sc. (6)
R3 (White): 2 sc, inc, 3 sc. (7)
Change to Orange yarn.
R4 – R6 (Orange): 7 sc. (7)
R7 (Orange): dec, 2 sc, dec, 2 sc. (5)
Closing: Fold the tail flat so the color change is on the side. Work 2 sc through both sides to close the opening. Leave a tail for joining.
2. Body and Head (Orange, Black, White Yarn)
The body and head are worked continuously in rounds.
Body and Legs (Orange and Black Yarn)
R1 (Orange): In a MR, 6 sc. (6)
R2 (Orange): 6 inc. (12)
R3 (Orange – Tail and Legs):
Tail attachment: Work 2 sc through both the body stitches and the two closing stitches of the tail.
Body: sc, inc.
Leg 1: Change to Black/Dark Brown yarn. Work a Puff St (3dcCl) in the next st. Change back to Orange yarn.
Body: inc x 2.
Leg 2: Change to Black/Dark Brown yarn. Work a Puff St (3dcCl) in the next st. Change back to Orange yarn.
Body: sc, inc, sc. (16)
Cut and secure the Black yarn.
R4 – R5 (Orange): 16 sc. (16)
R6 (Orange – Arms/Paws):
dec, 5 sc.
Arm 1 (Paw Extension): Change to Black/Dark Brown yarn. ch 3. Starting in 2nd ch from hook, work sc, sc. Change back to Orange yarn (in the last sc). sl st back into the body stitch where the chain began.
Body: sc, dec, dec.
Arm 2 (Paw Extension): Change to Black/Dark Brown yarn. ch 3. Starting in 2nd ch from hook, work sc, sc. Change back to Orange yarn (in the last sc). sl st back into the body stitch.
Body: sc, dec, sc. (12)
Cut and secure the Black yarn.
R7 (Orange): dec, sc, dec, sc, 3 sc, 3 sc. (10)
Start stuffing the body firmly.
Head and Snout (White and Orange Yarn)
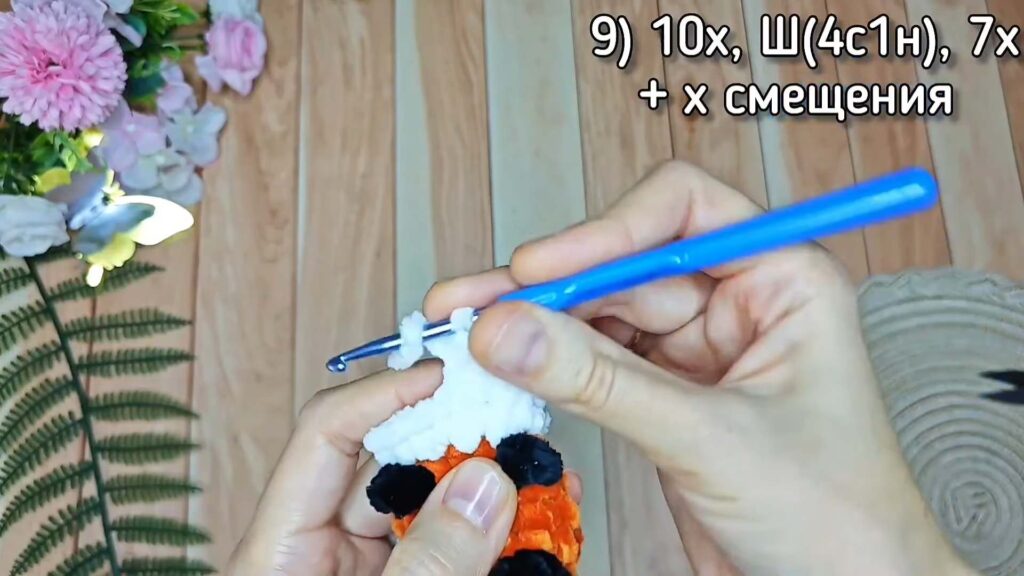
R8 (Muzzle/Snout Start): Change to White yarn.
2 hdc.
Work 8 hdc inc (2 hdc in each of the next 8 sts).
Change to Orange yarn in the last hdc. (18)
R9 (Head/Snout):
10 sc (White).
Snout: Work a Puff St (4dcCl) in the next st (White).
7 sc (White) to end.
Work 1 sl st (shift) and change to Orange yarn. (18)
Cut and secure the White yarn.
R10 (Head – Eye placement): 18 sc. (18)
Insert 12 mm safety eyes into the stitches of this row, one stitch away from the snout Puff St on each side.
R11 – R12 (Head): 18 sc. (18)
Continue stuffing the head firmly.
R13 (Head Decrease): (sc, dec) repeated 6 times. (12)
R14 – R15 (Closing): dec until the hole is closed.
Finishing: Cut the yarn and use a needle to close the remaining hole by weaving through the front loop of the last few stitches and pulling tight. Secure the yarn inside the head.
3. Details
Ears (Black/Dark Brown Yarn)
The ears are crocheted directly onto the head in the R11 (the second full orange row of the head).
Ear 1:
Attach Black yarn approximately 1 stitch away from the eye.
ch 1.
In the next st: hdc, dc.
In the next st: ch 1, dc, hdc.
sl st in the next st to finish.
Cut and secure the yarn, tying the ends inside the head.
Ear 2:
Work symmetrically to the first ear on the opposite side.
Attach Black yarn.
sl st in the first st.
In the next st: hdc, dc, ch 1, dc, hdc.
In the next st: dc, hdc.
ch 1. sl st in the next st to finish.
Cut and secure the yarn, tying the ends inside the head.
Embroidery and Final Touches
Nose Line: Use thin Black yarn/floss to embroider a vertical line down from the center of the snout Puff St.
Eyelashes: Use thin Black yarn/floss to embroider a simple eyelash next to each eye.
Nose: Glue a small black bead or a tiny piece of black felt/yarn onto the tip of the snout Puff St for the nose.
Cheeks (Optional): Use a complementary fluffy yarn (like Mink or soft White) to add small tufts of embroidery under the ears to serve as cheeks.