
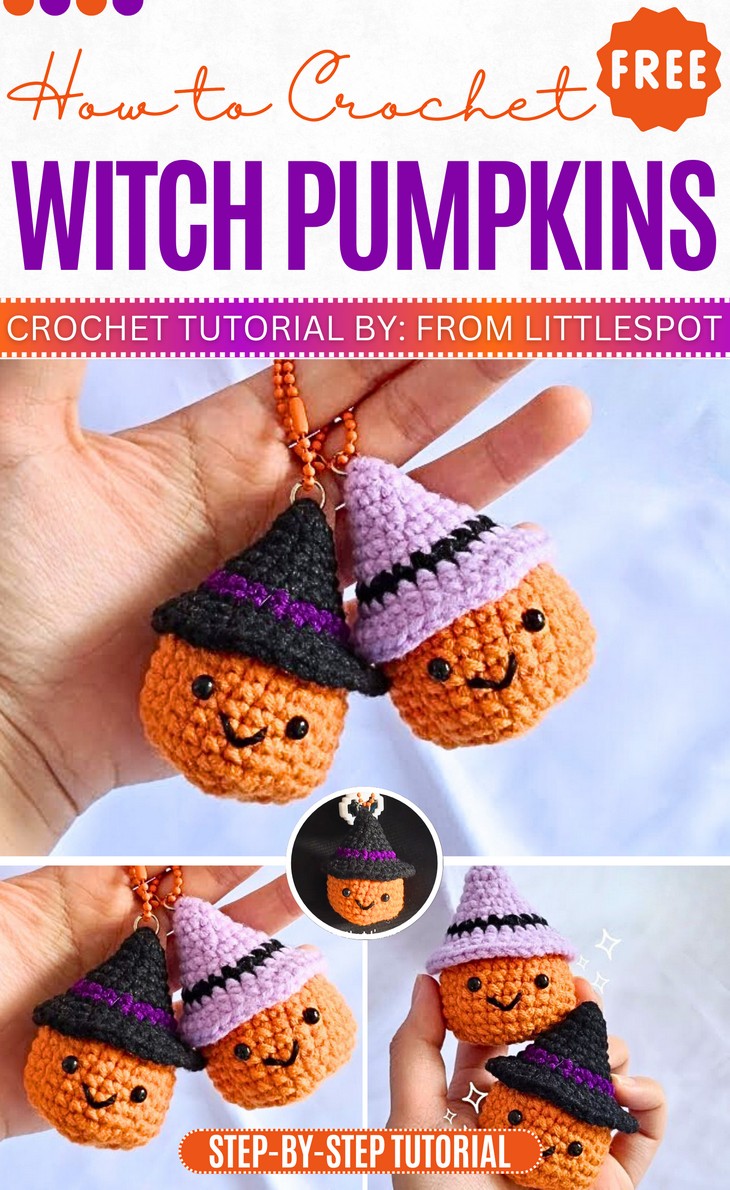
How to Crochet No-Sew Witch Pumpkin for Halloween
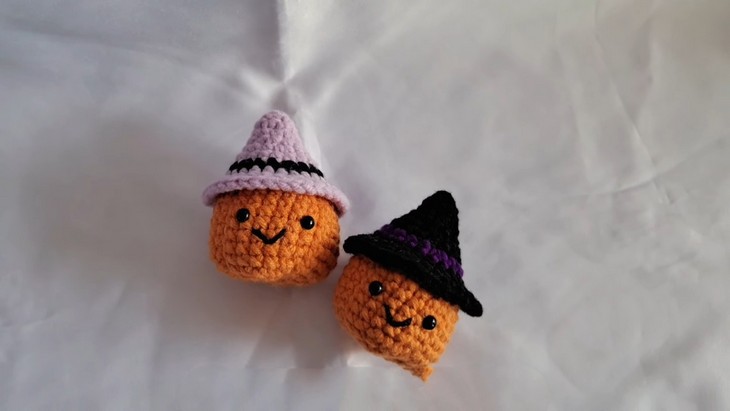
If you are looking for a quick Halloween gift for kids, you have come to the right place. With a step-by-step tutorial for beginners, learn how to crochet this no-sew witch pumpkin amigurumi that can be completed within 30 minutes. Crochet a pair in two colors: black witch hat and purple witch hat.
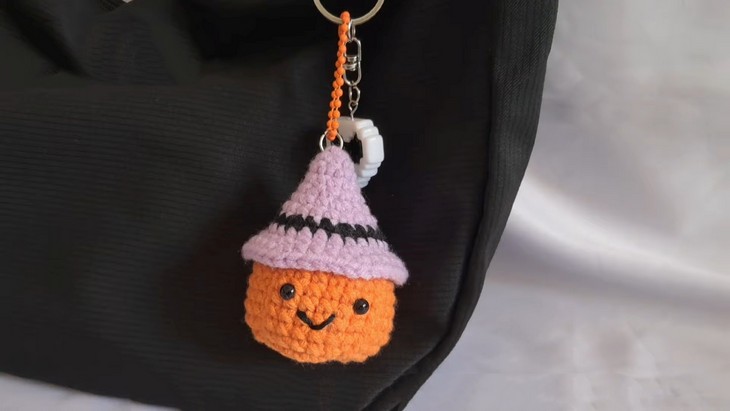
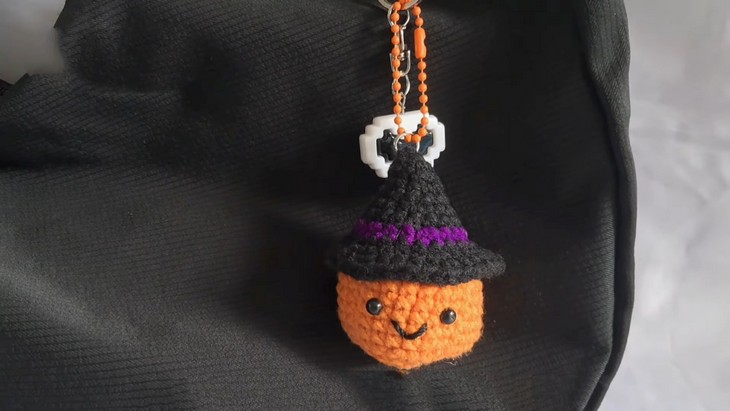
It will become a trick-or-treat bag charm, a pocket companion, thanks to the cute face, and even an ornament.
So, are you interested in crocheting this fast pumpkin project for yourself? Continue reading till the end of this post!
The designer of this Halloween pumpkin amigurumi @fromlittlespot – she mostly crochets the mini amigurumi and bag charms of animals and lovely characters. In respect for the creator’s pattern rights, there will be no provision of the written pattern. You can watch the tutorial with on-screen written instructions at the end of this post.
Skill Level: Beginner (If you’re comfortable with single crochet (SC), magic rings, and increases/decreases, you’ll be able to follow along with ease. For beginners, the video provides clear demonstrations of each stitch.)
Tutorial Timing: 21 Minutes Only (one of the fastest Halloween projects, perfect for learning the no-sew techniques.)
Personalization Tips: Choose from black and purple witch hats. You can also crochet a large version of these easy pumpkin amigurumi using the chenille yarn.
Pattern Type: An on-screen written pattern is available if you find written instructions easy to follow along with.
Materials Used
Gather the following crochet supplies for the no-sew witch pumpkin amigurumi and keychain:
5 ply milk cotton yarn (2mm thickness)
3.0mm hook
Stitch marker
Scissors
5.0mm safety eyes
Glue gun
Needle
Techniques Used
Here are the crochet techniques used in the tutorial to follow the pattern easily, with a quick instruction for each:
- ch – Create a foundation by pulling yarn through the loop to make chains.
- sc – Insert hook, yarn over, pull through, yarn over again, pull through both loops.
- hdc – Yarn over, insert hook, yarn over, pull through, then yarn over again, pull through all three loops.
- dc – Yarn over, insert hook, yarn over, pull through, yarn over again, pull through two loops, then pull through two loops again.
- tr – Yarn over twice, insert hook, yarn over, pull through, yarn over to pull through two loops, do this twice more.
- inc – Work two stitches into the same stitch to increase.
- Dec – Combine two stitches by crocheting them together to decrease.
- blo – Insert hook into the back loop only of the stitch and crochet.
- flo – Insert hook into the front loop only of the stitch and crochet.
How is it done?
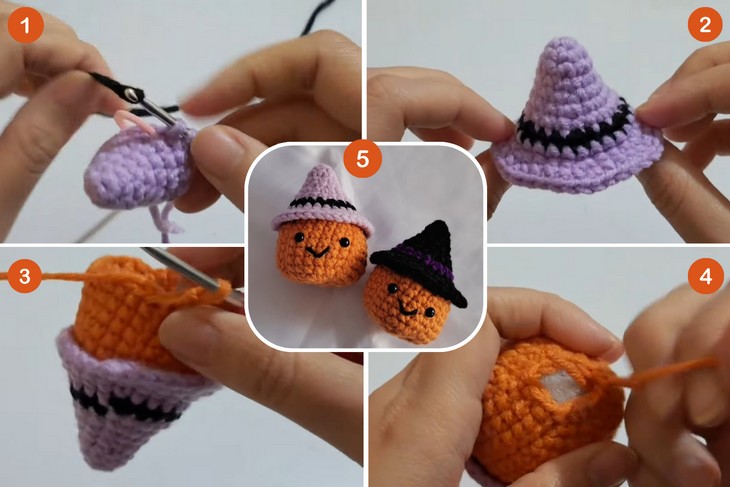
Gradually increase in successive rounds to form the base of the witch hat (e.g., Round 2: Inc in each stitch, Round 3: SC around, Round 4: SC, Inc). Repeat SC and increase rows as instructed until the hat takes shape. At Round 7, switch to black yarn for the strap. Use 2 SC + Inc as the pattern for Round 8.
At the end of this round, switch back to your primary hat color. Return to Round 10 to work into the back loops only. This is where the pumpkin body begins to grow.
Using orange (or a pumpkin-y color), work SC + Inc as the pattern around these loops to give the pumpkin its textured ridges. Add stuffing as you work. Gradually decrease using patterns like 4 SC + Dec, 3 SC + Dec, down to 1 SC + Dec. Use the front loop technique (FLO) to close the bottom of the pumpkin.
