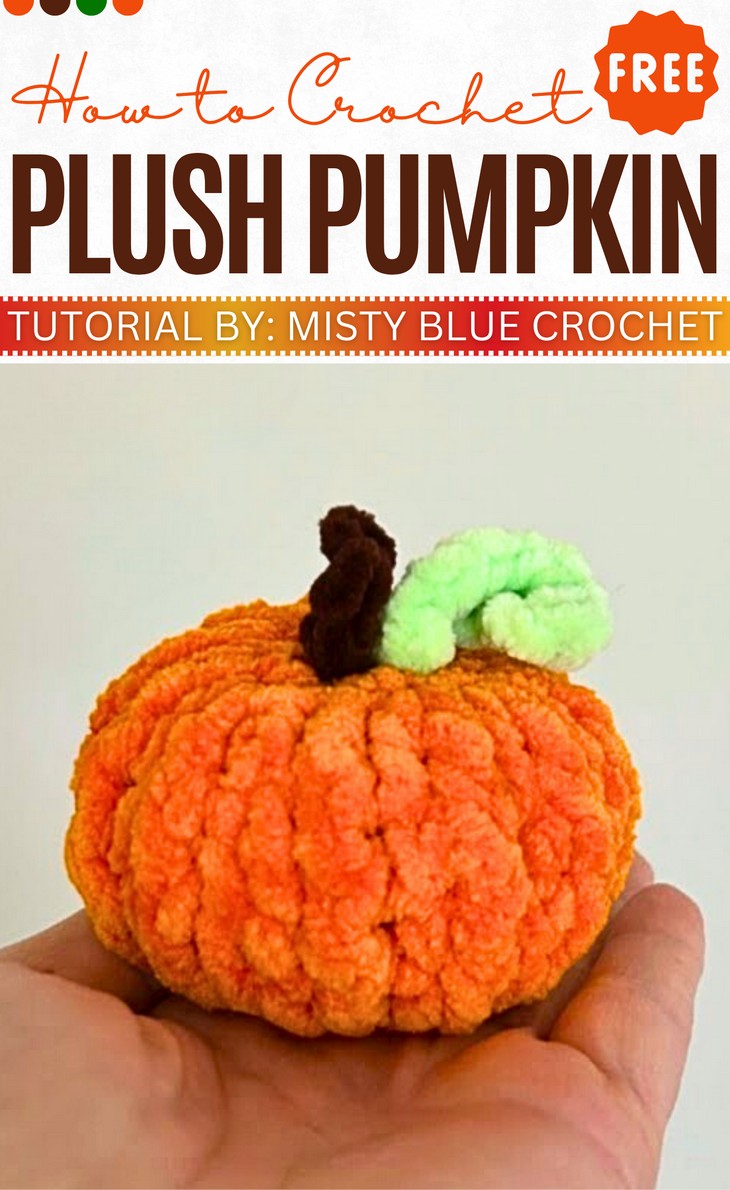
How to Crochet Plush Pumpkin Amigurumi for Fall Decor
Here is a quick fall pumpkin project! Learn how to crochet a beautiful, plush pumpkin amigurumi with a step-by-step tutorial for beginners, all using US instructions. The tutorial will help you create a cute as-you-go rigged effect, saving time and yarn. Crochet this pumpkin plushie to sell at craft fairs and make one for your home decor. It needs little sewing and is perfect for beginners.
So, continue reading this post until the end for the complete tutorial for crocheting a pumpkin from Misty Blue Crochet.
The designer of this crochet Halloween & fall pumpkin plushie is @mistybluecrochet. In respect for the creator’s pattern rights, there will be no provision of the written pattern. You can watch the tutorial with on-screen written instructions at the end of this post.
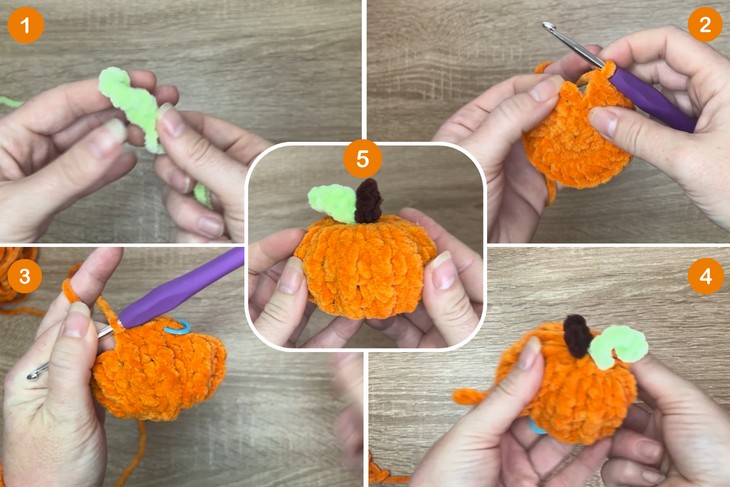
Crochet No-Sew Pumpkin Tutorial
Skill Level: Beginner (Magic ring, single crochet, slip stitch, and simple increases, as well as slightly advanced techniques like double crochet, half double crochet, and front post double crochet for creating texture.)
Tutorial Timing: 22 minutes only (perfect for crocheting the pumpkin amigurumi under 30 minutes)
Personalization Tips: You can crochet a miniature version of this crochet pumpkin using the DK weight yarn, or even worsted will also give a smaller result.
Pattern Type: An on-screen written pattern is available if you find written instructions easy to follow along with.
Supplies Used
Gather the following suggested crochet supplies for crocheting this plush pumpkin amigurumi for beginners with leaf and stem:
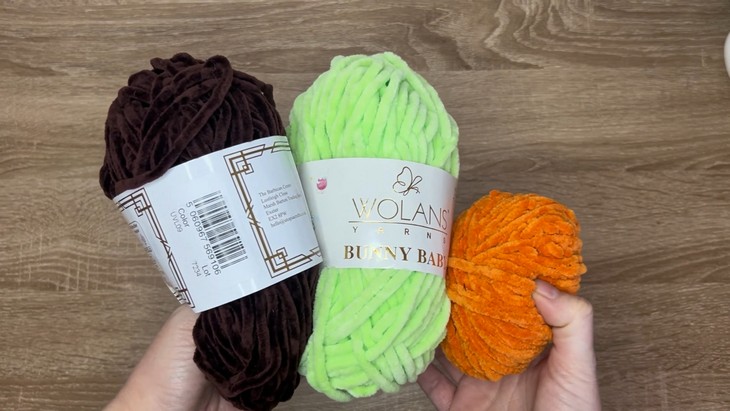
- Weight 6 or bulky plush yarn (orange, green, and brown)
- 5mm crochet hook
- Polyester fiberfill
- Yarn Needle
Supplies Used
Here’s a list of techniques used in the plush pumpkin tutorial and a quick guide for crocheting each:
- Slip Knot: Wrap the yarn around your fingers, create a loop, pull the tail through, and tighten onto the hook.
- Chain Stitch: Yarn over, pull through the loop on the hook to create a foundation chain.
- Single Crochet (SC): Insert hook into stitch, yarn over, pull through, yarn over, pull through both loops.
- Slip Stitch (SLST): Insert hook into stitch, yarn over, pull through the stitch and the loop on the hook.
- Magic Ring: Wrap yarn around fingers, create a loop, insert hook under and twist, pull through, and crochet into the ring.
- Double Crochet (DC): Yarn over, insert hook into stitch, pull through, yarn over, pull through two loops, yarn over, pull through remaining two loops.
- Half Double Crochet (HDC): Yarn over, insert hook into stitch, pull through, yarn over, pull through all three loops on the hook.
- Front Post Double Crochet (FPDC): Yarn over, wrap around the post of the stitch (instead of top loops), pull through, complete as a double crochet.
- Increase: Crochet multiple stitches (usually 2) into the same stitch to expand the piece.
- Invisible Decrease: Insert hook into the front loops of the next two stitches, yarn over, pull through both loops, then complete as a single crochet.