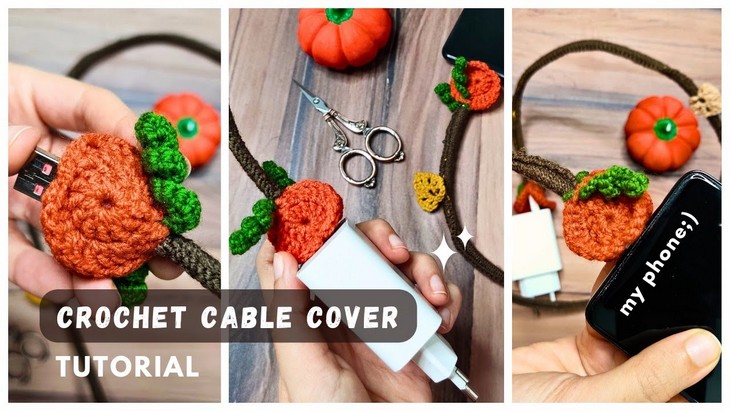
How to Crochet Pumpkin Charger Cable Cover for Fall
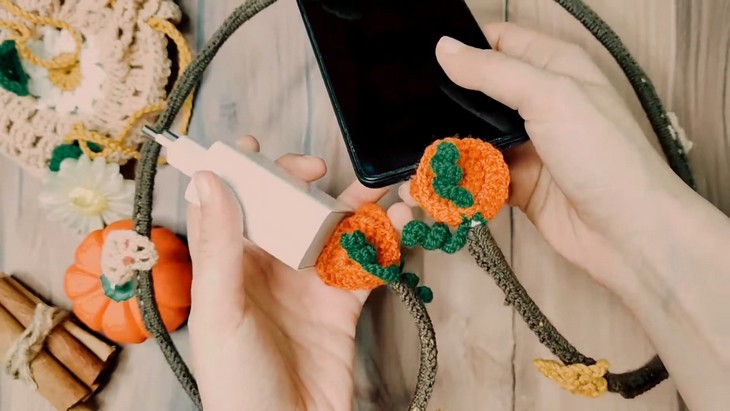
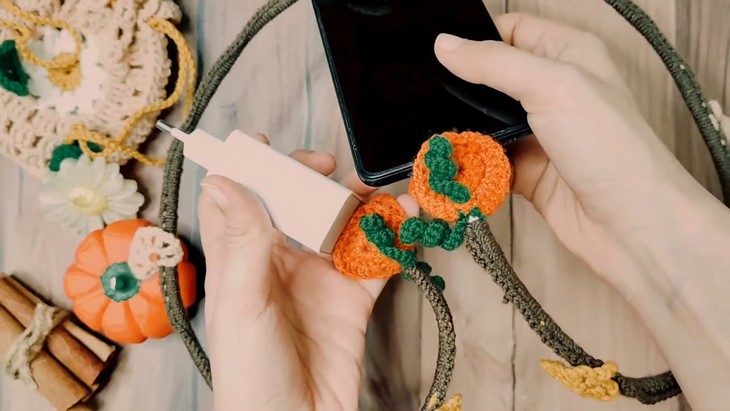
You’re gonna give your smartphone a tough time exploring the fall-related crochet projects and fall scenery! So, cozy up your one of the most essential accessories – the charging cables – with this crochet pumpkin cable cover. This cable cover can be crocheted for any size of the charging cables ending up with a pumpkin charging pin cover.
This project is easy to crochet, even for beginners, thanks to the tutorial from Yarn Symphony. So, if you are interested in crocheting this charging cable cover, continue reading this post till the end!

The designer of this pumpkin cable cover is @YarnSymphony – she has expertise on crocheting all things cute especially oh-so-cute those with animal and other themes. She always give try to creativity like this accessory. In respect for the creator’s pattern rights, there will be no provision of the written pattern. You can watch the tutorial with on-screen written instructions at the end of this post.
Crochet Pumpkin Accessory Tutorial for Beginners
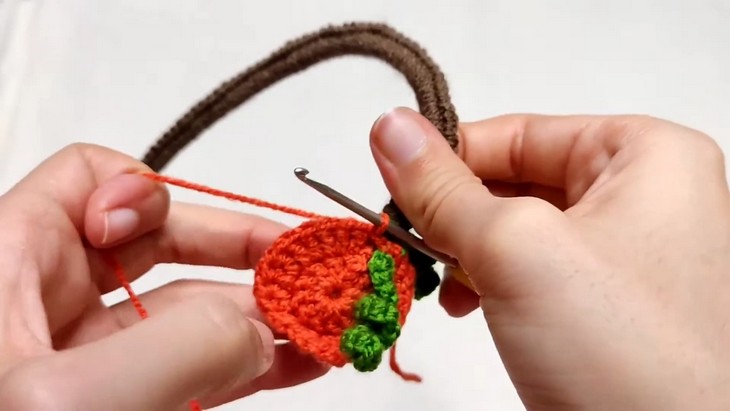
Skill Level: Intermediate. Crocheting this pumpkin cover involves working around the cable using the basic crochet stitches, starting with the chain stitch.
You will also tie certain knots and use the color changes. (single crochet, chain stitch, half-double crochet). With the instructions written in US terms, you will also need the increase and decrease for the pumpkin bail.)
Tutorial Timing: Approximately 16 minutes. (perfect for trying something new for fall and learn a lot of new crochet techniques like creating the ruffle for the bail, joining two fabrics, and more)
Personalization Tips: You will keep crocheting the slip stitches around the charging wire. Whenever, need an end just stop crocheting further and weave in the ends. The pattern is so versatile that you can crochet it around the wire of any thickness.
Pattern Type: The on-screen written pattern is available if you find written instructions easy to follow along with.
Listed Supplies
The following are the crochet materials and tools that the tutor uses and mentions for crocheting this pumpkin cable accessory:
- Your favorite yarns – but you can use the milk cotton yarn or the sparkle yarn
- 2 mm Crochet
- Scissors
- Your charger
- Colors: Green, orange, brown, and white.
Stitches and Techniques Guide
Here is the list of crochet stitch guides for crocheting the most important crochet stitches for this pumpkin charger cable cover:
- Ch (Chain) – Yarn over, pull through the loop on the hook to form a chain.
- Slst (Slip Stitch) – Insert hook into a stitch, yarn over, pull through the stitch and loop on the hook.
- Sc (Single Crochet) – Insert hook into stitch, yarn over, pull up a loop, yarn over, and pull through both loops.
- Half Cr (Half Crochet) – Likely Half Double Crochet: Yarn over, insert hook into stitch, pull up a loop, yarn over, and pull through all three loops.
- Dc (Double Crochet) – Yarn over, insert hook into stitch, yarn over, pull up a loop, yarn over, pull through two loops, then yarn over and pull through the remaining two loops.
- Treble Cr (Treble Crochet) – Yarn over twice, insert hook into stitch, yarn over, pull up a loop, yarn over, pull through two loops (repeat twice).
- Double Treble Cr (Double Treble Crochet) – Yarn over three times, insert hook into stitch, yarn over, pull up a loop, yarn over, pull through two loops (repeat three times).
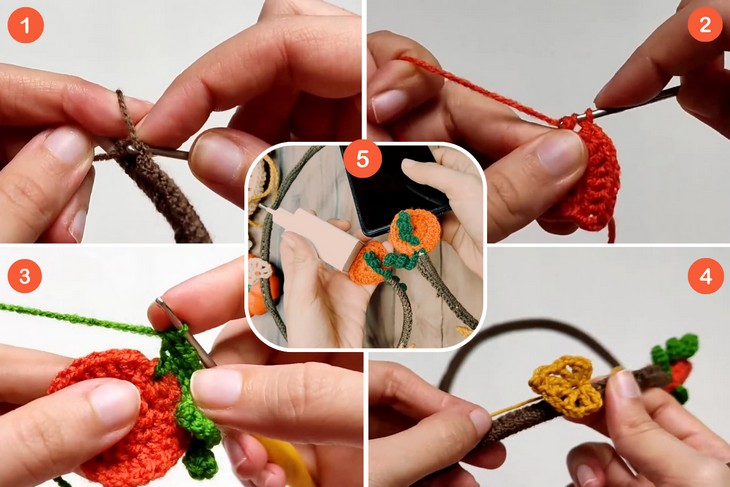
How is it done?
This tutorial demonstrates how to crochet a decorative cable cover featuring pumpkins and leaves. The tutorial begins with instructions on crocheting a cable cover that serves as the base. Next, the video goes through the steps to create individual crocheted pumpkins, followed by pumpkin leaves.
The tutorial also explains how to connect the pumpkins to the cable, adding a festive and textured design. In the final steps, you learn how to crochet the leaves, which are then attached