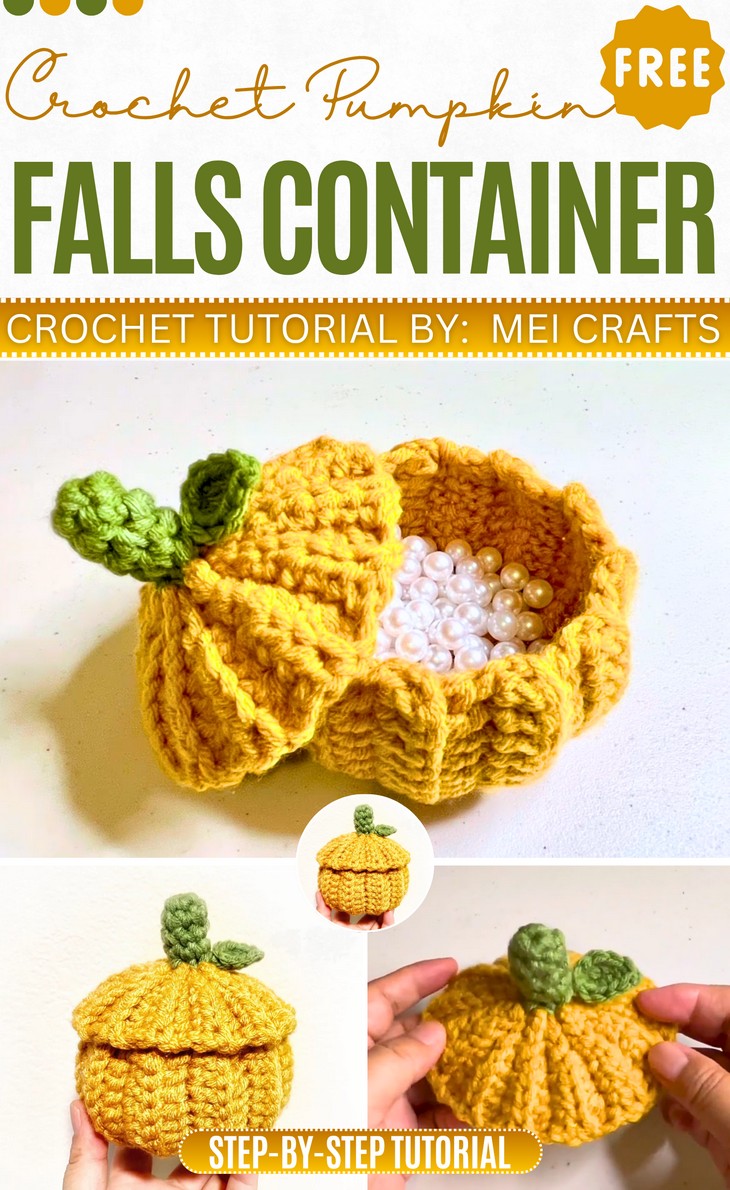
How to Crochet Pumpkin Container for Fall – Easy Pumpkin Basket
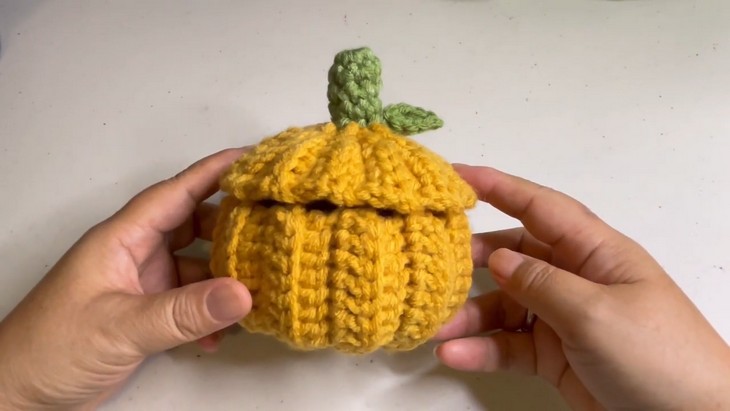
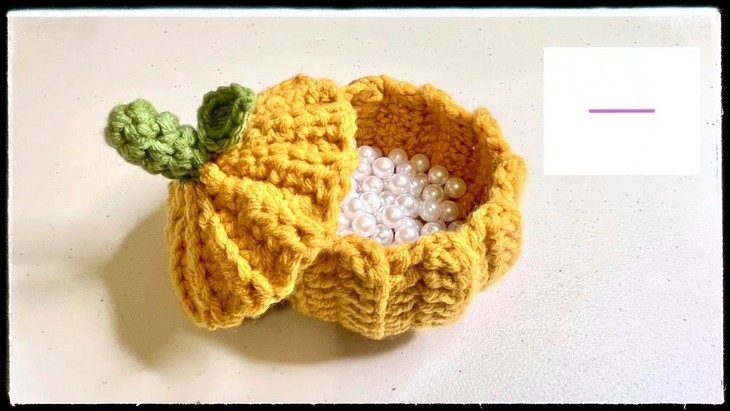
For fall, a clever option is always the crochet item that doubles as decor and retains its functionality, too. So, we are presenting this oh-so-cute crochet pumpkin container with a stitch-by-stitch tutorial for beginners. Place it on your dining table while storing your little treasures like walnuts and candies. It gets it name as a container because a part of this pumpkin acts as a wavy-edged cap, which is easy to hold thanks to the crocheted stem – yes the nature is lovely.
It is large enough to keep a one-day treat while crocheting it is also easy. So, if you are interested in crocheting this pumpkin basket and container by yourself, continue reading this post till the end.
About the Designer: The designer behind this pumpkin bucket project is @MeiCraftschic – She is an expert in crocheting as well as other crafts. Therefore, in her library, you will find tutorials on recycling handmade items, ornaments, crochet, hand sewing, jewelry making, origami, doll making, and altered art. The channel’s description states, “I never met a craft I didn’t like!”, which reflects the diverse range of crafts covered.
However, you will find her channel fairly dedicated to crocheting baskets whether animal baskets or Vase. She also has a good amount of cute amigurumi!
Note: In respect for the creator’s pattern rights, there will be no provision of the written pattern. You can watch the tutorial with on-screen written instructions at the end of this post.
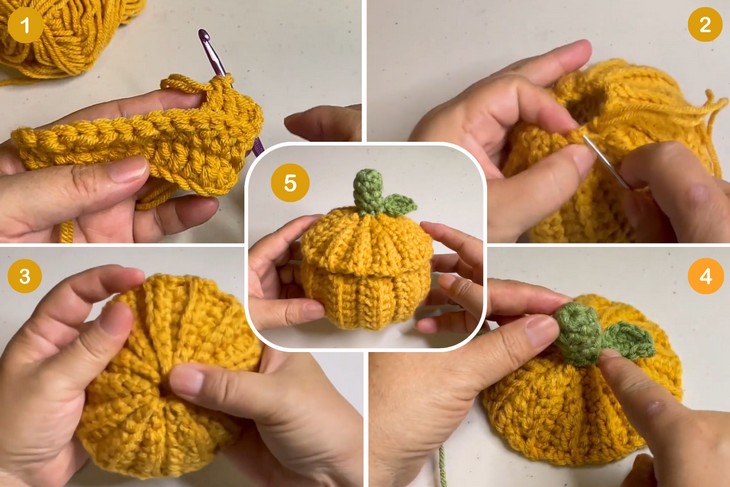
Easy Pumpkin Bucket Tutorial
Skill Level: Intermediates. Her technique for crocheting a pumpkin from a rectangle is fairly unique as it is worked in connected triangle patches. For this reason, you will be using stitches of different heights along with BLO for the ribbed texture. The cap pattern is also fairly unique, as you will crochet it by working flat and then do some sewing. The tutorial uses basic crochet stitches (single crochet, chain stitch, half-double crochet, double crochet, slip stitch, and more that will be easy even for beginners.)
Tutorial Timing: Approximately 14 minutes only. (Most crochet pumpkins are crocheted by working in simple back-and-forth rows, but this one is unique. Therefore, watching the tutorial is worth learning the no-sew patchwork technique.
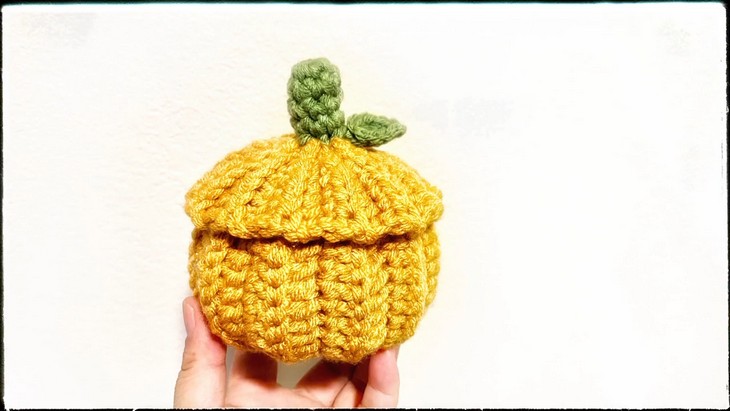
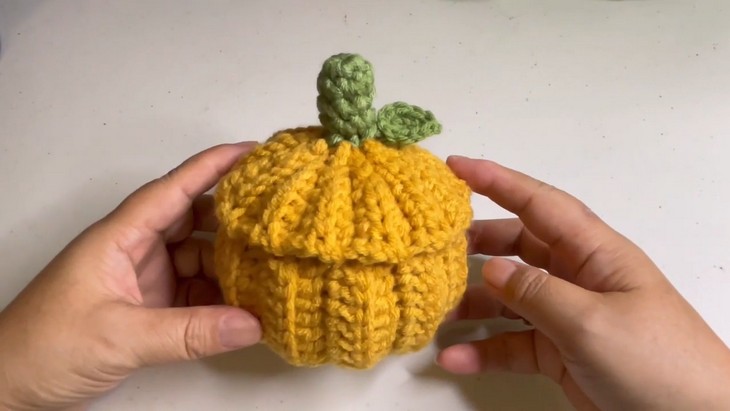
Personalization Tips: The tutor crochets this pumpkin in dark yellow and green. But you can also use the lighter colors like yellow hairclip or simply use orange, brown, or green also. A little leaf addition makes it oh-so-cute, but you can also add a jack-o’-lantern face for Halloween.
Pattern Type: The on-screen written pattern is available if you find written instructions easy to follow along with. Also, the tutorial is slow-paced.
Materials and Tools
Here is a list of crochet supplies for crocheting a pumpkin container by yourself:
4.5 mm crochet hook
Two strands of yarn (mustard yellow color used and green)
Scissors (for cutting yarn later)
Yarn needle (for sewing, since a long yarn tail will be left)
Crochet Stitch Guides
Learn the following crochet techniques for crocheting this pumpkin-shaped basket:
- Single Crochet (SC): Insert the hook into the stitch, yarn over, pull through, yarn over again, and pull through both loops on the hook.
- Chain Stitch (CH): Yarn over and pull through the loop on the hook.
- Half-Double Crochet (HDC): Yarn over, insert the hook into the stitch, yarn over, pull through, then yarn over and pull through all three loops on the hook.
- Ribbed Stitch (Back Loop Only): Work in the back loop of each stitch instead of both loops to create texture.
- Slip Stitch (SL ST): Insert the hook into the stitch, yarn over, and pull through both the stitch and loop on the hook.