
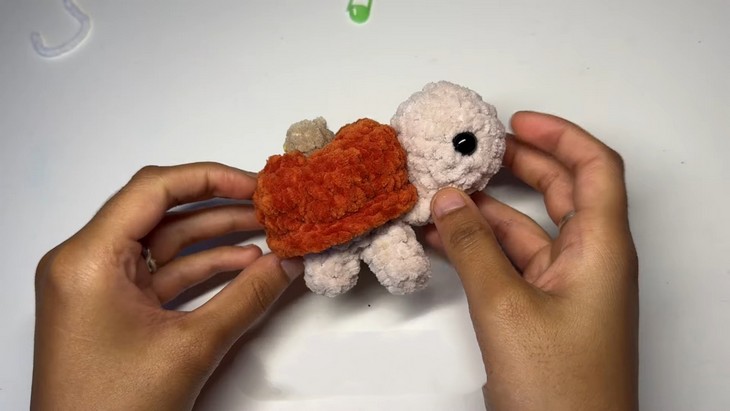
How to Crochet Pumpkin Turtle Plushie for Fall
Its time to update the turtle amigurumi pattern for fall. So, learn how to crochet this super soft and huggable pumpkin turtle plushie with a stitch-by-stitch tutorial from Raeesaart. The tutorial and the pattern for crocheting this turtle plush is easy even for beginners. Just switching the color and adding the stem are additional steps. You can crochet one within 45 minutes. Whether you sell it at craft fairs or gift to someone, this turtle plushie is irresistible.
If you are interested in crocheting this turtle plushie, continue reading till the end of this post. It will be worth crocheting even for Halloween!

The designer of this turtle amigurumi is @Raeesaart. – she has crocheted many Halloween and fall plus turtle amigurumi in her channel. In respect for the creator’s pattern rights, there will be no provision of the written pattern. You can watch the tutorial with on-screen written instructions at the end of this post.
Skill Level: Beginner to Intermediate. You will need amigurumi techniques like magic ring, increasing, decreasing, and sewing techniques, which may be challenging for absolute novices.
Tutorial Timing: Approximately 31 minutes (perfect for learning how to work with the chenille yarn and sewing the pumpkin for getting the ridges.)
Personalization Tips: If you are not good at sewing, omit the pumpkin lines. Experiment with different yarn colors for the pumpkin shell and turtle legs, like in this crochet yellow pumpkin hairclip.
Ensure the head is securely sewn in place, especially if gifting or selling.
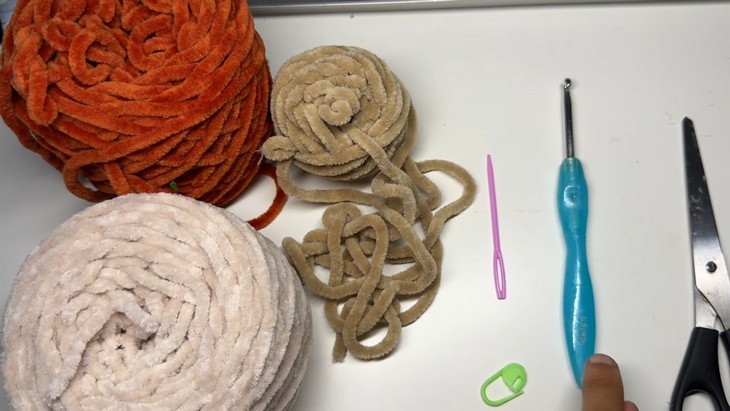
Gather the following crochet supplies for crocheting this amigurumi turtle with pumpkin shell:
- Yarn: James C Brett Flutterby Chunky, Hobbii Baby Snuggles (Choose any chenille yarn)
- 10mm safety eyes
- 4.5 mm hook
- Stuffing
- Needle
- Orange, beige, and brown.
Techniques Used
Learn the following crochet techniques to crochet this amigurumi turtle:
- Magic Ring (Adjustable Circle) Used to create a tightly closed round center for crocheted pieces, such as the legs, head, and shell.
- Single Crochet (SC) Primary stitch used to shape the body, head, shell, and legs.
- Single Crochet Increase (INC): Adding two stitches in the same spot to expand the circumference in specific rounds.
- Single Crochet Decrease (DEC) Combining two stitches into one to narrow or shape parts of the piece, like the head.
- Joining Pieces with Single Crochet: Used to connect legs and the shell to the body.
- Sewing Pieces Together: Attaching parts like the head to prevent it from flopping and maintaining structure.
- Stuffing the Plushie: Filling the legs, head, and body to add volume and shape.
- Creating Pumpkin Lines (Sewing Technique): Pulling yarn around the shell to make distinct lines typical of a pumpkin.

How is it done?
The tutorial begins with crafting the turtle’s legs using a magic ring technique, followed by creating the head, body, shell, and pumpkin features. The video includes detailed steps with tips for joining parts together and adding decorative details to resemble a pumpkin. This project offers a fun and creative way to make an adorable seasonal plushy.
