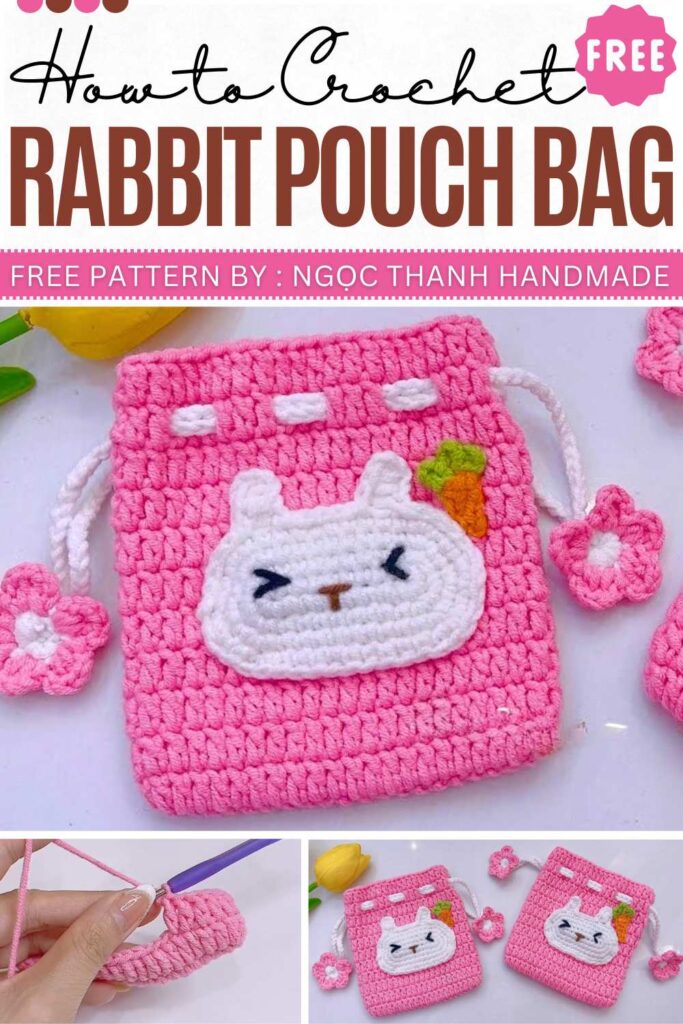
Free Crochet Rabbit Pouch Bag Pattern for Kids
With this pattern, you can crochet a cute drawstring pouch with a kawaii rabbit face, carrot, and Sakura flower appliques on the ends of the strings. The base drawstring pouch is easier and one of the most popular. You can gift this bag to little ones and also use it as a bag charm for your tote. Requires little sewing and no more than 1 hour for completion.
It is beginner-friendly, with the kawaii eyes of the bunny and pink combo, not to be missed crochet bag. You can choose from any other character to add an applique to. I will share both the UK and US patterns.
The designer behind this pouch is @NITKA_KZ – she has quite a good grasp on kawaii amigurumi designing with added cuteness and surprises. More tutorials:
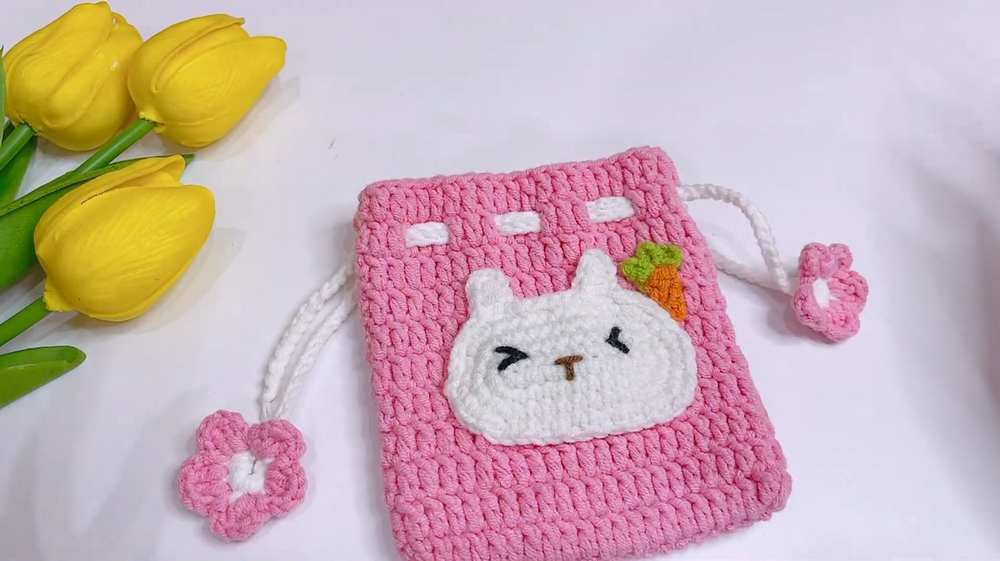
This crochet tutorial provides instructions for a rabbit-themed drawstring pouch, including a decorative rabbit face and a small carrot charm.
Abbreviations
- ch: Chain
- sl st: Slip Stitch
- sc (US) / dc (UK): Single Crochet (US) / Double Crochet (UK)
- dc (US) / tr (UK): Double Crochet (US) / Treble Crochet (UK)
- htr: Half Treble Crochet (UK)
- inc: Increase (2 stitches in the same stitch)
- MR: Magic Ring
Materials Needed
- Yarn: Milk Cotton yarn in pink (bag body), white (rabbit face/drawstring), orange (carrot), green (carrot leaves), and small amounts of black and brown (facial features).
- Hook: 2.5 mm.
- Extras: Tapestry needle, scissors, and optional hot glue for attaching the carrot.
Crochet Bunny Pouch Pattern Instructions
Bag Body (Pink)
- R1: Ch 23. Skip 2 chains, work 20 dc (US) / 20 tr (UK). In the last chain, work 3 stitches in the same base. Rotate and work 19 stitches along the opposite side, ending with 2 stitches in the final base. Sl st to join. (44 sts)
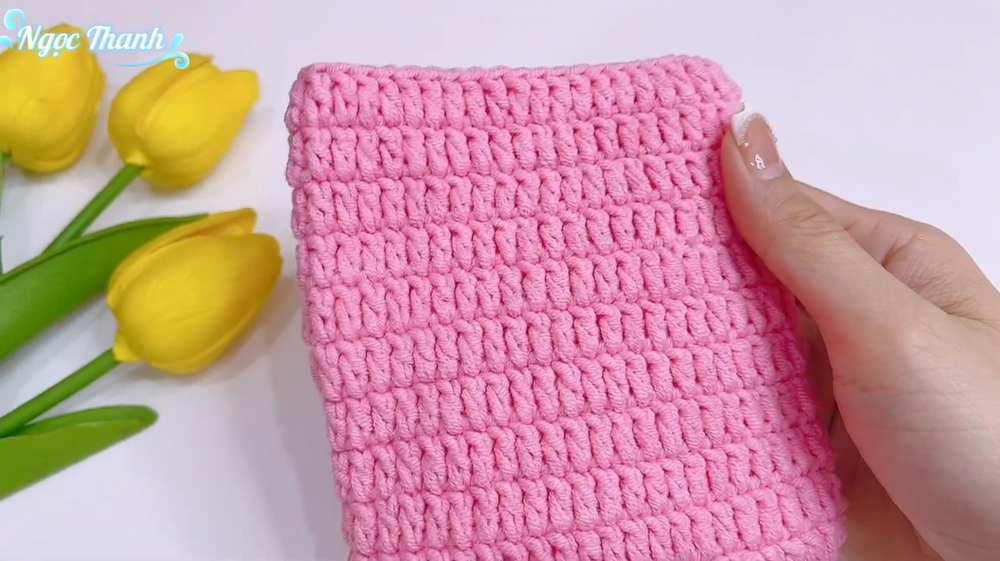
- R2–11: Ch 2, work 44 dc (US) / 44 tr (UK) around. Sl st to join each round.
- Fasten off after 11 rounds and weave in the ends.
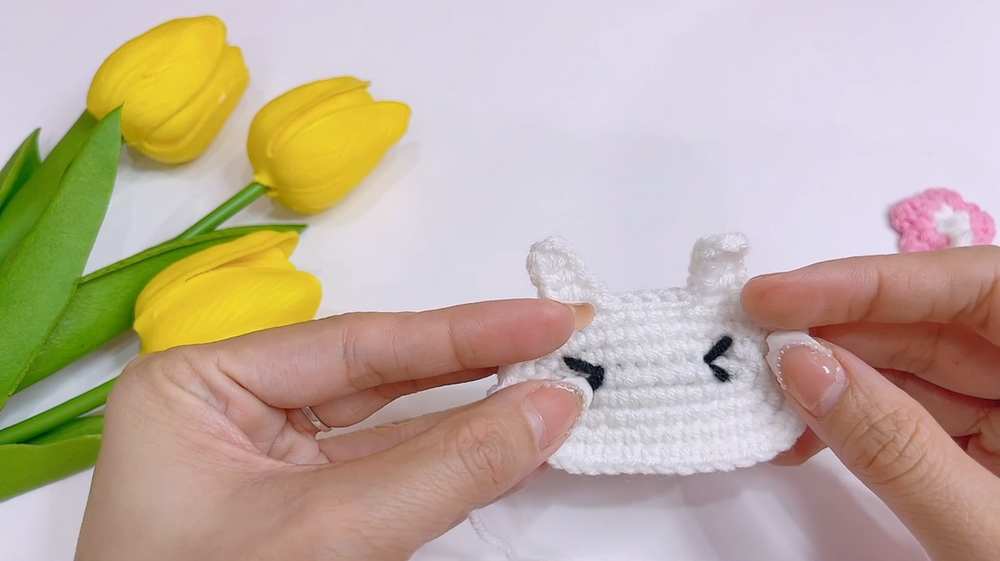
Rabbit Face (White)
- R1: Ch 11. Starting in the 2nd chain from hook: 9 sc (US) / 9 dc (UK), 3 sc in the last chain. Rotate: 8 sc, 1 inc. (22 sts)
- R2: 1 inc, 8 sc, 3 inc, 8 sc, 2 inc. (28 sts)
- R3: (1 sc, 1 inc), 8 sc, (1 sc, 1 inc) x 3, 8 sc, (1 sc, 1 inc) x 2. (34 sts)
- R4: (2 sc, 1 inc), 8 sc, (2 sc, 1 inc) x 3, 8 sc, (2 sc, 1 inc) x 2. (40 sts)
-
R5 (Ears): Sl st 4.
Ear 1: Ch 6, skip 2 ch, work 3 htr back down. Sl st 5 along the head.
Ear 2: Ch 6, skip 2 ch, work 3 htr. Sl st 4. - Finishing: Embroider a “V” shape for eyes with black thread and a “T” shape for the nose and mouth with brown thread. Sew the face onto the bag starting at round 4.
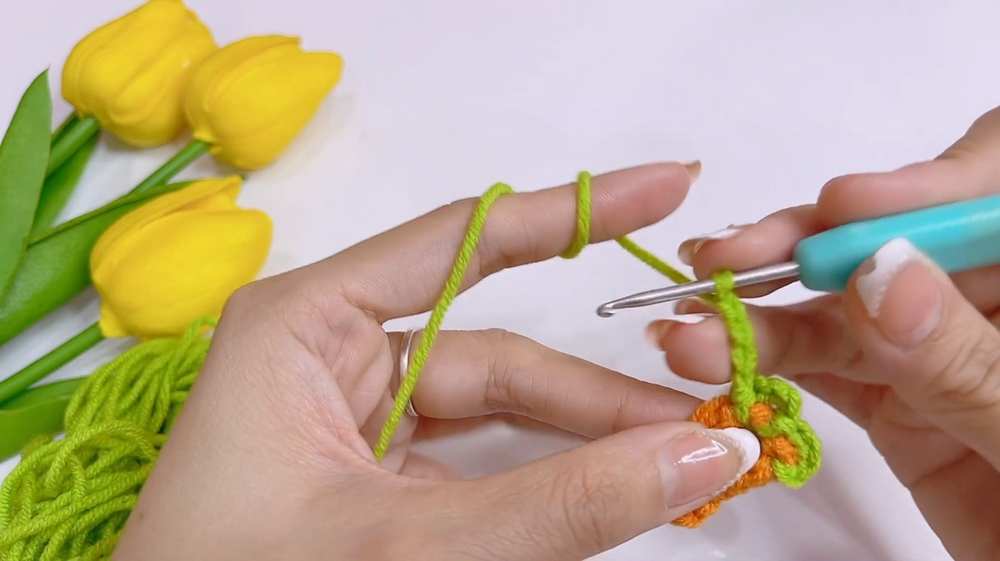
Mini Carrot Charm
- Carrot (Orange): Ch 7. Starting in the 2nd chain: 2 sl st, 2 sc (US) / 2 dc (UK), 2 dc (US) / 2 tr (UK). Fasten off.
- Leaves (Green): Attach green yarn to the top. (Ch 4, sl st into base) repeat 3 times to create three leaf loops.
Drawstring and Flower Ends
- Drawstring: Make two chains of 80 stitches each using white yarn.
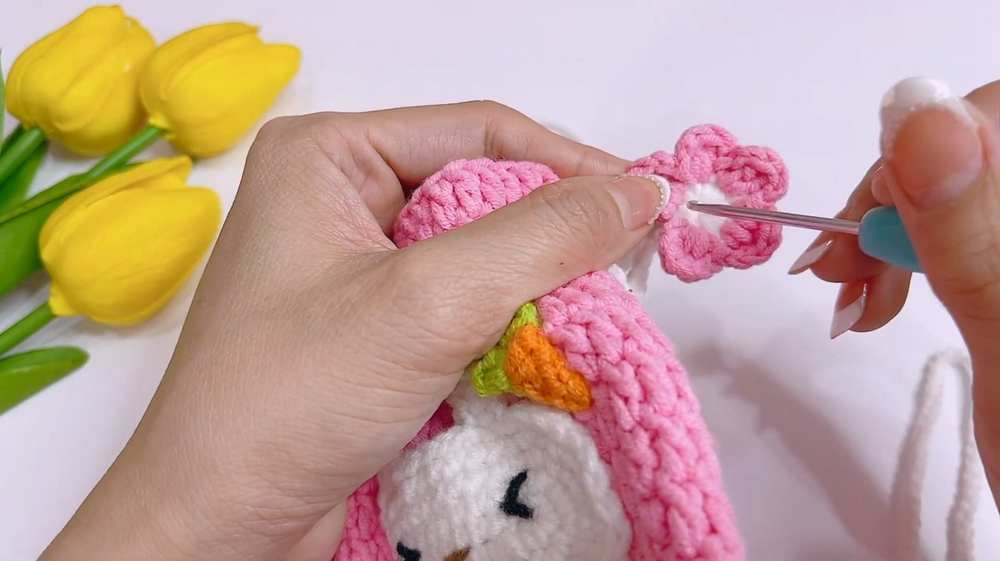
- Flower Center: Using white yarn, work 5 sc (US) / 5 dc (UK) into a magic ring.
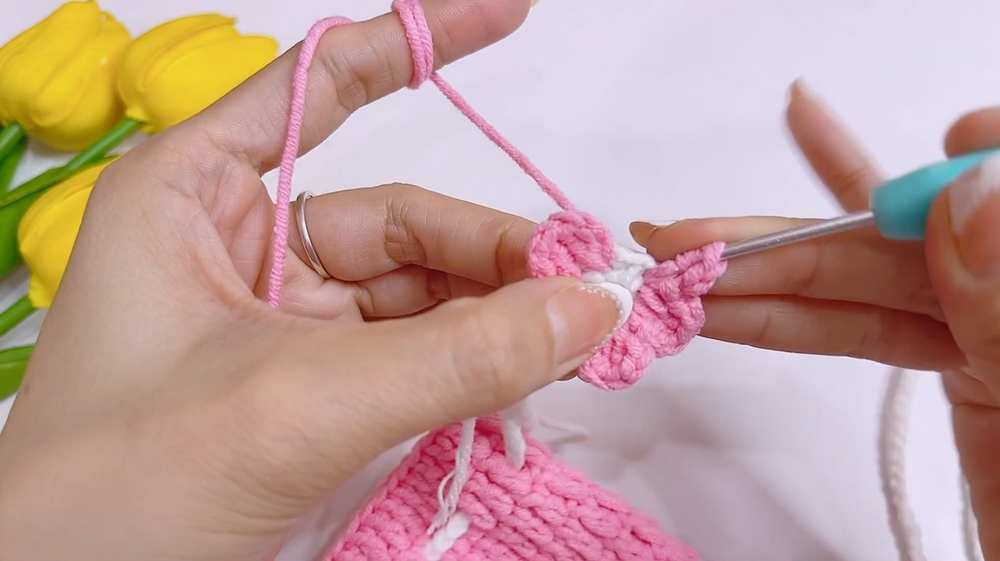
- Petals: Attach pink yarn. (Ch 2, 1 dc (US) / 1 tr (UK) in same stitch, 1 dc (US) / 1 tr (UK) in next stitch, ch 2, sl st in same stitch) Repeat around to form petals.
- Assembly: Thread the drawstrings through round 10 of the bag (weave over and under every 3 stitches). Attach a flower to the ends of the cords.