
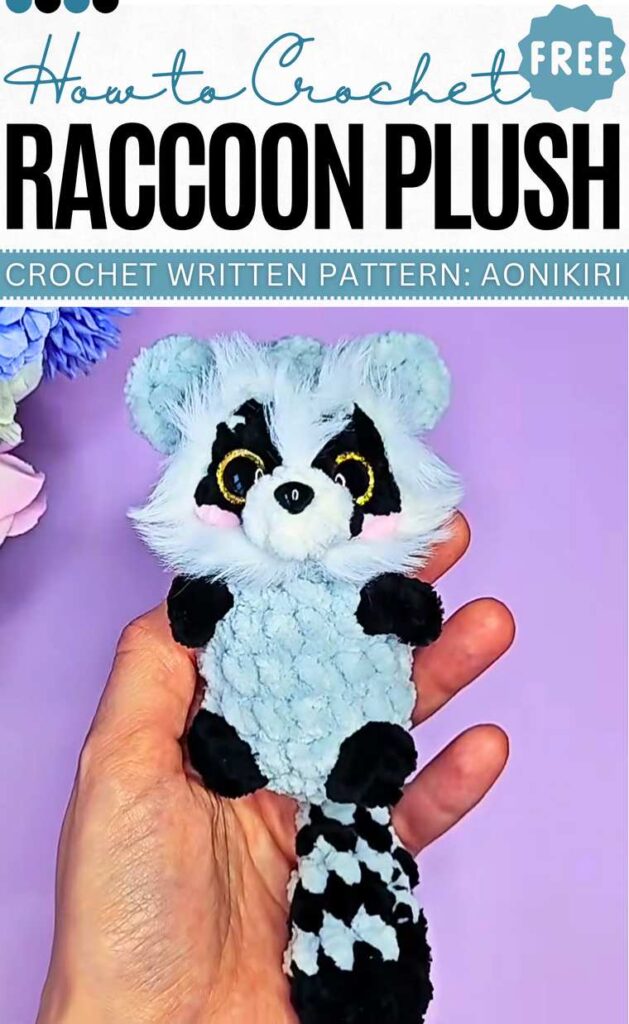
Free Crochet No-Sew Racoon Plushie Pattern
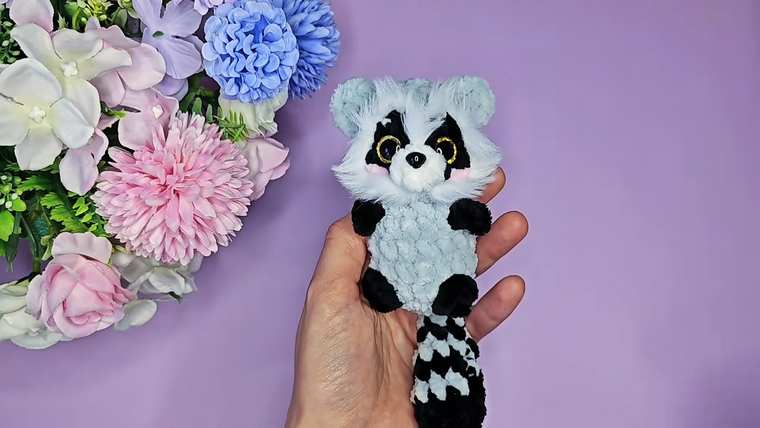
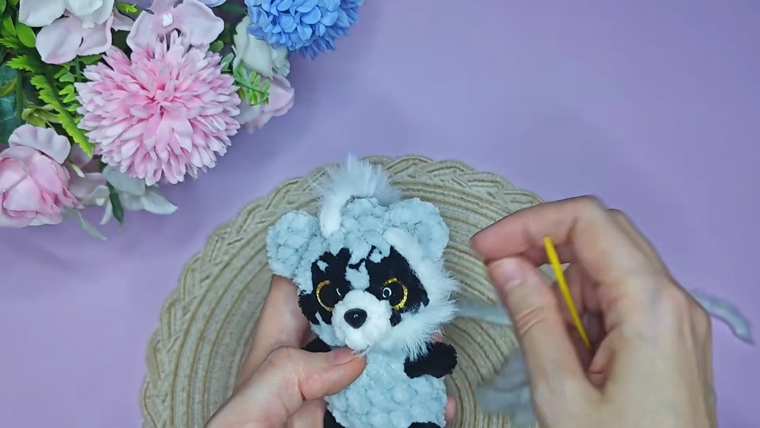
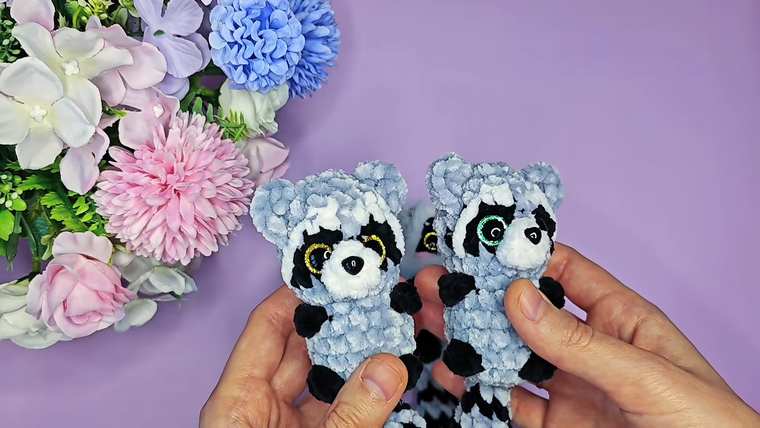
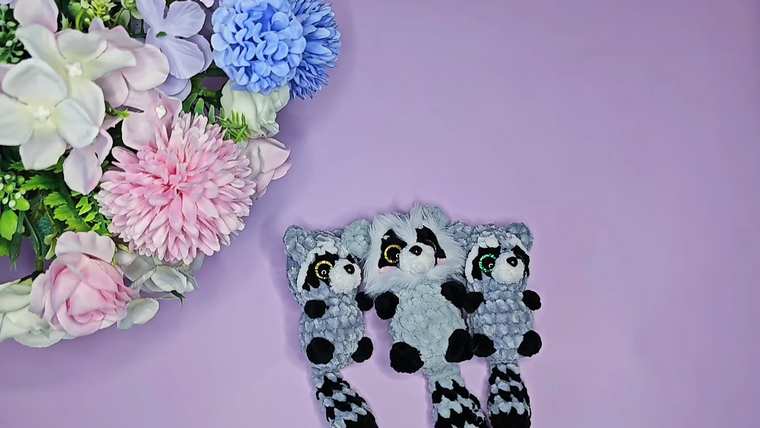
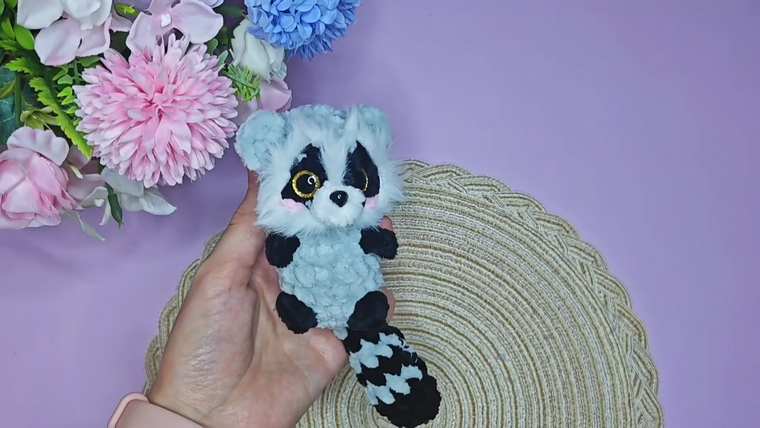
Learn how to crochet a small raccoon plushie similar to the fox plushie keychain, with a free written pattern. It features a striped tail and facial patches, and also fuzzy yarn cheeks. This is just so huggable and a low-sew plushie.
You will also learn how to add a fluffy muzzle and texture using fuzzy yarn, which can be styled or groomed. There are also glittery eyes, muzzle, and nose. If you want to make it sit as a desk buddy, you can attach the tail behind. In this post, I will share both the UK and US patterns.
The designer of this raccoon plushie for kids is @aonikiri – she has expertise in “no-sew” crochet keychains and small plushies that are always so cute.
Abbreviations (US Terms)
MR: Magic Ring
ch: Chain
sc: Single Crochet
sl st: Slip Stitch
inc: Increase (2 sc in the same st)
dec: Decrease
dc: Double Crochet
bobble st (legs/arms): 2 dc closed together in the same st
bobble st (nose): Multiple yarn overs pulled through together in the same st using a contrasting color.
bobble st (eyes): 5 dc closed together in the same st using white yarn.
st(s): Stitch(es)
[ … ] x N: Repeat the instructions in brackets N times.
Materials
Yarn: Plush/Chenille yarn in Grey (main), Black (stripes and paws), and White (muzzle).
Optional: Furry/fluffy white yarn.
Hook: 3.5mm to 4.5mm (depending on yarn thickness).
Eyes: 12mm glitter safety eyes.
Other: 6x8mm safety nose, black embroidery thread, fiberfill stuffing, tapestry needle, and scissors.
Pattern (US Terminology)
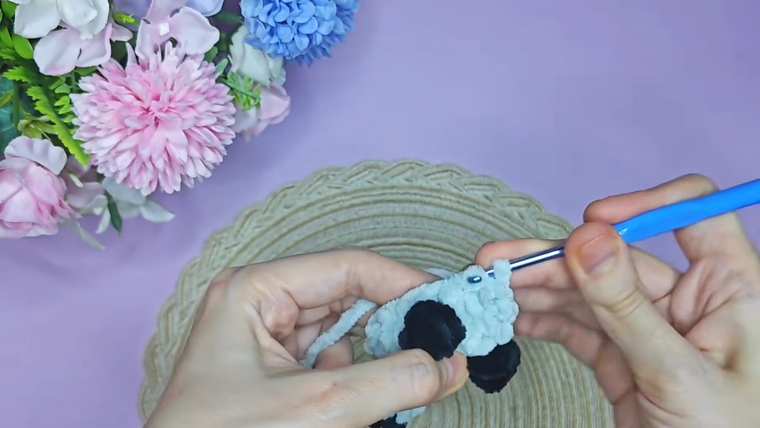
This pattern is for a no-sew Raccoon keychain amigurumi. It is worked from the tail and body upward in one piece, with the limbs and ears crocheted directly onto the body.
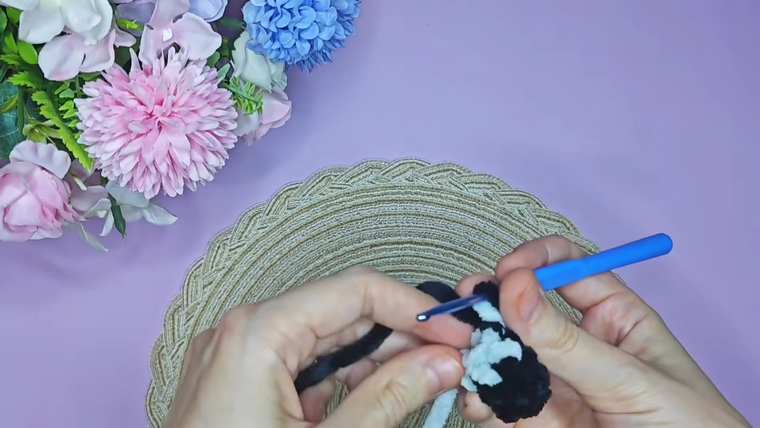
The Tail (Start with Black)
- R1: 6 sc in MR. (6)
- R2: (2 sc, inc) x 2. (8)
- R3: (3 sc, inc) x 2. Switch to Grey. (10)
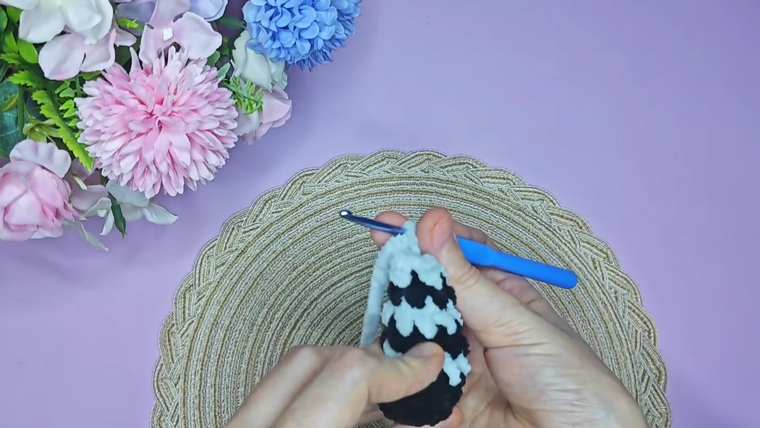
- R4: 10 sc in Grey. (10)
- R5: Switch to Black: (3 sc, dec) x 2. (8)
- R6: 8 sc in Grey. (8)
- R7: Switch to Black: (2 sc, dec) x 2. Switch to Grey. (6)
- R8: (2 sc, dec, 2 sc). Flatten and sc 2 across the top to close. (2)
The Body (Grey Yarn)
- R1: 6 sc in MR. (6)
- R2: 6 inc. (12)
- R3: Join the tail: 2 sc through tail and body, 1 sc, 1 inc, 1 sc, Leg (Black yarn: 3-dc bobble in next st, finish with Grey), 2 inc, Leg (Black yarn: 3-dc bobble, finish with Grey), 1 sc, 1 inc, 1 sc. (16)
- R4-R5: 16 sc around. (16)
- R6: 1 dec, 5 sc (on 5th st, switch to Black for arm), Arm (ch 3, 2 sl st back, sl st to base in Grey), 5 sc (on 5th st, switch to Black for arm), Arm (ch 3, 2 sl st back, sl st to base in Grey), 4 sc. (14)
- R7: (1 sc, 1 dec) x 5. (10)
The Head (Grey Yarn)
- R8: (Hdc inc in every stitch). (20) Note: Video suggests hdc for neck height.
- R9: 6 sc (Grey), 3 sc (Black), Muzzle (White: 2-dc bobble in next 2 sts, finish with Black), 3 sc (Black), 4 sc (Grey). (18)
- R10: 7 sc (Grey), 2 sc (Black), 1 sc (Grey), 2 sc (Black), 5 sc (Grey). (18)
- R11: (2 sc, 1 dec) x 5. (13)
- Insert Eyes: Place 12mm eyes between the two black rows (R9 and R10), roughly 3 stitches apart.
- R12: (1 sc, 1 dec) x 5. Close and fasten off.
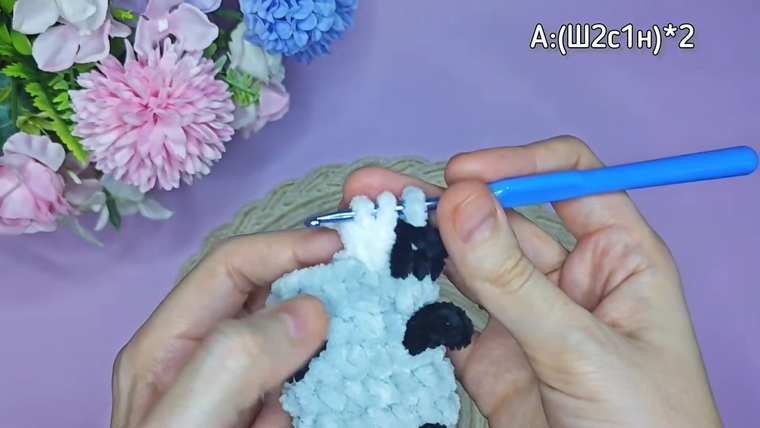
The Ears (Crocheted onto Head)
- Locate the top of the head above the black eye patches. Join Grey yarn.
- Ear: (1 sc, 1 hdc, ch 1 in same st), (1 hdc, 1 sc in next st). Fasten off. Repeat for the second ear.
Video Tutorial
Pattern (UK Terminology)
The Tail (Start with Black)
- R1: 6 dc in MR. (6)
- R2: (2 dc, inc) x 2. (8)
- R3: (3 dc, inc) x 2. Change to Grey. (10)
- R4: 10 dc in Grey. (10)
- R5: Change to Black: (3 dc, dec) x 2. (8)
- R6: 8 dc in Grey. (8)
- R7: Change to Black: (2 dc, dec) x 2. Change to Grey. (6)
- R8: (2 dc, dec, 2 dc). Flatten and dc 2 across the top to close. (2)
The Body (Grey Yarn)
- R1: 6 dc in MR. (6)
- R2: 6 inc. (12)
- R3: Join the tail: 2 dc through tail and body, 1 dc, 1 inc, 1 dc, Leg (Black yarn: 3-tr bobble, finish with Grey), 2 inc, Leg (Black yarn: 3-tr bobble, finish with Grey), 1 dc, 1 inc, 1 dc. (16)
- R4-R5: 16 dc around. (16)
- R6: 1 dec, 5 dc, Arm (ch 3, 2 sl st back, sl st to base in Grey), 5 dc, Arm (ch 3, 2 sl st back, sl st to base in Grey), 4 dc. (14)
- R7: (1 dc, 1 dec) x 5. (10)
The Head (Grey Yarn)
- R8: (Htr inc in every stitch). (20)
- R9: 6 dc (Grey), 3 dc (Black), Muzzle (White: 2-tr bobble in next 2 sts, finish with Black), 3 dc (Black), 4 dc (Grey). (18)
- R10: 7 dc (Grey), 2 dc (Black), 1 dc (Grey), 2 dc (Black), 5 dc (Grey). (18)
- R11: (2 dc, 1 dec) x 5. (13)
- R12: (1 dc, 1 dec) x 5. Close and fasten off.
The Ears (Crocheted onto Head)
Join the Grey yarn to the head.
Ear: (1 dc, 1 htr, ch 1 in same st), (1 htr, 1 dc in next st). Fasten off. Repeat for the second ear.