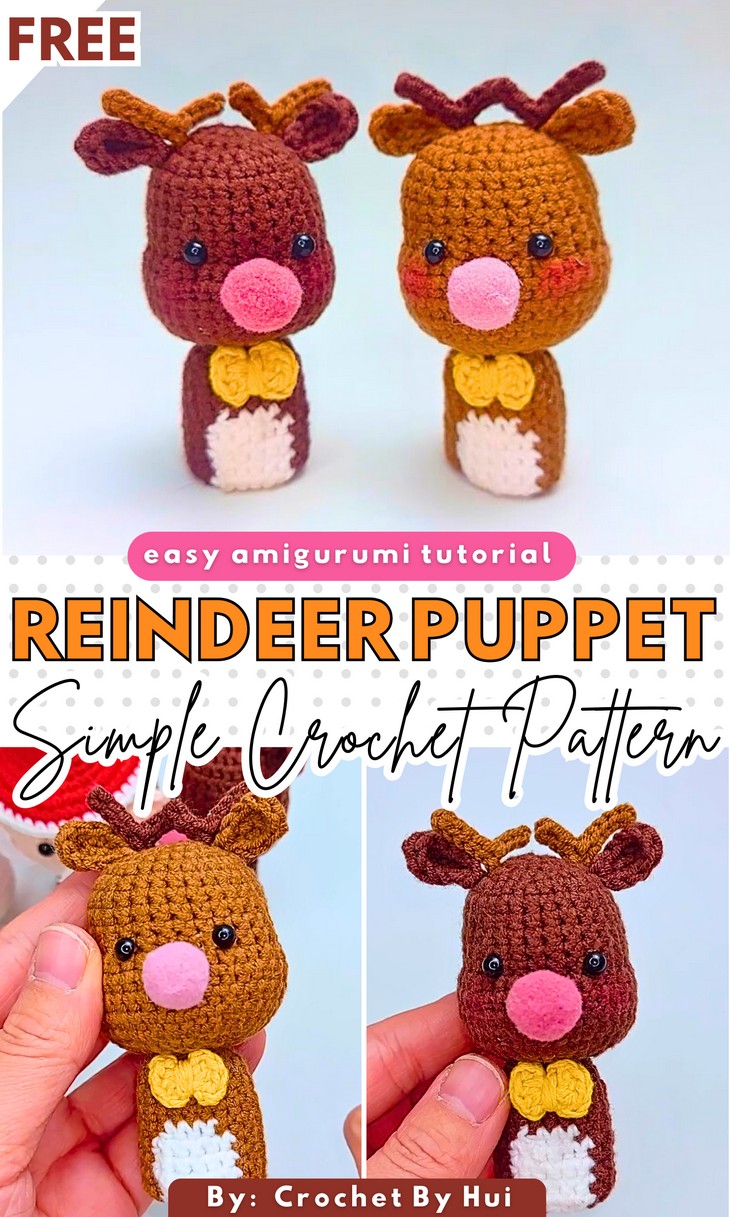
How to Crochet Reindeer Finger Puppet for Christmas (Mini Doll)
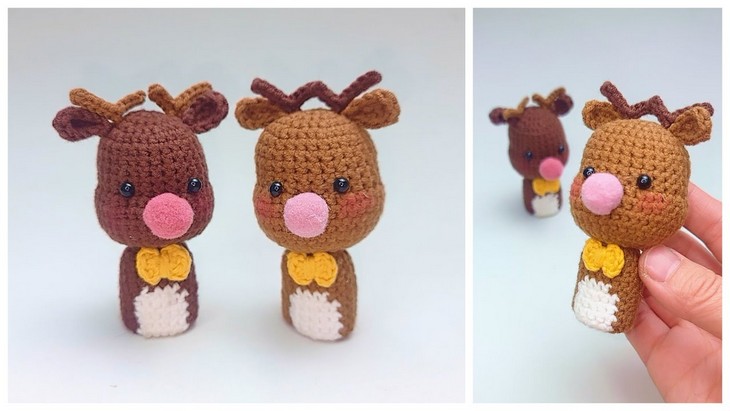
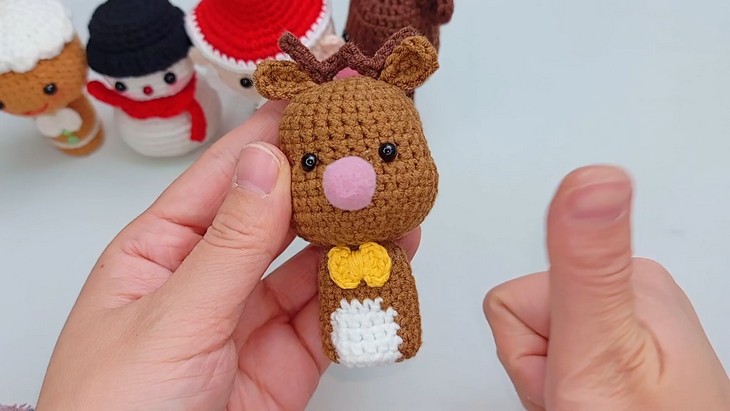
Here is a tutorial for the third and cutest version of crochet Christmas puppet characters by Hui Crochet! So, learn how to crochet this low-sew, mini, and kawaii reindeer finger puppet ornament that will be an irresistible gift idea. This reindeer finger doll is the most well-designed version of Christmas puppets by Hui, featuring a large head and fingerless body, and finished with a yellow bow tie, pink pom-pom, and even a white belly. You will also learn how to crochet the antlers super easily. You will be able to complete crocheting this puppet by yourself within 30 minutes, thanks to the easy pattern.
So, if you have decided to crochet these Christmas puppets by yourself, continue reading this post till the end. There you will find the complete tutorial. It is worth crocheting!
About the Designer: The designer behind this smiling reindeer doll is @CrochetByHui – Like An_design Crafts, she has excelled at amigurumi designing. From chibi dolls and mermaids to animal keychains like dolphins and mice with a lot of creative and unique variations, her library is a top, though underrated, amigurumi library. What sets this channel apart is the creator’s commitment to making these projects accessible to absolute beginners. She has also made a whole playlist of crochet Christmas projects, from hats to puppets of Santa, so check them for sure!
Note: In respect of the creator’s pattern rights, there will be no provision of the written pattern. You can watch the tutorial with on-screen written instructions at the end of this post.

Gingerbread Man Finger Doll Tutorial
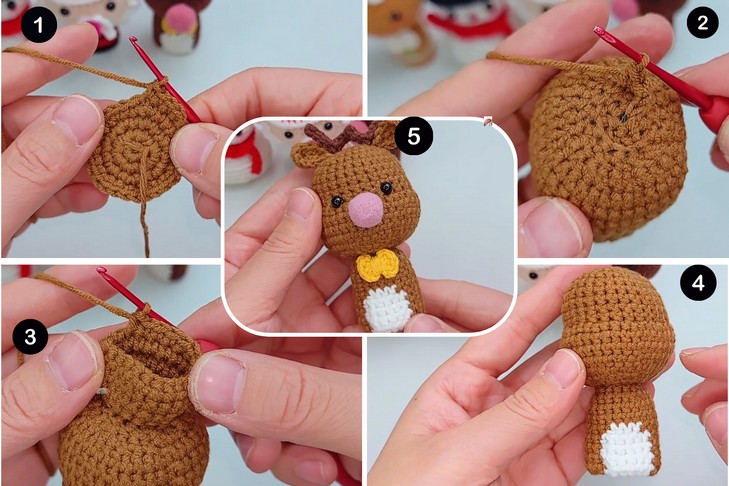
Skill Level: Beginner. Working in the round using the magic ring (or adjustable loop) to start the head, ears, and bow. Like the gingerbread man, the puppet pattern is worked from the head to the bottom as a single piece. The head this time in not simply a sphere but shaped like a kawaii animal, with an increase and decrease of single crochet. Sewing is used for antlers and the ears.
The ears and antlers are worked in rows, and the slip stitch is used to create a tidy finish and form the antler shape. Color changes are essential for the finger puppet section and are performed using a special seamless color technique.
Tutorial Timing: About 20 Minutes only (perfect for learning how to crochet a bit more detailed pattern for crocheting a finger puppet that can be easily adapted for crochet animals, and as you may have seen in the crochet tree puppet. You will also learn how to crochet a blanket that is used in so many projects, like a crochet couple cat set. Plus, learn how to crochet a bow tie that can be adapted for large wearable sizes, like in the coquette bow tutorial. This quick tutorial is worth watching!)
Personalization Tips: You can use either the dark brown or the light brown for the head and finger puppet sleeve of your reindeer puppet. For the bow, other options may be the red or green bow as used in the scarves of crochet Christmas Friends. The small pom-pom nose can be substituted for a crocheted circle or an embroidered french knot.
The bow tie can be omitted or replaced with a small bell or a different accessory. Different sizes of safety eyes or embroidered sleepy eyes can also be used. Always measure the diameter of the finger if you are not gonna stuff the sleeve part.
Materials Needed
Gather the following suggested tools and materials for crocheting this mini kawaii puppet and ornament, mentioned in the tutorial:
- 4-ply Milk Cotton Yarn
- 1.8 mm Crochet Hook
- 5 mm Safety Eyes
- Small pom-pom (for the nose)
- Stuffing material
- Darning needle (for assembly)

Techniques Used
The following are the crochet techniques that the tutor will use for crocheting this Christmas puppet version for beginners:
- Single Crochet (短針): Insert hook, yarn over, pull up a loop, yarn over, pull through both loops on the hook.
- Single Crochet Increase (短針加針): Work two single crochet stitches into the same stitch to increase the stitch count.
- Single Crochet Decrease (短針減針): Work two single crochet stitches together to decrease the stitch count, typically by using an invisible decrease.
- Slip Stitch (引拔針): Insert the hook into the stitch, yarn over, and pull through the stitch and the loop on the hook to join a round or finish a row.
- Half Double Crochet (中長針): Yarn over, insert hook, yarn over, pull up a loop (3 loops on hook), yarn over, pull through all three loops.
- Chain Stitch (鎖針): Yarn over and pull through the loop on the hook to create the base chain or add height.
- Back Loop Only (內半針): Work a stitch only into the loop of the stitch that is furthest from you to create a textured line.
- Color Change (換線): Complete the last yarn-over of the final stitch of the old color with the new color.
- Reverse Crochet (反勾): Work the stitches with the wrong side of the fabric facing you, resulting in the correct side facing outward when complete.