
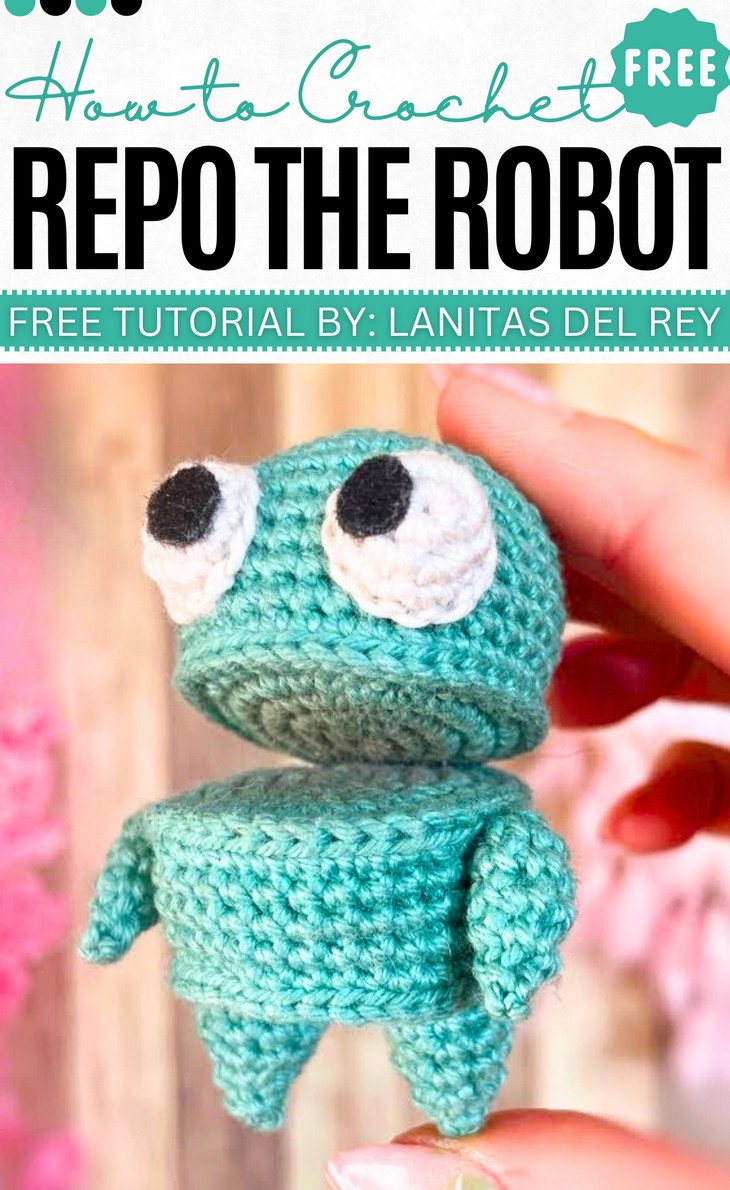
How to Crochet R.E.P.O Robot Amigurumi (Tutorial for Beginners)
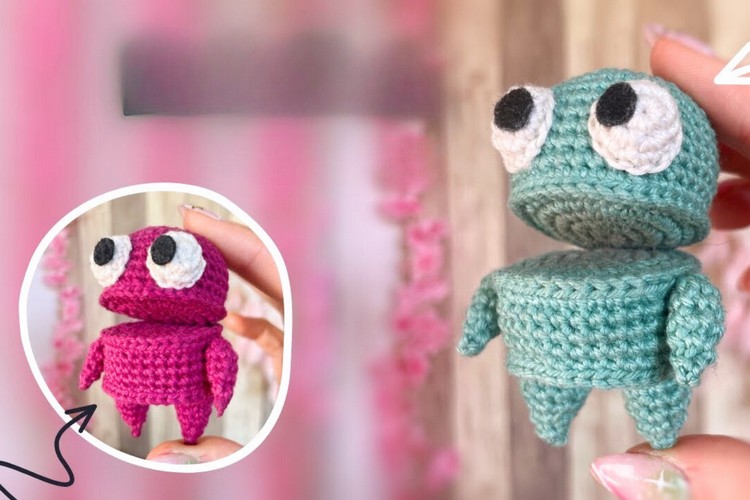
R.E.P.O. is one of the amigurumi ideas that demands to be interactive by nature. While there are so many Repo designs, the one designed by Lanitas is much accurate, professional, and cute. So, learn how to crochet this medium-sized R.E.P.O. robot amigurumi following a stitch-by-stitch tutorial with the same 3D and crocheted googly eyes and the movable head and arms. With the recent surge in the newly launched Repo: The Game, there is are higher chance that this would be a conversation starter. This robot amigurumi also has plastic inside the head and body to help them keep a flat, structured shape.
You will also learn how to make the head movable. So, if you have made up your mind to crochet the amigurumi robot, continue reading this post till the end. There you will find the complete tutorial!
About the Designer: The designer behind this anime character amigurumi is @lanitasdelrey – In my opinion, she is the most expert amigurumi designer with a focus on “friki culture” (geek and fan culture) like anime characters and cartoon characters. You will love her Chopper from One Piece, Totoro, Cookie Monster, the Labubu dolls, and the BT21 collection (Koya, Tata, and Cooky). Additionally, her channel also offers foundational tutorials for amigurumi techniques, covering essential topics like basic stitches, how to sew pieces together for clean finishes, and how to set eyes for professional results.
Note: In respect of the creator’s rights, there will be no provision of the written pattern. You can watch the tutorial with on-screen written instructions at the end of this post.
Crochet R.E.P.O. Amigurumi Tutorial
Skill Level: Intermediate. You will crochet the head, body, eyes, and arms of R.E.P.O. separately and sew everything in the end. You will be using single crochet, worked in joined rounds to ensure the seam remains straight and tidy. Key to the robot’s geometric, flat-sided appearance is the use of Back Loops Only (BLO) stitches at the base of the head and the top of the body. The shaping is achieved through Increases and Decreases.
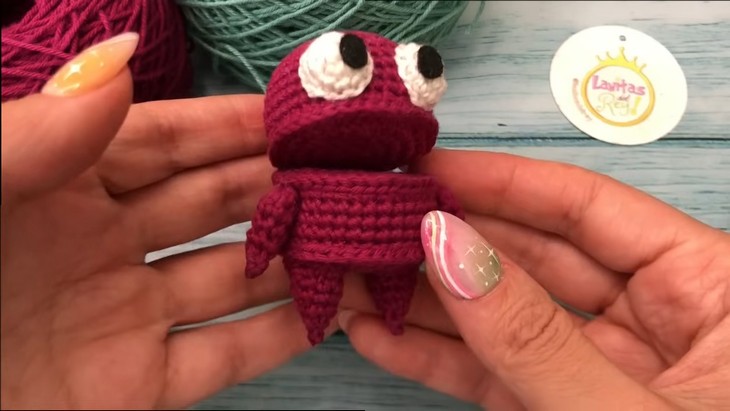
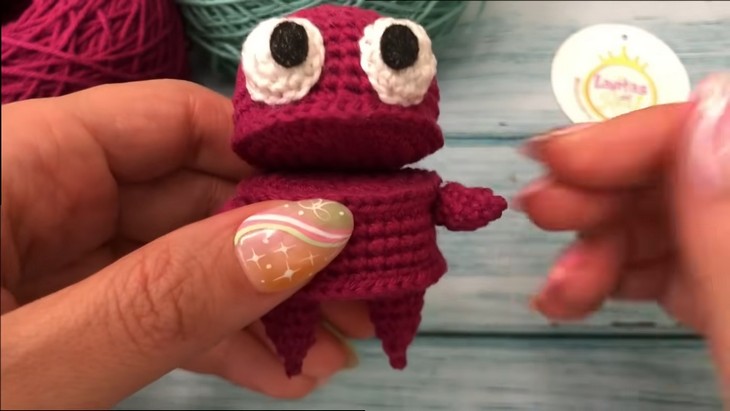
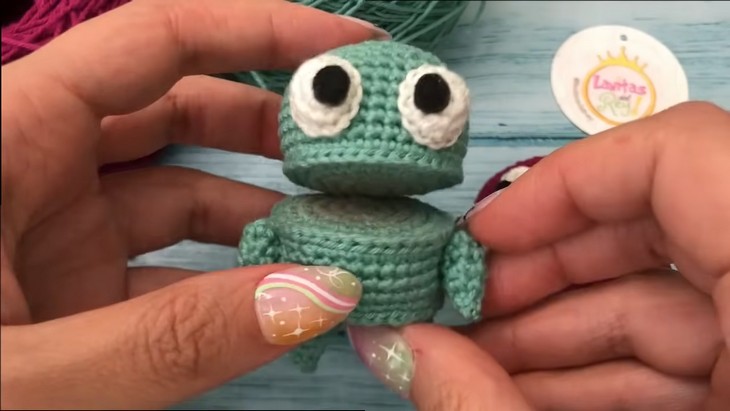
A notable technique for the head and body is the insertion of a rigid plastic sheet (mica) to maintain the robot’s flat structure. The assembly features a clever, more advanced technique where the arms are attached using a single thread run through the body and both arms, making them movable or articulated. You will also learn to attach the head to the body, making a seamless strap for moving.
Tutorial Timing: Approximately 45 minutes (perfect for learning how to make an amigurumi doll movable without using the store-bought joints, thanks to the seamless pattern. You will also learn the popular crocheted eyes that can be used for an alien and monster amigurumi. Plus, the magic of BLO that was also used in crochet mushy. So, the tutorial is worth watching!)
Personalization Tips: The easiest way of personalization in this design is the mouth’s opening and the overall color. The tutor will tell that the degree to which the head and body are sewn together determines how wide the robot’s mouth can open. For example, only joining two points allows the mouth to open completely, while joining 10 points (as used in the video) creates a wider opening. You can choose any color inspired by the game, like red, yellow, purple, or even green.
You can also substitute the black felt for different eye shapes or safety eyes. Or, customize or replace with a standard, fixed sewing method.
Pattern Type: An on-screen written pattern is available if you find written instructions easy to follow along with.
Material Suggestion
Gather the following crochet supplies for crocheting these fidget toys for kids:
- Yarn: Use the light worsted/DK weight in your color with the black and white must (light gray/blue used in the video).
- 2.2 mm crochet hook (or the appropriate size for your yarn)
- Mica or Firm Plastic: Used to cut out rigid inserts for the head and body to maintain a flat shape.
- Black felt
- Silicone
- Synthetic filling
- Yarn needle
- Scissors
- Row marker
Techniques Used
To understand the on-screen instructions and the pattern for the amigurumi robot, follow the following crochet pattern stitch guides:
Single Crochet (SC): Insert hook, yarn over, pull through, yarn over, pull through both loops.
Increase: Work two single crochet stitches into the same stitch.
Decrease: Crochet two single crochet stitches together into one.
Joined Rounds: End each round with a slip stitch join, then chain one to start the next.
Back Loops Only (BLO): Insert hook into only the back loop of each stitch to create a ridge.
Slip Stitch (SL ST): Insert hook, yarn over, pull through both stitch and loop on hook in one motion.