
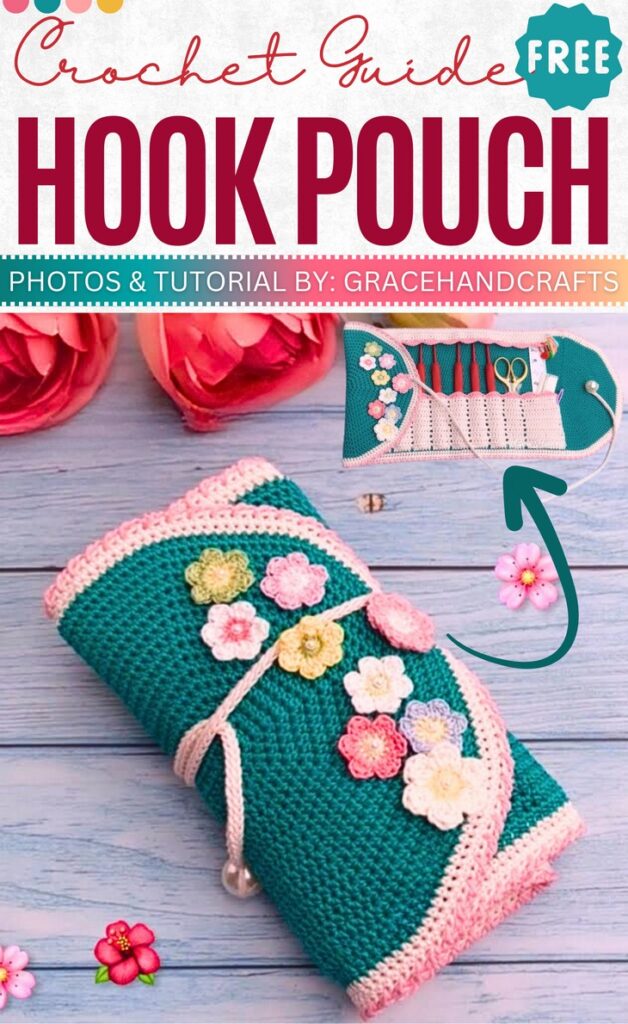
How to Crochet Roll-Up Stationery Case (Tutorial for Beginners)
Roll-up cases provide a more organized feel, making it easy to find your tools. In this post, learn how to crochet a beautiful roll-up stationery case decorated with an appealing striped border and flower appliques. Presented by Grace Handcrafts, this pouch also features shiny beads and cute lace pockets inside. Whether you want to keep your hooks of different sizes, pencil or makeup brushes, this large roll-up case can hold everything in adjustable pockets.
You can check out the complete tutorial for crocheting this stationery case at the end of this post. Let’s get started!
@GraceHandcrafts is the designer of this crochet roll-up stationery case and the tutorial. This post will aim to make this stationery project easy for beginners.
Crochet Stationery Case Tutorial
Skill Level: Intermediate (it uses all six basic crochet stitches, working with the lace yarn and lace stitch, bobble stitch, and color changes). Overall, with the help of the tutorial, this pouch accessory becomes super easy to recreate.
Tutorial Timing: 34 Minutes Only (perfect for learning lace stitching and joining the parts seamlessly).
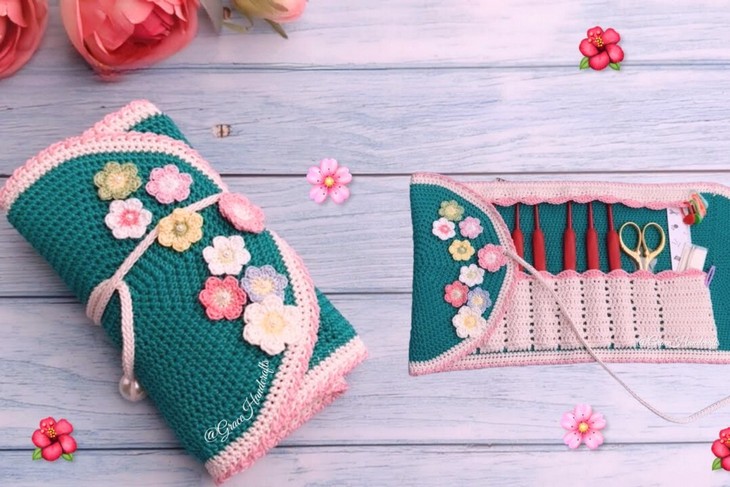
Personalization Tips: You can use any color combo for your crochet stationery pouch like the pink and purple, yellow and black, etc. You should customize each pocket size so that each tool gets the right fitting.
Pattern Type: An on-screen written pattern is available if you find written instructions easy to follow along with.
Materials Used
These are the supplies suggested by the tutor for crocheting this roll-up stationery case for beginners:
- Yarn: Lace #3 / Lace #5 – perfect for that sleek finish
- Hook: 1.8 mm or 1.5 mm
- Accessories: Pearls: 3 mm × 9, 16 mm × 1
- Yarn needle
- Scissors
- Craft glue
Stitch and Abbreviations Guide
| Abbreviation | Meaning | One-Line Guide |
|---|---|---|
| Ch | Chain | Yarn over, pull through loop to create a chain. |
| sl st / sl sts | Slip Stitch / Slip Stitches | Insert hook, yarn over, pull through both loops. |
| SC | Single Crochet | Insert hook, yarn over, pull up loop, yarn over, pull through both. |
| MR | Magic Ring | Wrap yarn in a loop, insert hook, pull yarn through and work stitches inside ring. |
| 2-dc bobble | 2 Double Crochet Bobble | Yarn over, partial dc twice in same stitch, then pull through all loops. |
| DC | Double Crochet | Yarn over, insert hook, yarn over, pull up, yarn over, pull through two twice. |
| Hdc | Half Double Crochet | Yarn over, insert hook, pull up, yarn over, pull through all three loops. |
| ch1-sp | Chain 1 Space | Skip one chain and work into the next space. |
| St/Sts | Stitch / Stitches | Refer to individual stitches worked or to be worked. |
| sk1, sk2 | Skip 1, Skip 2 | Skip 1 or 2 stitches and work into the next. |
| rsc | Reverse Single Crochet | Work single crochet backward for a rope-like edge. |
How is it done?
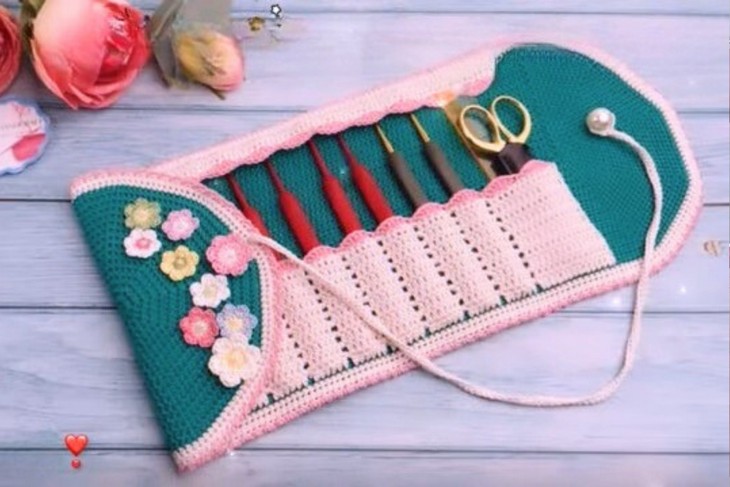
This roll-up stationery pouch is crocheted starting with a long foundation chain and built up using rows of half double crochets (hdc) with gradual increases to form a rounded rectangular base. After shaping the body to 316 stitches, the color is changed, and decorative reverse single crochet edging is added.
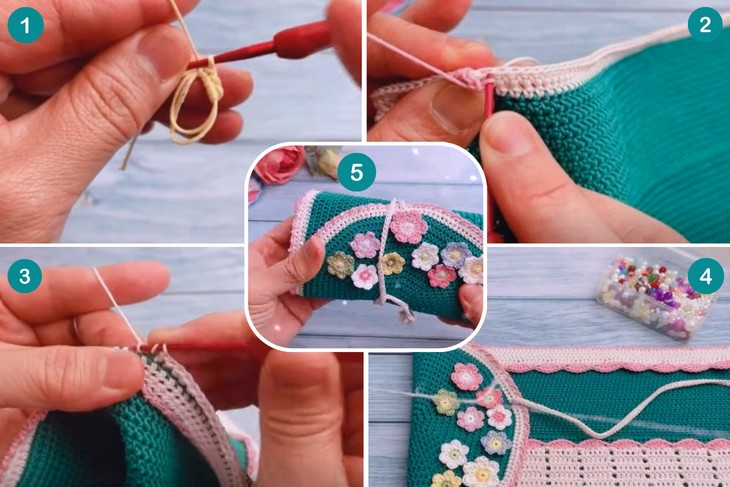
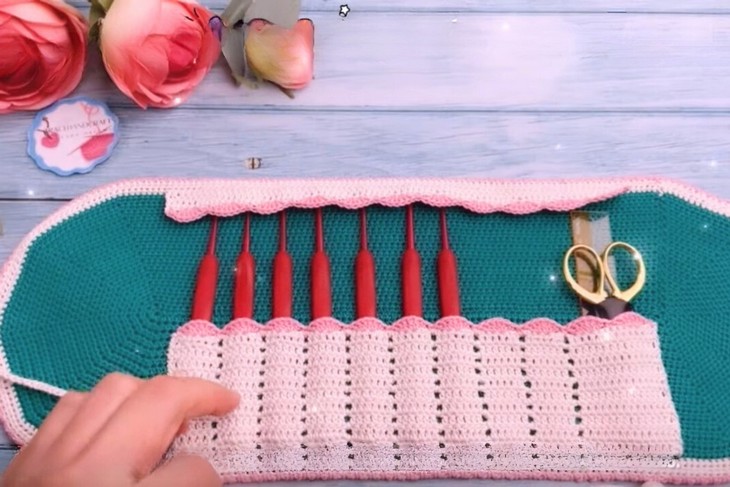
A flap is then worked at one end with double crochets to prevent items from falling out, followed by a shell border. A separate hook pocket panel is crocheted with chain spaces to form multiple slots, then sewn onto the main body.
Complete Video Guide
See More
Its fall around the corner. So, let’s crochet this pumpkin shoulder bag!